


The world is digital, but life is analog..


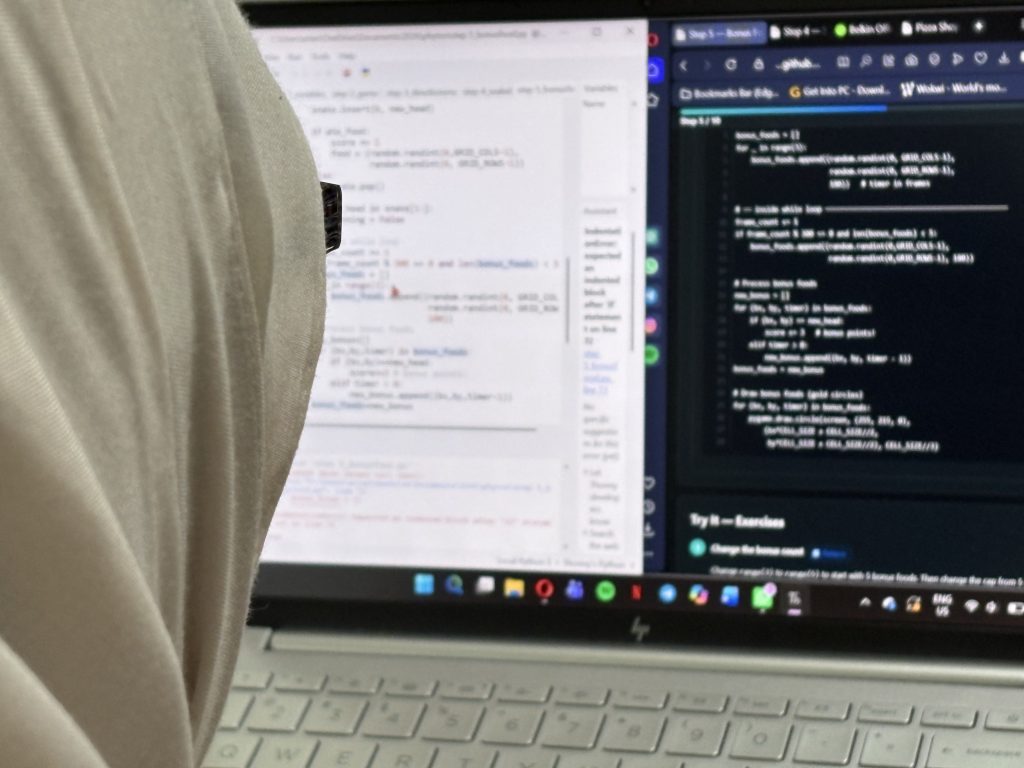
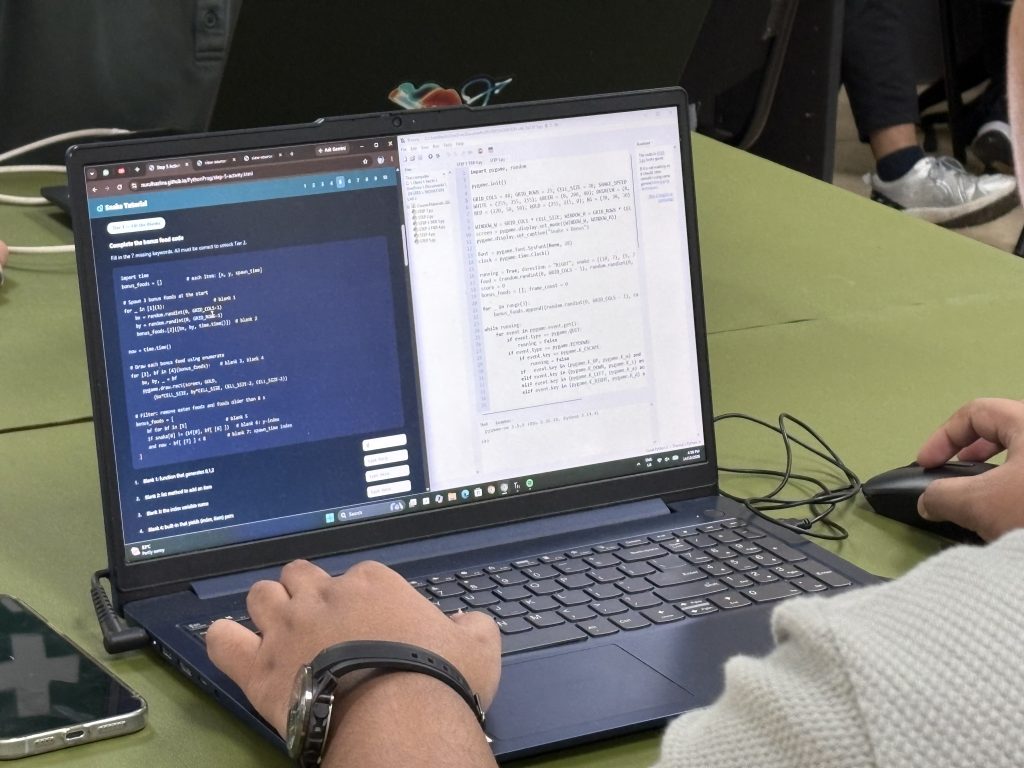
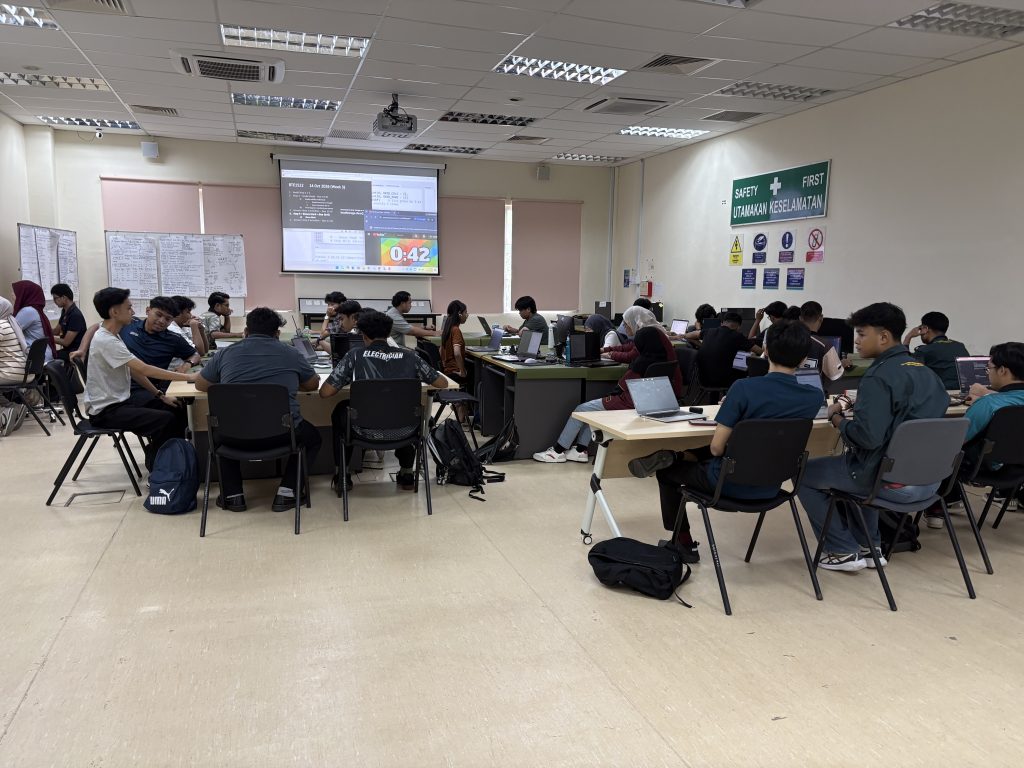
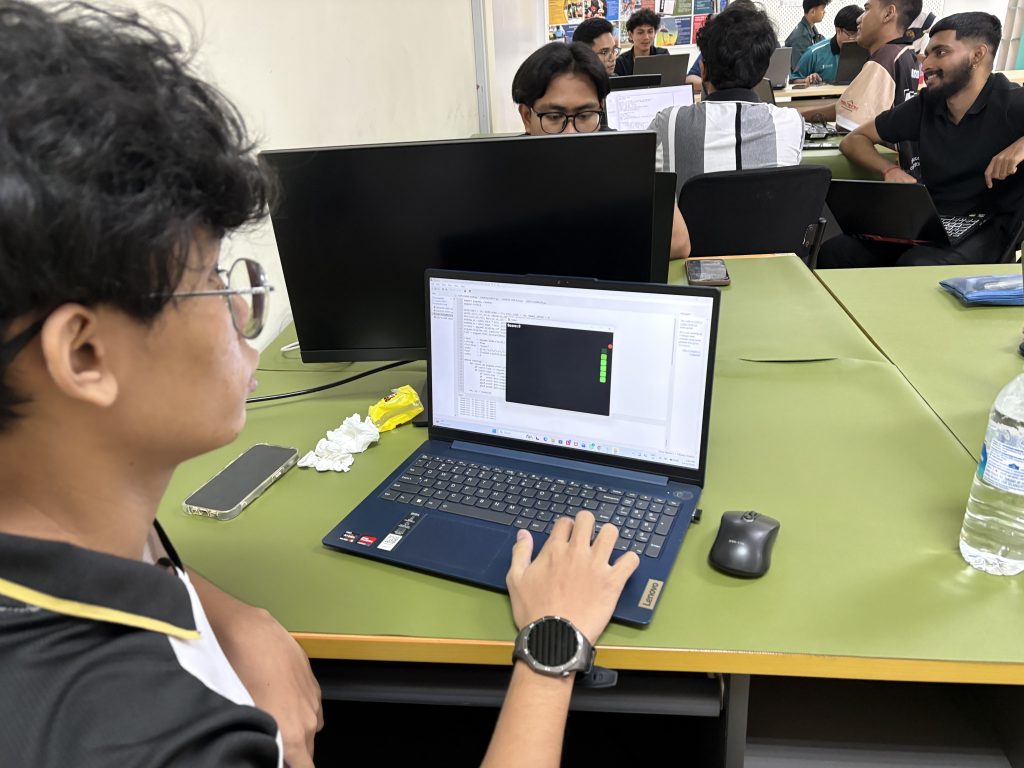
If Steps 2 and 3 were the week the snake first moved, then Steps 4 and 5 were the week it truly came alive. This session was the most cognitively demanding so far — and the most rewarding to watch unfold. Step 4: Snake Body — Lists at Work Until this point, our snake was … Continue reading “Week 3 – DRE2213 / BTE1522 – Step 4 (Snake Length), Step 5 (Bonus Point)”
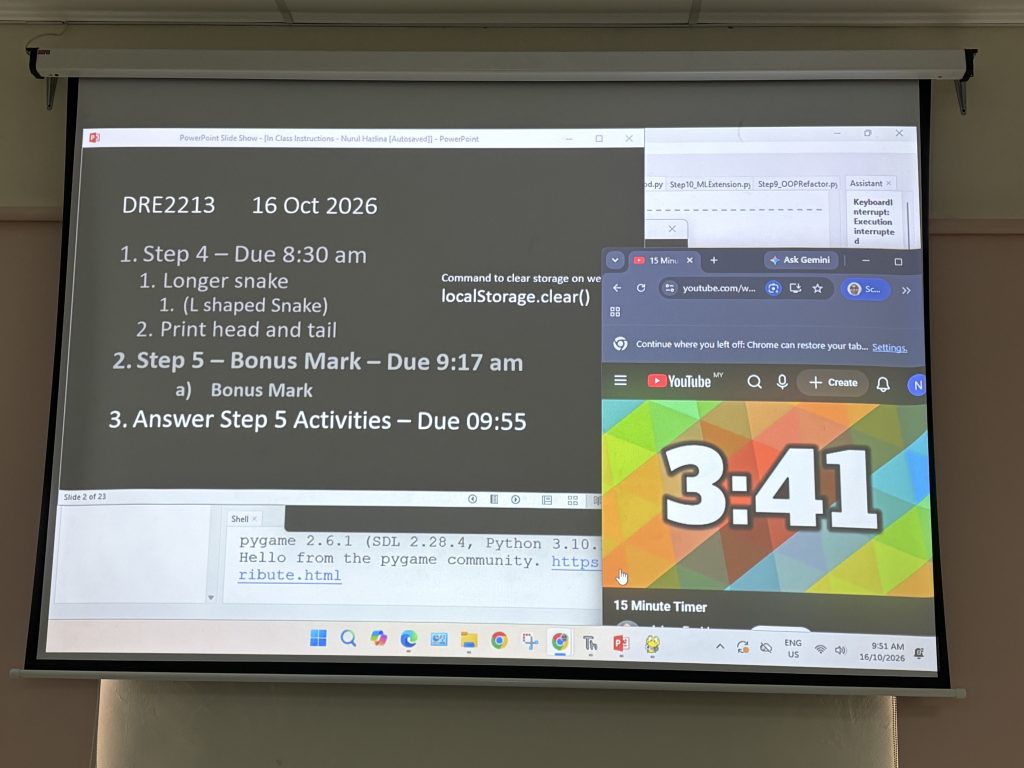
If Steps 2 and 3 were the week the snake first moved, then Steps 4 and 5 were the week it truly came alive. This session was the most cognitively demanding so far — and the most rewarding to watch unfold.
Step 4: Snake Body — Lists at Work
Until this point, our snake was just a head: a single (col, row) tuple gliding across the grid. Step 4 is where it grew a body, and with it came the first real encounter with lists.
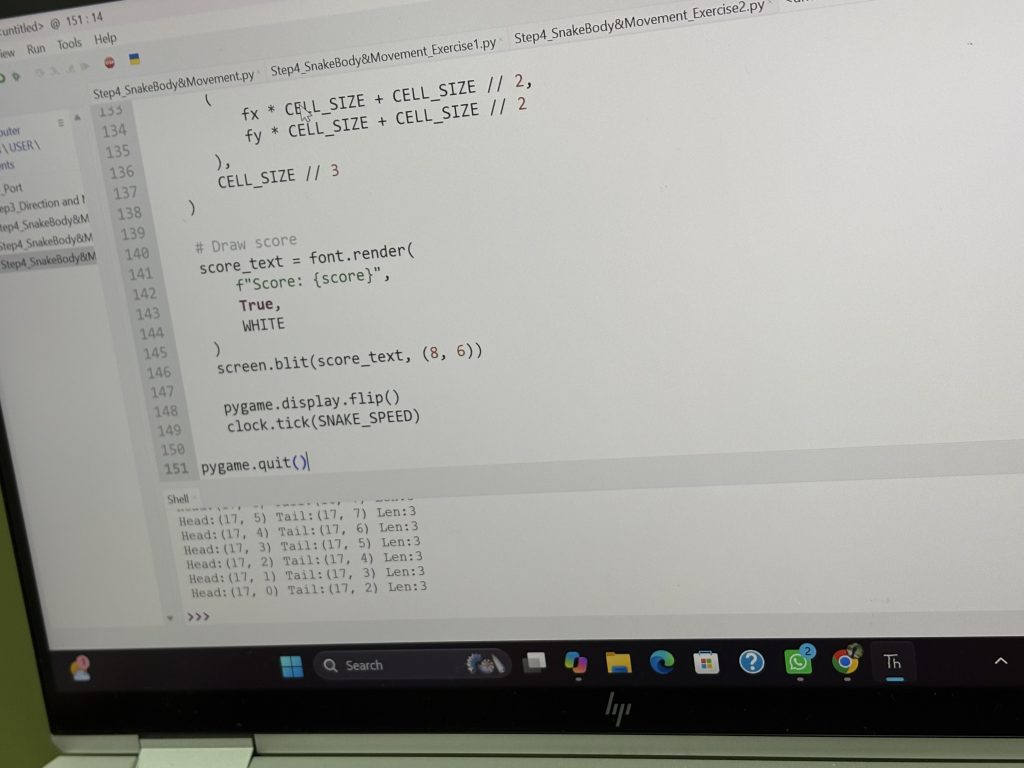
The central idea is elegant: the snake’s body is a list of tuples — [(col, row), (col, row), …] — where index 0 is always the head. Every move, a new head is calculated from the current direction and inserted at the front of the list with snake.insert(0, new_head). Then, if no food was eaten, the tail is removed with snake.pop(). The snake slides forward — growing from the front, shrinking from the back — without ever touching the middle.
Students initially found this hard to visualise. Why insert(0, ...) and not append()? The animated demo was invaluable here: watching the snake body update frame by frame made it clear that the newest position must always sit at index 0. Once students understood that, the logic clicked.
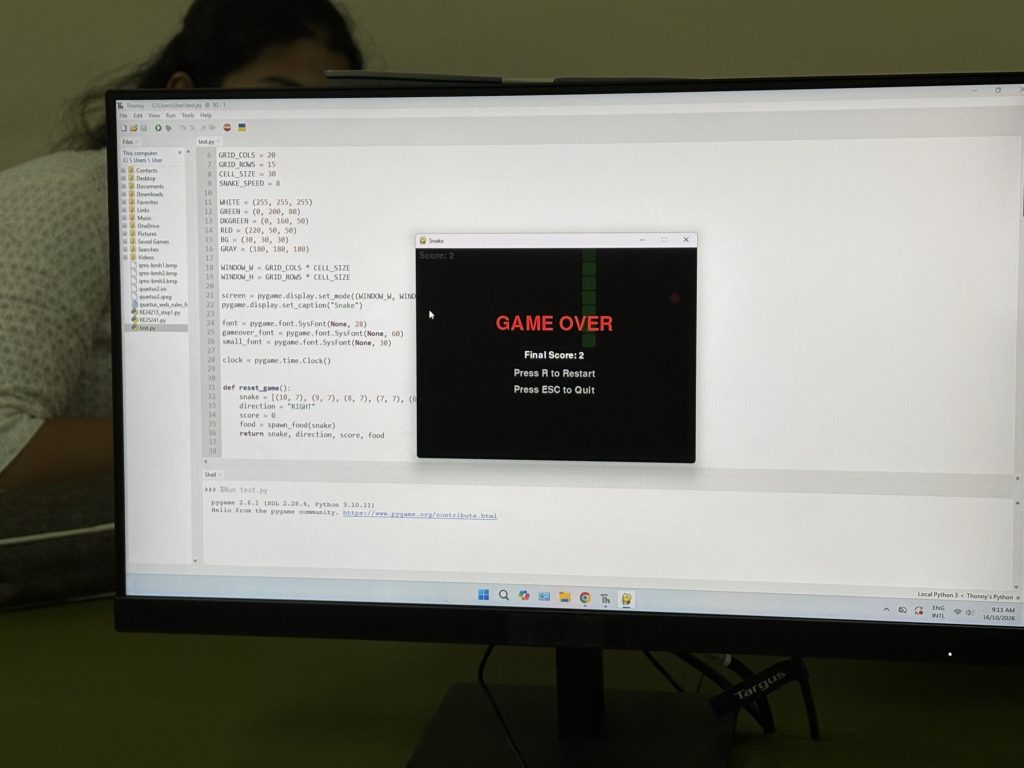
Collision detection with the body itself was the sharpest moment of the step. The check is simple — if new_head in snake_body[1:] — but the reasoning behind [1:] sparked real discussion. Why skip index 0? Because the head has not been inserted yet at the point of checking. Several students independently spotted this edge case before I mentioned it. That kind of anticipatory thinking is exactly the pattern recognition we are building toward.
The CT Activity on the homepage — clicking the body components to reveal their Python concepts — proved its value here. Students who had explored it in Week 1 arrived with the word “list of tuples” already in mind. The scaffold paid off.
Step 5: Bonus Food — Timers, For Loops & Modulo
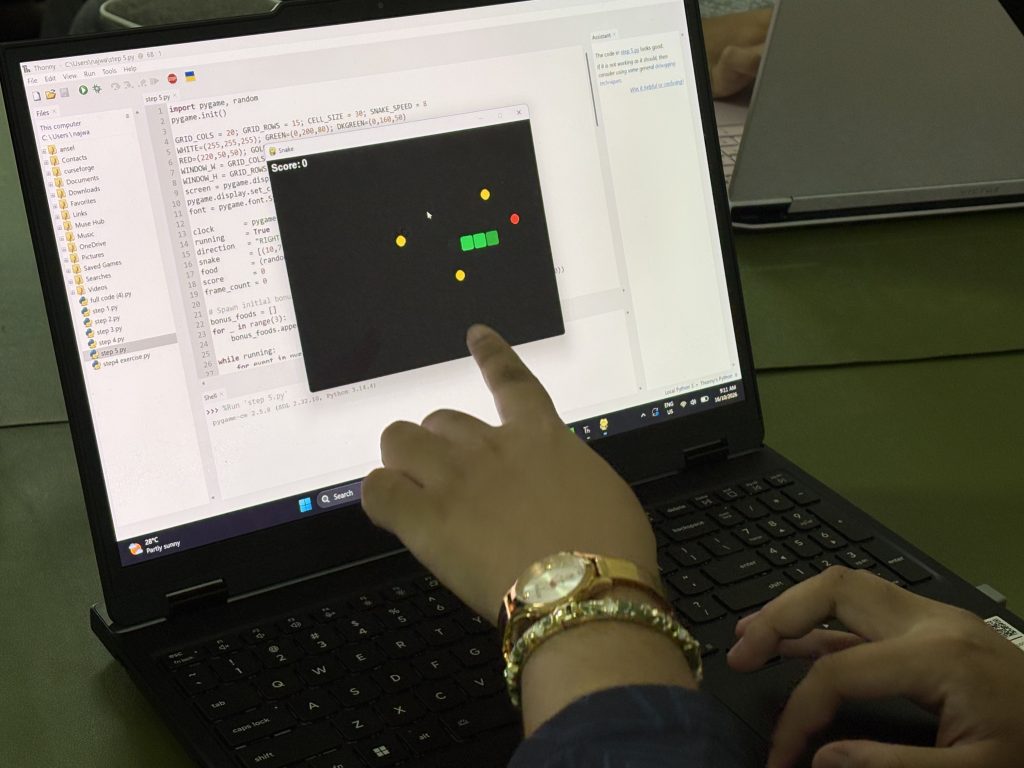
Step 5 introduced the bonus food mechanic: a golden star ⭐ that spawns periodically, scores 3 points, and disappears after a countdown. It is a small feature with a large conceptual payload.
The bonus food is stored as a list of tuples with a timer: (col, row, timer). Every frame, a for loop walks through the list, counts down each timer by 1, and removes any item whose timer has reached zero. Students had just learned insert() and pop() — now they were filtering a list inside a loop, which required thinking about iteration and removal at the same time.
The spawning logic introduced the modulo operator in a meaningful context: if frame_count % 300 == 0: spawn_bonus(). Before this, % was an abstract arithmetic operator. Here it became a clock — a way of asking “has enough time passed?” Students immediately grasped it: “Every 300 frames, the condition becomes True — like an alarm going off.”
The bonus food also made score strategy visible. Students playing the demo noticed that chasing the bonus star is riskier — it often appears in a corner, and the snake’s growing body makes sharp turns treacherous. Several started thinking about whether a 3-point bonus is worth the collision risk. That is algorithmic thinking applied to decision-making, not just code.
What We Observed This Week
Steps 4 and 5 are the first cognitive hotspots in the module — the points where students are most likely to feel stuck. And they did. But the sticking was productive. Watching students trace through a list with their finger on the screen, muttering insert… pop… check…, was evidence of real engagement with the data structure, not just the syntax.
The animated snake on the tutorial page carried more weight this week than any previous session. Because the body grows and the bonus food fades in and out, students had a concrete target to aim for. Every line of code they wrote had an observable effect they had already seen working.
Next: Steps 6 & 7
Step 6 refactors the growing codebase into functions — a step about organisation and the DRY principle. Step 7 then introduces wrap-around movement using the modulo operator, now familiar from Step 5. The groundwork laid this week will pay forward directly.
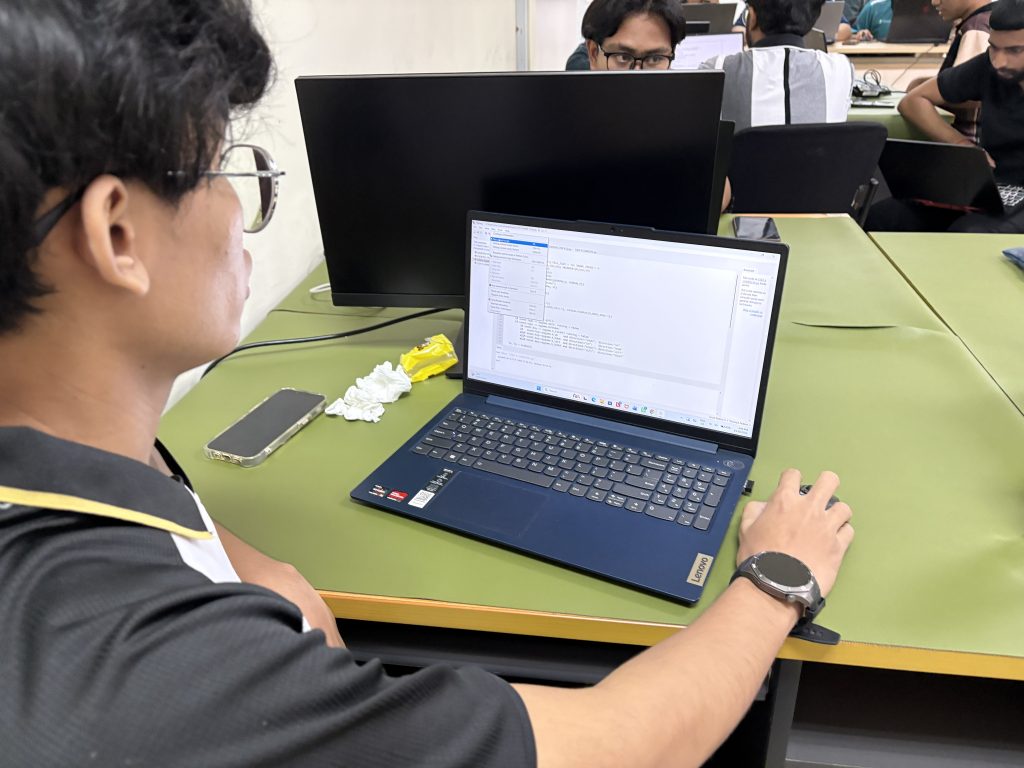
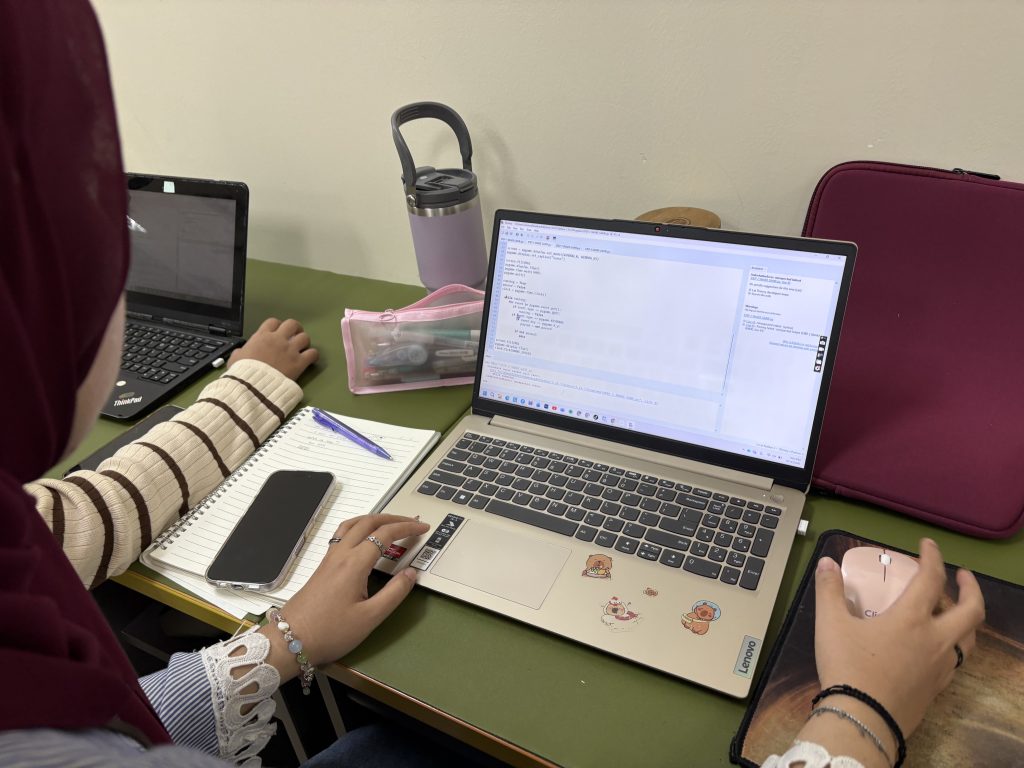
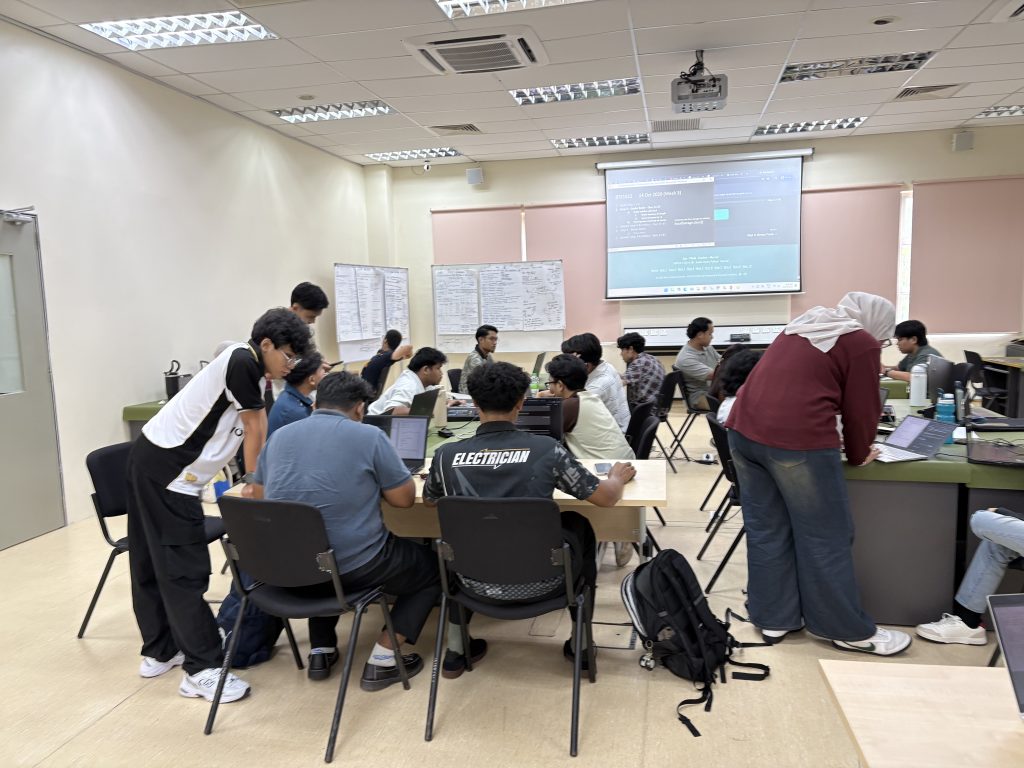
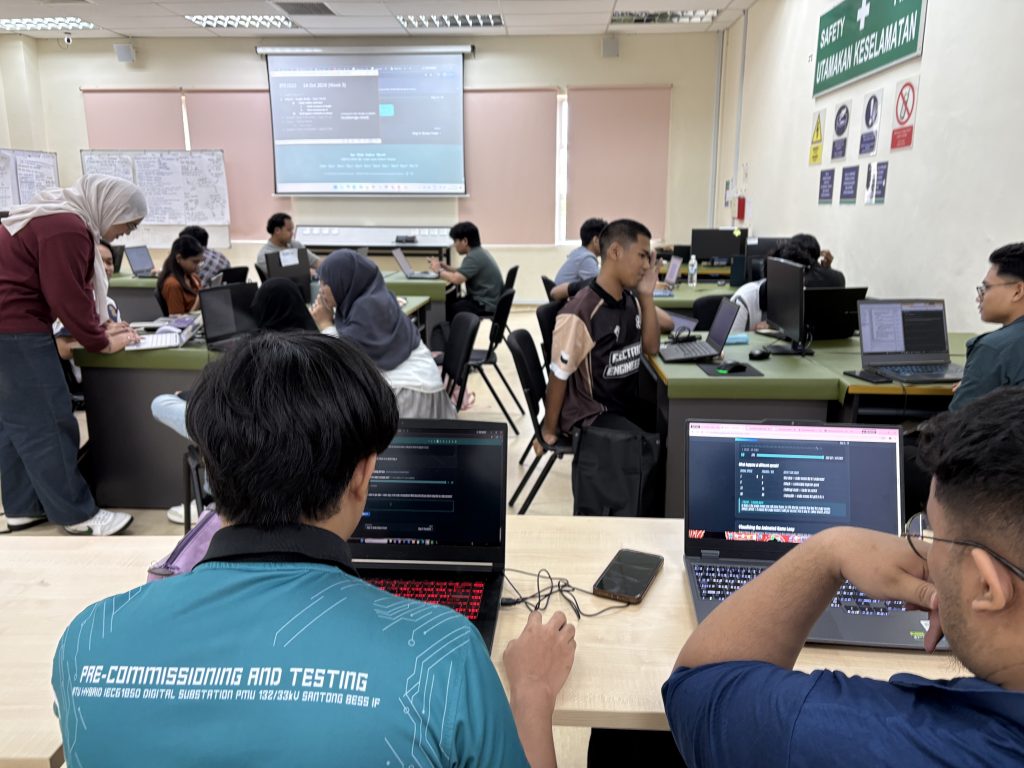


There is a moment in every programming class that I look forward to most — the moment a student’s code stops being text on a screen and becomes something alive. This week, in Steps 2 and 3 of our Snake Game Python tutorial, that moment arrived. Step 2: The Game Loop — Where It All … Continue reading “Week 2 – DRE2213 / BTE1522 – Step 2 (Loops), Step 3 (Movements)”
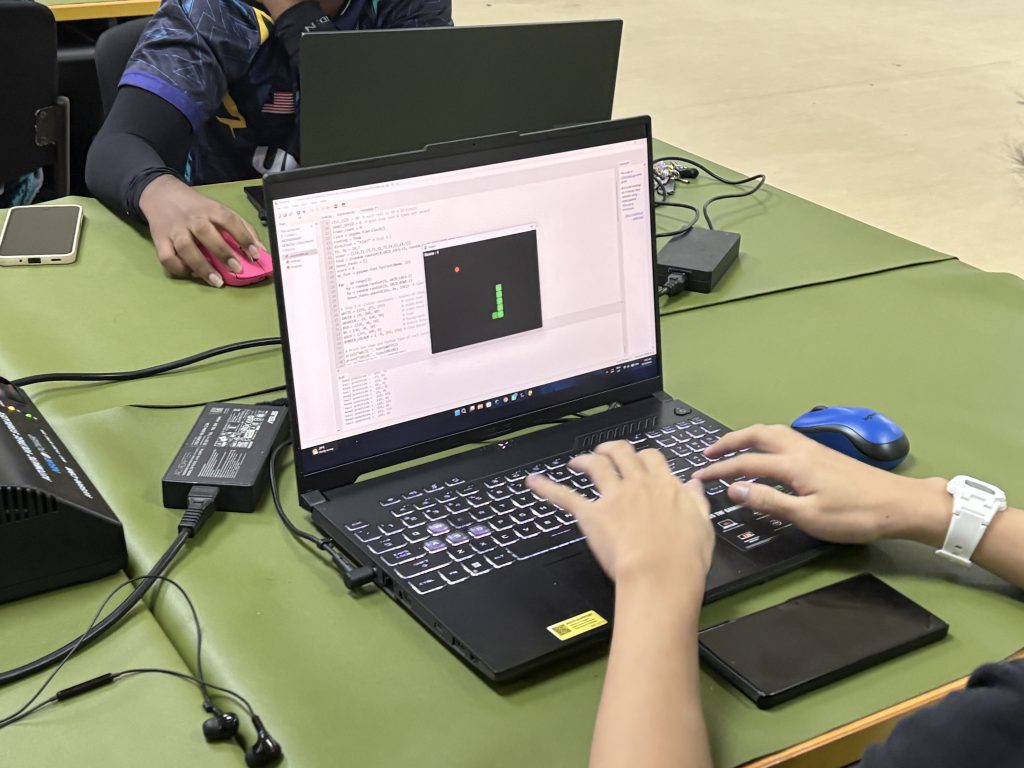
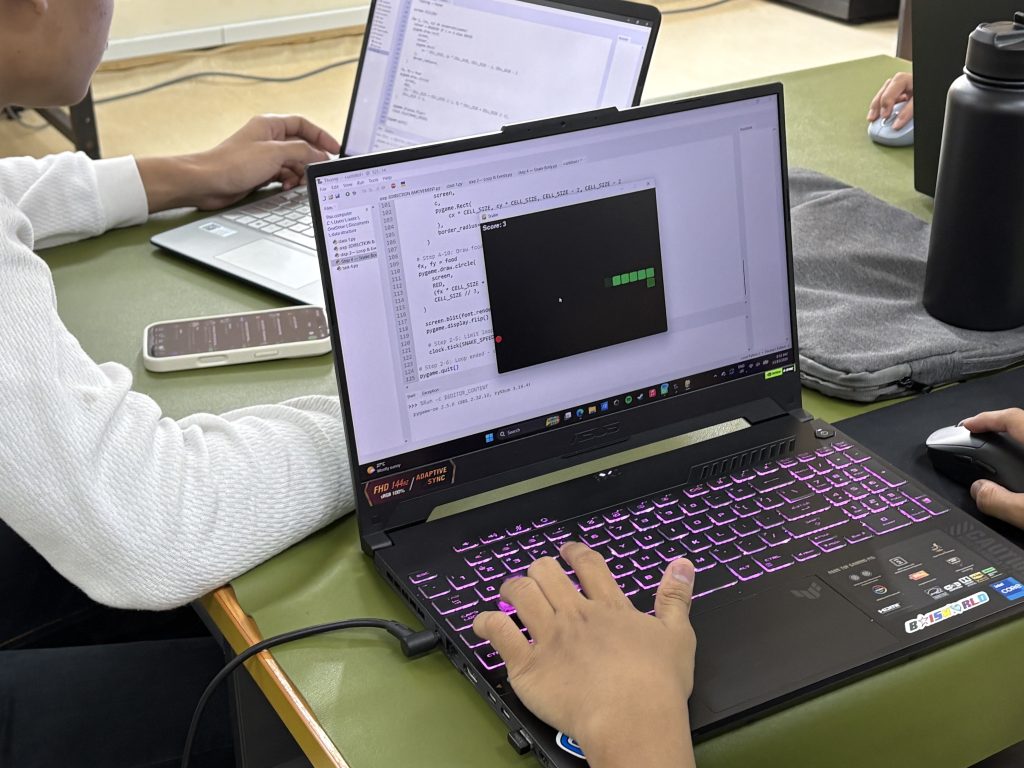
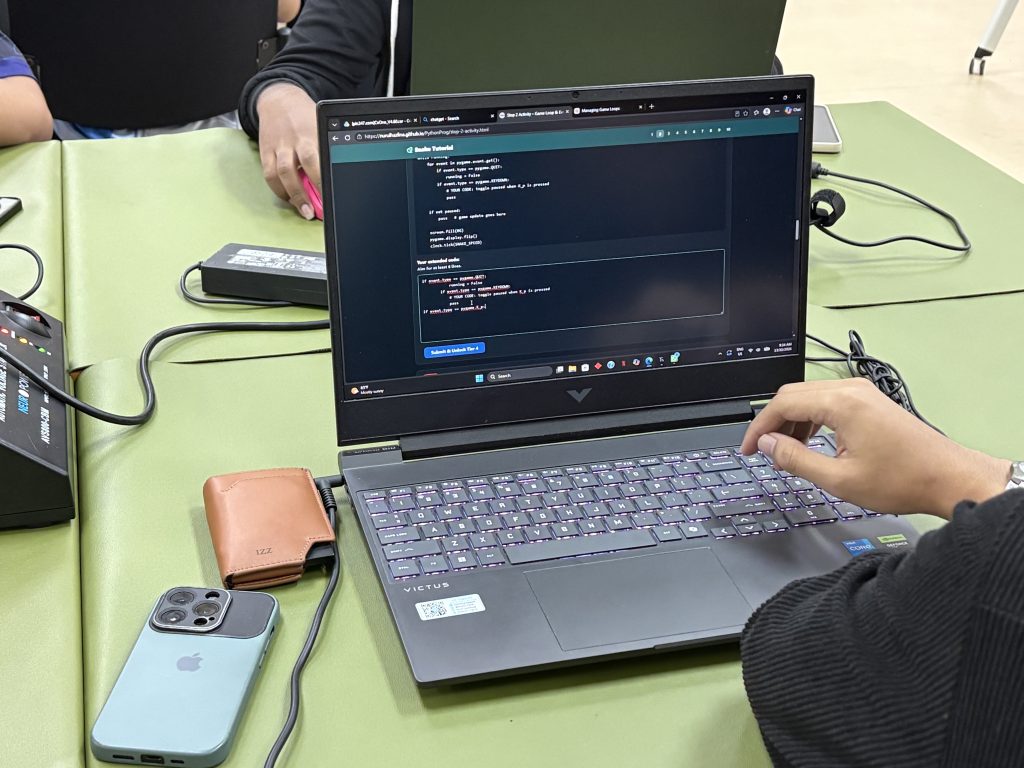
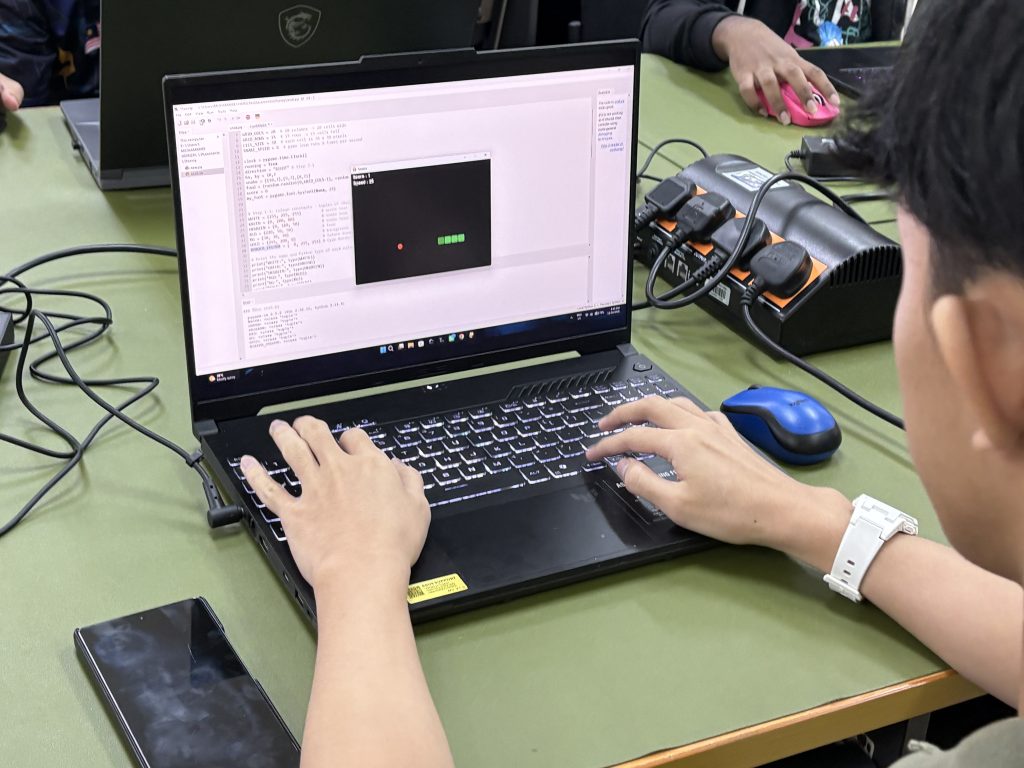
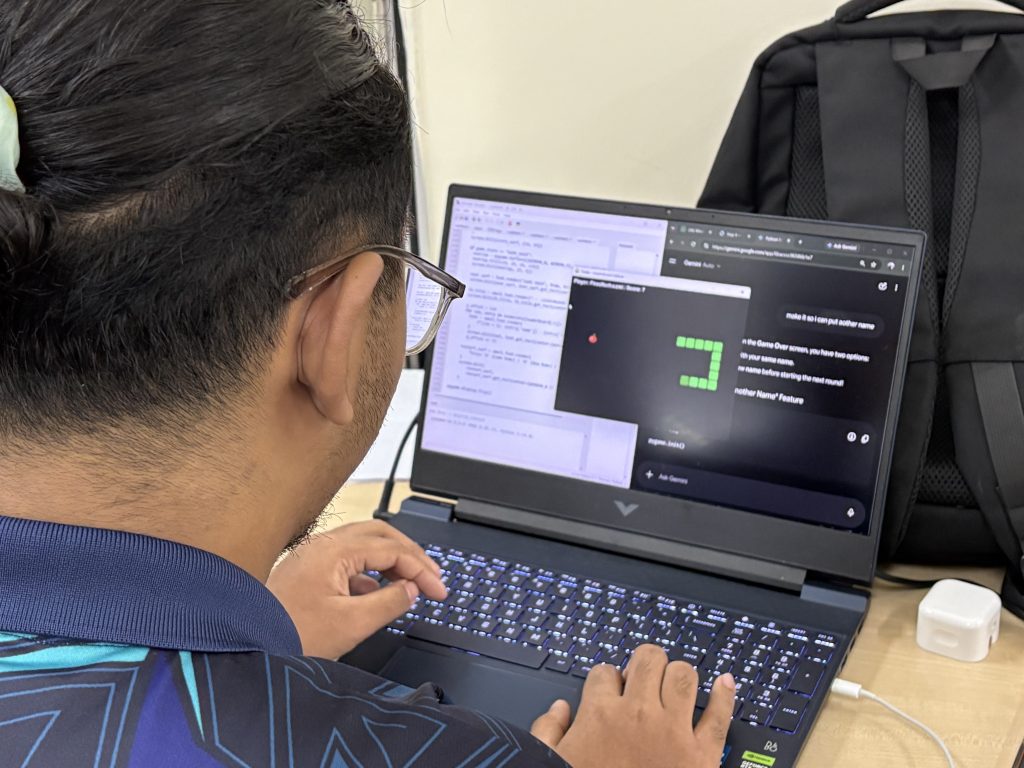
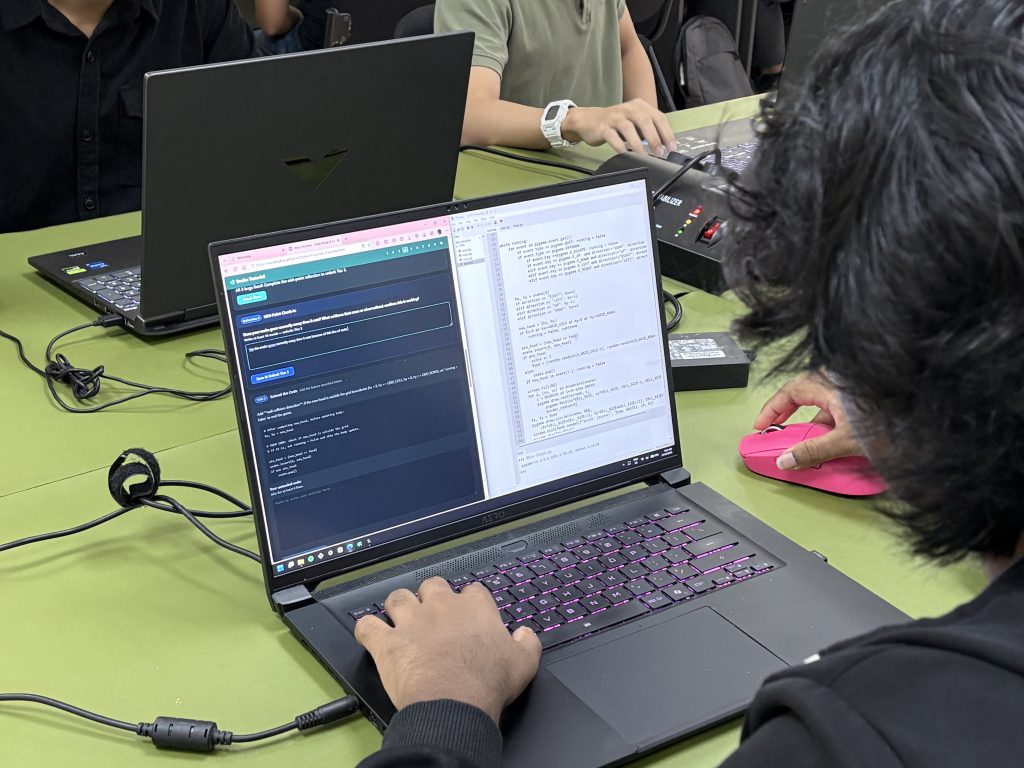
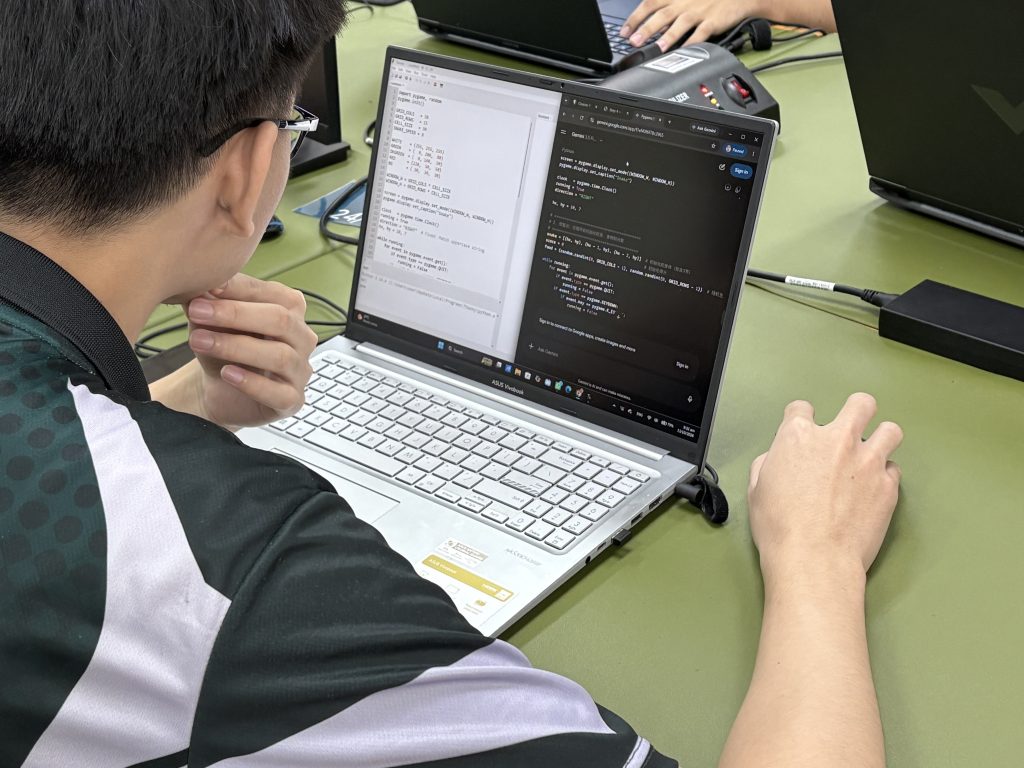
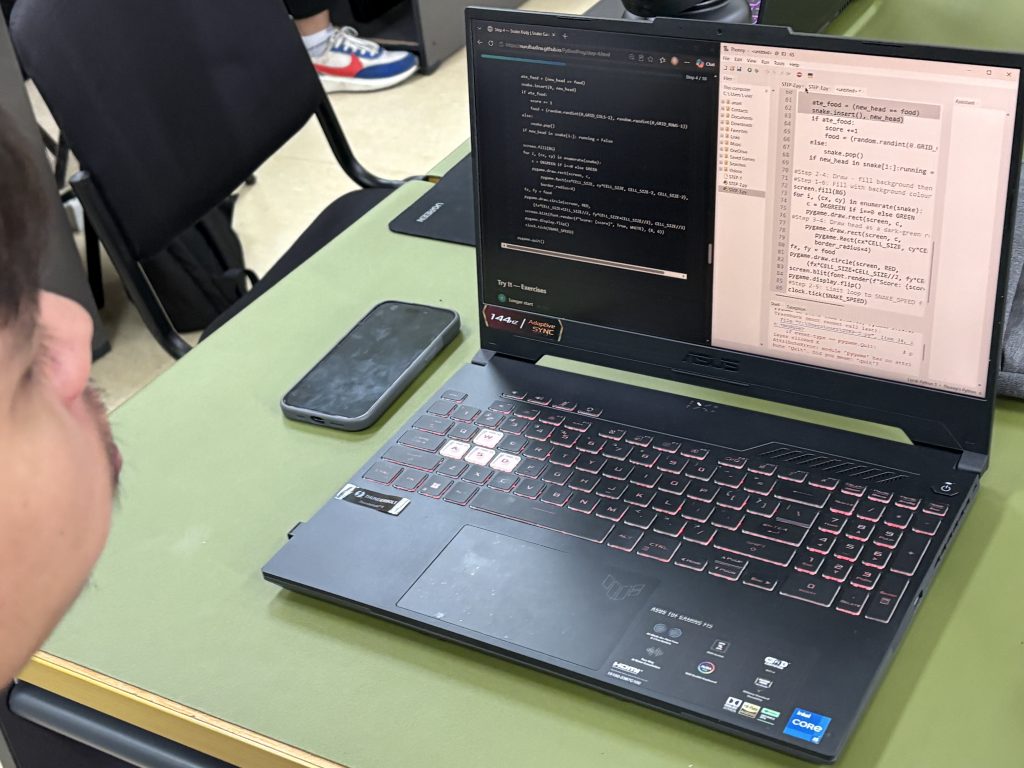
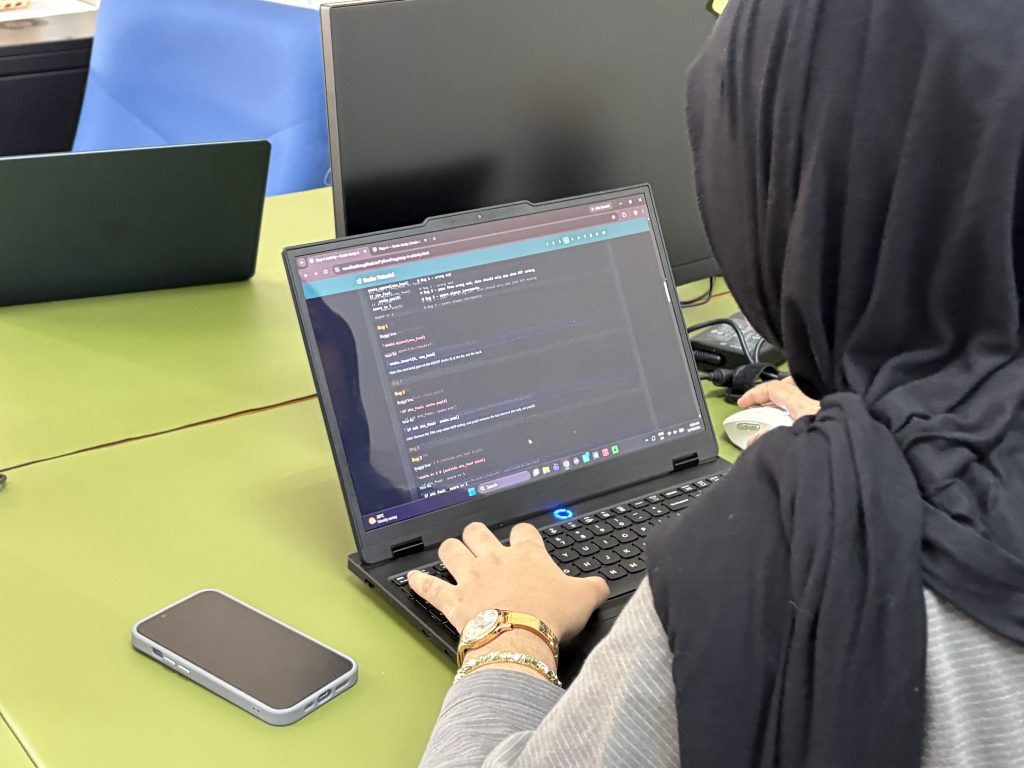
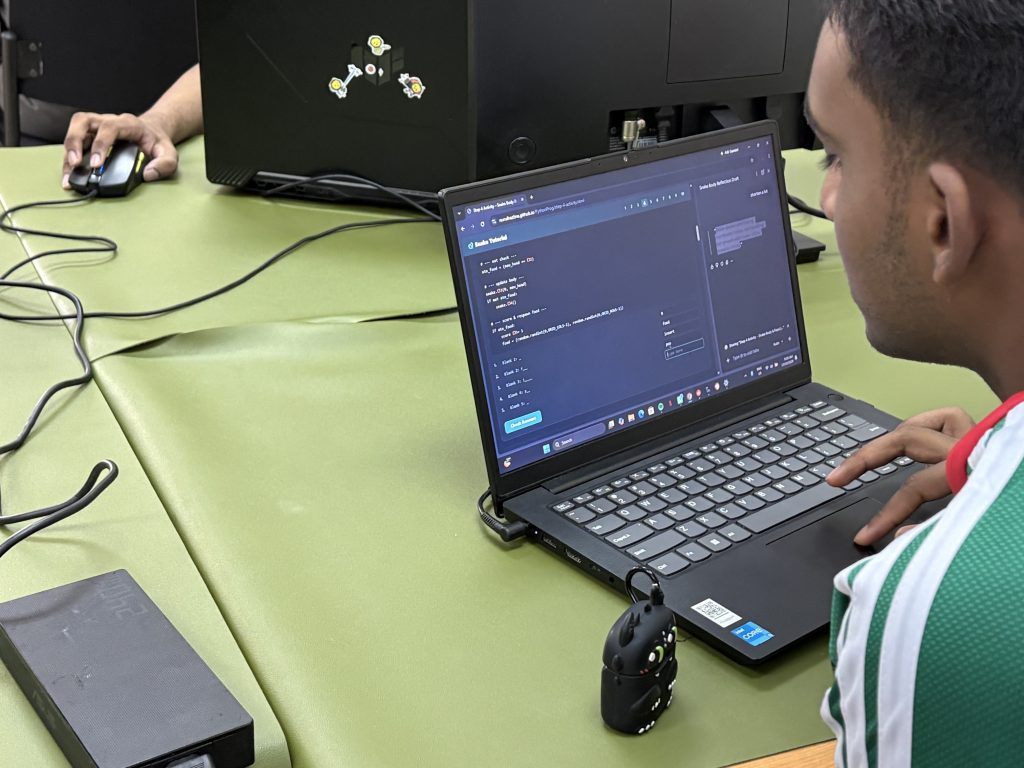
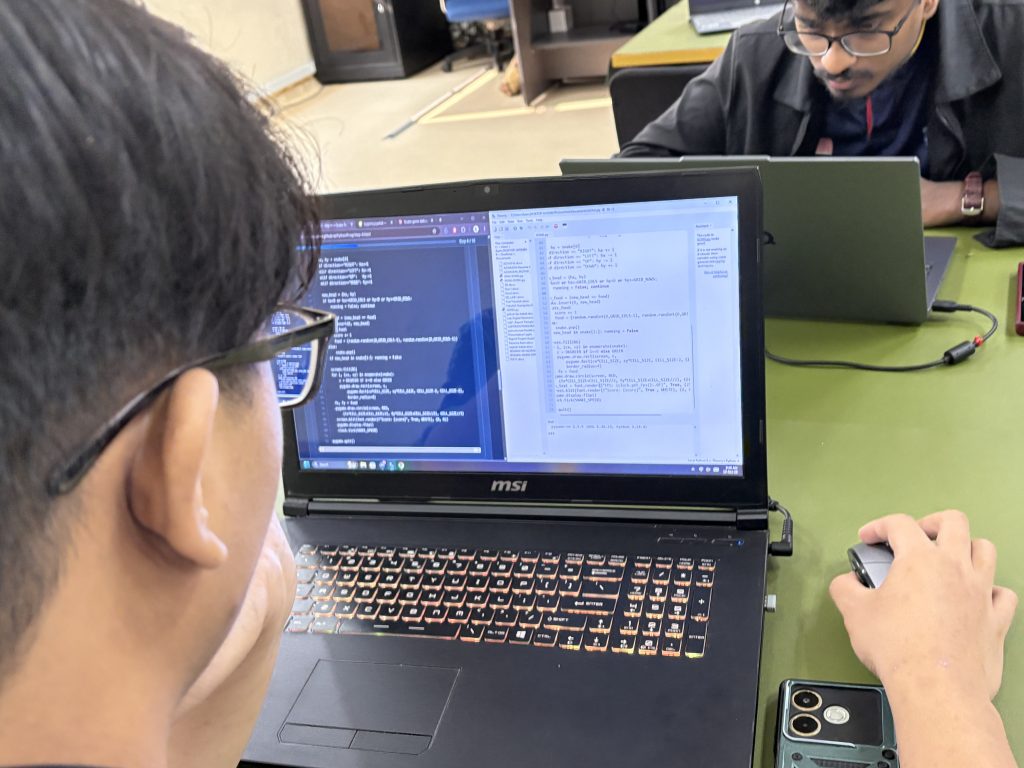
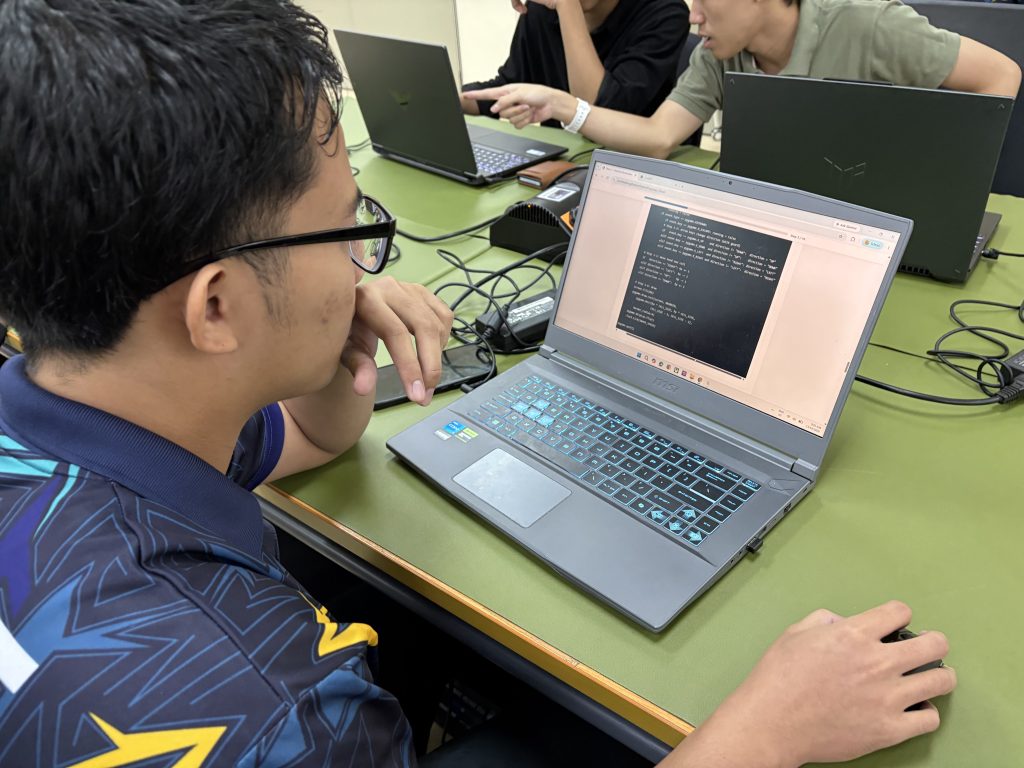
There is a moment in every programming class that I look forward to most — the moment a student’s code stops being text on a screen and becomes something alive. This week, in Steps 2 and 3 of our Snake Game Python tutorial, that moment arrived.
Step 2: The Game Loop — Where It All Begins
We started from the loop. Before this session, students had a window and a grid — static, silent, waiting. Step 2 introduced the while loop that makes the game breathe: the game loop. Every frame, the loop reads events from the keyboard, updates the game state, and redraws the screen.

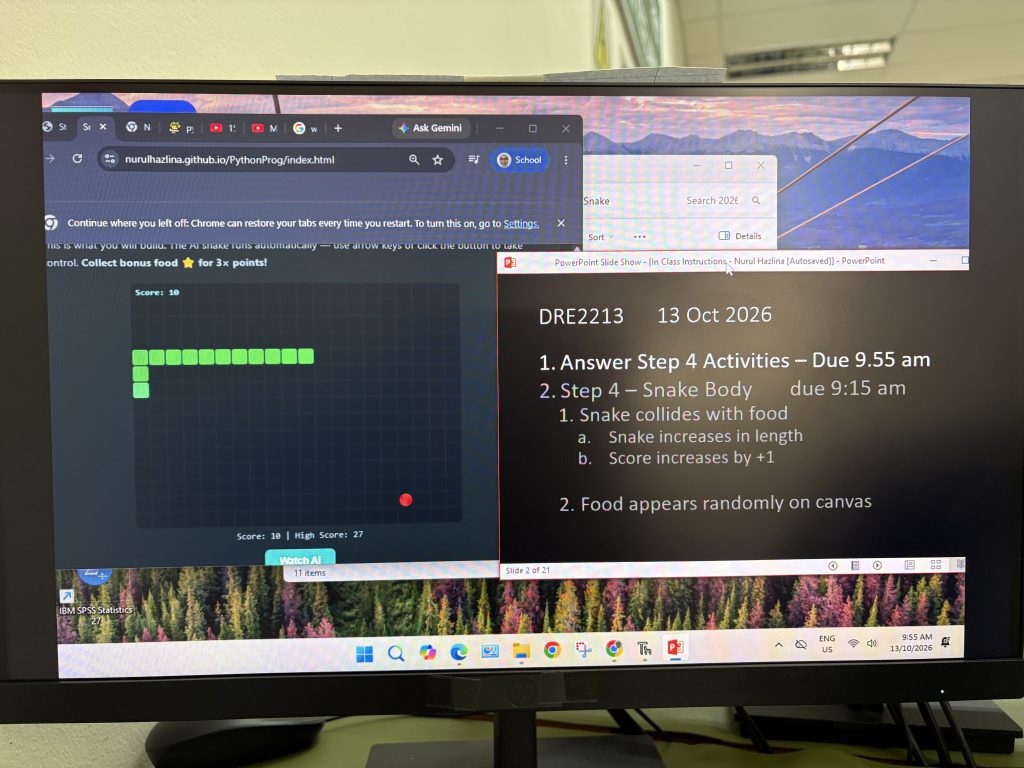
What made the difference this week was the live animated demo built into the tutorial page. Students could see the AI-controlled snake running in real time before writing a single line of code. As we walked through the structure — while running: → for event in pygame.event.get(): → clock.tick(FPS) — students could map each line directly onto the snake’s behaviour they had just watched. When I explained that removing clock.tick() would make the snake blur across the screen too fast to see, one student immediately asked: “So the clock is like breathing — it controls the pace?” Exactly right.

The animation was not decoration. It was the bridge between code and concept. Students arrived already holding a mental model of what the loop does; we just needed to show them the Python that describes it.
Step 3: Direction & Movement — The Syarat for Movement
Step 3 is where computational thinking deepened. The snake needed to move in response to arrow keys — but not just any key press. The snake cannot reverse direction: pressing LEFT when moving RIGHT must be ignored.

This is where we introduced syarat — conditions. The if / elif chain that maps key events to direction changes became the centrepiece of the lesson. Students had to think through the logic before writing it:
“If the UP key is pressed — but only if we are not already moving DOWN — change direction.”
That one sentence is a boolean condition. Many students initially wrote code that let the snake reverse into itself. Watching the game crash the moment they pressed the wrong key was, genuinely, the best teaching moment of the session. The animation made the bug visible: the snake folded back on itself and the game ended. No abstract error message — just immediate, observable consequence.

We then walked through the guard condition: if new_direction != opposite(current_direction). The word syarat resonated well — it is exactly a precondition, a rule the movement must satisfy before it is allowed. Students began to see conditionals not as syntax but as rules of a system.
What We Observed
By the end of the session, students were no longer reading code line by line — they were reading it as behaviour. “This part checks the event. This part updates direction. This part moves the head.” The animated snake on screen gave them a reference point for every function. Several students stayed back to try making the snake move faster by adjusting FPS, which is precisely the kind of experimental curiosity the module is designed to encourage.
The Computational Thinking activities — the decomposition cards and the algorithm sequencer on the home page — also helped ground abstract ideas before students touched the code. Naming the game loop’s steps in order (“Read keys → Calculate new head → Check collision → Draw”) before implementing them gave students a plan, not just a task.

Coming Up: Step 4
Step 4 — Snake Body — is where cognitive demand rises sharply. Lists, insert(), pop(), and collision detection with the body itself. Based on this week’s engagement, students are well-positioned. They understand the loop, they understand conditions, and they have seen the game reward correct logic in real time.
That, for now, is the best foundation we could ask for.
BTE1522


DRE2213


Welcoming Batch 2 Online Bootcamp =)
Welcoming Batch 2 Online Bootcamp =)


Onboarding, Pre Survey, Basic Concepts in Python Programming. Game Canvas, Snake Creation. Have a shot – Play With It This week, we started building the foundation for our programming journey. Before we can create a complete game or work with sensors, we first need to understand how to communicate with a computer through code. Setting … Continue reading “Week 1 – DRE2213 / BTE1522 – Class On Boarding and Step 1”
Onboarding, Pre Survey, Basic Concepts in Python Programming. Game Canvas, Snake Creation.
Have a shot – Play With It
This week, we started building the foundation for our programming journey. Before we can create a complete game or work with sensors, we first need to understand how to communicate with a computer through code.
Setting Up: Thonny and Our First Game Window
We began by setting up Thonny as our Python programming environment and getting our first game window running.
Along the way, we explored an important concept for game development: coordinates and pixels.
A screen can be thought of as a coordinate system where the position of an object is represented using values such as X and Y. Understanding coordinates will become increasingly important as we start moving our game objects in the coming weeks.
We also had our first look at colour representation using RGB values, which allows us to define colours digitally.
Step 1: Building Through a Tiered Activity
After completing Step 1, we moved into our first hands-on activity using the Fill-in → Debug → Extend → Create progression:
Alongside these activities, we also included:
The idea is simple: don’t just make the code run—understand what you are doing.
Programming Is Like Talking to a Computer
Learning programming is, in many ways, like learning how to communicate or give instructions to a computer.
Computers are very precise. They follow the instructions we provide, but they do not automatically understand what we meant.
This week, you may have already noticed some important characteristics of Python:
These may seem like small details, but they form the basic “language rules” we need to follow when communicating with a computer.
A First Look at the Command Line
You may also have noticed that we started using CMD / Command Prompt when installing Python libraries.
This is another important skill.
Programming is not only about writing code inside Thonny. As we progress, you will encounter different tools and environments for installing libraries, running programs, and interacting with your development environment.
So, don’t be afraid of the command line =)
What’s Next?
For next week, we will continue our journey with Step 2 and Step 3 of the game development.
We will gradually introduce more programming concepts while continuing to build our game.
Remember:
Don’t rush to finish the game. Focus on understanding the code as you build it.
Important: Activity 1 Submission
Please make sure you submit Activity 1 through the web platform.
I will be referring to your Activity 1 submission for class attendance, so please make sure it is completed and submitted.
See you in Week 2!
Keep coding, keep debugging, and keep asking: “Why does this code work?”


Hi everyone, A warm welcome to all BTE1522 – Innovation and DRE2213 – Programming and Data Structure students! This semester, we are bringing a refreshed approach to learning programming. Both courses are designed to build your competencies in Python programming, innovation, and data structures—but instead of learning programming only through examples and exercises, we will … Continue reading “Welcome on Board BTE1522 and DRE2213”
Hi everyone,
A warm welcome to all BTE1522 – Innovation and DRE2213 – Programming and Data Structure students!
This semester, we are bringing a refreshed approach to learning programming. Both courses are designed to build your competencies in Python programming, innovation, and data structures—but instead of learning programming only through examples and exercises, we will be building, experimenting, troubleshooting, and making things work.
Phase 1: Learn Python by Building a Snake Game
We will begin with something familiar and fun: a Snake game.

As you build the game step by step, you will encounter and apply Python concepts such as:
The game is not simply the end product. The code is the learning environment.
When something does not work, you will troubleshoot it. When the snake behaves unexpectedly, you will investigate why. When you modify the game, you will need to understand what the existing code is doing.
That is where programming starts to make sense.
Phase 2: From Digital to Physical – Meet LilEx
Once we have built our programming foundation, we will move from the digital world into physical computing.
I am excited to introduce LilEx – the sensor node to the class.

Here, you will begin working with real sensors and real data.
You will learn how to:
SENSE → STORE → VISUALISE
You will read data from sensors, process and structure the data, store it in a database, and eventually present it through a dashboard.
This is where Python moves beyond the screen.
Your program will no longer simply move a character on a game window. Your code will interact with the physical world.
And What About AI?
Yes, you could ask AI to generate the Snake game.
You could also ask AI to generate the sensor code, database, and dashboard.
But that is not the main purpose of this semester.
For this phase of your learning, we will intentionally focus on developing the fundamental competencies step by step, without AI assistance during class activities.
Why?
Because I want you to experience the process of thinking through the code.
When you eventually use AI for a larger project, you should be able to look at the generated code and ask:
What does this code actually do?
Why does it work?
Is this the right solution?
How can I modify it?
That is very different from simply copying and running AI-generated code.
Code with AI, not code by AI.
AI can become a powerful learning and development partner—but first, we need to build the foundation that allows us to work with AI intelligently.
So, Welcome Aboard!
This semester will be about more than learning Python syntax.
It will be about building competency through making:
Learn → Build → Break → Troubleshoot → Understand → Improve → Create
From a Snake game to LilEx sensor-based systems, we will gradually move from digital programming to physical computing, data structures, IoT, and dashboards.
I am excited to have both BTE1522 and DRE2213 on board this semester.
Let’s learn, build, experiment—and see where your ideas take us.
Welcome to the class!