Publication 2026/4 – IEEE Transaction AI-Assisted Tiered Scaffolding

IEEE TOL – AI Tiered Scaffolding It’s Official — and It Means More Than a Publication =) I am delighted to share that this article, AI-Assisted Tiered Scaffolding for Programming Skill Development in a Problem-Based Game Development Environment, has been accepted and is now available as an Early Access article in IEEE Transactions on Education, … Continue reading “Publication 2026/4 – IEEE Transaction AI-Assisted Tiered Scaffolding”

IEEE TOL – AI Tiered Scaffolding

It’s Official — and It Means More Than a Publication =)

I am delighted to share that this article, AI-Assisted Tiered Scaffolding for Programming Skill Development in a Problem-Based Game Development Environment, has been accepted and is now available as an Early Access article in IEEE Transactions on Education, one of the most respected journals in engineering education research.

This article is a reflection on a journey that began more than six years ago, shaped by curiosity about how students learn to program, deepened through theory and careful design, and now, with the arrival of generative AI, given a new and urgent dimension.

2020: Where It All Began  (The UMP STEM Cube – LilEx)

The journey starts with a question we were asking in engineering education: how do we move students from passive learners to active makers? In 2020, we introduced the UMP STEM Cube (LilEx) a modular, hands-on learning tool strategically designed to elevate digital making skills in engineering programmes.

Grounded in Kolb’s Experiential Learning Theory, the STEM Cube was designed to close the gap between theory and practice. Students worked through programming, physical computing, and 3D modelling activities in a cycle of concrete experience, reflection, abstract conceptualisation, and active experimentation.

The findings were encouraging. Students who engaged with the STEM Cube demonstrated significant learning gains in programming competencies and physical computing skills. More than the numbers, their positive perceptions and growing confidence in digital making were what stood out, a signal that something in the design was working.

This work was published in IEEE Transactions on Education (2024): Assessing the Effectiveness of UMP STEM Cube as a Tool for Developing Digital Making Skill Sets.

2021: Designing the Scaffolding (Tiered and Intentional)

If 2020 was about the learning environment, 2021 was about the instructional design inside it. We turned to the question of how to structure activities so that learners are guided progressively, with support that gradually fades as competence grows.


The result was a tiered scaffolding framework, a carefully crafted sequence moving from full scaffolding toward independent work:

        1. Workout Programming step-by-step guidance through worked examples
        2. Debugging Specific Malfunctions identifying and fixing targeted errors in given code
        3. Semi-Completed Programming Tasks completing partially provided code
        4. New Programming Tasks applying concepts independently with minimal support

This design was tested in two contexts: graphical (block-based) programming and Python-based game development. Both studies confirmed that the tiered structure supported learners at different ability levels without overwhelming beginners or under-stimulating those who were ready to move ahead.


Related publications: Graphical programming study · Python game development study

2023–2026: What Happens When We Add AI .. Carefully =)

By 2023, generative AI tools were everywhere in education. Students were using them, often without guidance, with outcomes that raised real concerns: shallow understanding, passive reliance, and over-dependence on code generation without comprehension.

We did not want to ban AI. We wanted to embed it purposefully.

The central design question became: what does AI-assisted scaffolding look like when it is not left to chance? Our answer was to integrate AI interaction within the tiered scaffolding structure — not as a shortcut, but as a scaffold in itself. The AI interaction was framed around three modes:

      1. Code with AI, collaborating with AI to build and refine
      2. Code for AI, preparing clear prompts and specifications
      3. Code by AI, critically evaluating and adapting AI-generated output

The learning context was a Slider Game built in Pygame: a red enemy block falls from a random x-position; a green player block moves left and right to catch it. Eight structured activities (Acts) took students from orientation and game setup through movement logic, scoring, loop refinement, debugging, customisation, and reflection.

The study ran as a quasi-experimental design comparing an AI-assisted group (n = 60) against a control group (n = 55) following the same tiered scaffolding without AI access.

The Framework: Theory Doing Real Work

What holds this study together is not just the activities, but the theoretical architecture beneath them. Three foundations are woven together:

    1. Cognitive Apprenticeship provides the instructional sequence: Modeling → Coaching → Articulation → Reflection → Fading. Students are not simply given tasks; they observe expert thinking, receive guided feedback, articulate their own reasoning, reflect on their process, and progressively take ownership as scaffolding is withdrawn.
    2. AI Scaffolding is embedded within this sequence — not as an add-on, but as the mechanism through which coaching and feedback are delivered. AI suggestions are treated as materials to evaluate, not answers to copy.
    3. Problem-Based Learning anchors everything in an authentic, motivating context: building a working game. The game is not a gimmick. It provides the problem space within which every programming concept — from loops and conditionals to collision detection and scoring — earns its meaning.

The Learner–AI Programming Process cycle — Prompt → Code → Test → Debug → Reflect → (Prompt again) — describes how learners move through each activity, with AI as a responsive partner in that loop, never as a replacement for thinking.

What We Found

The numbers are hard to ignore. Students in the AI-assisted group achieved a mean learning gain of 25.51 points (SD = 13.68), compared to 6.90 points (SD = 6.16) in the control group. The effect size was large — Cohen’s d ≈ 1.86 — and the difference was highly significant: t(113) = 11.64, p < .001.

But the numbers only tell part of the story. Artifact and interaction log analysis revealed something more qualitative and perhaps more meaningful:

      1. Students in the AI-assisted group showed more systematic debugging — not random trial-and-error, but deliberate hypothesis-and-test cycles.
      2. Over time, there was a gradual shift toward critical evaluation of AI-generated suggestions, rather than passive acceptance. Students began questioning, adapting, and sometimes rejecting what AI produced.
      3. Self-efficacy and engagement were higher in the AI-assisted group — students expressed greater confidence and tackled problems more independently as the course progressed.

The core finding is that the educational value of AI depends not on the technology alone, but on the instructional framework in which it is embedded  =)

On IEEE Transaction Peer Review: Why I Treasure the Process

I want to say something that is not always said out loud in academic circles: I am genuinely grateful for the peer review process, and I mean that without reservation =).

The reviewers’ comments on this manuscript were thorough, specific, and often challenging. There were moments of “oh”, where a reviewer pointed at a gap I had convinced myself did not exist, or pressed on a claim I had made too casually. The revision process was demanding. But it was also one of the most intellectually enriching parts of this entire journey.

Working through each reviewer comment forced me to revisit assumptions, sharpen my arguments, and in several instances, go back and strengthen the research itself , not just the manuscript. That is a rare gift. The final paper is better than the first submitted, and the credit for that belongs in large part to reviewers who clearly read with care and took the work seriously. This whole journey took almost 1 year =)

This is, I believe, why peer-reviewed publication carries the weight it does. It is not simply a stamp of approval. It is a process of scrutiny that when done well, makes the work more rigorous, more honest, and more useful to others who build upon it. I came away not just with an accepted paper, but with a deeper understanding of my own research. Thank you Editor and Reviewers.

What This Means  and What Comes Next

We are at a moment in education where everyone is asking, what do we do with AI? Ban it, embrace it, ignore it and hope for the best?

This research offers a different kind of answer. The question is not whether to use AI, students are already using it. The question is how we design the instructional context in which that use happens. AI embedded within a thoughtful, theory-informed scaffolding framework can accelerate learning, deepen engagement, and develop more independent thinkers. AI used without structure can do the opposite.

The Slider Game, the tiered activities, the Cognitive Apprenticeship sequence, the Learner–AI Programming Process cycle, these are not prescriptions. They are a transferable design framework that educators can adapt for their own programming courses, their own students, their own contexts.

For me personally, this publication closes one chapter and opens another. Six years, three theoretical lenses, two learning environments, one framework, and now empirical evidence that the design works. I am proud of this body of work, and I am already thinking about where it goes next.

Thank you to my UMPSA STEM Lab colleagues, my students who gave their time and engagement to this research, the reviewers who sharpened it, and IEEE Transactions on Education for giving it a home =).


Read the paper: AI-Assisted Tiered Scaffolding for Programming Skill Development in a Problem-Based Game Development Environment  IEEE Transactions on Education, Early Access, 2026.
 

Raspberry Pi Programming 2026/9 – SK Temai

*UMPSA STEM Lab Raspberry Pi Programming Synopsis can be found here. In the Raspberry Pi IoT session, 40 students and teachers from SK Temai, awere introduced to the concept of the Internet of Things (IoT) using Raspberry Pi on the UMP STEM Cube, a pico-satellite learning kit specifically designed to facilitate engineering learning. The content … Continue reading “Raspberry Pi Programming 2026/9 – SK Temai”

*UMPSA STEM Lab Raspberry Pi Programming Synopsis can be found here.

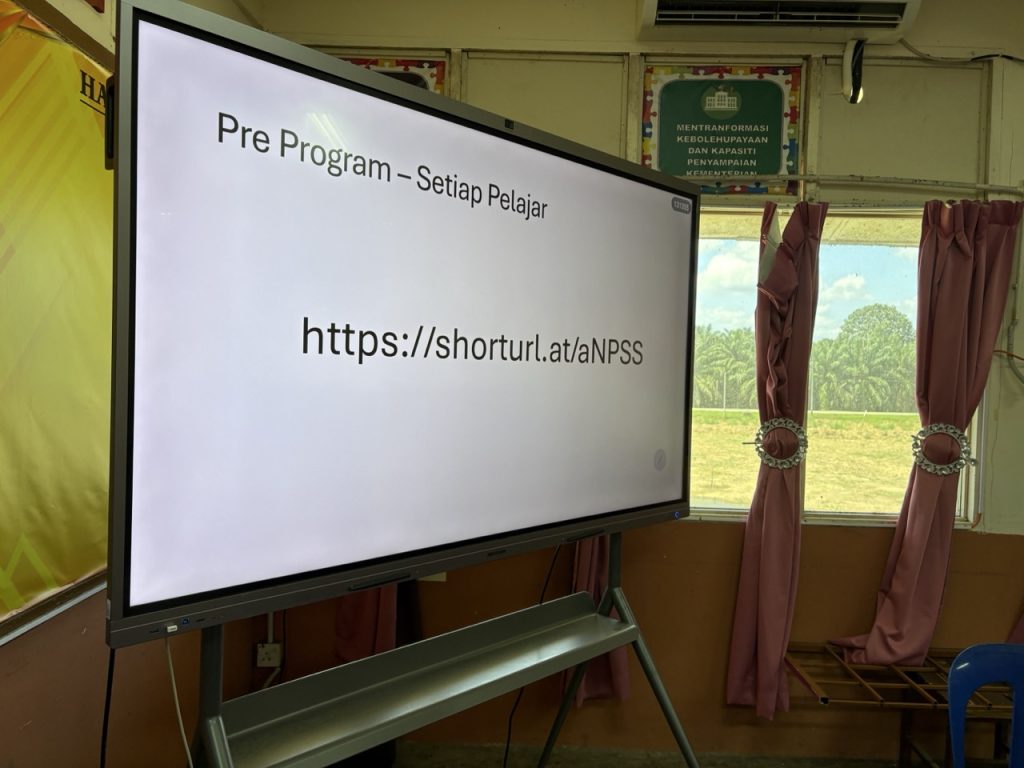
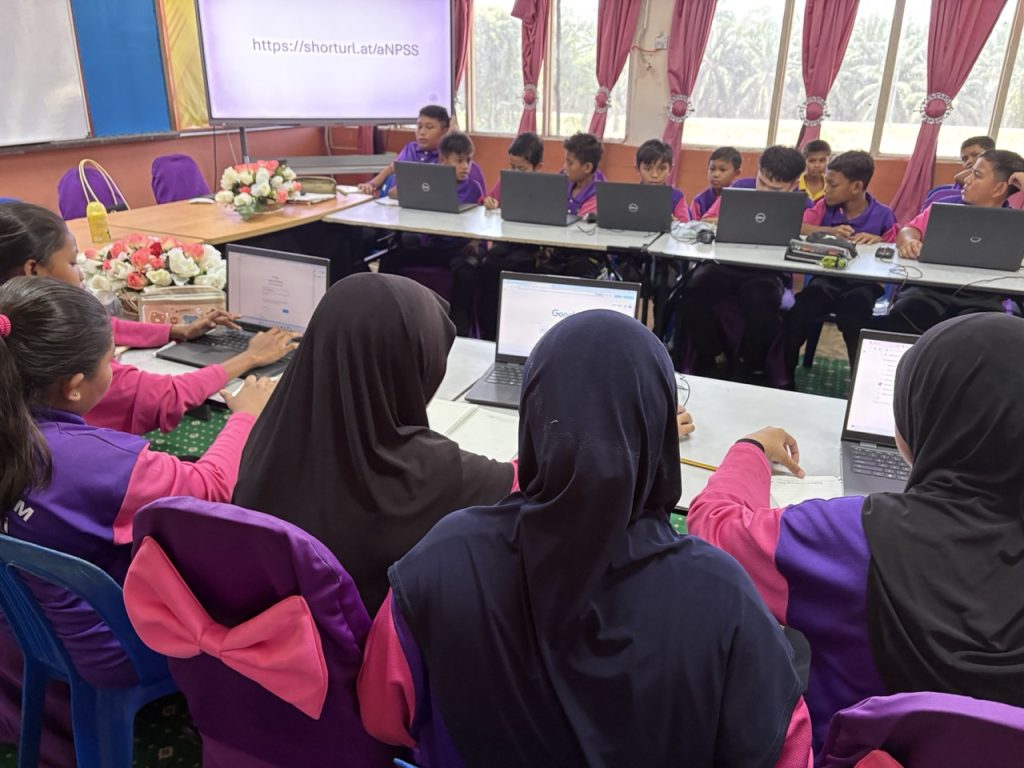
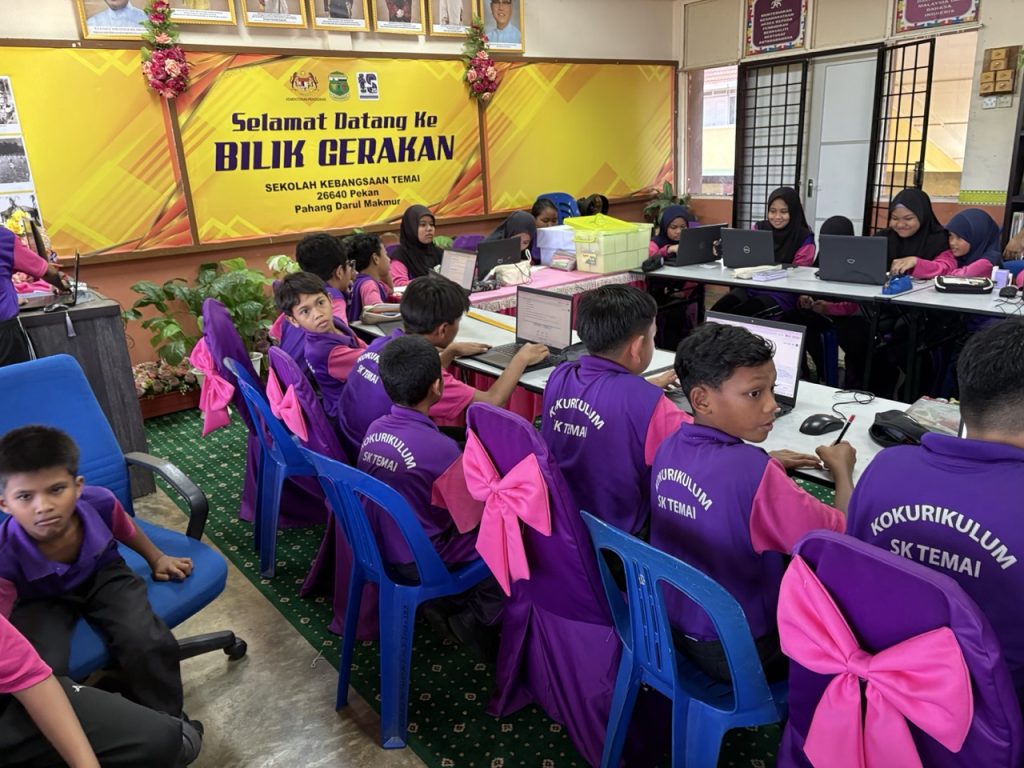
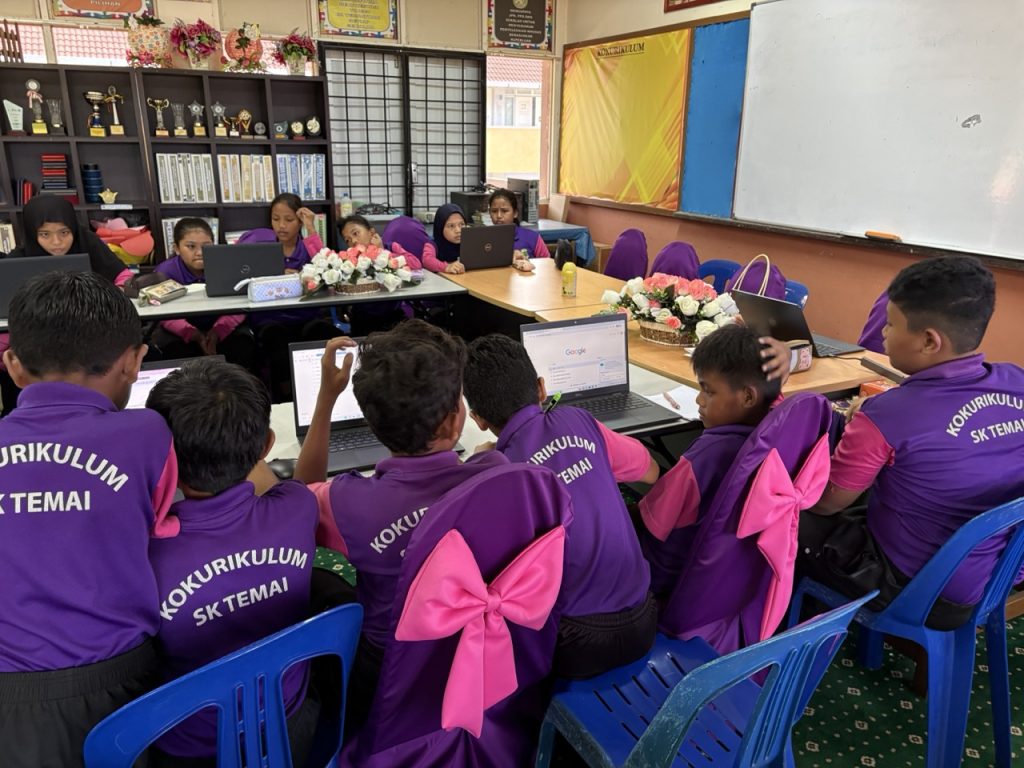
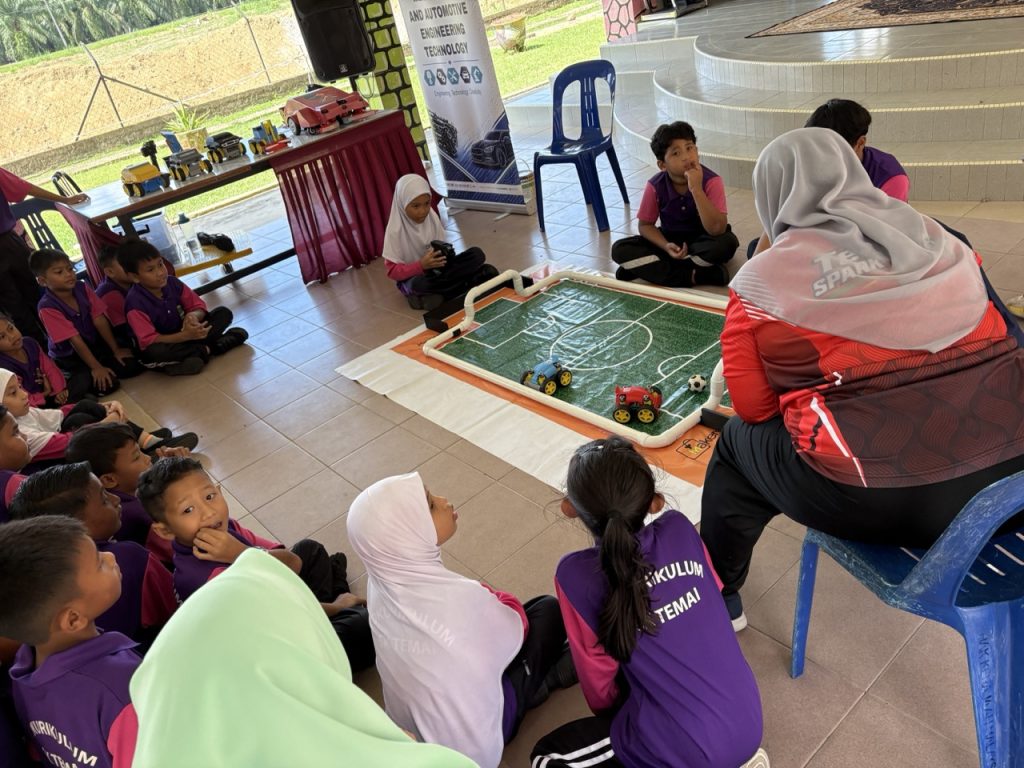
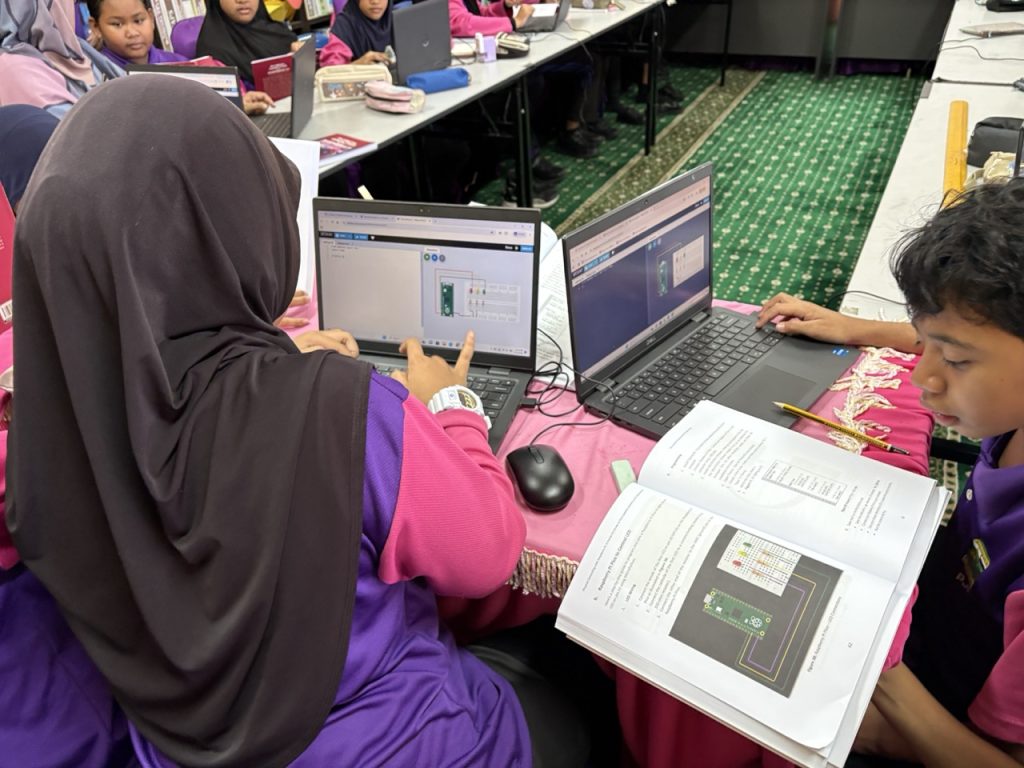
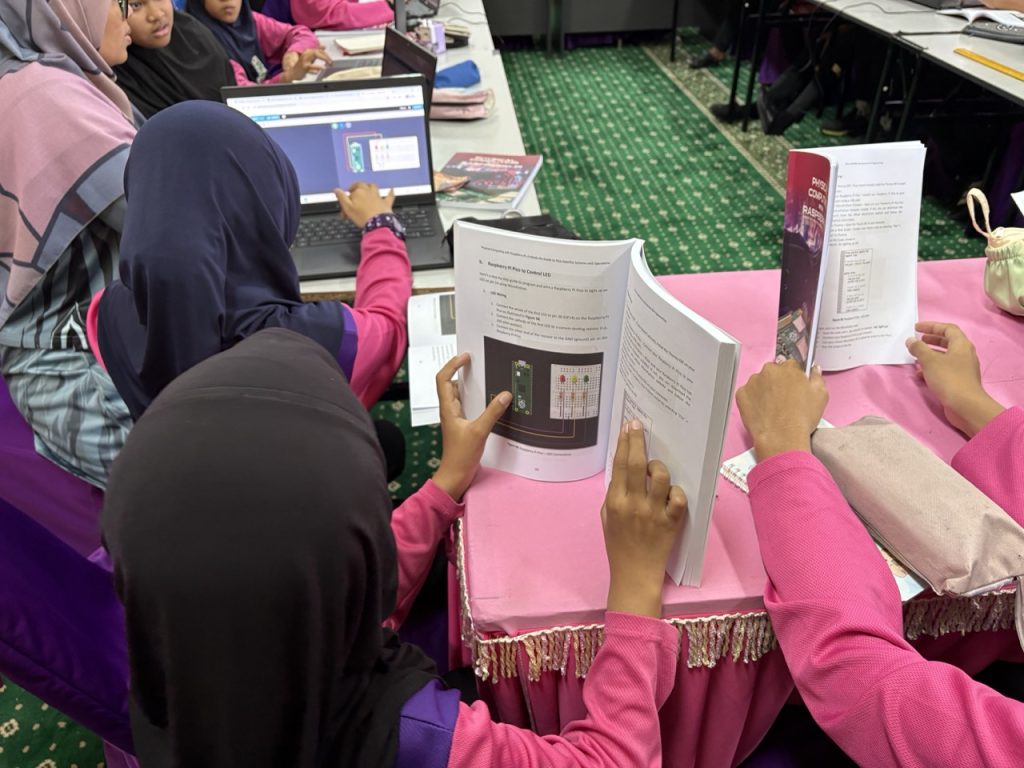
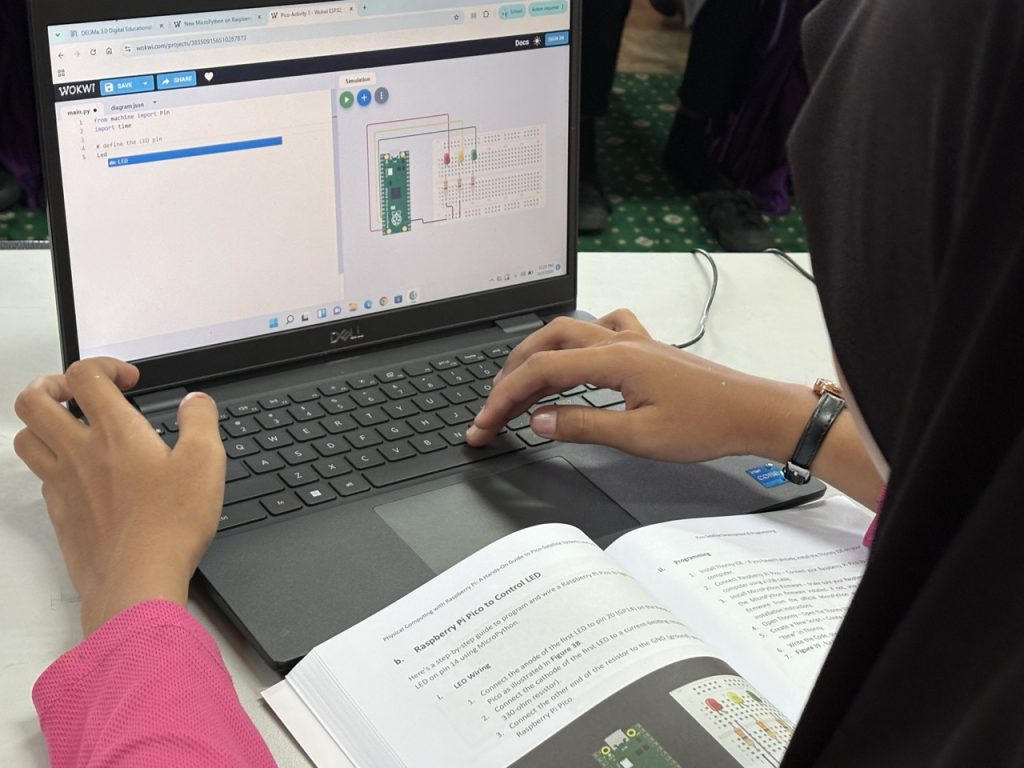
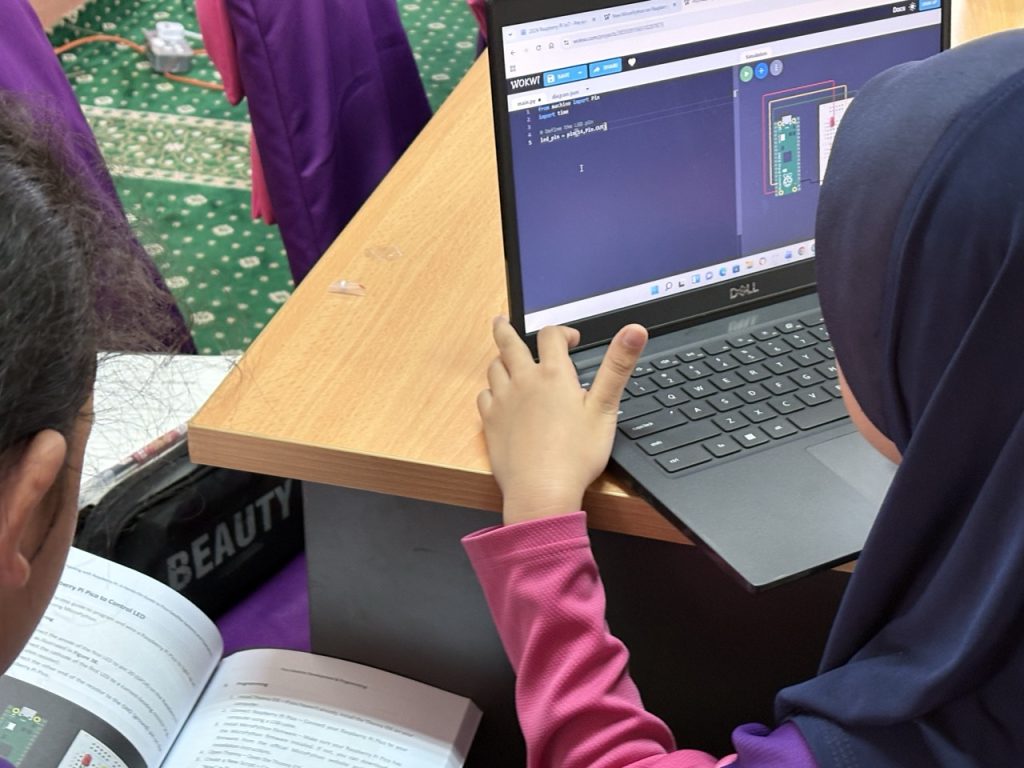
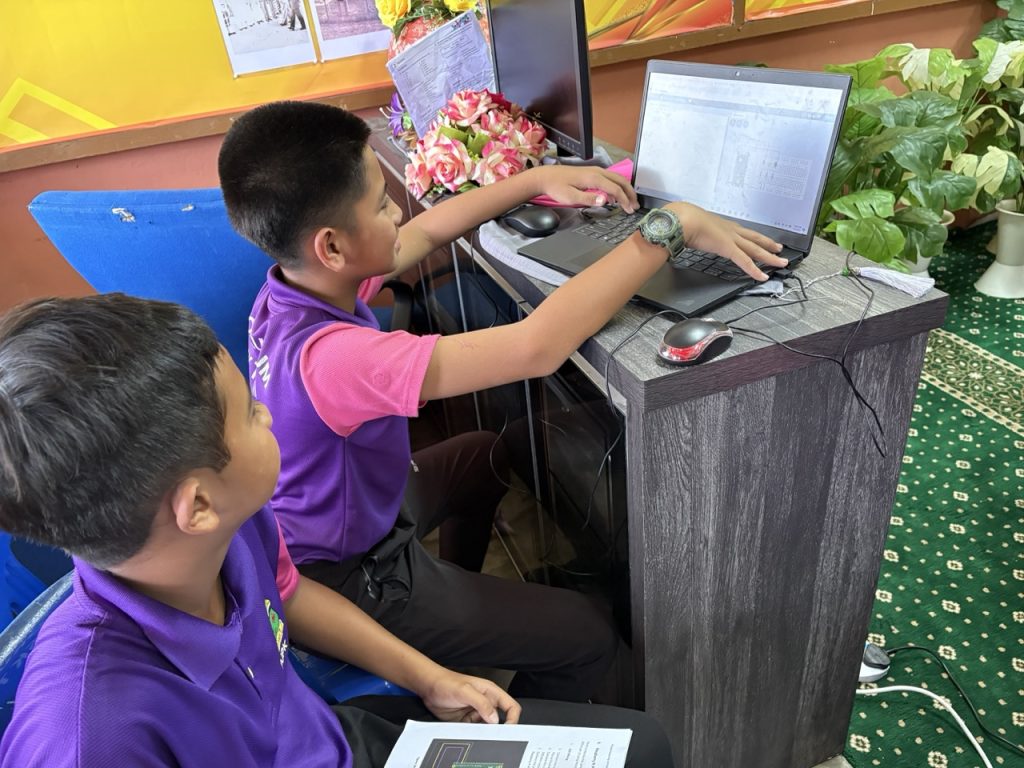
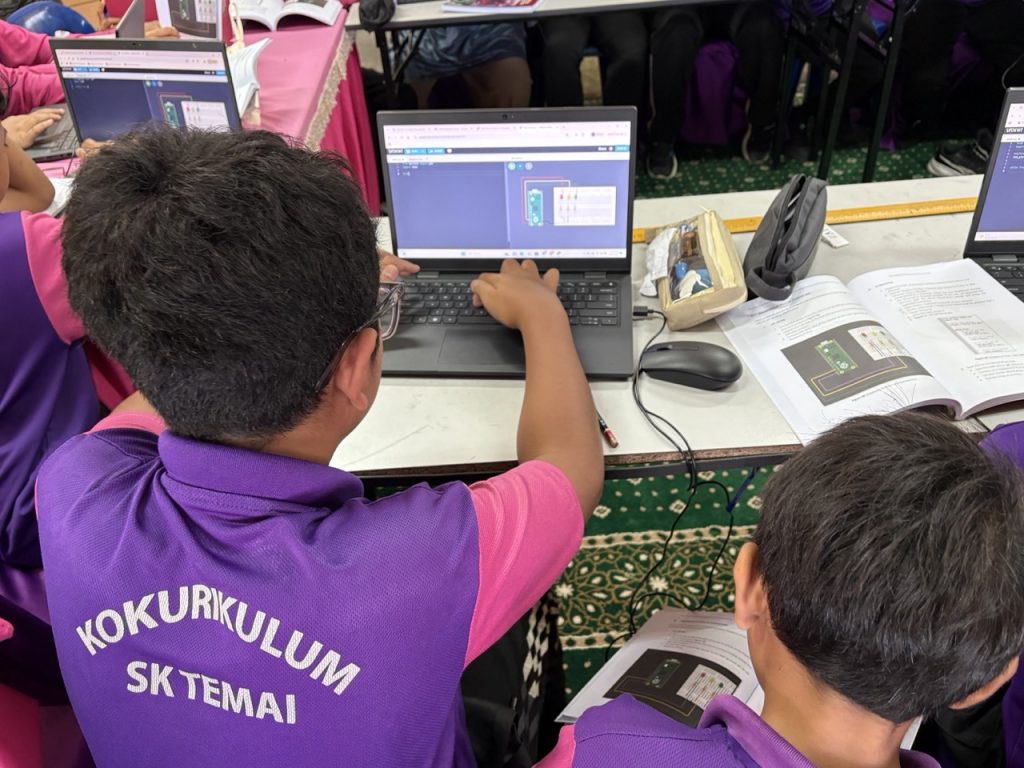
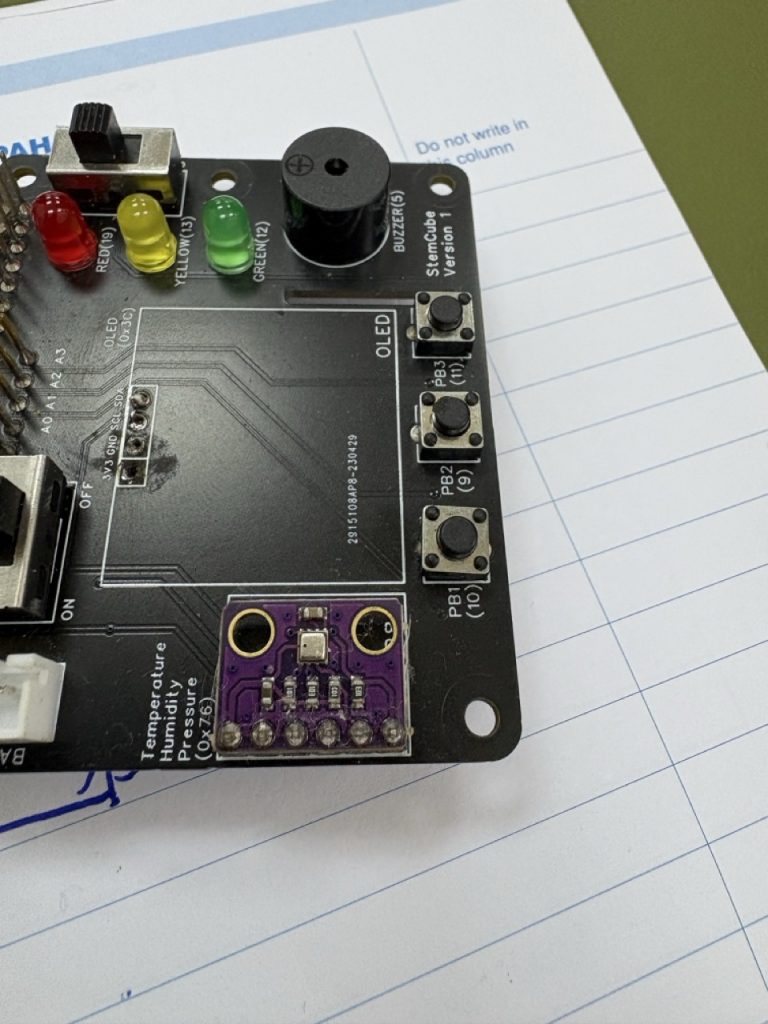
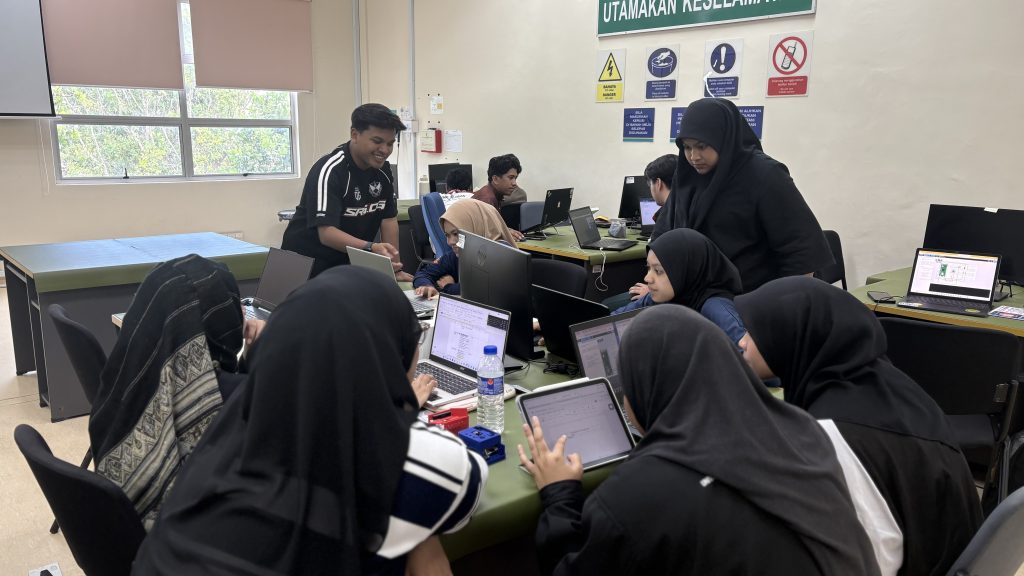
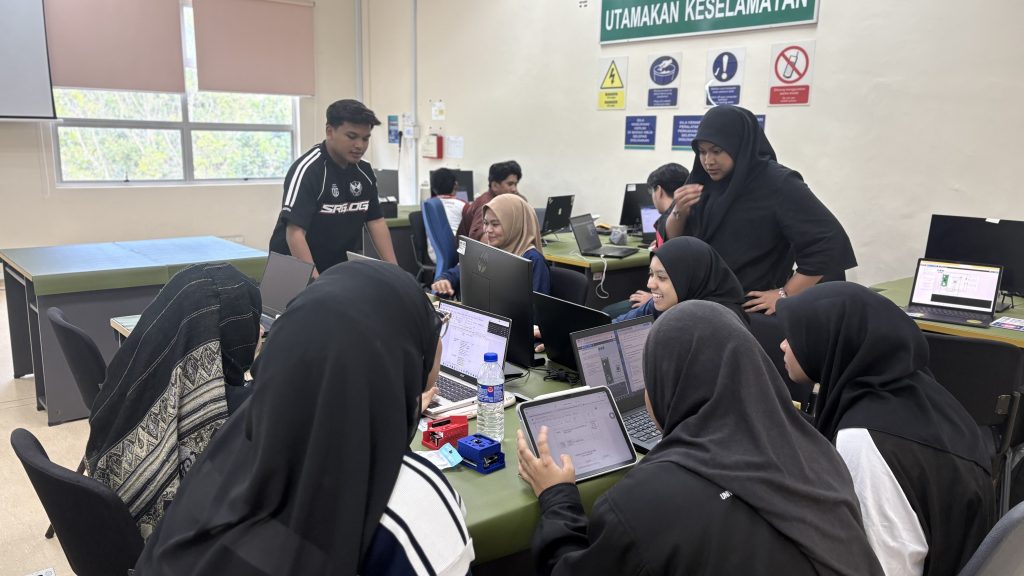
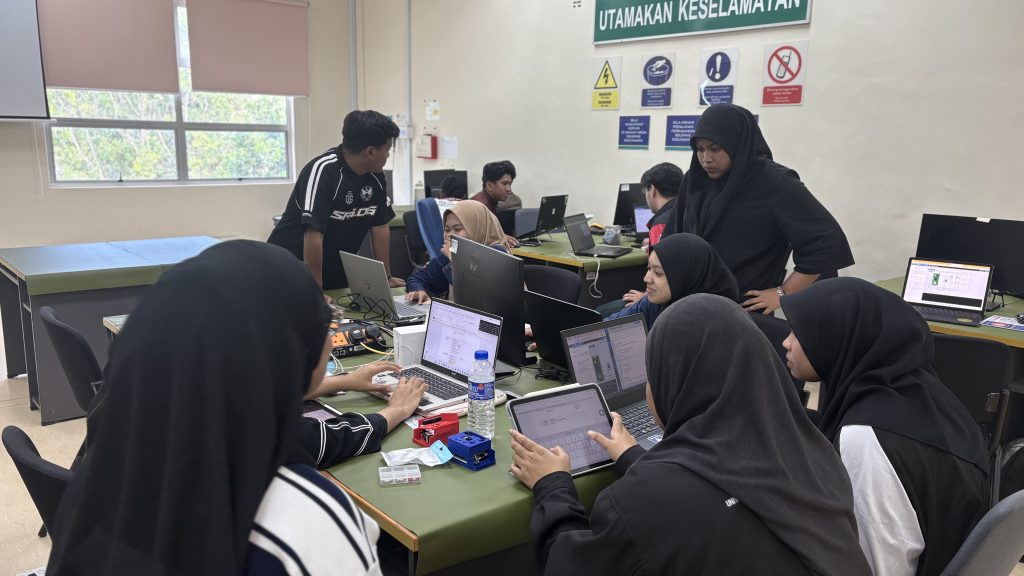
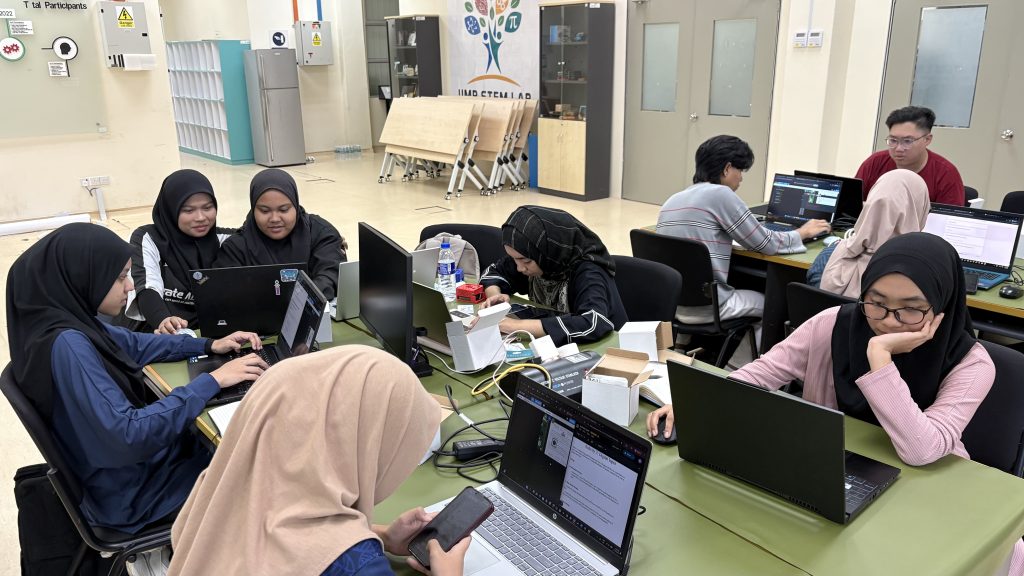
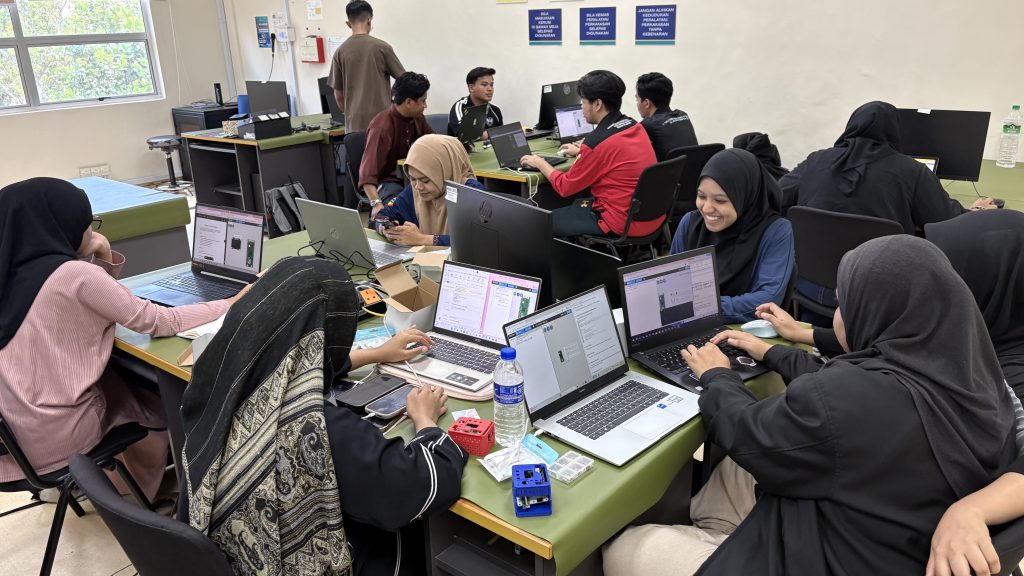
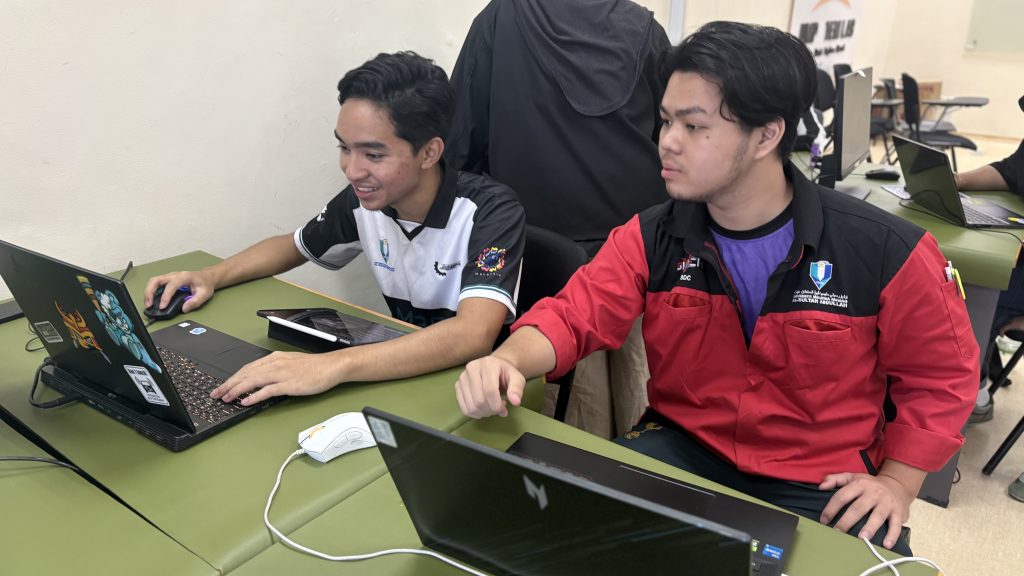
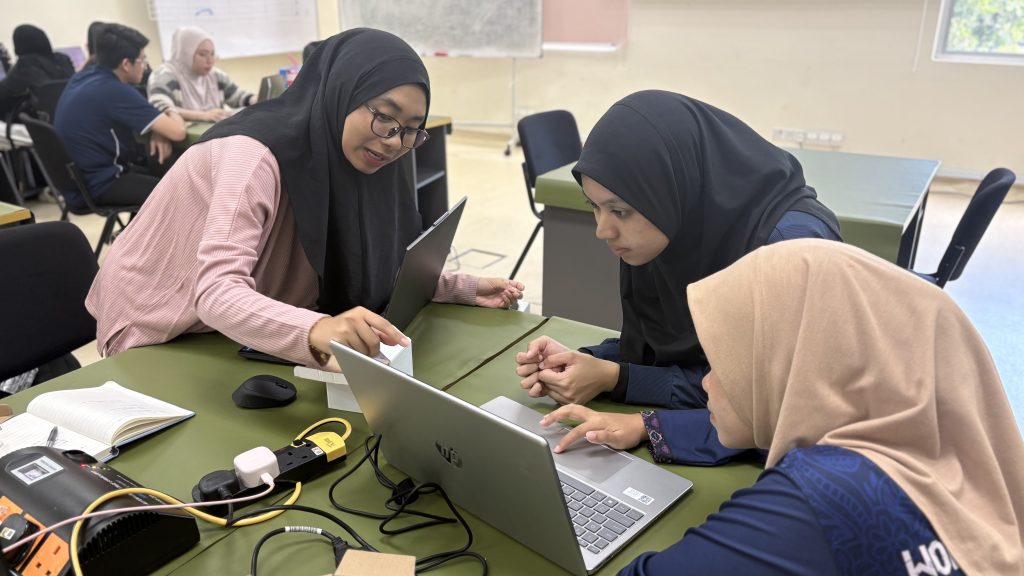
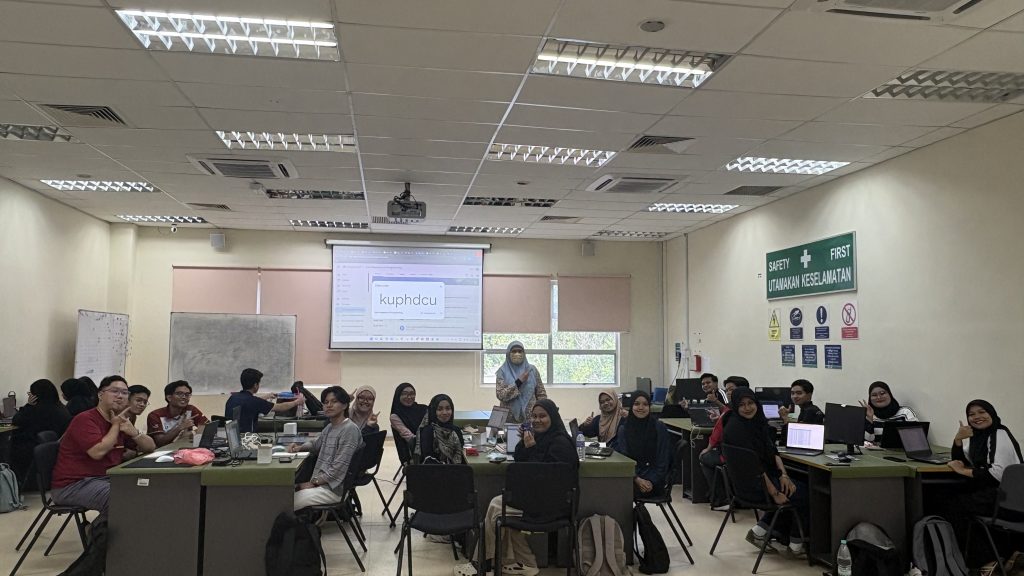
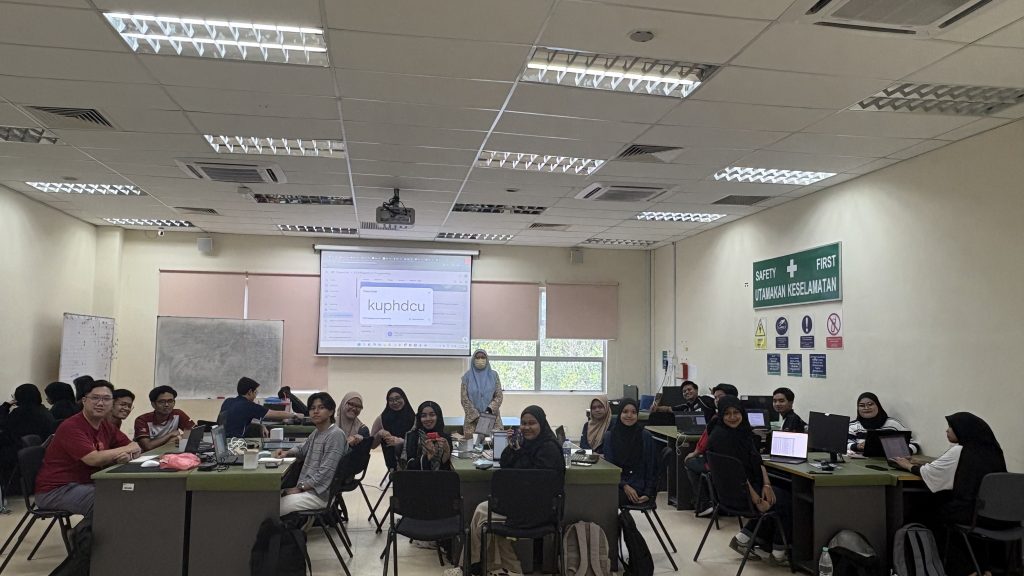
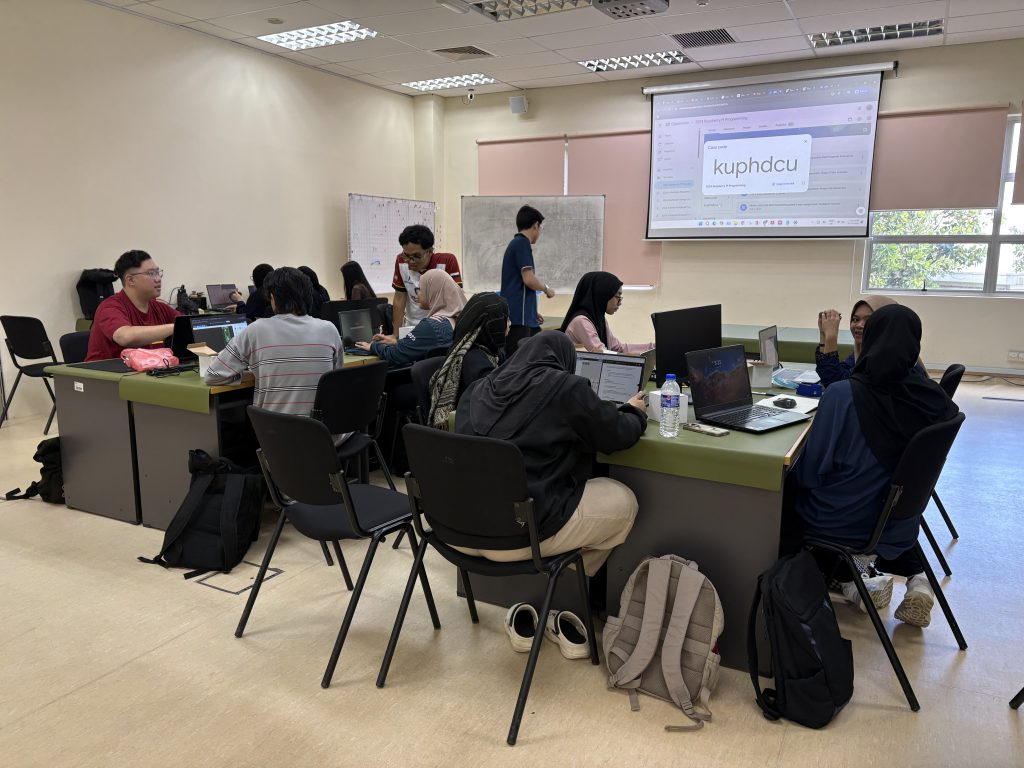
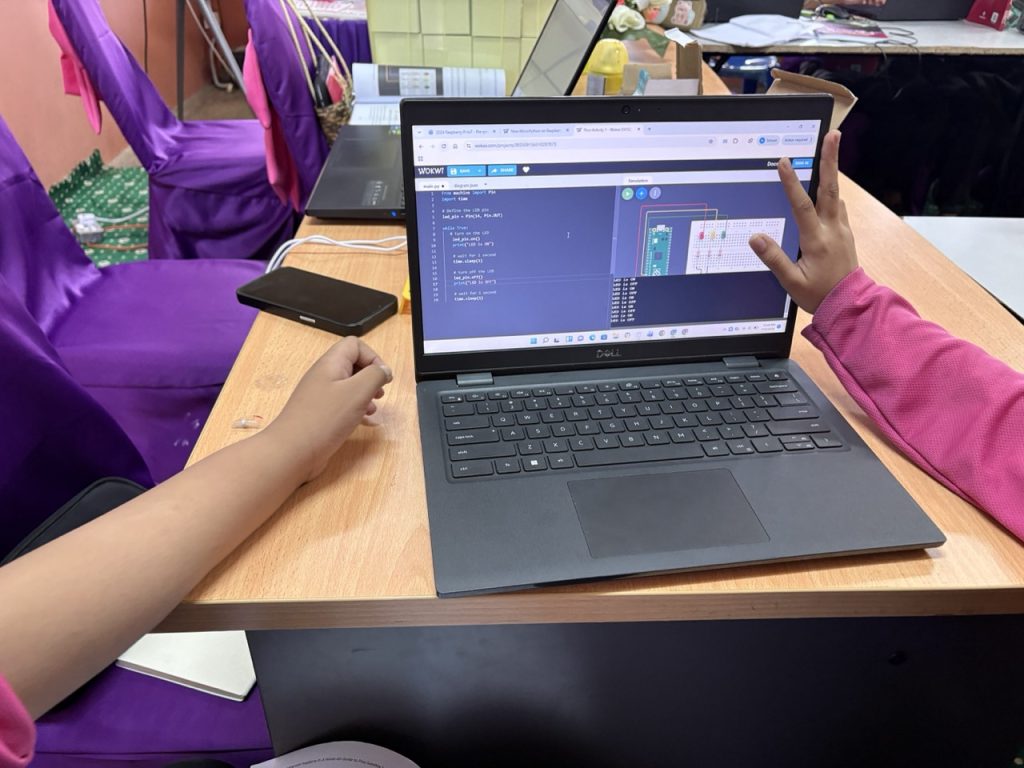
In the Raspberry Pi IoT session, 40 students and teachers from SK Temai, awere introduced to the concept of the Internet of Things (IoT) using Raspberry Pi on the UMP STEM Cube, a pico-satellite learning kit specifically designed to facilitate engineering learning.

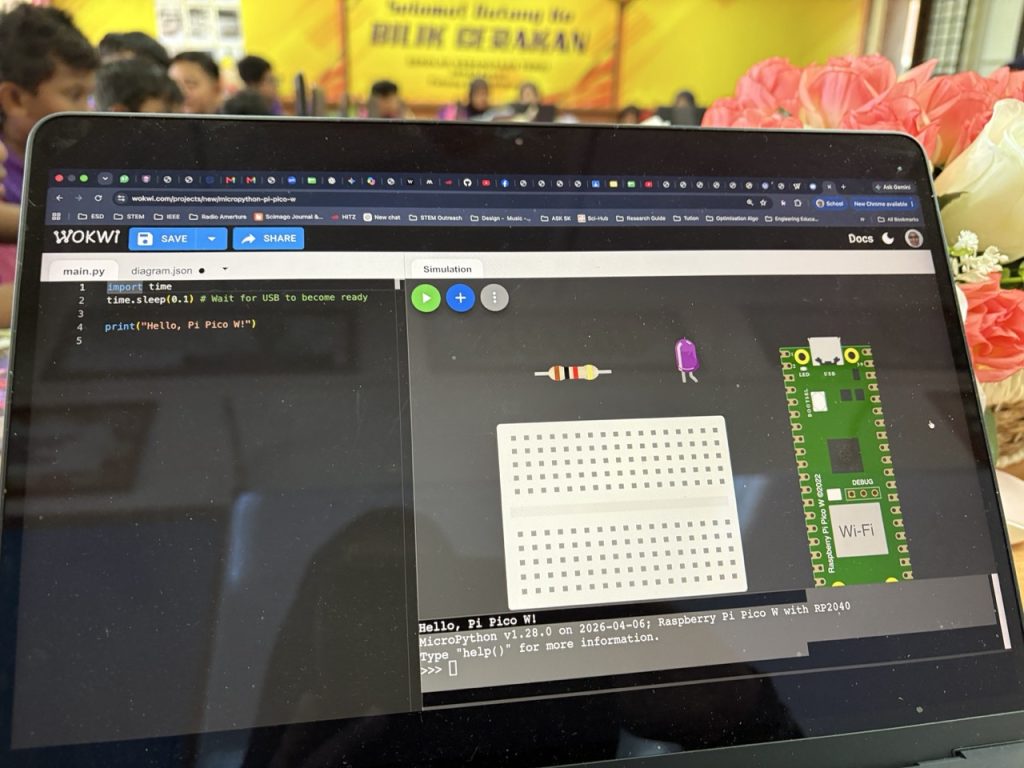
The content covered basic digital input/output operations on onboard LEDs, as well as topics such as dashboard design using gyro meter and BMU280 sensor data, including collecting and storing data in a cloud database. Participants learned to interface sensors with Raspberry Pi boards and develop IoT applications for real-world scenarios. The session provided students with valuable insights into IoT technology and its applications in various domains.

A special appreciation is extended to Cikgu Izwan from PPD Maran for organizing and coordination in facilitating communication between the participants and the UMPSA STEM Lab :).

Nurul Nov 3rd

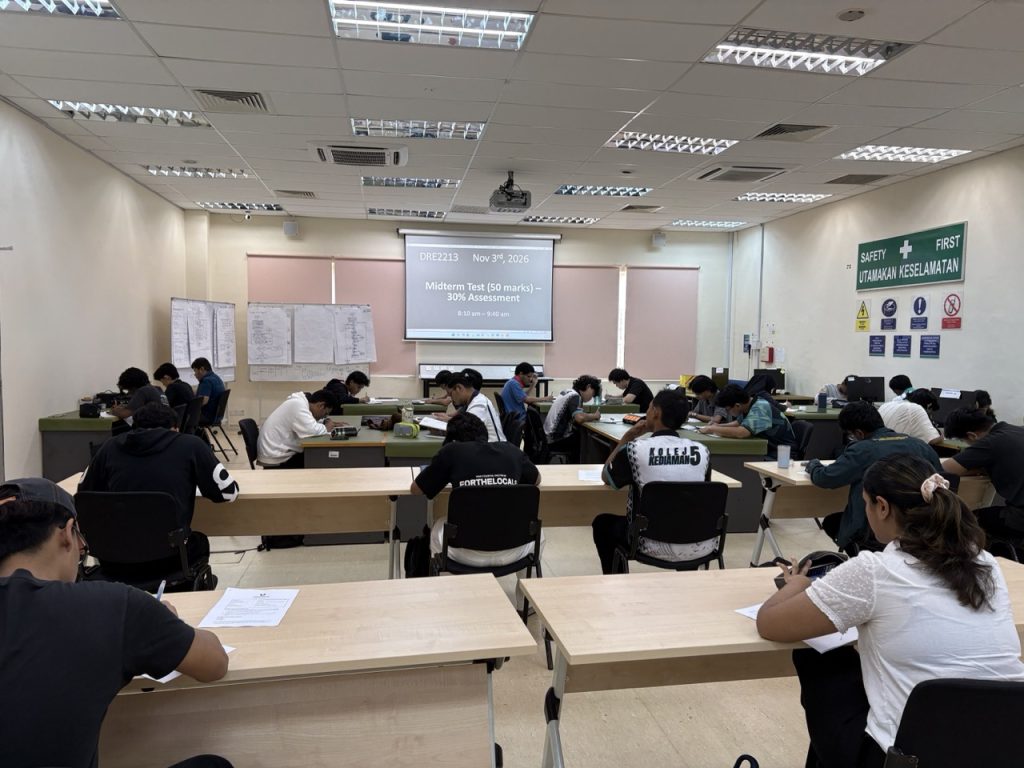
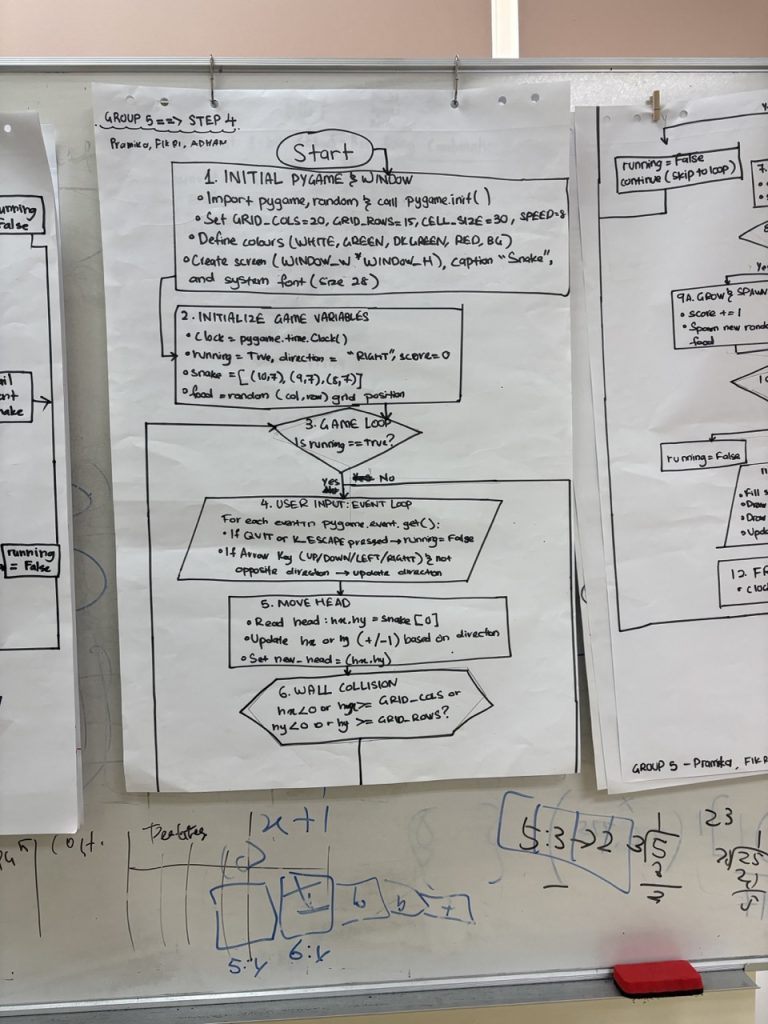
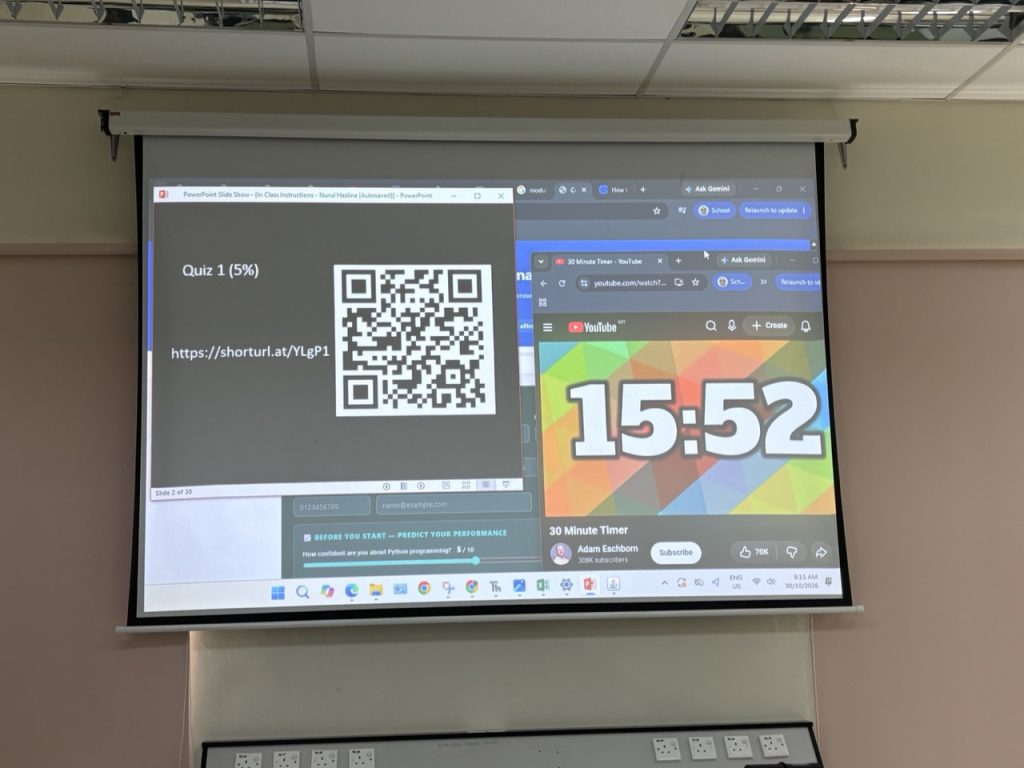
BTE1522 DRE2213 Week 4 – Flow Chart and Programming Skill

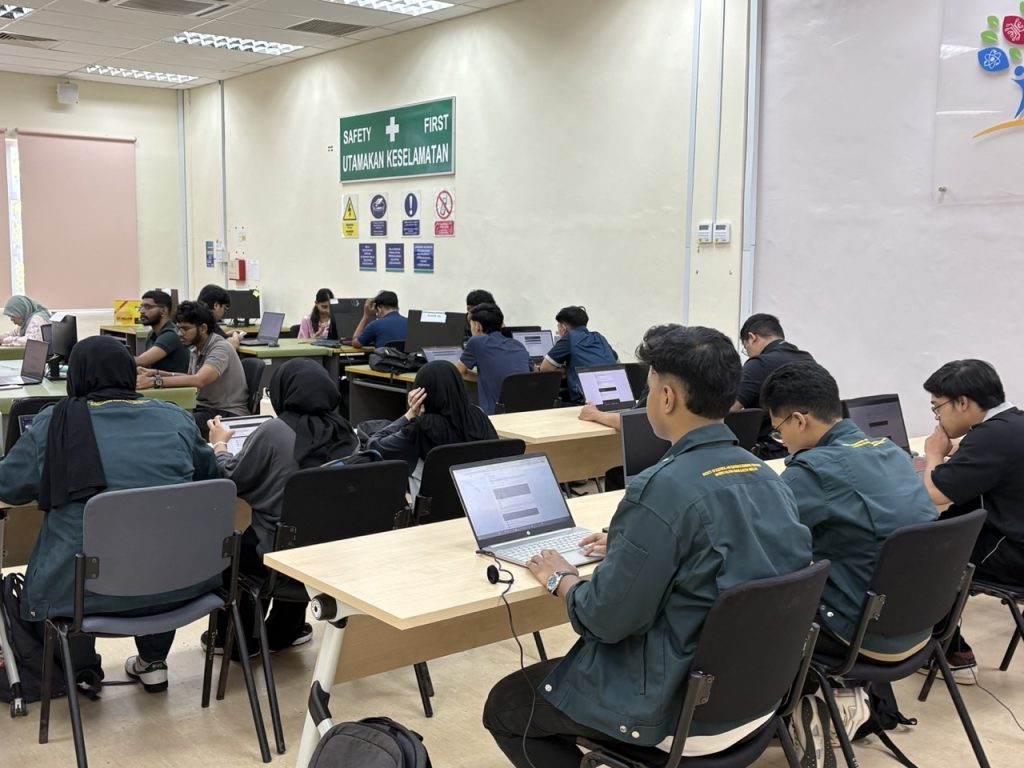
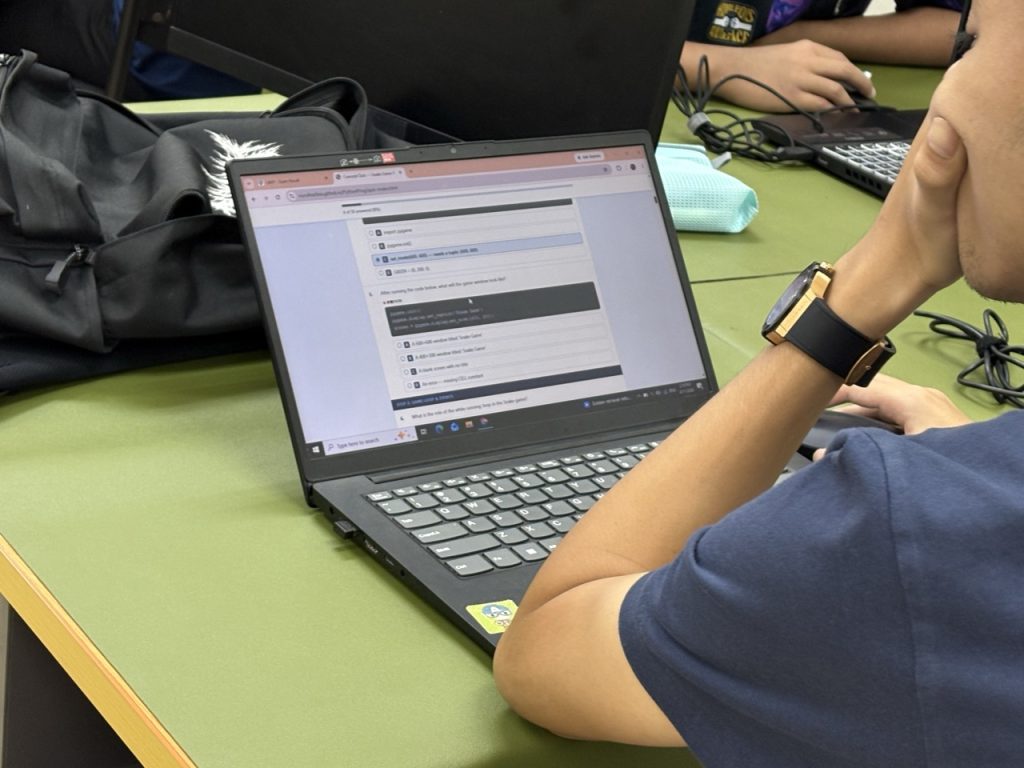
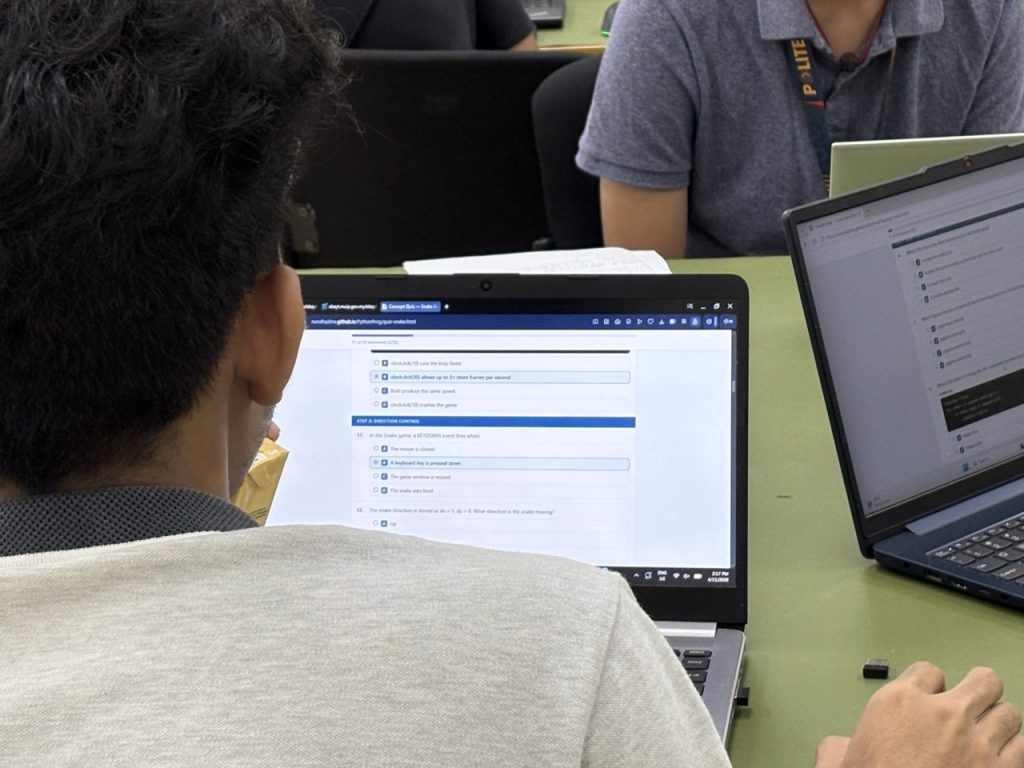
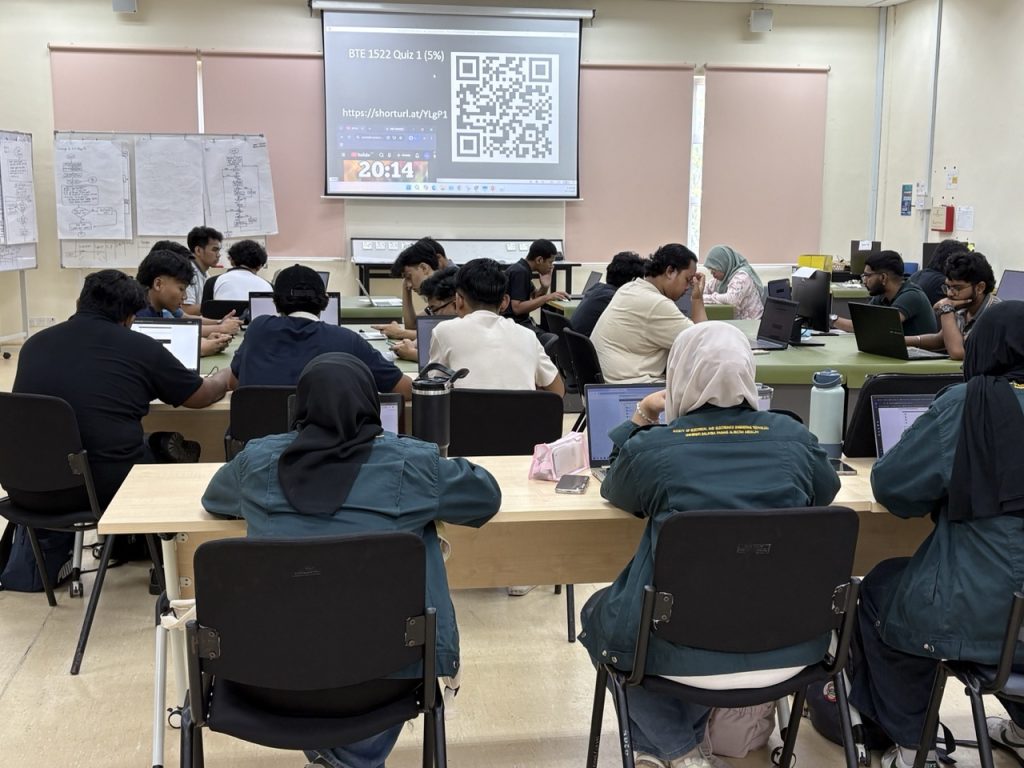
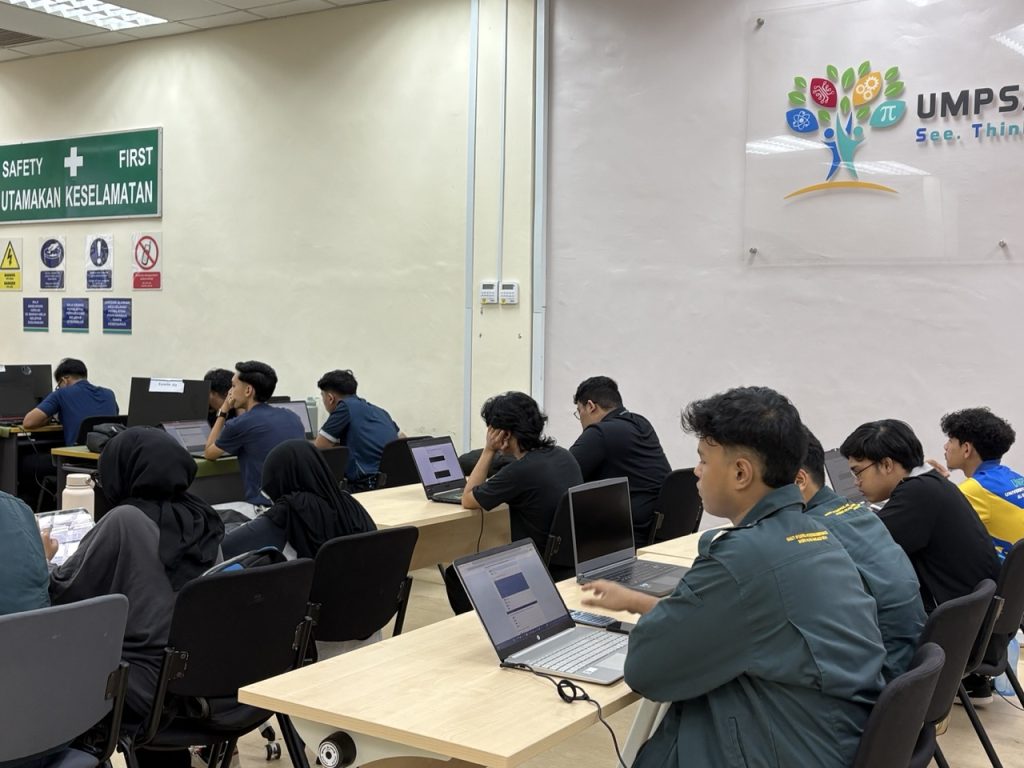
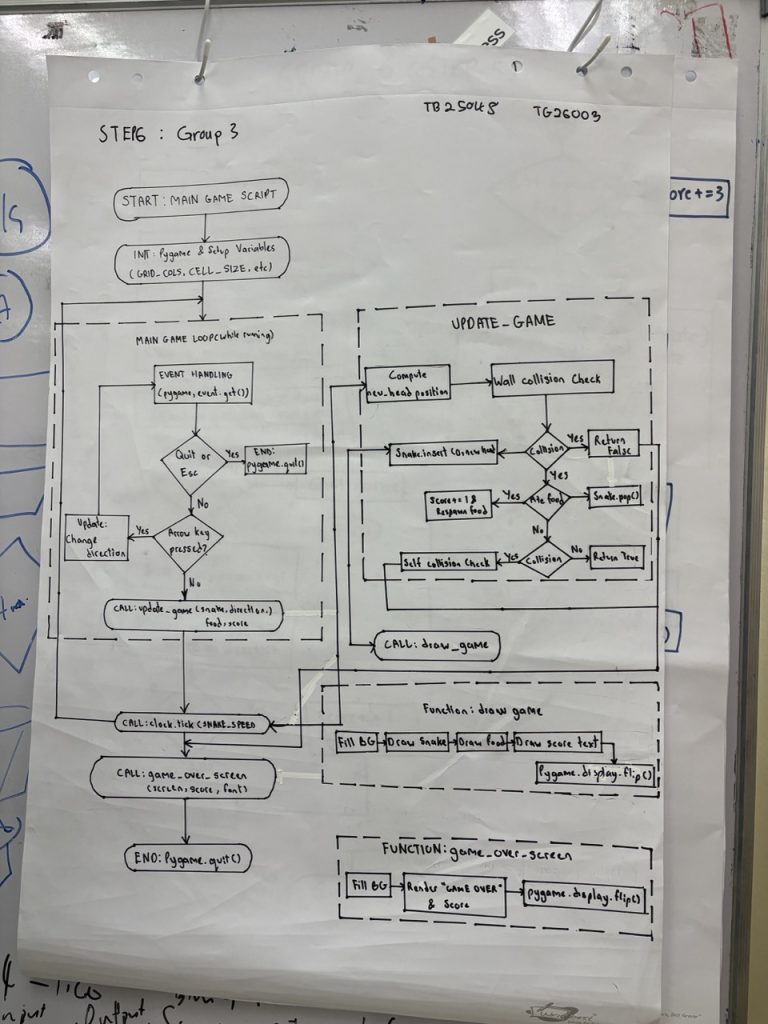
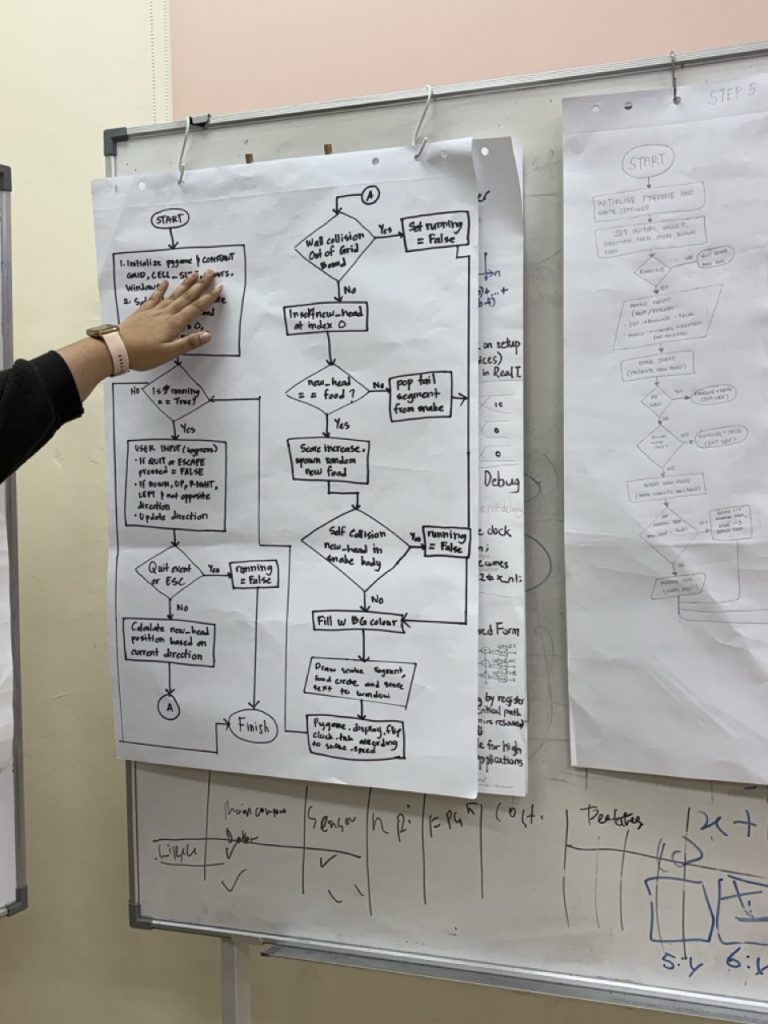
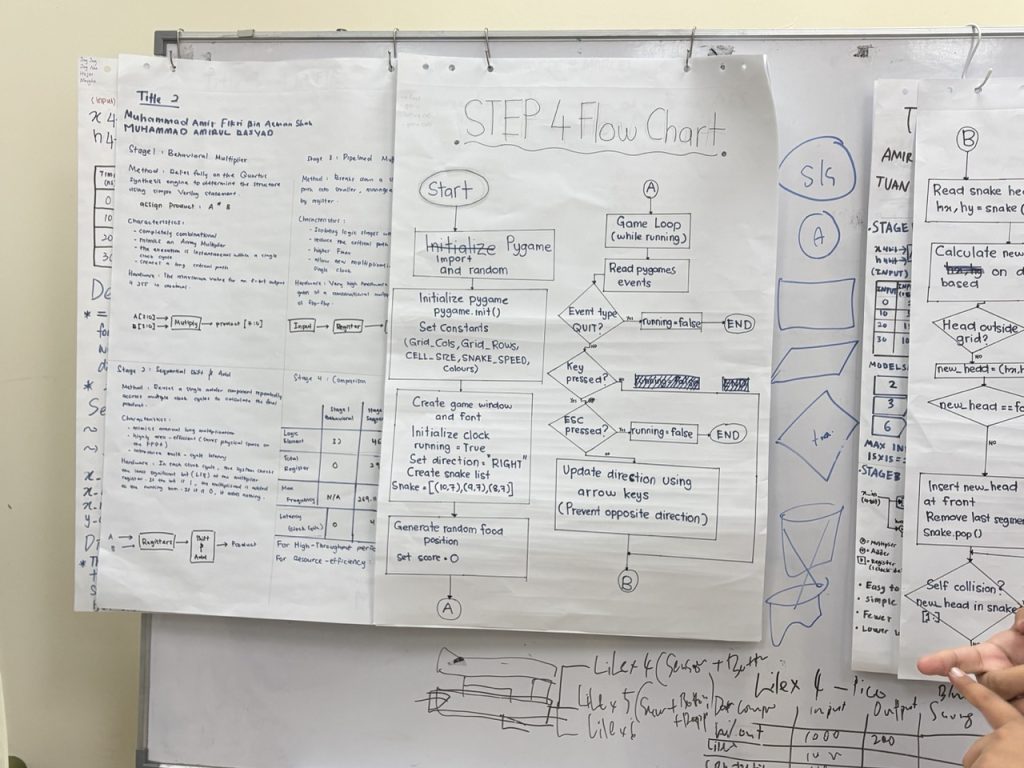
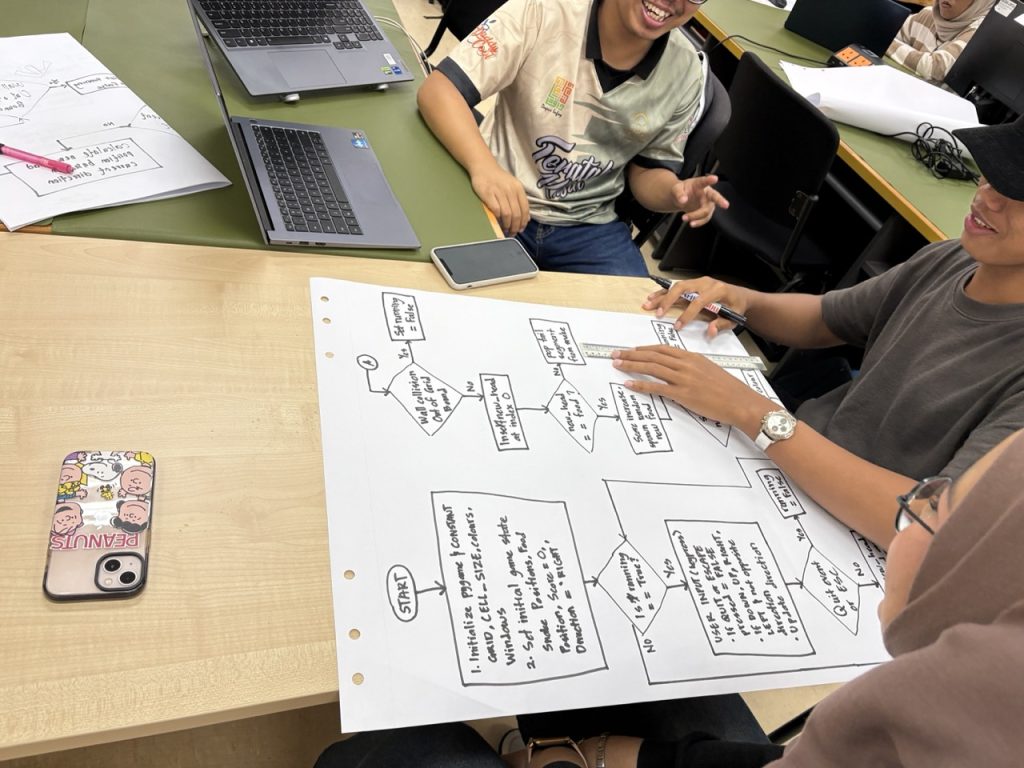
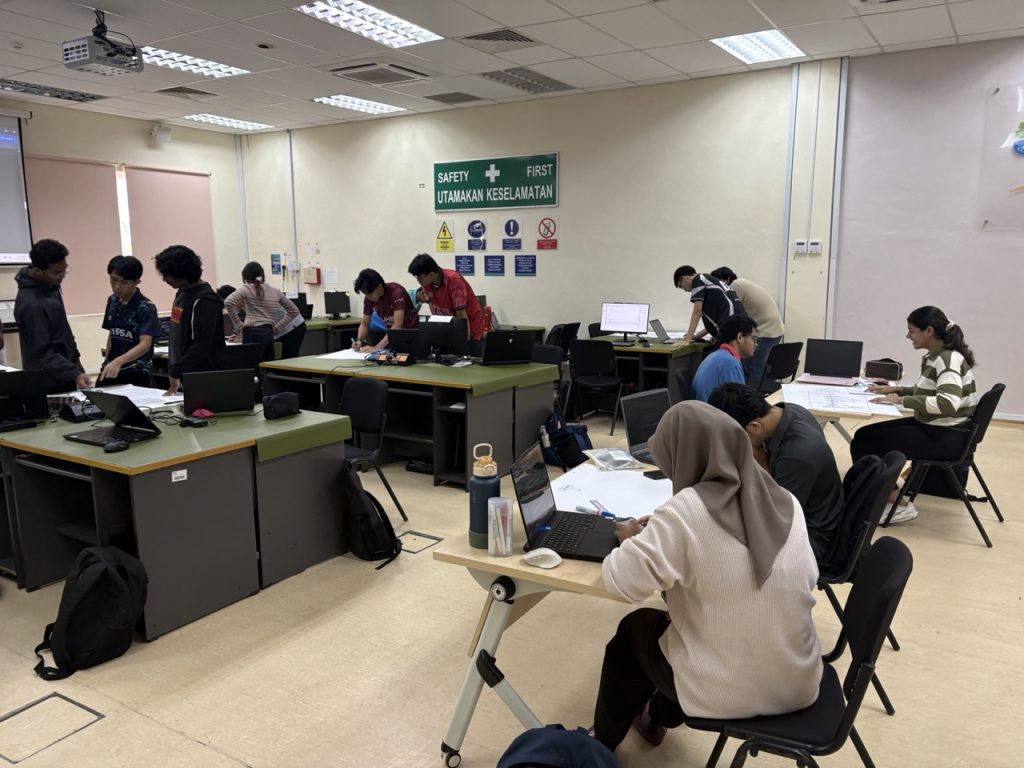
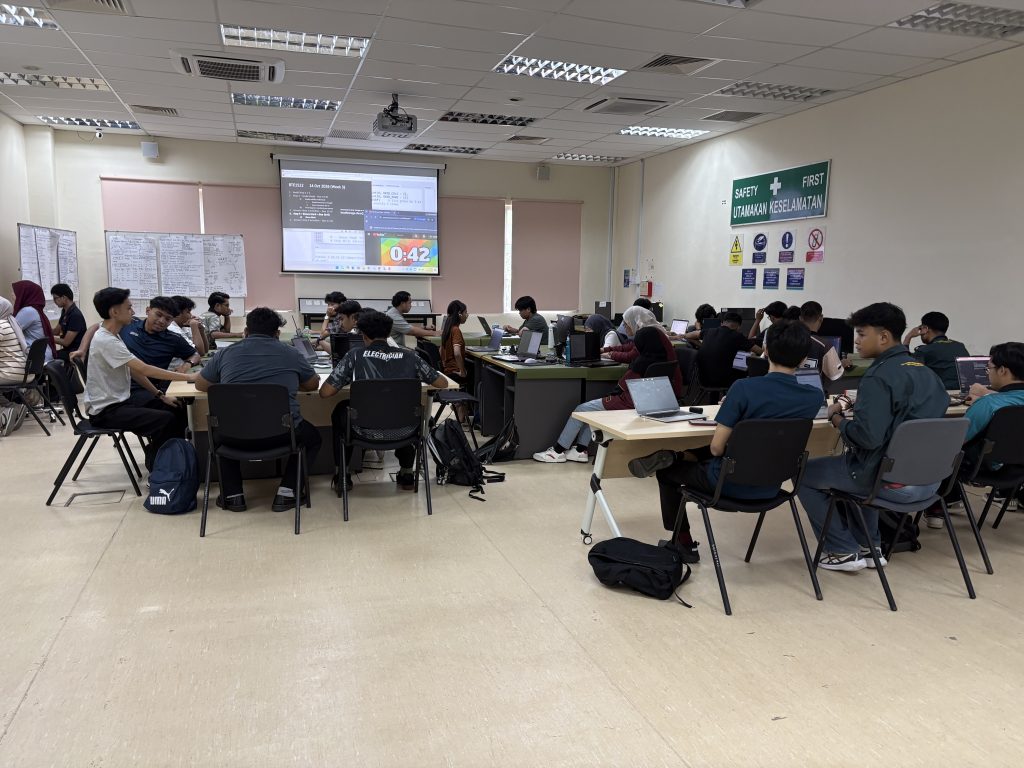
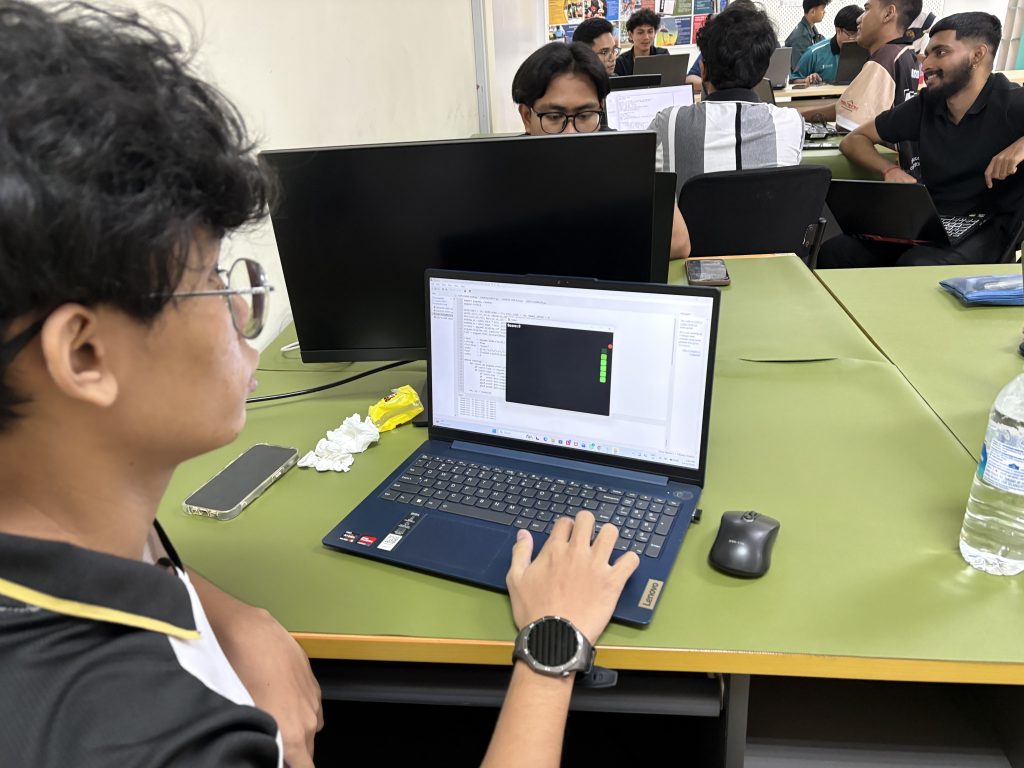
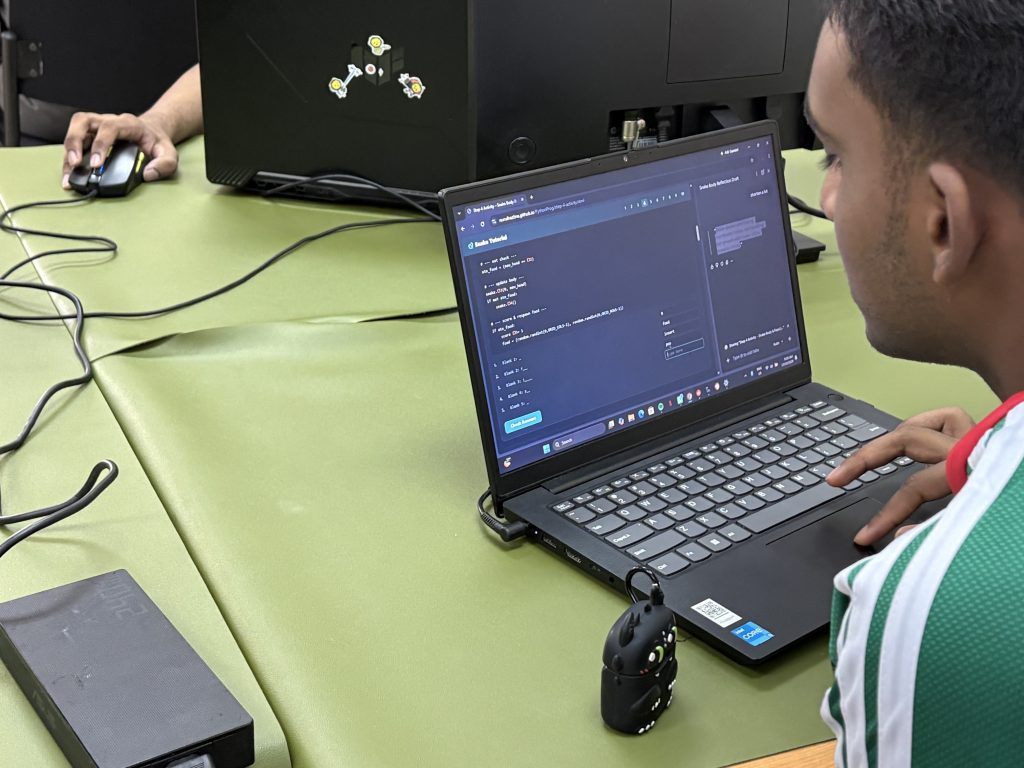
Week 5 marks a real milestone in our 10-step Snake Game Python journey. Students have now worked through nine of ten modules — from variables and game loops all the way through Object-Oriented Programming. But this week, we did not write a single new line of code. Instead, students were given one task: derive the … Continue reading “BTE1522 DRE2213 Week 4 – Flow Chart and Programming Skill”

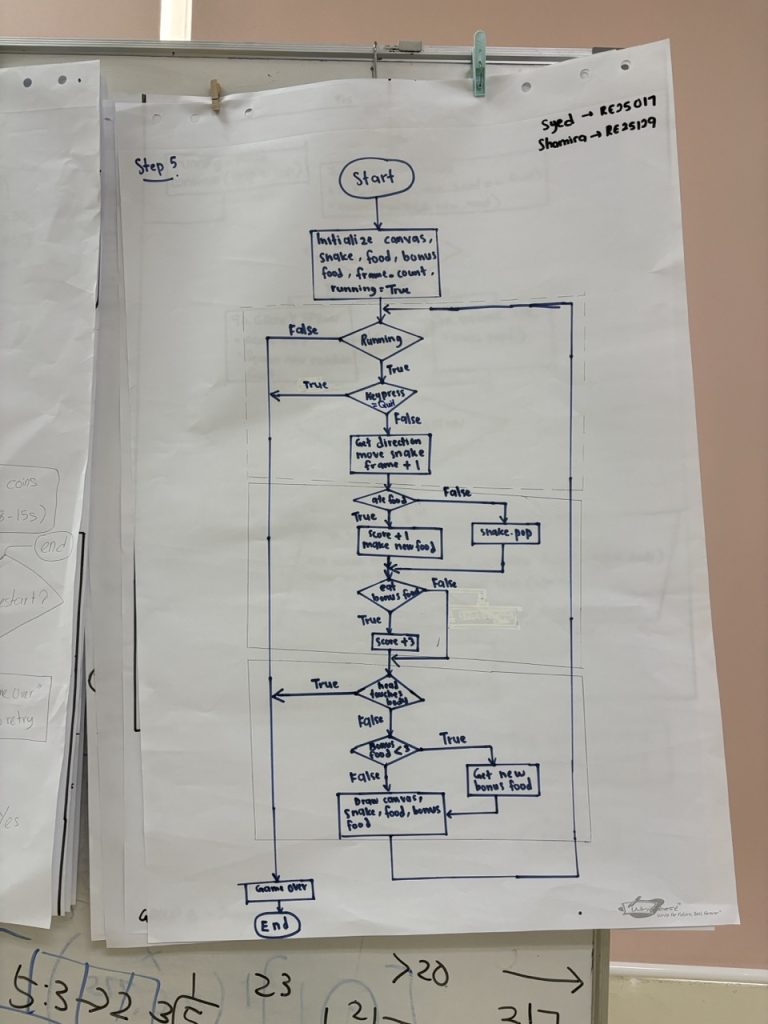
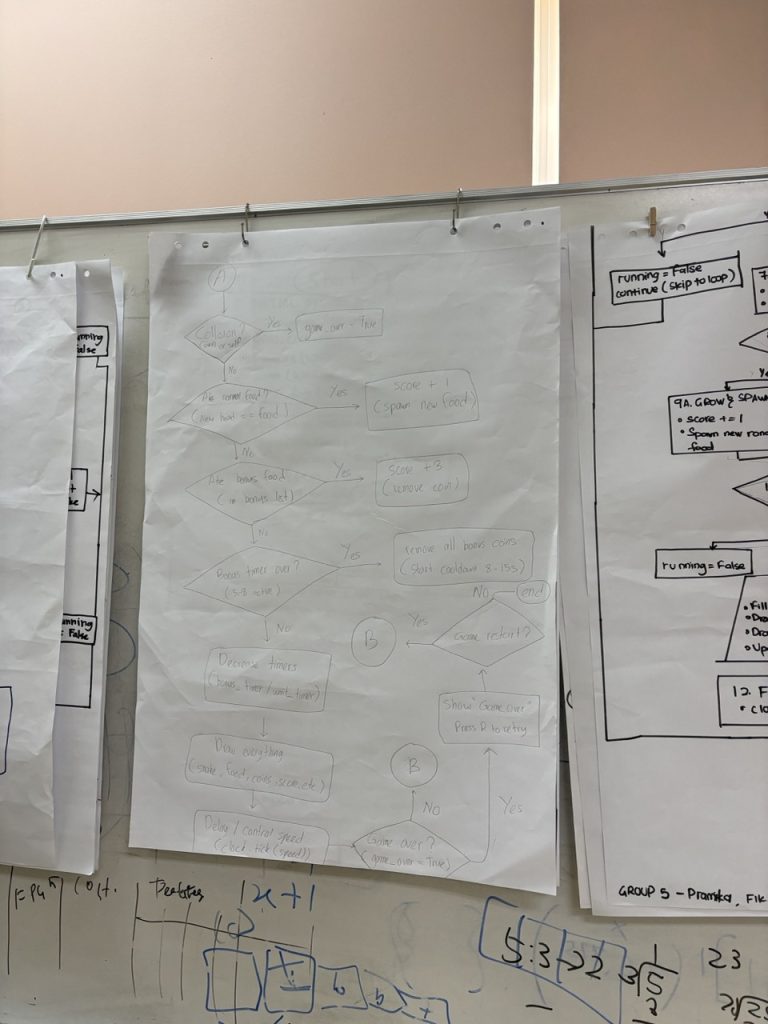
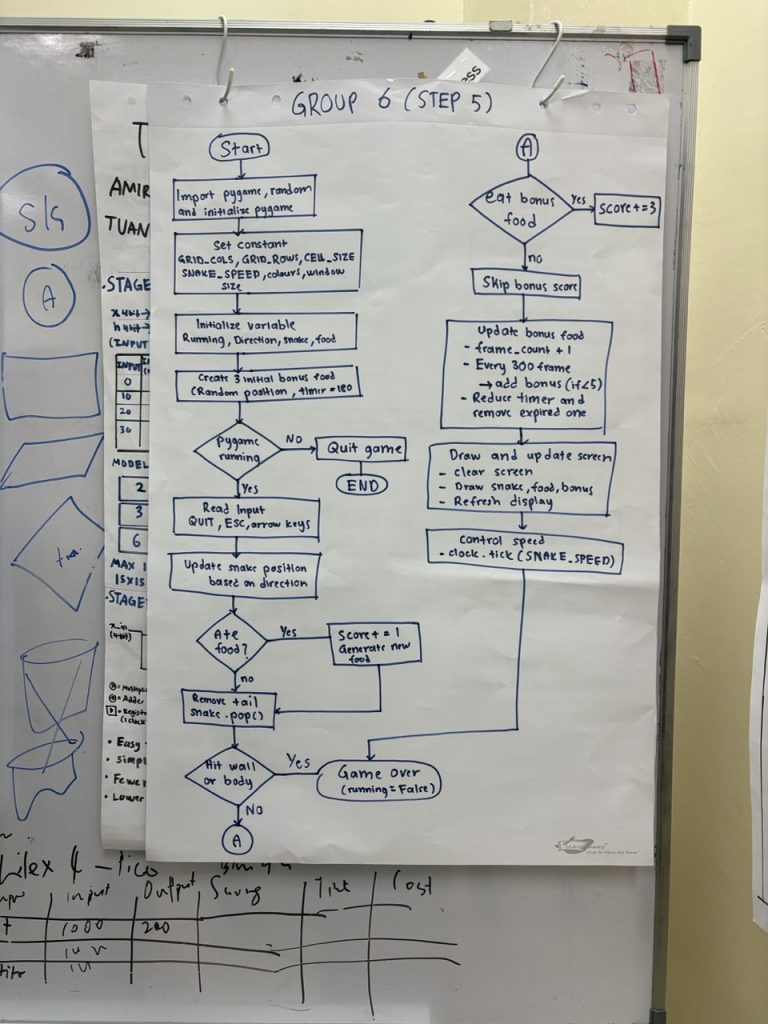
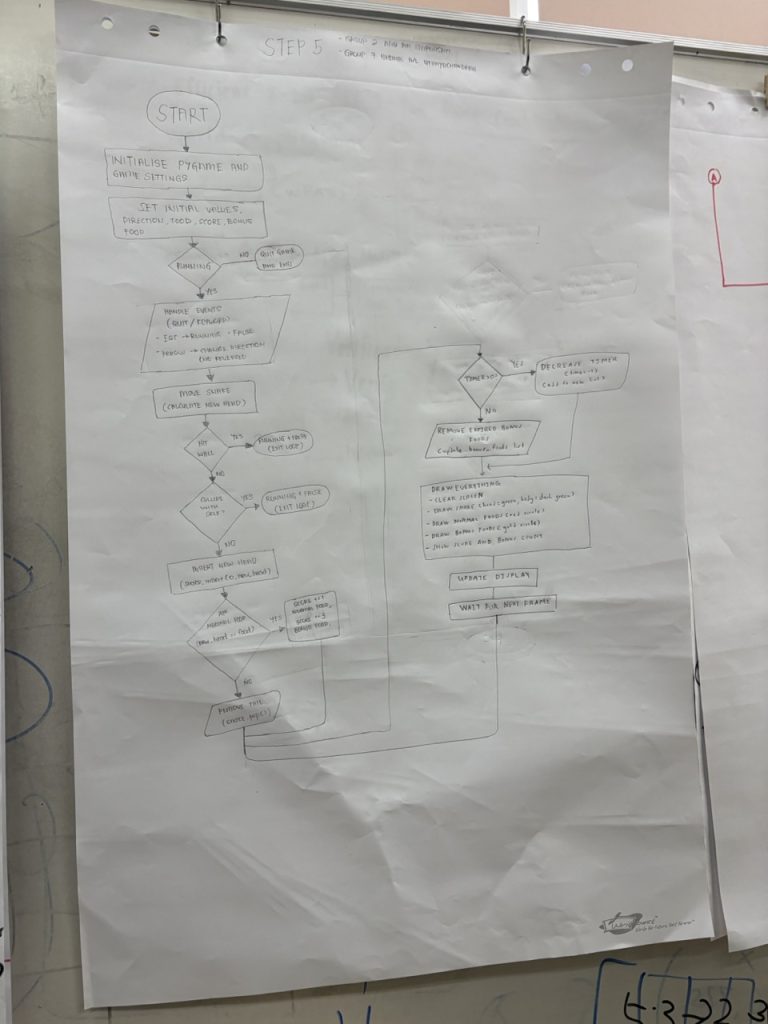
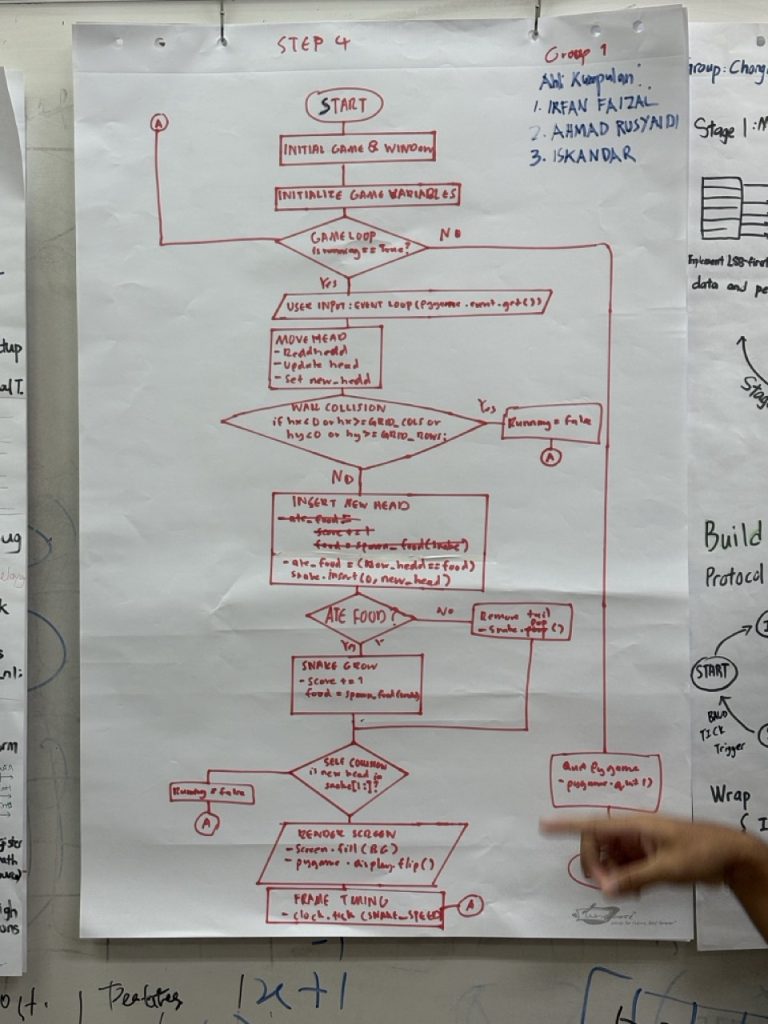
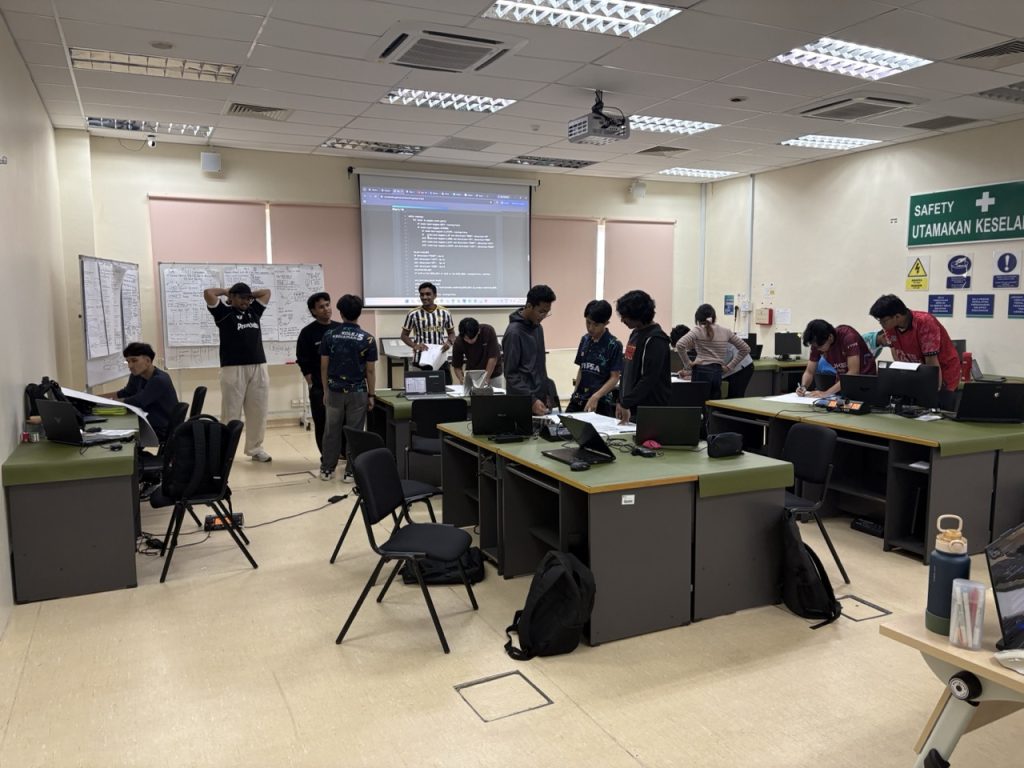
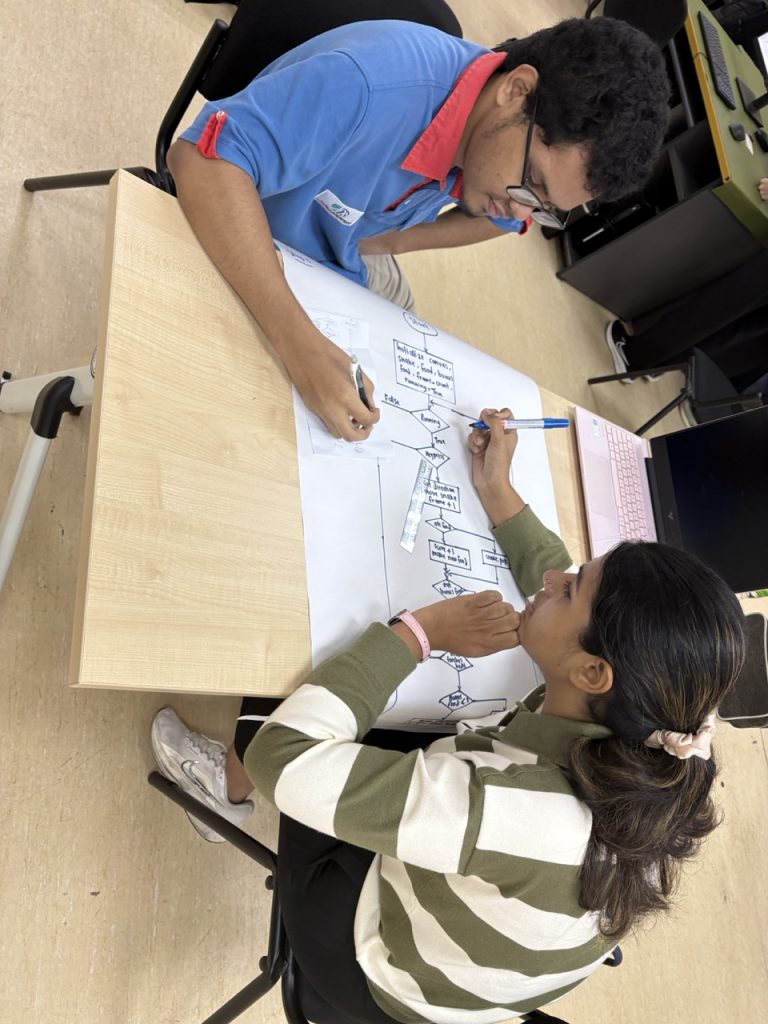
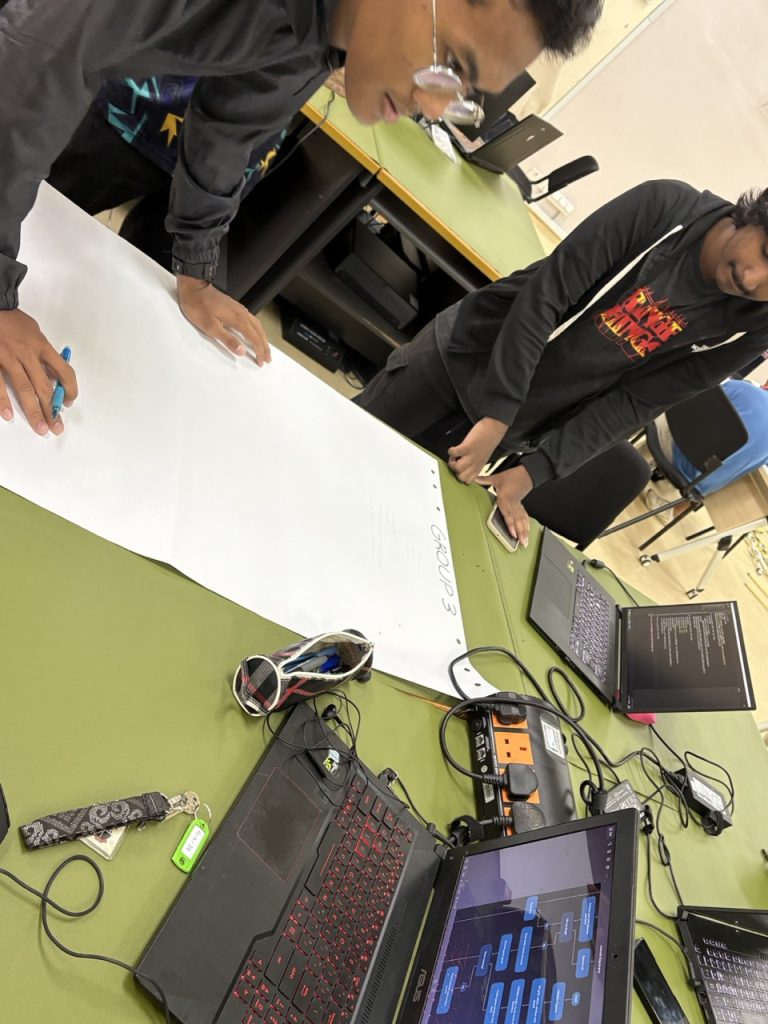
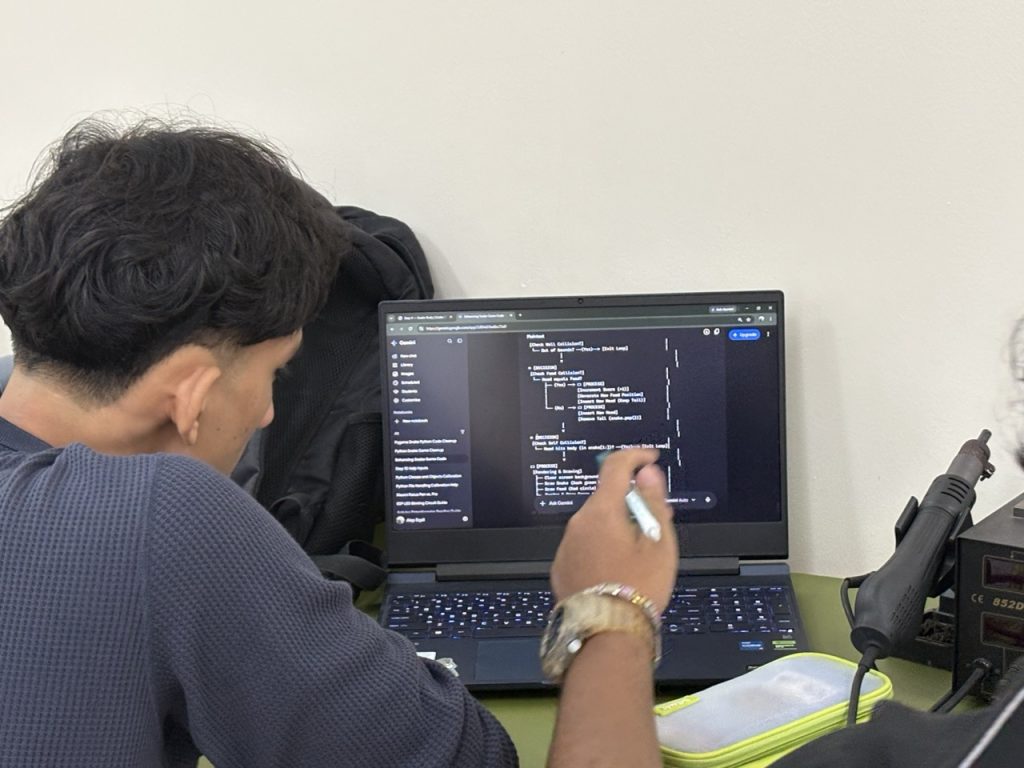
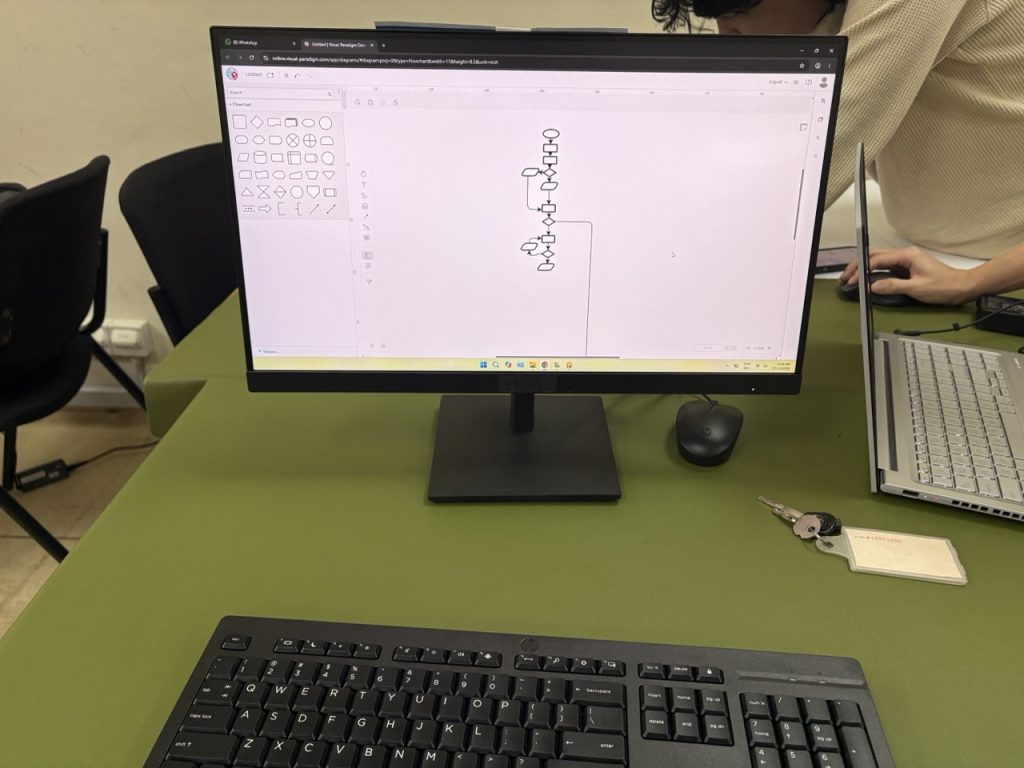
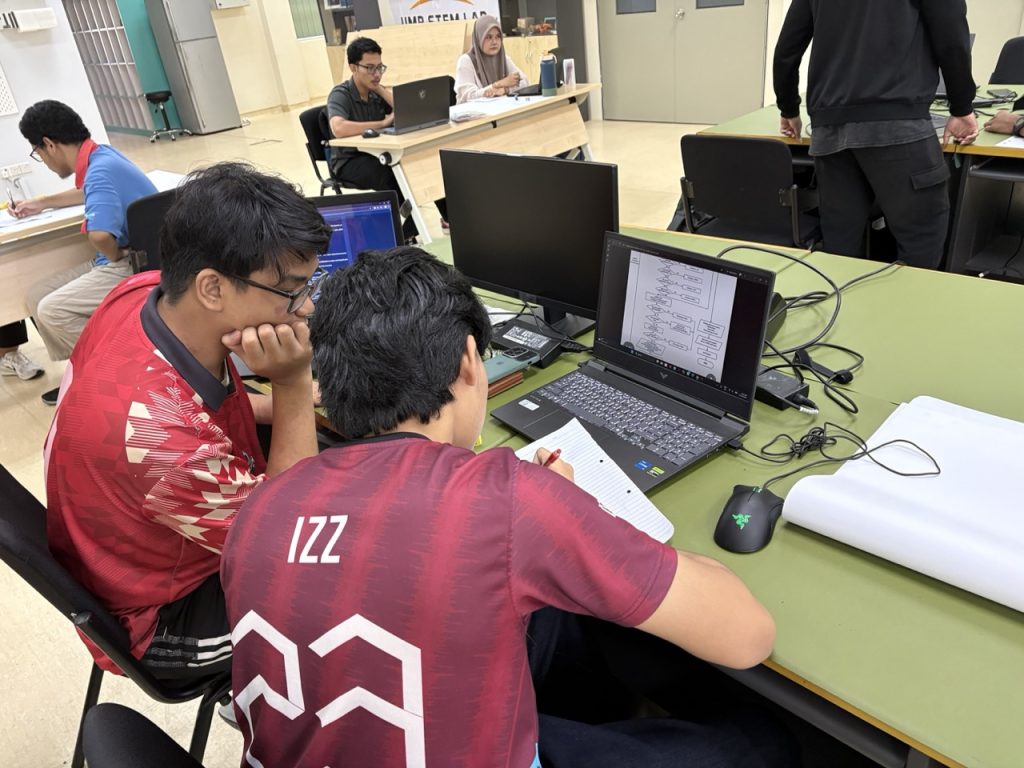
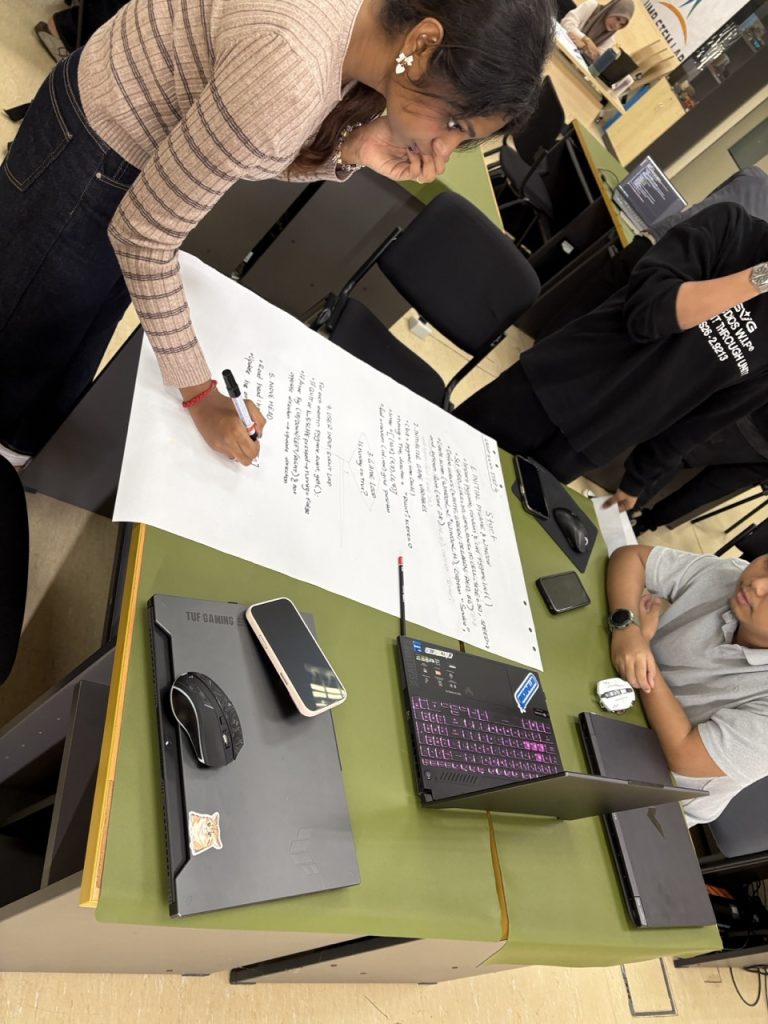
Week 5 marks a real milestone in our 10-step Snake Game Python journey. Students have now worked through nine of ten modules — from variables and game loops all the way through Object-Oriented Programming. But this week, we did not write a single new line of code. Instead, students were given one task: derive the flowchart of the snake game you have already built.

The result was one of the most insightful sessions of the entire series.

What Students Have Covered So Far

Step Topic
1 Variables & Constants — Grid Setup
2 Game Loop — Animation & Frame Rate
3 Direction Control — Boolean Syarat
4 Snake Body — Lists, insert(), pop()
5 Bonus Food — Timers & Modulo
6 Functions — Decompose & Reuse
7 Wrap-Around — Modulo for Boundaries
8 File I/O — High Score Persistence
9 ✓ OOP — Classes & Encapsulation
10 ML / Q-Learning — AI Agent (coming up!)

This Week’s Activity: Charting the Game Logic

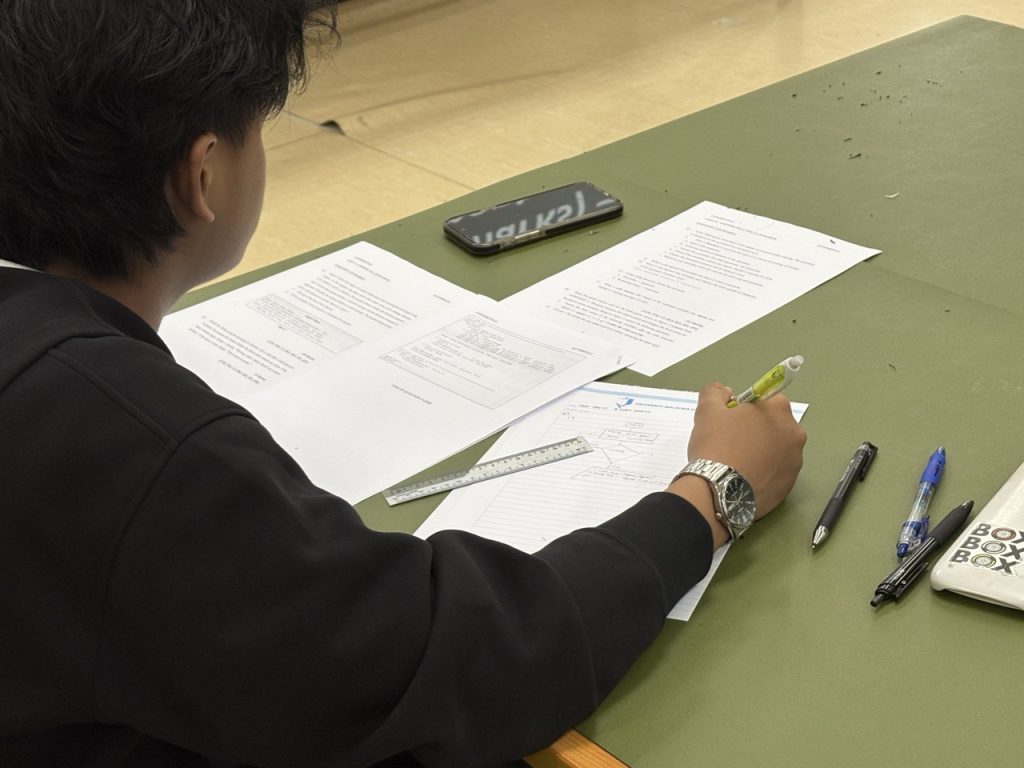
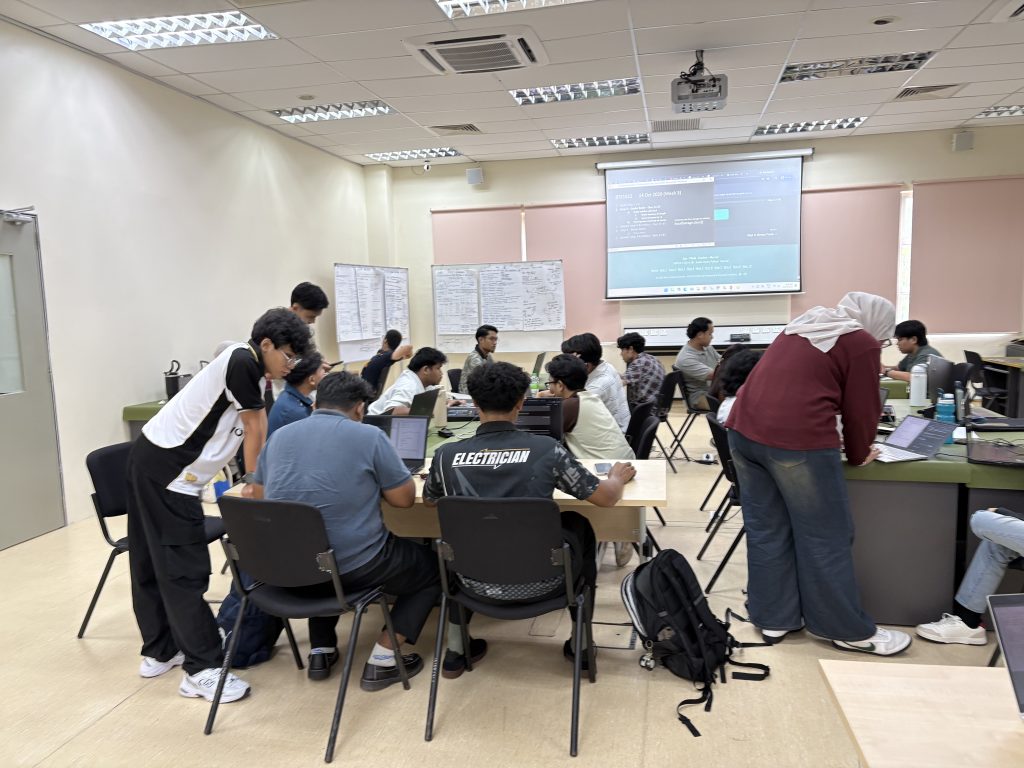
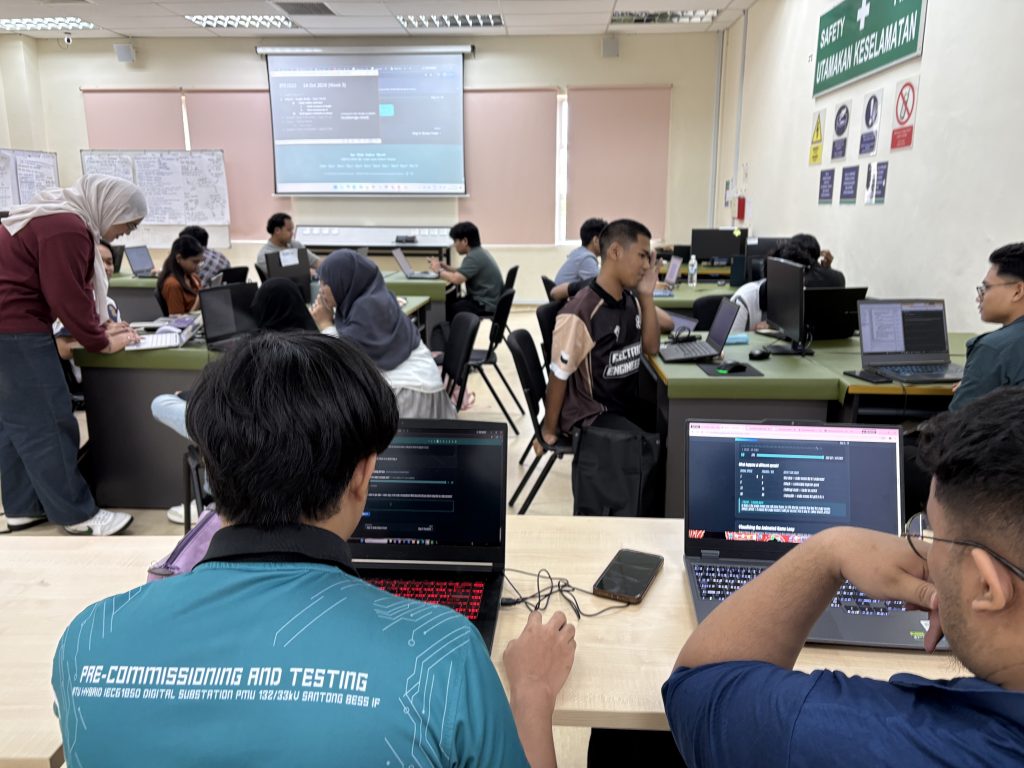
The challenge was open-ended — no template, no hints. Students had to read their own code, reason about control flow, and represent the game’s execution as a diagram. For many, it was the first time they had looked at the full program as a system rather than a collection of steps they had built one by one.

Students who had been through all nine modules found the exercise satisfying rather than daunting. They could trace a path from “Start” through the game loop, through every conditional branch, and back to the top — because they had lived through every one of those concepts over the past weeks.

Building a flowchart is a metacognitive act. It forces a student to hold the program’s execution model in their head, sequence decisions, and check their understanding against what the code actually does.

The Code Students Traced

1. Game Setup — Constants & Initial State

python
# Constants
COLS = 20
ROWS = 15
CELL_SIZE = 25
FPS = 10
BONUS_INTERVAL = 300   # frames between bonus spawns
BONUS_TIMER = 240      # frames a bonus food lasts

# Initial state
snake = [(10, 7), (9, 7), (8, 7)]  # list of (x, y) tuples
direction = "RIGHT"
score = 0
frame_count = 0
game_over = False

2. The Main Game Loop

python
while not game_over:

    # 1. Handle events
    for event in pygame.event.get():
        if event.type == pygame.QUIT:
            game_over = True
        if event.type == pygame.KEYDOWN:
            handle_direction(event.key)

    # 2. Move snake — compute new head with wrap-around
    head_x, head_y = snake[0]
    dx, dy = DIRECTION_MAP[direction]
    new_head = ((head_x + dx) % COLS,
                (head_y + dy) % ROWS)

    # 3. Check self-collision
    if new_head in snake:
        game_over = True

    # 4. Update body
    snake.insert(0, new_head)
    if new_head == food:
        score += 1
        food = spawn_food()
    else:
        snake.pop()   # remove tail if no food eaten

    # 5. Bonus food logic
    frame_count += 1
    if frame_count % BONUS_INTERVAL == 0:
        spawn_bonus()
    bonus_foods = [(pos, t - 1) for pos, t in bonus_foods if t > 0]

    # 6. Draw frame
    draw()
    clock.tick(FPS)

3. Direction Control — The “Syarat” Logic

python
DIRECTION_MAP = {
    "UP":    (0, -1),
    "DOWN":  (0,  1),
    "LEFT":  (-1, 0),
    "RIGHT": (1,  0),
}

def handle_direction(key):
    global direction
    # Syarat: cannot reverse into yourself
    if key == pygame.K_UP    and direction != "DOWN":
        direction = "UP"
    elif key == pygame.K_DOWN  and direction != "UP":
        direction = "DOWN"
    elif key == pygame.K_LEFT  and direction != "RIGHT":
        direction = "LEFT"
    elif key == pygame.K_RIGHT and direction != "LEFT":
        direction = "RIGHT"

The Flowchart

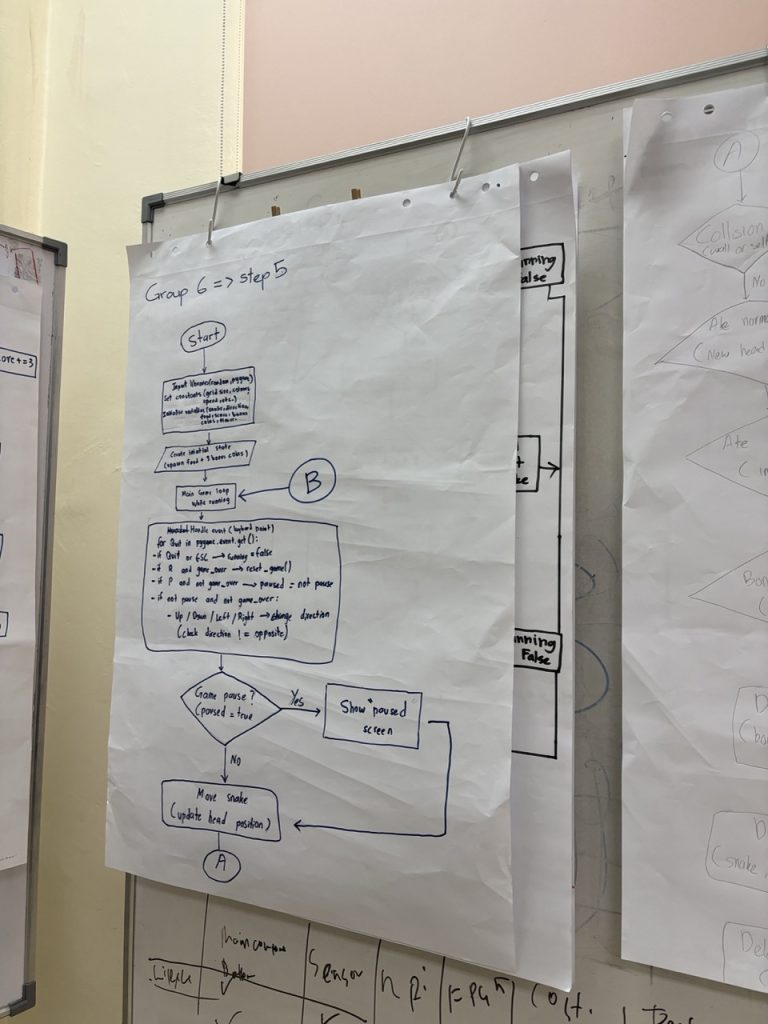
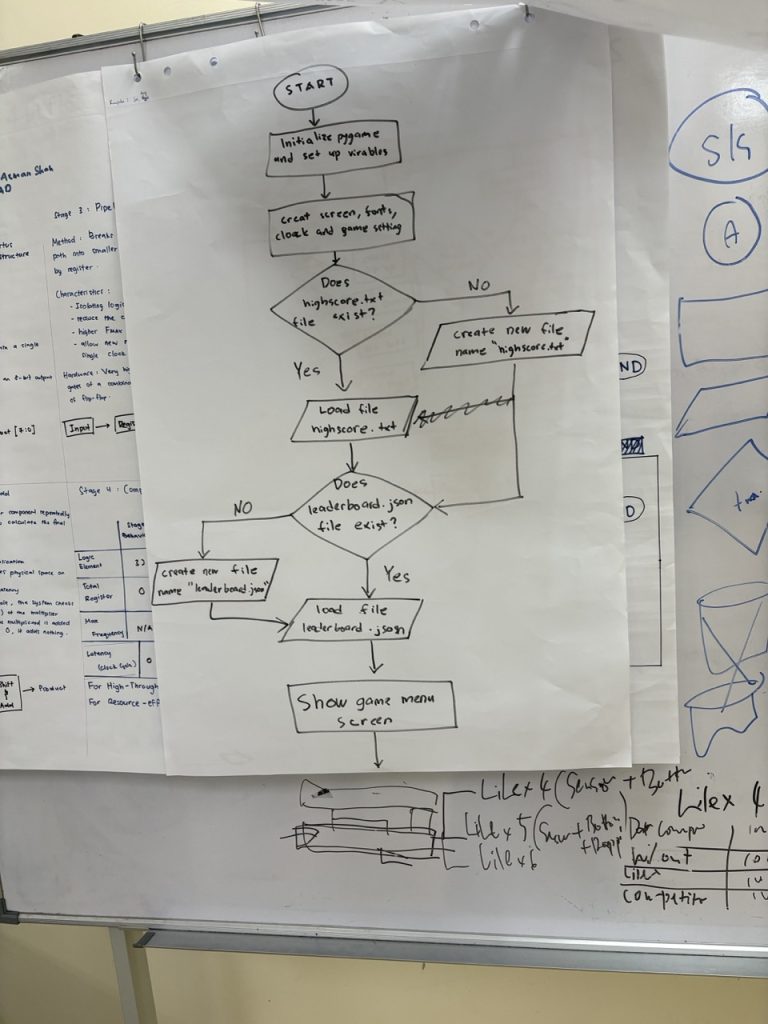
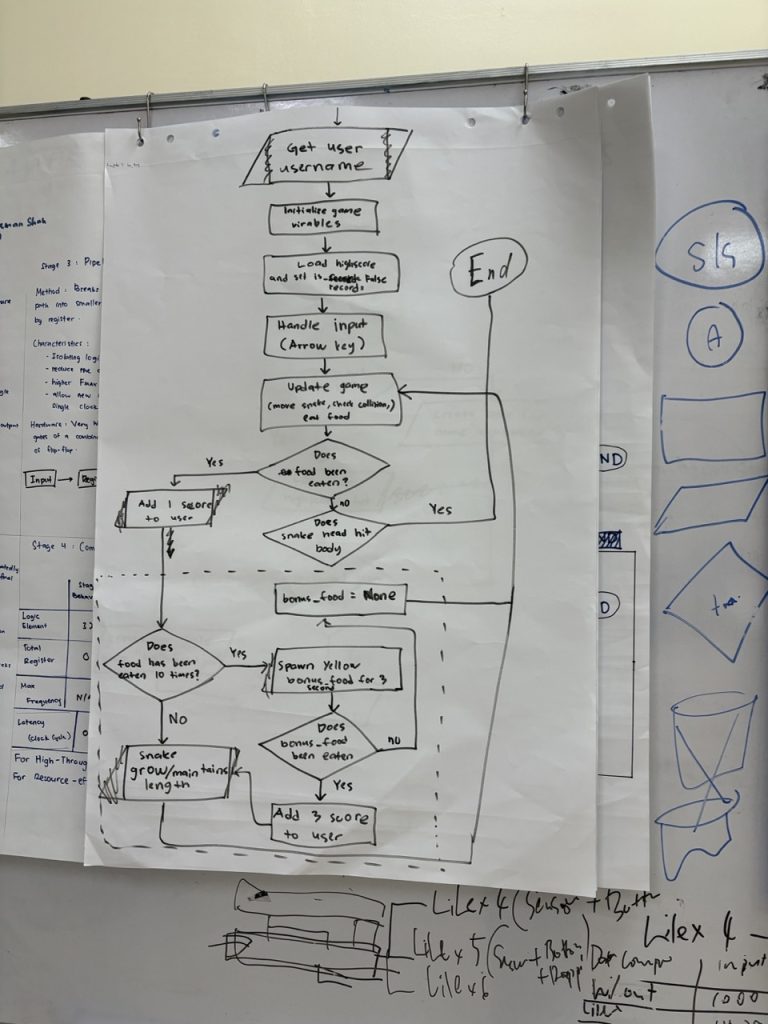
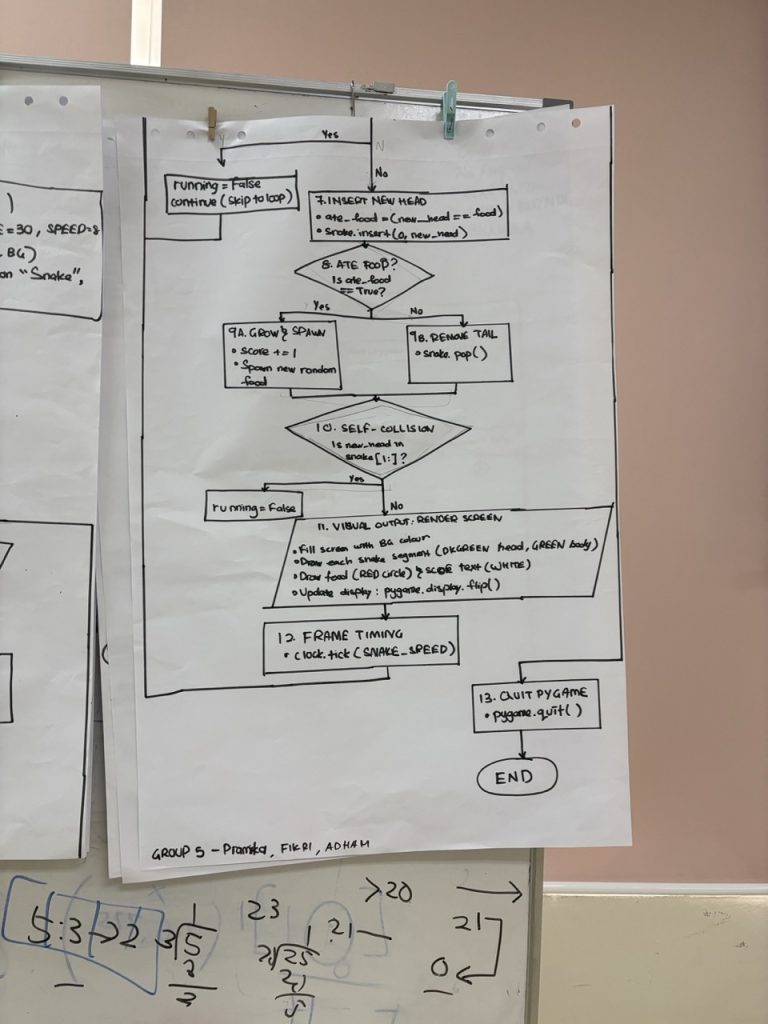
The flowchart covers one full iteration of the game loop:

      1. START → Initialise snake, food, direction, score
      2. GAME LOOP → Process events (QUIT? → END)
      3. Update direction (syarat: cannot reverse)
      4. Compute new_head using DIRECTION_MAP + modulo wrap
      5. Self-collision? → YES: GAME OVER + save high score | NO: continue
      6. snake.insert(0, new_head)
      7. Ate food? → YES: score += 1, spawn new food | NO: snake.pop()
      8. Bonus food logic → frame_count % BONUS_INTERVAL == 0
      9. draw() + clock.tick(FPS)
      10. → Loop back to Step 2

Why This Activity Works — 4 CT Pillars

Decomposition — Students break the game into distinct sub-processes: events, movement, collision, food, rendering. Each becomes a separate node in the chart.

Pattern Recognition — The insert/pop pattern for the snake body, and the modulo pattern for periodic events, stand out clearly when drawn as flowchart branches rather than buried in code lines.

Algorithmic Thinking — The flowchart forces students to think about sequence and order. A common discovery: does the collision check come before or after inserting the new head? Getting that order wrong changes the game’s behaviour entirely.

Abstraction — Students represent function calls like draw() and spawn_food() as single chart nodes — hiding internal detail behind a named action, exactly as abstraction works in OOP (which they just finished in Module 9).

What Comes Next

With nine modules done and a clear visual model of how the game works, students are ready for Module 10: extending the snake game with a Q-Learning agent that trains itself to play. The flowchart work this week means they enter that module with a stable mental model of the game loop — a foundation the reinforcement learning extension builds directly upon.

The metacognitive journal entries from this week will be especially valuable for the research analysis. They capture the moment students shifted from following code to reading code as a system — which is exactly the kind of transfer we are looking for.

Week 3 – DRE2213 / BTE1522 – Step 4 (Snake Length), Step 5 (Bonus Point)

If Steps 2 and 3 were the week the snake first moved, then Steps 4 and 5 were the week it truly came alive. This session was the most cognitively demanding so far — and the most rewarding to watch unfold. Step 4: Snake Body — Lists at Work Until this point, our snake was … Continue reading “Week 3 – DRE2213 / BTE1522 – Step 4 (Snake Length), Step 5 (Bonus Point)”

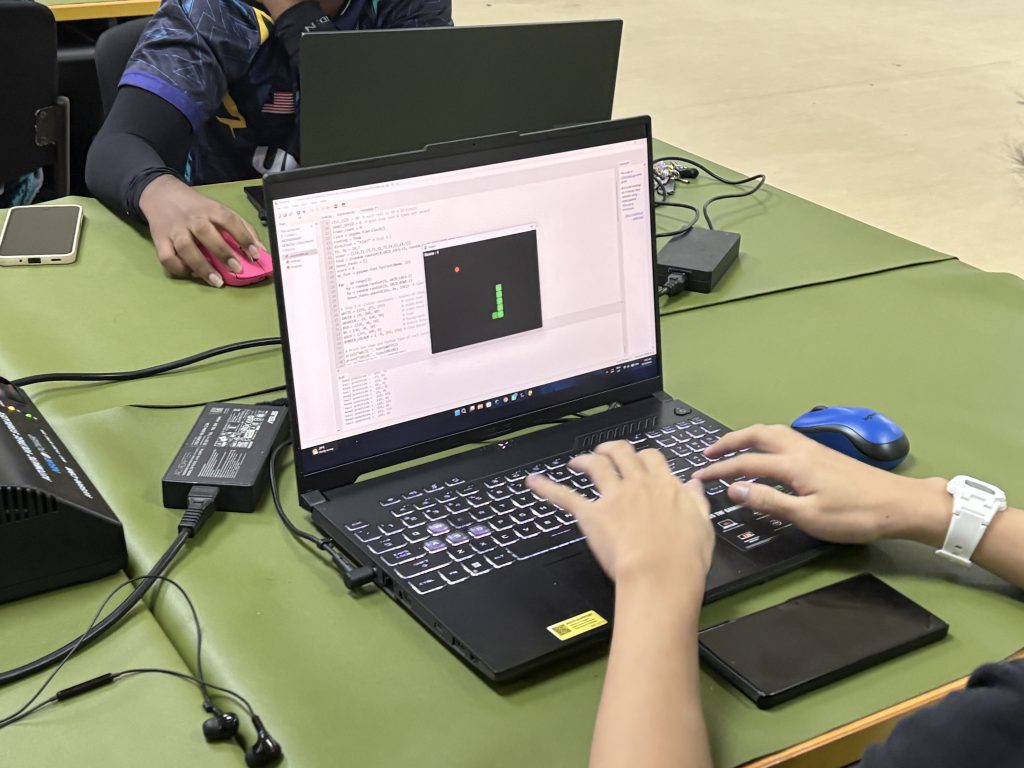
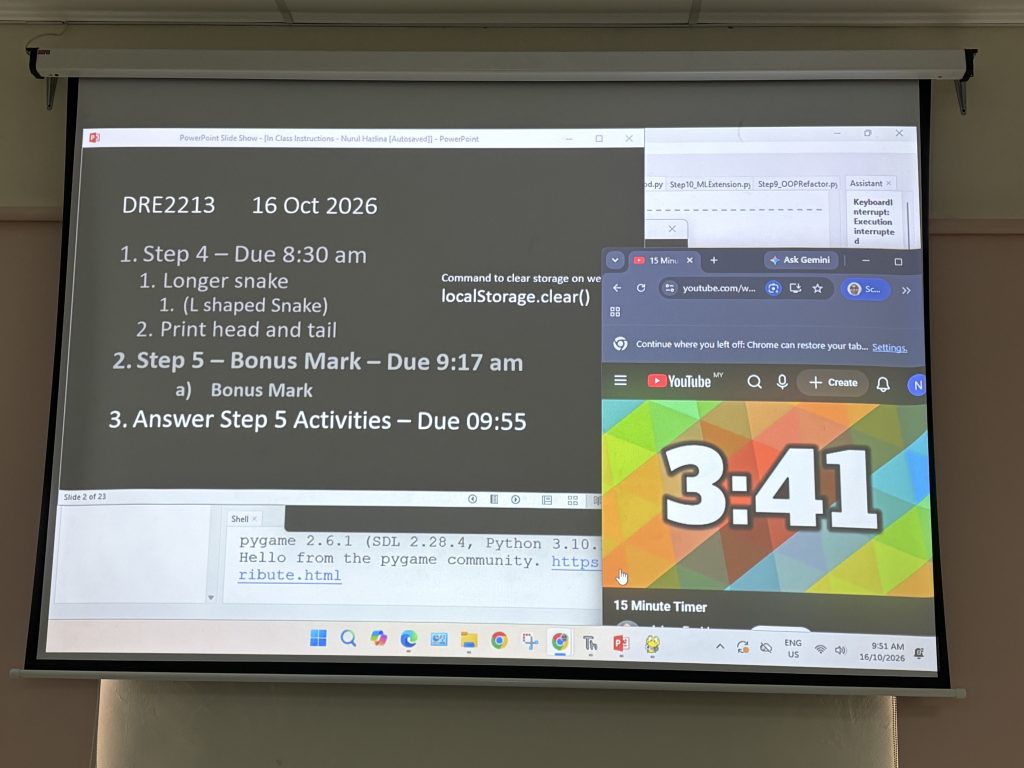
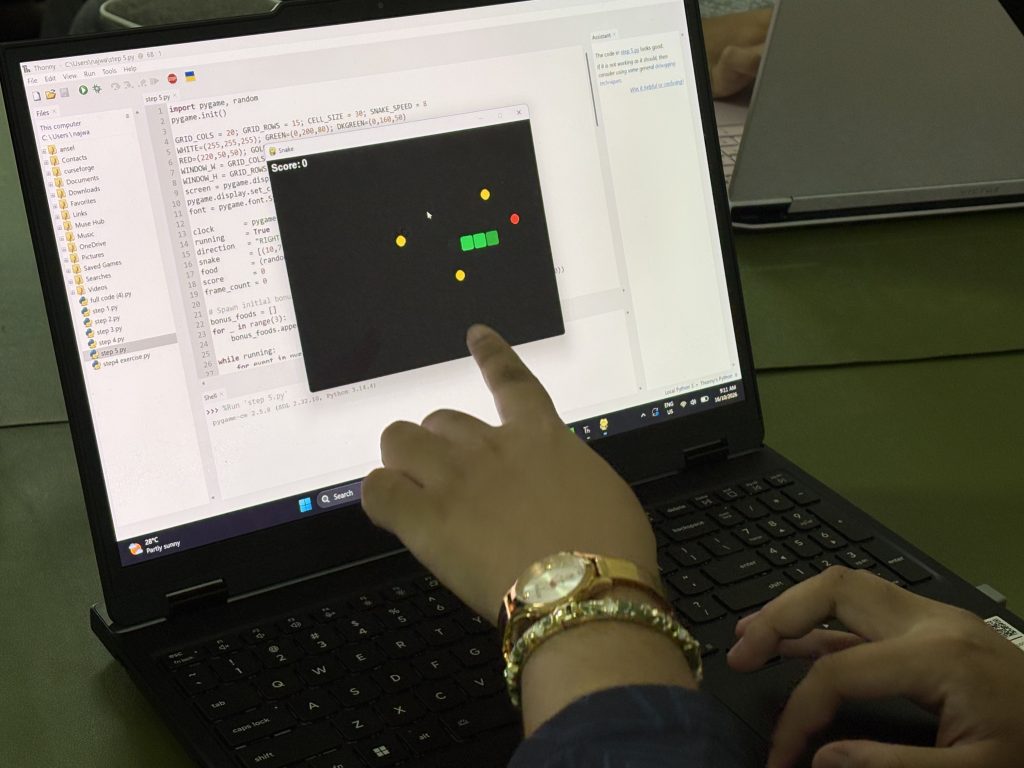
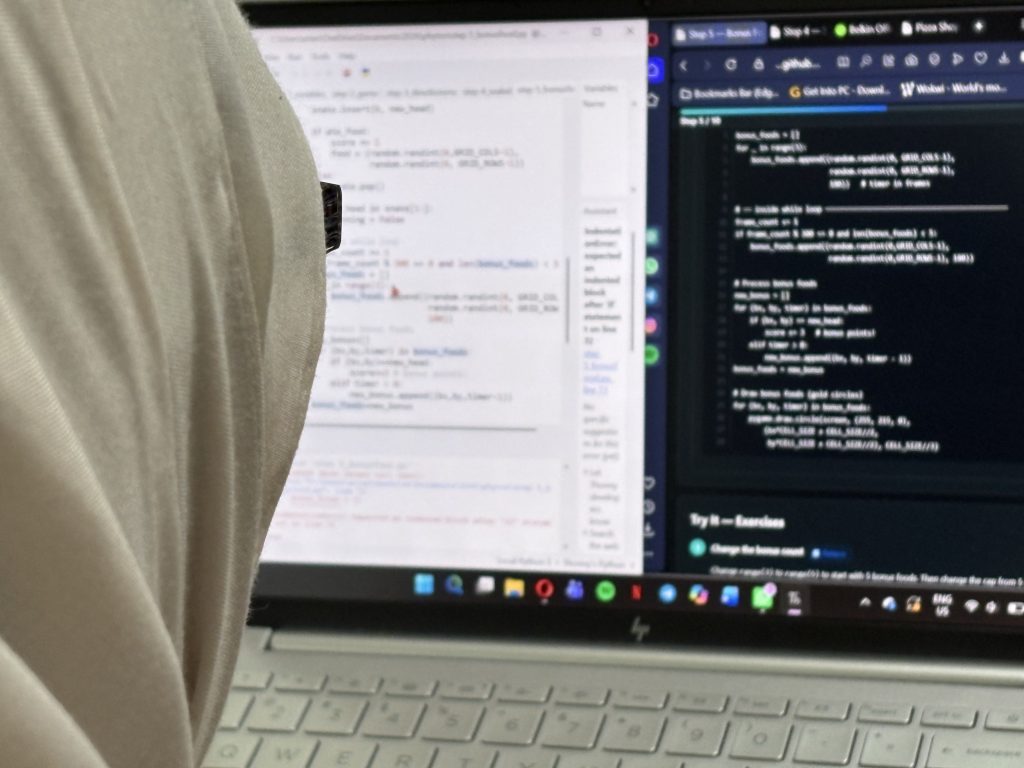
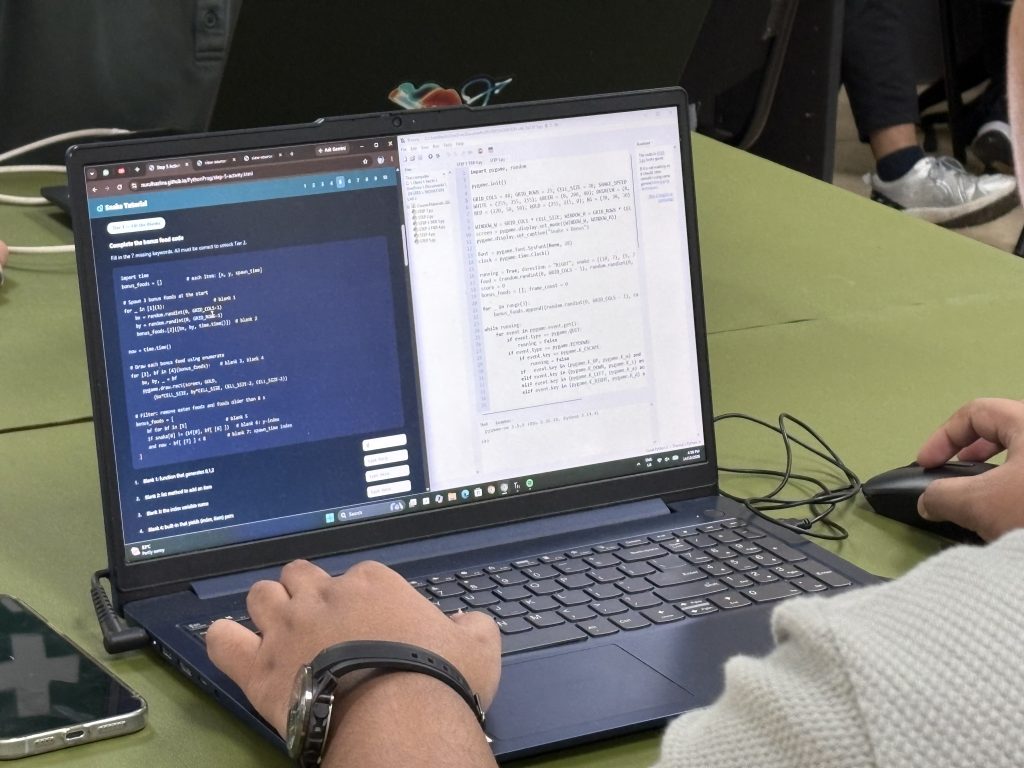
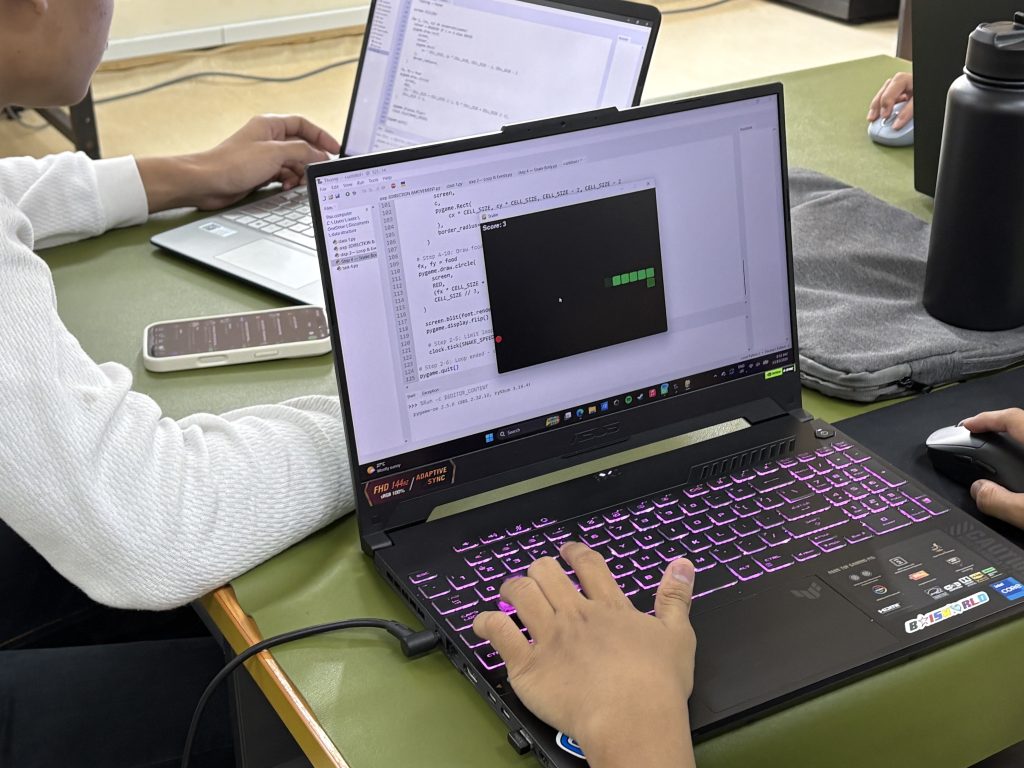
If Steps 2 and 3 were the week the snake first moved, then Steps 4 and 5 were the week it truly came alive. This session was the most cognitively demanding so far — and the most rewarding to watch unfold.

Step 4: Snake Body — Lists at Work

Until this point, our snake was just a head: a single (col, row) tuple gliding across the grid. Step 4 is where it grew a body, and with it came the first real encounter with lists.

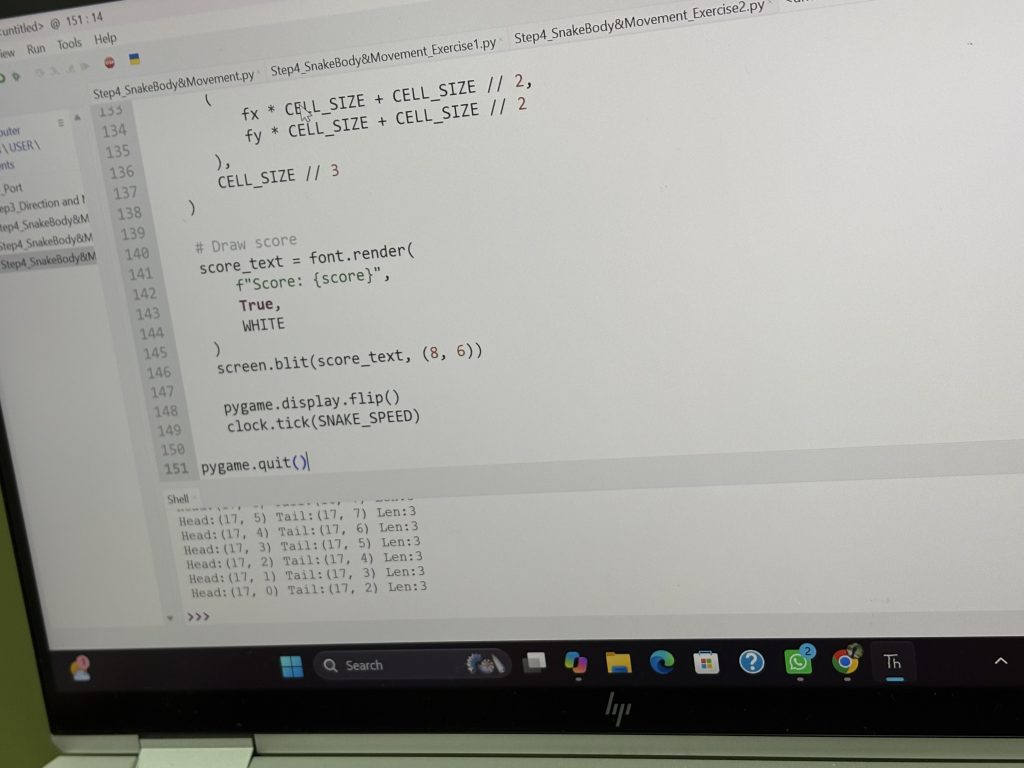
The central idea is elegant: the snake’s body is a list of tuples — [(col, row), (col, row), …] — where index 0 is always the head. Every move, a new head is calculated from the current direction and inserted at the front of the list with snake.insert(0, new_head). Then, if no food was eaten, the tail is removed with snake.pop(). The snake slides forward — growing from the front, shrinking from the back — without ever touching the middle.

Students initially found this hard to visualise. Why insert(0, ...) and not append()? The animated demo was invaluable here: watching the snake body update frame by frame made it clear that the newest position must always sit at index 0. Once students understood that, the logic clicked.

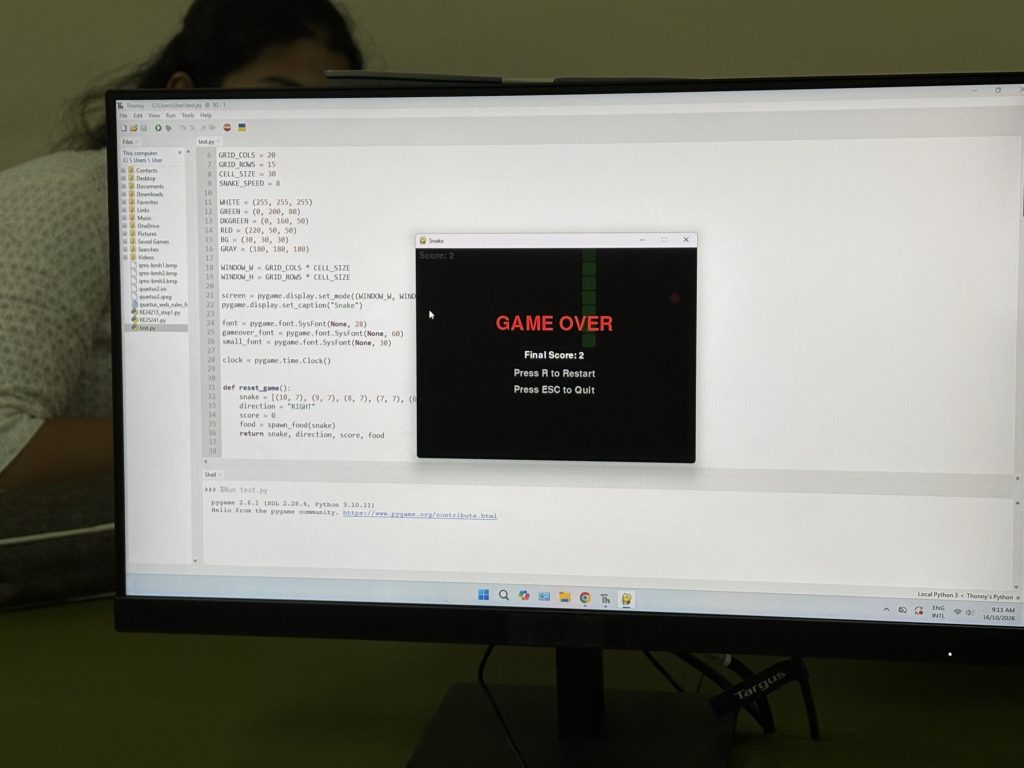
Collision detection with the body itself was the sharpest moment of the step. The check is simple — if new_head in snake_body[1:] — but the reasoning behind [1:] sparked real discussion. Why skip index 0? Because the head has not been inserted yet at the point of checking. Several students independently spotted this edge case before I mentioned it. That kind of anticipatory thinking is exactly the pattern recognition we are building toward.

The CT Activity on the homepage — clicking the body components to reveal their Python concepts — proved its value here. Students who had explored it in Week 1 arrived with the word “list of tuples” already in mind. The scaffold paid off.

Step 5: Bonus Food — Timers, For Loops & Modulo

Step 5 introduced the bonus food mechanic: a golden star ⭐ that spawns periodically, scores 3 points, and disappears after a countdown. It is a small feature with a large conceptual payload.

The bonus food is stored as a list of tuples with a timer: (col, row, timer). Every frame, a for loop walks through the list, counts down each timer by 1, and removes any item whose timer has reached zero. Students had just learned insert() and pop() — now they were filtering a list inside a loop, which required thinking about iteration and removal at the same time.

The spawning logic introduced the modulo operator in a meaningful context: if frame_count % 300 == 0: spawn_bonus(). Before this, % was an abstract arithmetic operator. Here it became a clock — a way of asking “has enough time passed?” Students immediately grasped it: “Every 300 frames, the condition becomes True — like an alarm going off.”

The bonus food also made score strategy visible. Students playing the demo noticed that chasing the bonus star is riskier — it often appears in a corner, and the snake’s growing body makes sharp turns treacherous. Several started thinking about whether a 3-point bonus is worth the collision risk. That is algorithmic thinking applied to decision-making, not just code.

What We Observed This Week

Steps 4 and 5 are the first cognitive hotspots in the module — the points where students are most likely to feel stuck. And they did. But the sticking was productive. Watching students trace through a list with their finger on the screen, muttering insert… pop… check…, was evidence of real engagement with the data structure, not just the syntax.

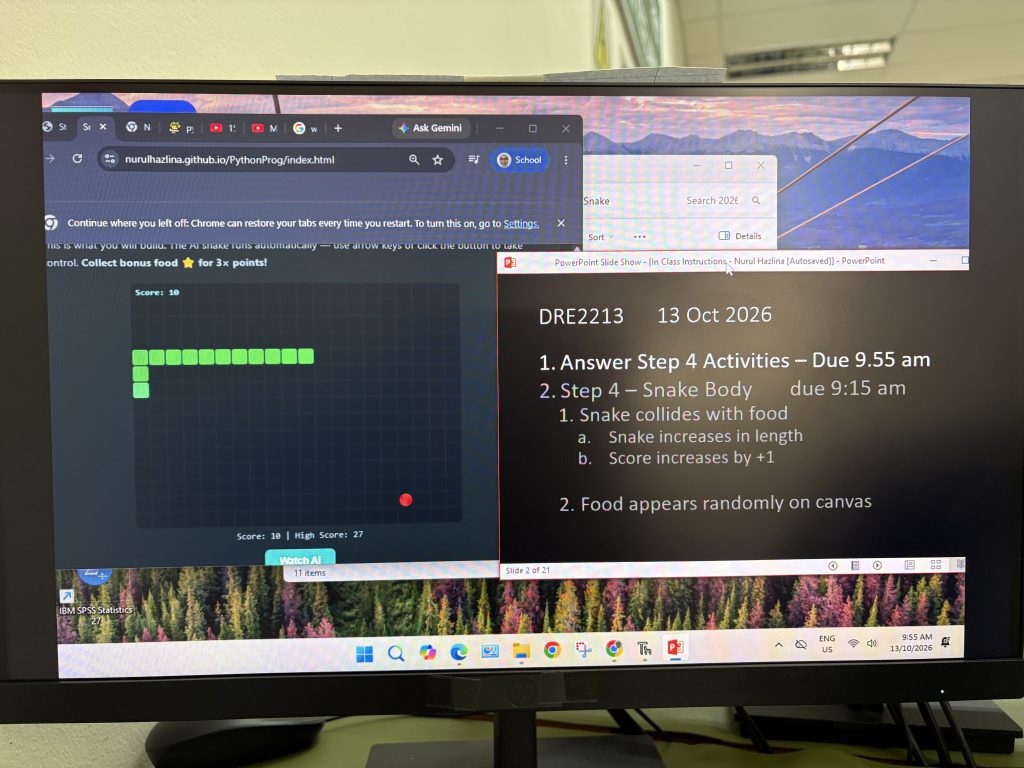
The animated snake on the tutorial page carried more weight this week than any previous session. Because the body grows and the bonus food fades in and out, students had a concrete target to aim for. Every line of code they wrote had an observable effect they had already seen working.

Next: Steps 6 & 7

Step 6 refactors the growing codebase into functions — a step about organisation and the DRY principle. Step 7 then introduces wrap-around movement using the modulo operator, now familiar from Step 5. The groundwork laid this week will pay forward directly.

Week 2 – DRE2213 / BTE1522 – Step 2 (Loops), Step 3 (Movements)

There is a moment in every programming class that I look forward to most — the moment a student’s code stops being text on a screen and becomes something alive. This week, in Steps 2 and 3 of our Snake Game Python tutorial, that moment arrived. Step 2: The Game Loop — Where It All … Continue reading “Week 2 – DRE2213 / BTE1522 – Step 2 (Loops), Step 3 (Movements)”

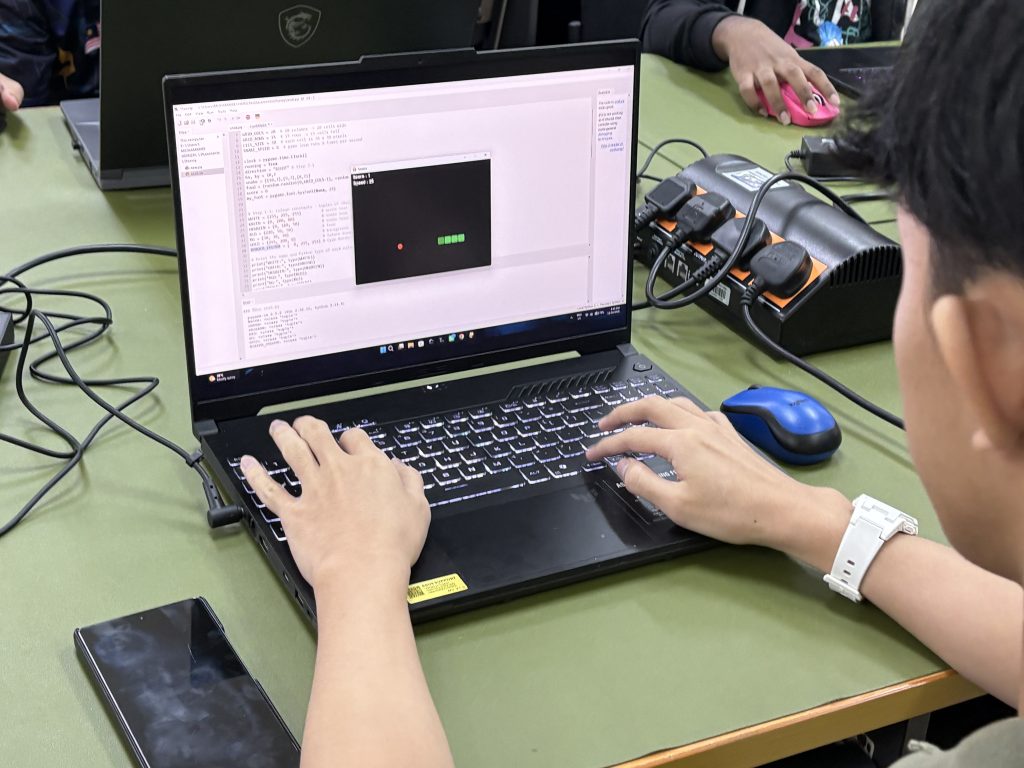
There is a moment in every programming class that I look forward to most — the moment a student’s code stops being text on a screen and becomes something alive. This week, in Steps 2 and 3 of our Snake Game Python tutorial, that moment arrived.

Step 2: The Game Loop — Where It All Begins

We started from the loop. Before this session, students had a window and a grid — static, silent, waiting. Step 2 introduced the while loop that makes the game breathe: the game loop. Every frame, the loop reads events from the keyboard, updates the game state, and redraws the screen.

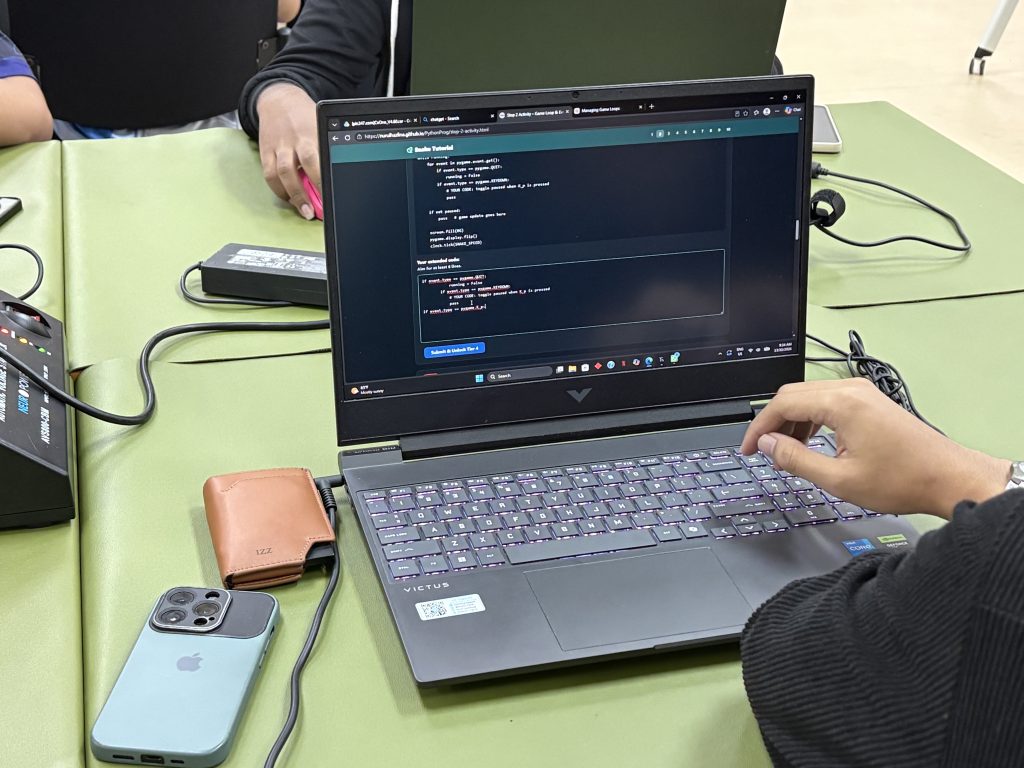
What made the difference this week was the live animated demo built into the tutorial page. Students could see the AI-controlled snake running in real time before writing a single line of code. As we walked through the structure — while running: → for event in pygame.event.get(): → clock.tick(FPS) — students could map each line directly onto the snake’s behaviour they had just watched. When I explained that removing clock.tick() would make the snake blur across the screen too fast to see, one student immediately asked: “So the clock is like breathing — it controls the pace?” Exactly right.

The animation was not decoration. It was the bridge between code and concept. Students arrived already holding a mental model of what the loop does; we just needed to show them the Python that describes it.

Step 3: Direction & Movement — The Syarat for Movement

Step 3 is where computational thinking deepened. The snake needed to move in response to arrow keys — but not just any key press. The snake cannot reverse direction: pressing LEFT when moving RIGHT must be ignored.

This is where we introduced syarat — conditions. The if / elif chain that maps key events to direction changes became the centrepiece of the lesson. Students had to think through the logic before writing it:

“If the UP key is pressed — but only if we are not already moving DOWN — change direction.”

That one sentence is a boolean condition. Many students initially wrote code that let the snake reverse into itself. Watching the game crash the moment they pressed the wrong key was, genuinely, the best teaching moment of the session. The animation made the bug visible: the snake folded back on itself and the game ended. No abstract error message — just immediate, observable consequence.

We then walked through the guard condition: if new_direction != opposite(current_direction). The word syarat resonated well — it is exactly a precondition, a rule the movement must satisfy before it is allowed. Students began to see conditionals not as syntax but as rules of a system.

What We Observed

By the end of the session, students were no longer reading code line by line — they were reading it as behaviour. “This part checks the event. This part updates direction. This part moves the head.” The animated snake on screen gave them a reference point for every function. Several students stayed back to try making the snake move faster by adjusting FPS, which is precisely the kind of experimental curiosity the module is designed to encourage.

The Computational Thinking activities — the decomposition cards and the algorithm sequencer on the home page — also helped ground abstract ideas before students touched the code. Naming the game loop’s steps in order (“Read keys → Calculate new head → Check collision → Draw”) before implementing them gave students a plan, not just a task.

Coming Up: Step 4

Step 4 — Snake Body — is where cognitive demand rises sharply. Lists, insert(), pop(), and collision detection with the body itself. Based on this week’s engagement, students are well-positioned. They understand the loop, they understand conditions, and they have seen the game reward correct logic in real time.

That, for now, is the best foundation we could ask for.

BTE1522

DRE2213

Week 1 – DRE2213 / BTE1522 – Class On Boarding and Step 1

Onboarding, Pre Survey, Basic Concepts in Python Programming. Game Canvas, Snake Creation. Have a shot – Play With It This week, we started building the foundation for our programming journey. Before we can create a complete game or work with sensors, we first need to understand how to communicate with a computer through code. Setting … Continue reading “Week 1 – DRE2213 / BTE1522 – Class On Boarding and Step 1”

Onboarding, Pre Survey, Basic Concepts in Python Programming. Game Canvas, Snake Creation.

Have a shot – Play With It

This week, we started building the foundation for our programming journey. Before we can create a complete game or work with sensors, we first need to understand how to communicate with a computer through code.

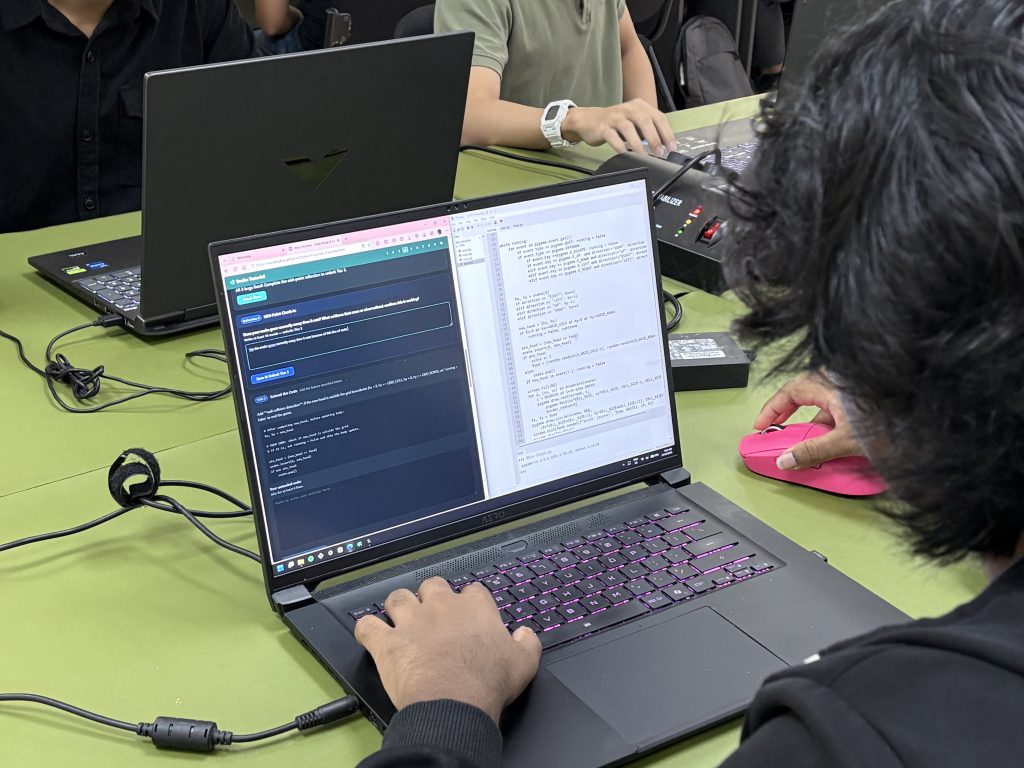
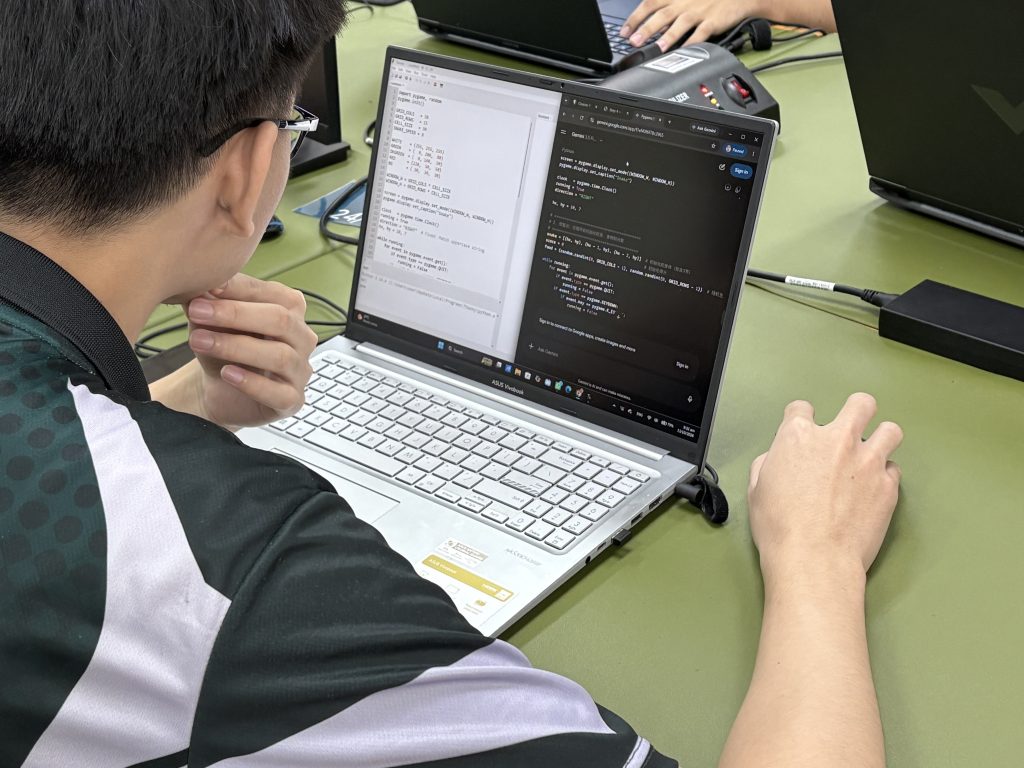
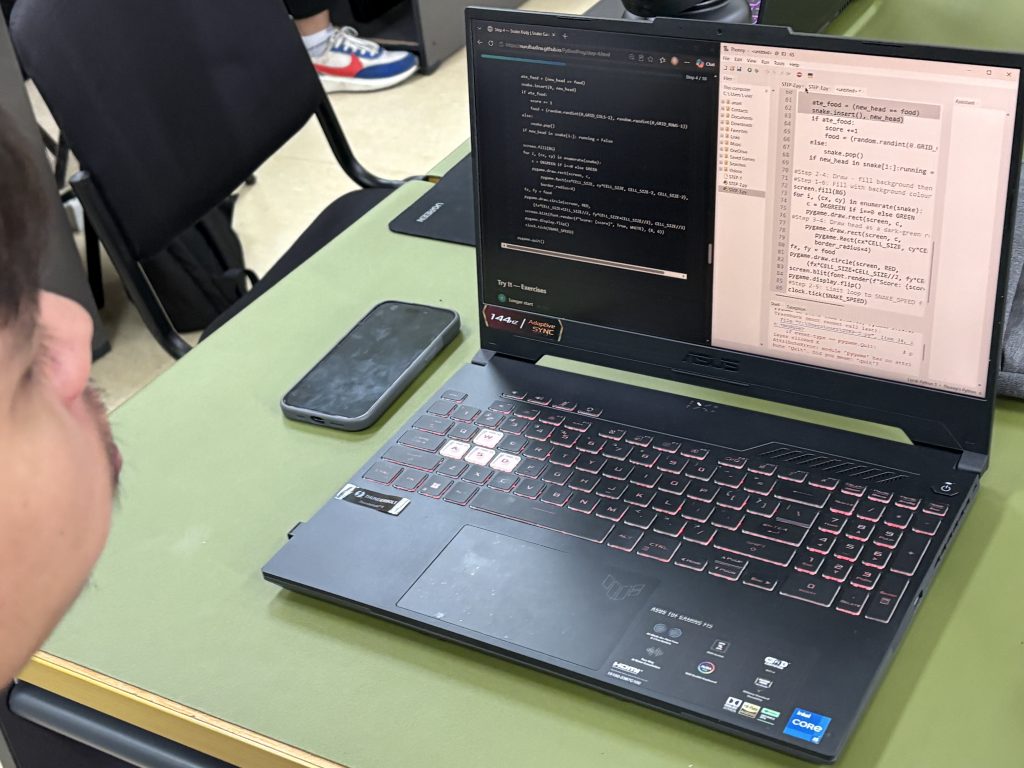
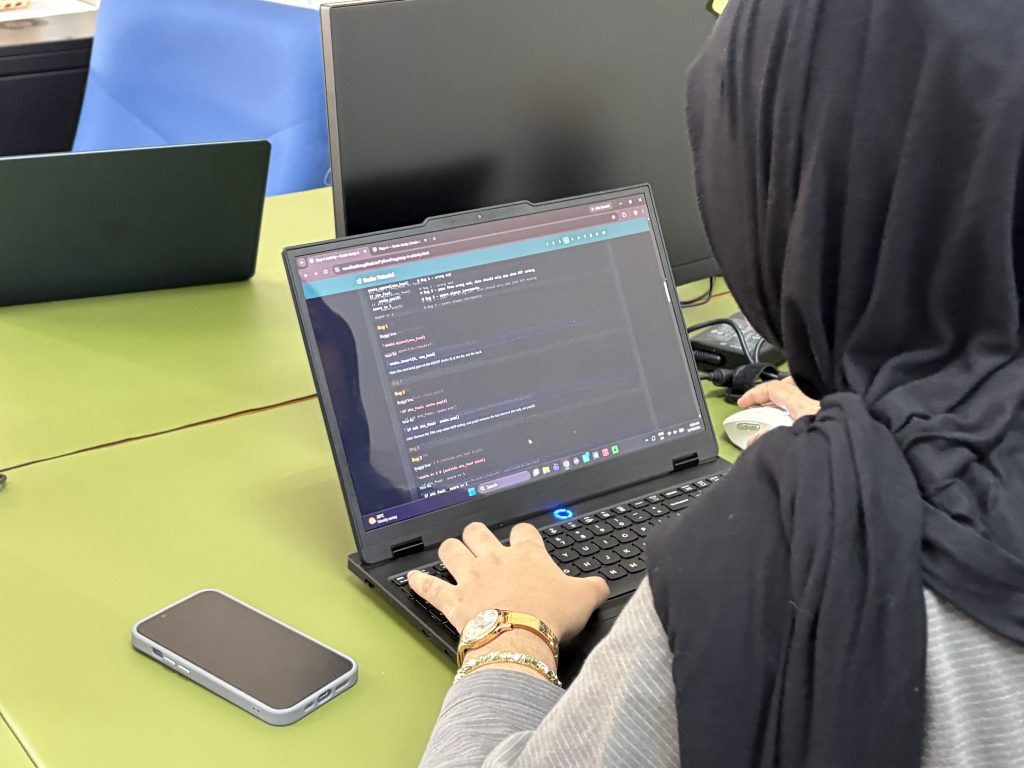
Setting Up: Thonny and Our First Game Window

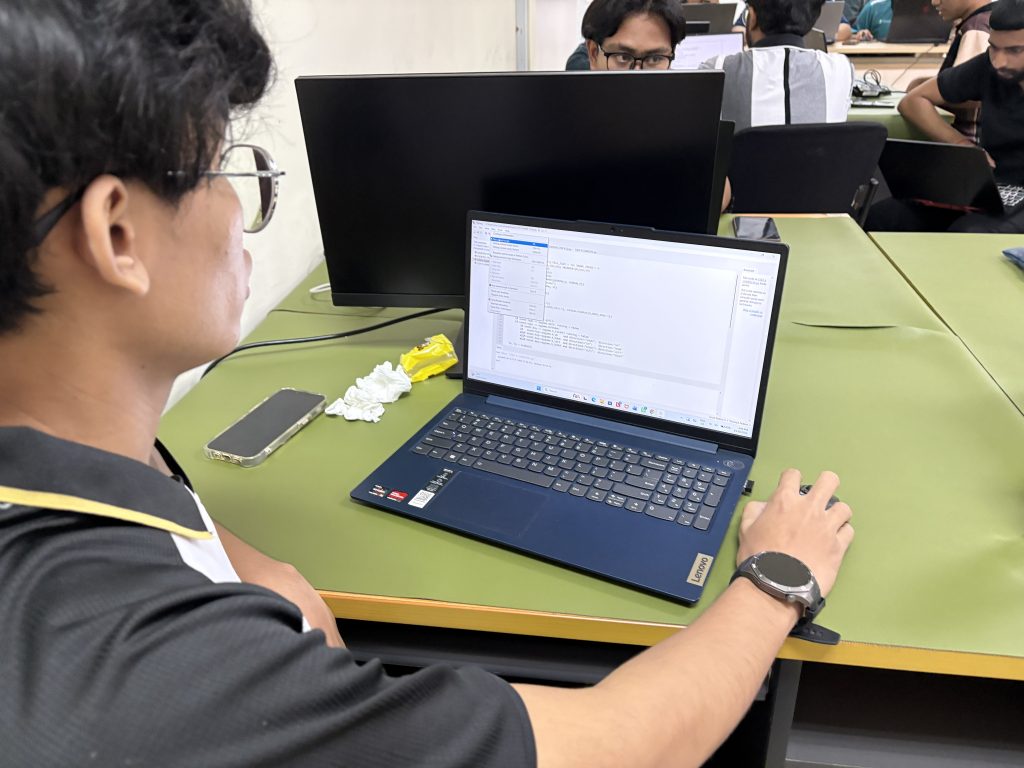
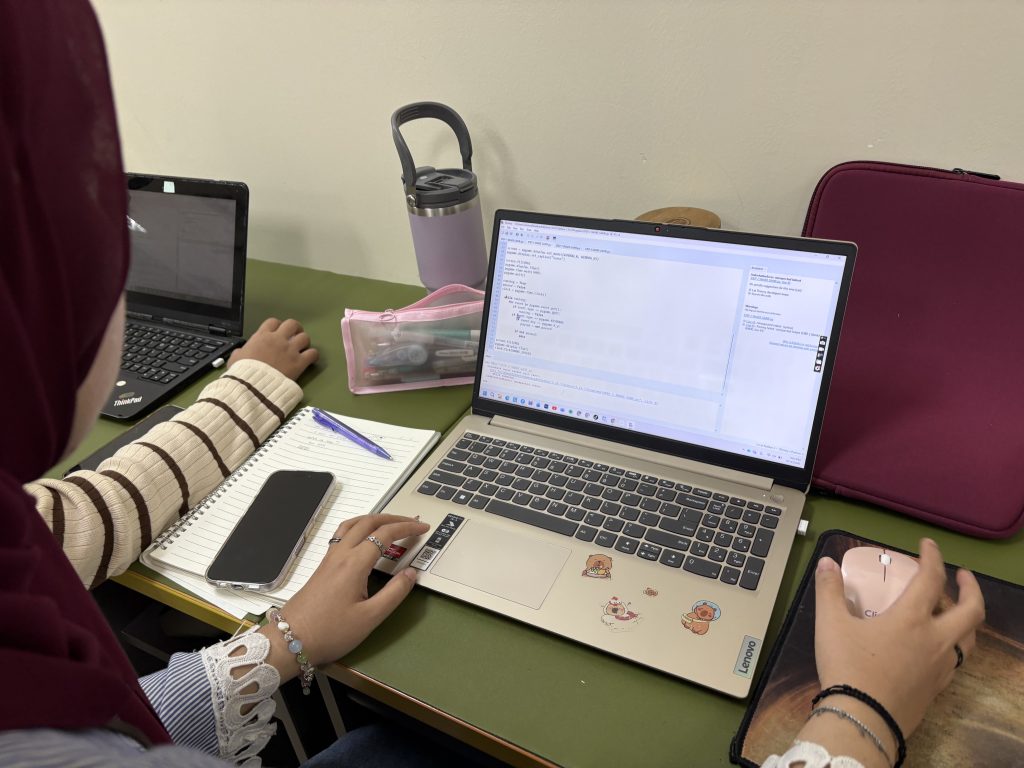
We began by setting up Thonny as our Python programming environment and getting our first game window running.

Along the way, we explored an important concept for game development: coordinates and pixels.

A screen can be thought of as a coordinate system where the position of an object is represented using values such as X and Y. Understanding coordinates will become increasingly important as we start moving our game objects in the coming weeks.

We also had our first look at colour representation using RGB values, which allows us to define colours digitally.

Step 1: Building Through a Tiered Activity

After completing Step 1, we moved into our first hands-on activity using the Fill-in → Debug → Extend → Create progression:

      1. Fill-in – Complete the missing parts of the code.
      2. Debug – Find and correct errors in the program.
      3. Extend – Modify the existing program to add or change something.
      4. Create – Use what you have learned to create your own solution.

Alongside these activities, we also included:

      1. Concept – What Python concept are you learning?
      2. Reflect – What did you discover, and what did you find challenging?

The idea is simple: don’t just make the code run—understand what you are doing.

Programming Is Like Talking to a Computer

Learning programming is, in many ways, like learning how to communicate or give instructions to a computer.

Computers are very precise. They follow the instructions we provide, but they do not automatically understand what we meant.

This week, you may have already noticed some important characteristics of Python:

      1. Python is case-sensitive.
      2. Spaces and indentation matter.
      3. Small typing differences can change the meaning of a program.
      4. The computer executes the instructions according to the code we provide.

These may seem like small details, but they form the basic “language rules” we need to follow when communicating with a computer.

A First Look at the Command Line

You may also have noticed that we started using CMD / Command Prompt when installing Python libraries.

This is another important skill.

Programming is not only about writing code inside Thonny. As we progress, you will encounter different tools and environments for installing libraries, running programs, and interacting with your development environment.

So, don’t be afraid of the command line =)

What’s Next?

For next week, we will continue our journey with Step 2 and Step 3 of the game development.

We will gradually introduce more programming concepts while continuing to build our game.

Remember:

Don’t rush to finish the game. Focus on understanding the code as you build it.

Important: Activity 1 Submission

Please make sure you submit Activity 1 through the web platform.

I will be referring to your Activity 1 submission for class attendance, so please make sure it is completed and submitted.

See you in Week 2!

Keep coding, keep debugging, and keep asking: “Why does this code work?”

DRE2213

BTE1522

Welcome on Board BTE1522 and DRE2213

Hi everyone, A warm welcome to all BTE1522 – Innovation and DRE2213 – Programming and Data Structure students! This semester, we are bringing a refreshed approach to learning programming. Both courses are designed to build your competencies in Python programming, innovation, and data structures—but instead of learning programming only through examples and exercises, we will … Continue reading “Welcome on Board BTE1522 and DRE2213”

Hi everyone,

A warm welcome to all BTE1522 – Innovation and DRE2213 – Programming and Data Structure students!

This semester, we are bringing a refreshed approach to learning programming. Both courses are designed to build your competencies in Python programming, innovation, and data structures—but instead of learning programming only through examples and exercises, we will be building, experimenting, troubleshooting, and making things work.


Phase 1: Learn Python by Building a Snake Game

We will begin with something familiar and fun: a Snake game.

As you build the game step by step, you will encounter and apply Python concepts such as:

      1. Variables and data types
      2. Lists and data structures
      3. Functions
      4. Loops
      5. Conditional statements
      6. Boolean logic
      7. Input and event handling
      8. Mathematical operations
      9. Game states and logic

The game is not simply the end product. The code is the learning environment.

When something does not work, you will troubleshoot it. When the snake behaves unexpectedly, you will investigate why. When you modify the game, you will need to understand what the existing code is doing.

That is where programming starts to make sense.

Phase 2: From Digital to Physical – Meet LilEx

Once we have built our programming foundation, we will move from the digital world into physical computing.

I am excited to introduce LilEx – the sensor node to the class.

Here, you will begin working with real sensors and real data.

You will learn how to:

SENSE → STORE → VISUALISE

You will read data from sensors, process and structure the data, store it in a database, and eventually present it through a dashboard.

This is where Python moves beyond the screen.

Your program will no longer simply move a character on a game window. Your code will interact with the physical world.

And What About AI?

Yes, you could ask AI to generate the Snake game.

You could also ask AI to generate the sensor code, database, and dashboard.

But that is not the main purpose of this semester.

For this phase of your learning, we will intentionally focus on developing the fundamental competencies step by step, without AI assistance during class activities.

Why?

Because I want you to experience the process of thinking through the code.

When you eventually use AI for a larger project, you should be able to look at the generated code and ask:

What does this code actually do?
Why does it work?
Is this the right solution?
How can I modify it?

That is very different from simply copying and running AI-generated code.

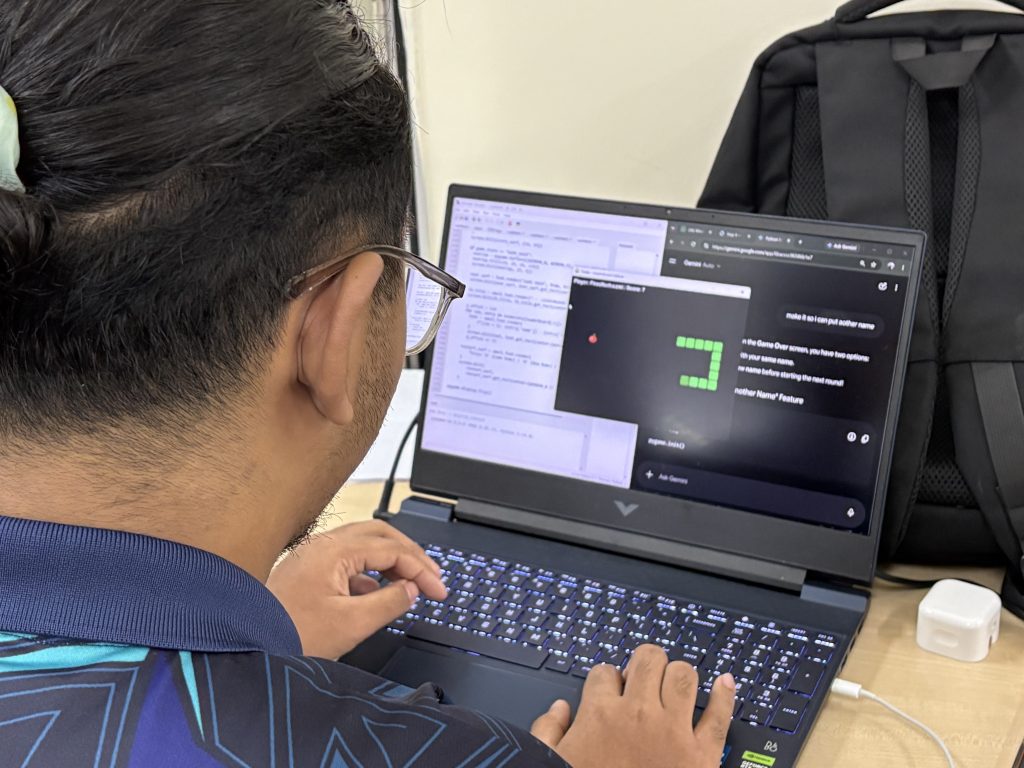
Code with AI, not code by AI.

AI can become a powerful learning and development partner—but first, we need to build the foundation that allows us to work with AI intelligently.

So, Welcome Aboard!

This semester will be about more than learning Python syntax.

It will be about building competency through making:

Learn → Build → Break → Troubleshoot → Understand → Improve → Create

From a Snake game to LilEx sensor-based systems, we will gradually move from digital programming to physical computing, data structures, IoT, and dashboards.

I am excited to have both BTE1522 and DRE2213 on board this semester.

Let’s learn, build, experiment—and see where your ideas take us.

Welcome to the class!

Raspberry Pi Programming 2026/1 – Mentor Training

*UMPSA STEM Lab Raspberry Pi Programming Synopsis can be found here. In the Raspberry Pi IoT session, 24 UMPSA mentors were introduced to the concept of the Internet of Things (IoT) using Raspberry Pi on the UMP STEM Cube, a pico-satellite learning kit specifically designed to facilitate engineering learning. The content covered basic digital input/output operations … Continue reading “Raspberry Pi Programming 2026/1 – Mentor Training”

*UMPSA STEM Lab Raspberry Pi Programming Synopsis can be found here.

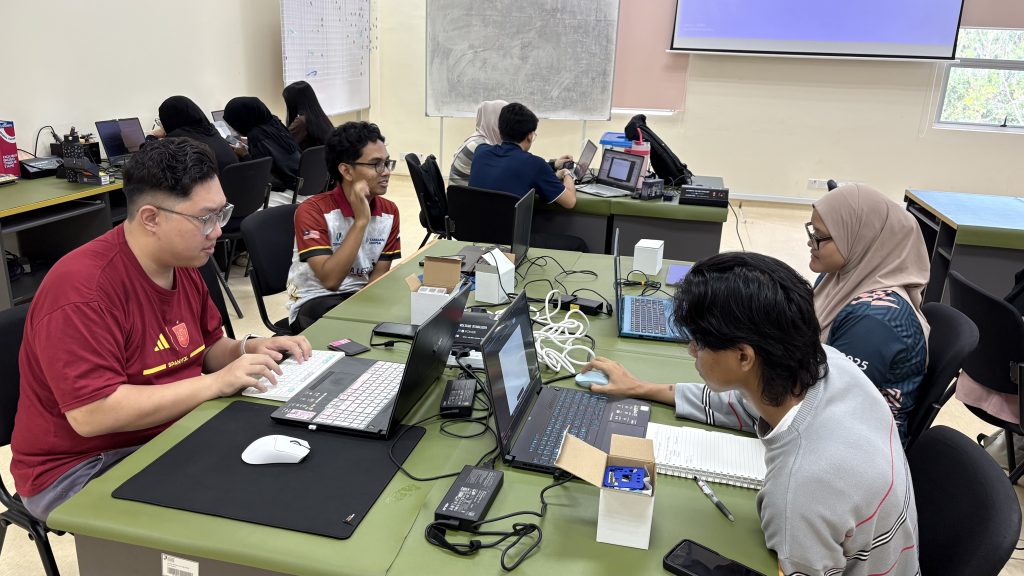
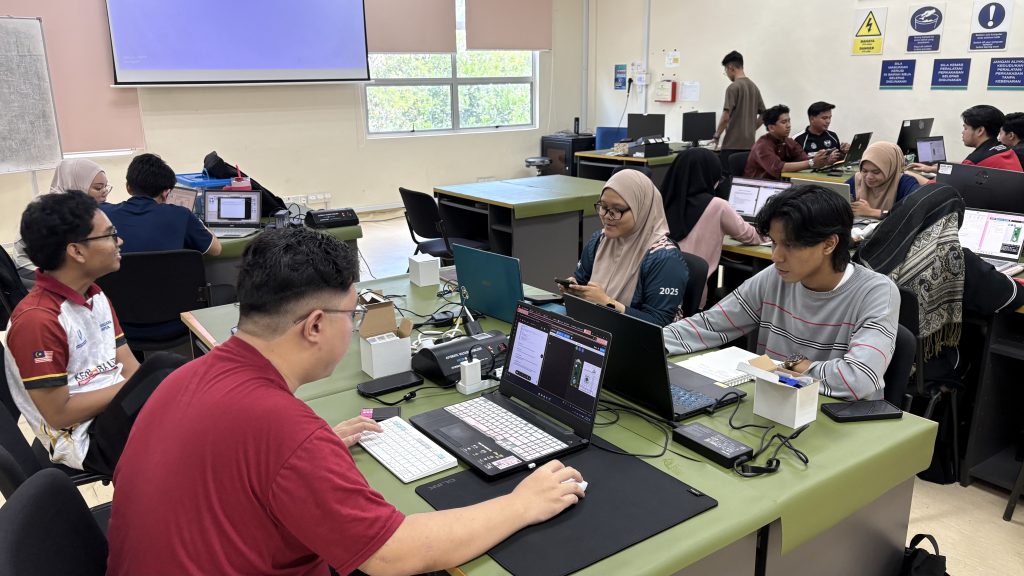
In the Raspberry Pi IoT session, 24 UMPSA mentors were introduced to the concept of the Internet of Things (IoT) using Raspberry Pi on the UMP STEM Cube, a pico-satellite learning kit specifically designed to facilitate engineering learning.

The content covered basic digital input/output operations on onboard LEDs, as well as topics such as dashboard design using gyro meter and BMU280 sensor data, including collecting and storing data in a cloud database. Participants learned to interface sensors with Raspberry Pi boards and develop IoT applications for real-world scenarios. The session provided students with valuable insights into IoT technology and its applications in various domains.

A special appreciation is extended to En Mohd Jamil Jaafar for coordination in facilitating communication between the participants and the UMPSA STEM Lab :).


IMG_4939

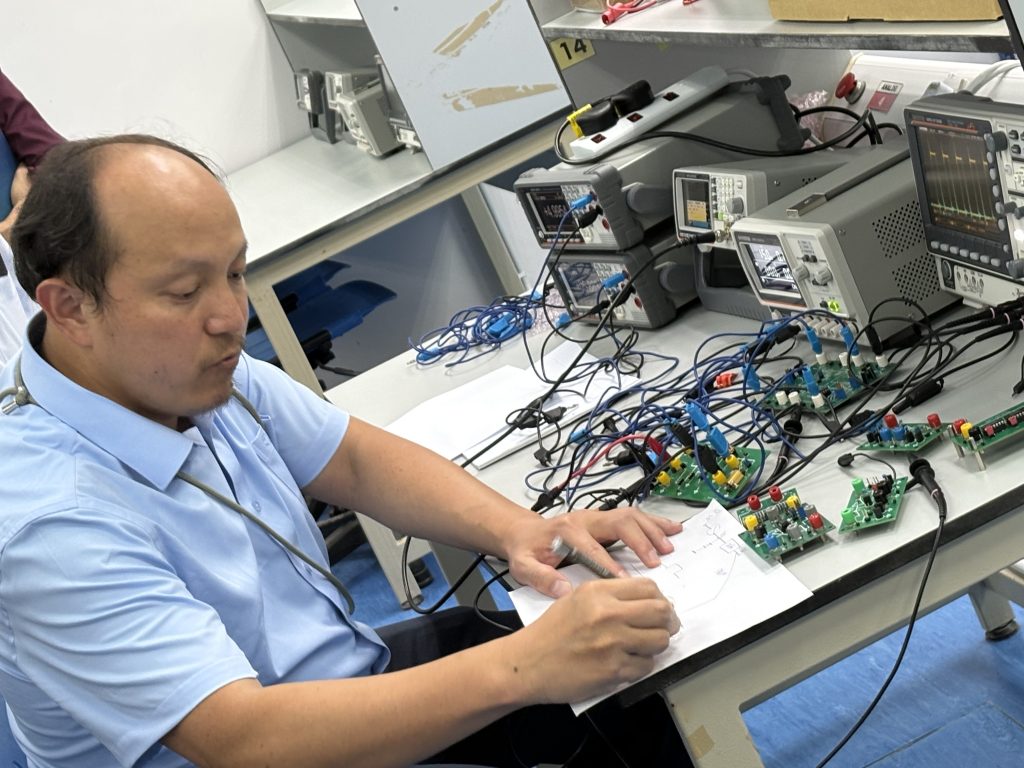
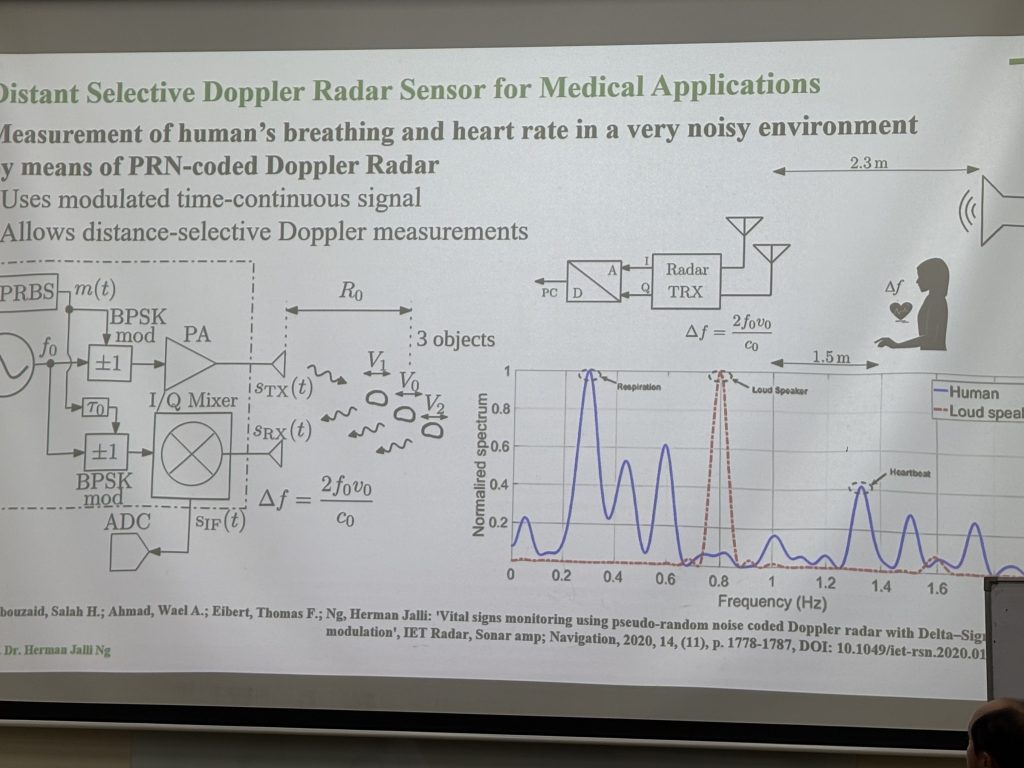
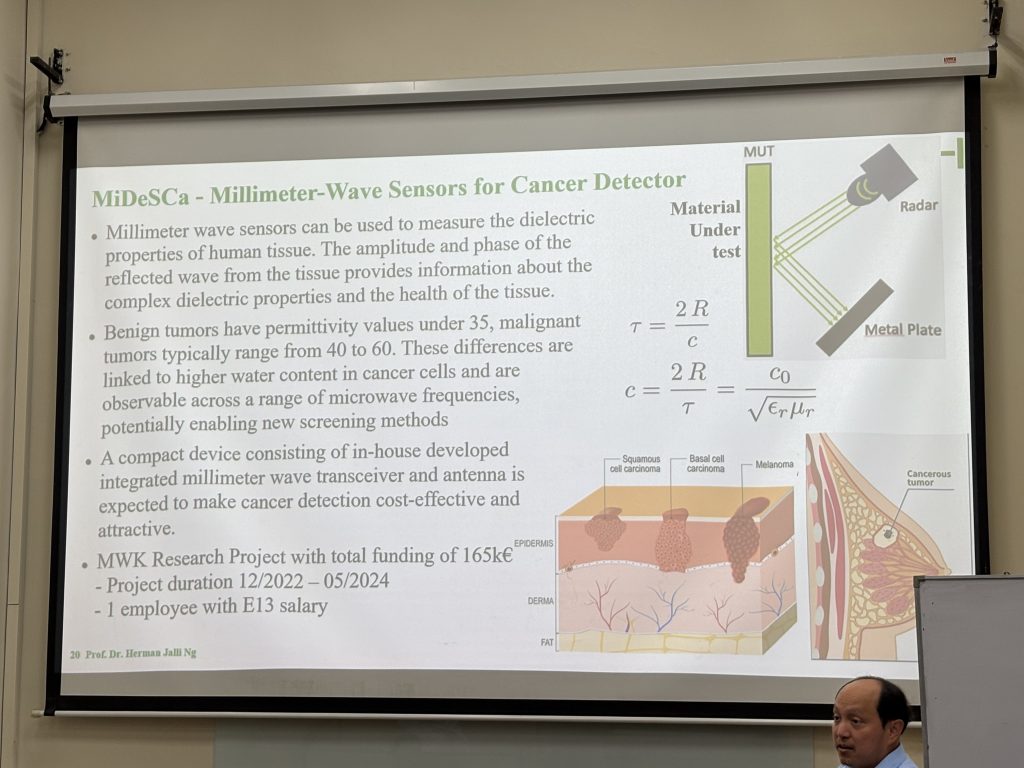
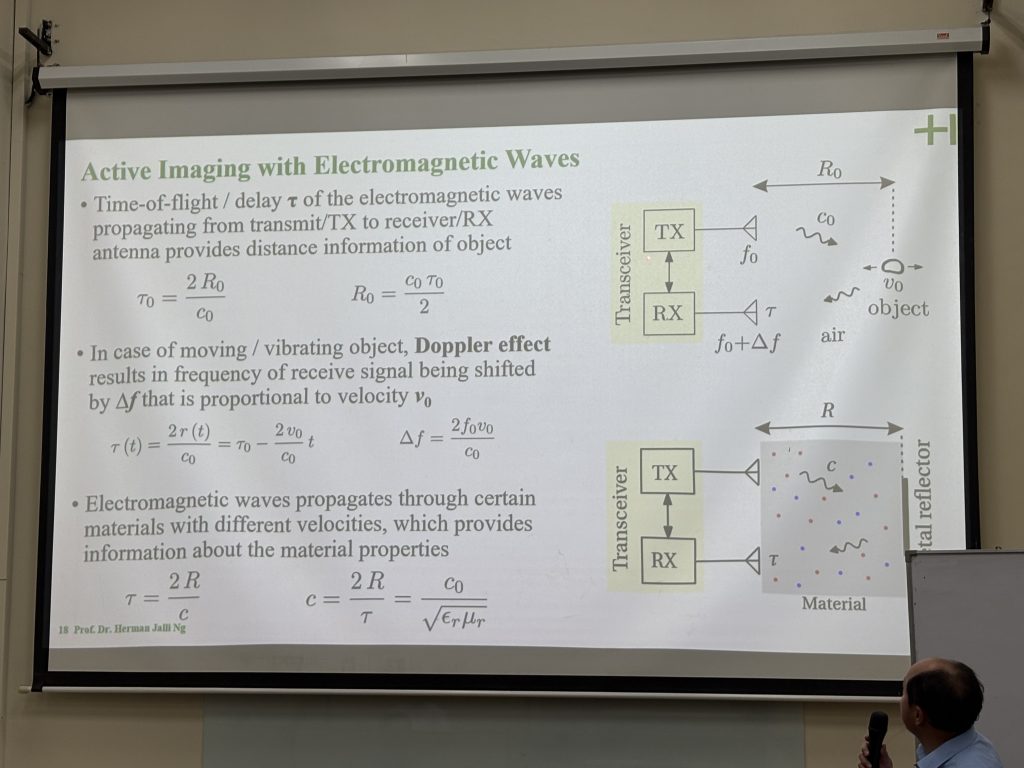
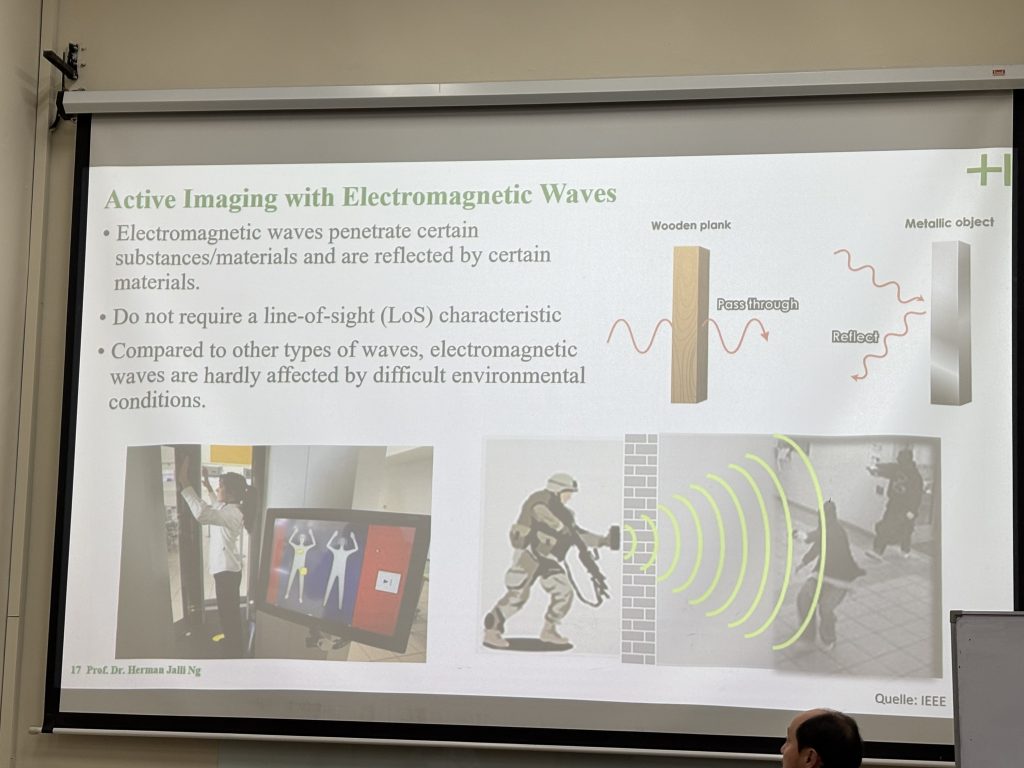
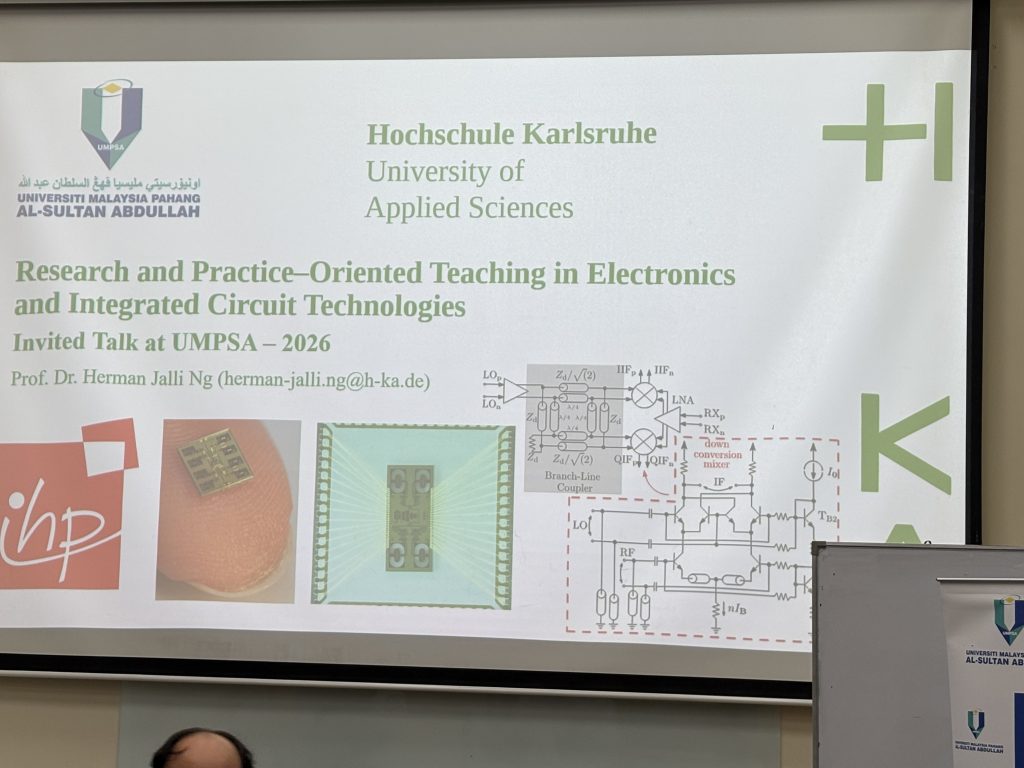
Learning from Practice – Reflections on a Sharing Session with Prof Hilman

I recently attended a sharing session by Prof Hilman on research and teaching technology in Electronic Engineering, and it left a strong impression, particularly in terms of how much care and thought he puts into his teaching. What stood out most was Prof Hilman’s creativity and long-term commitment to his classroom. Over the years, he … Continue reading “Learning from Practice – Reflections on a Sharing Session with Prof Hilman”

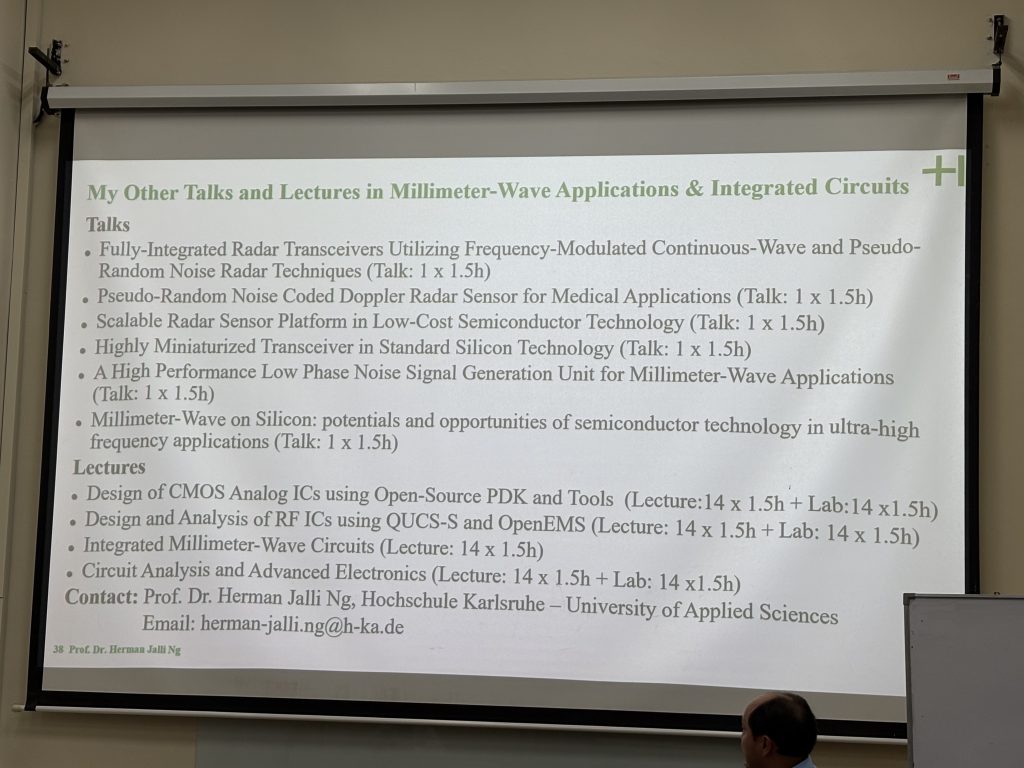
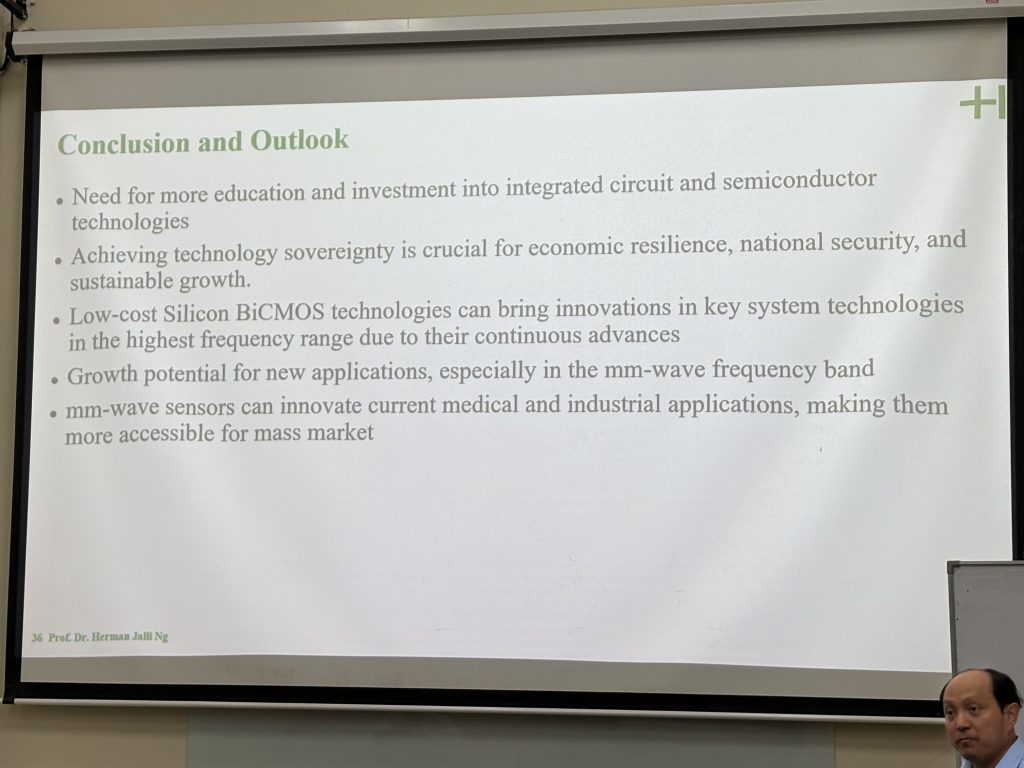
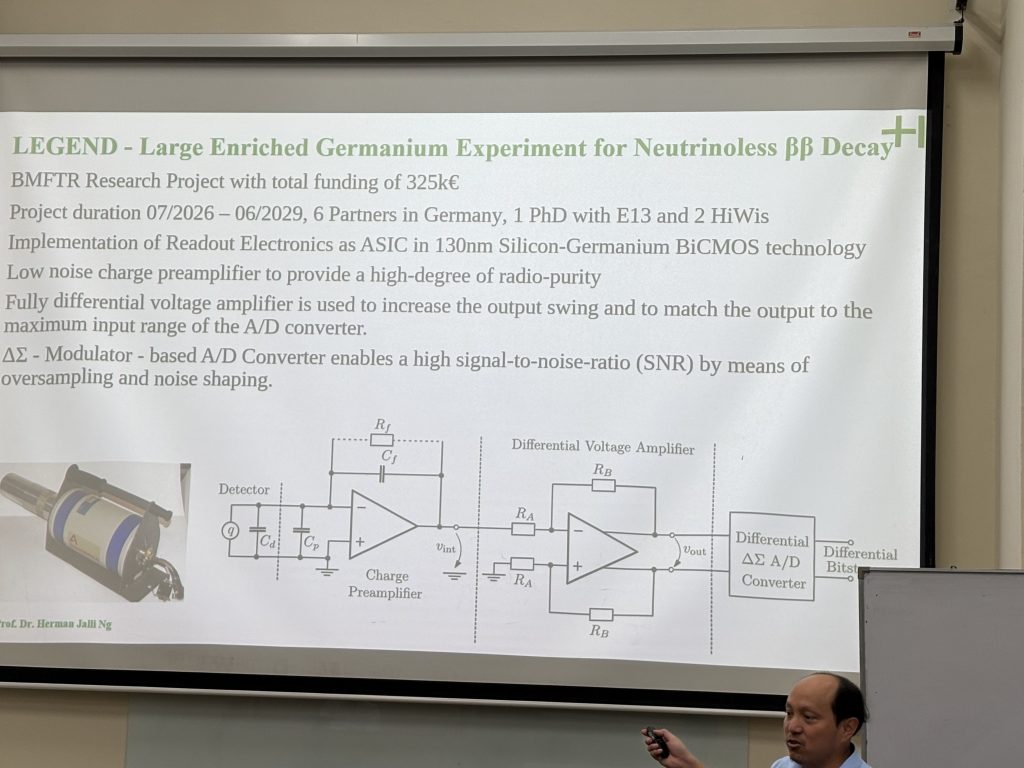
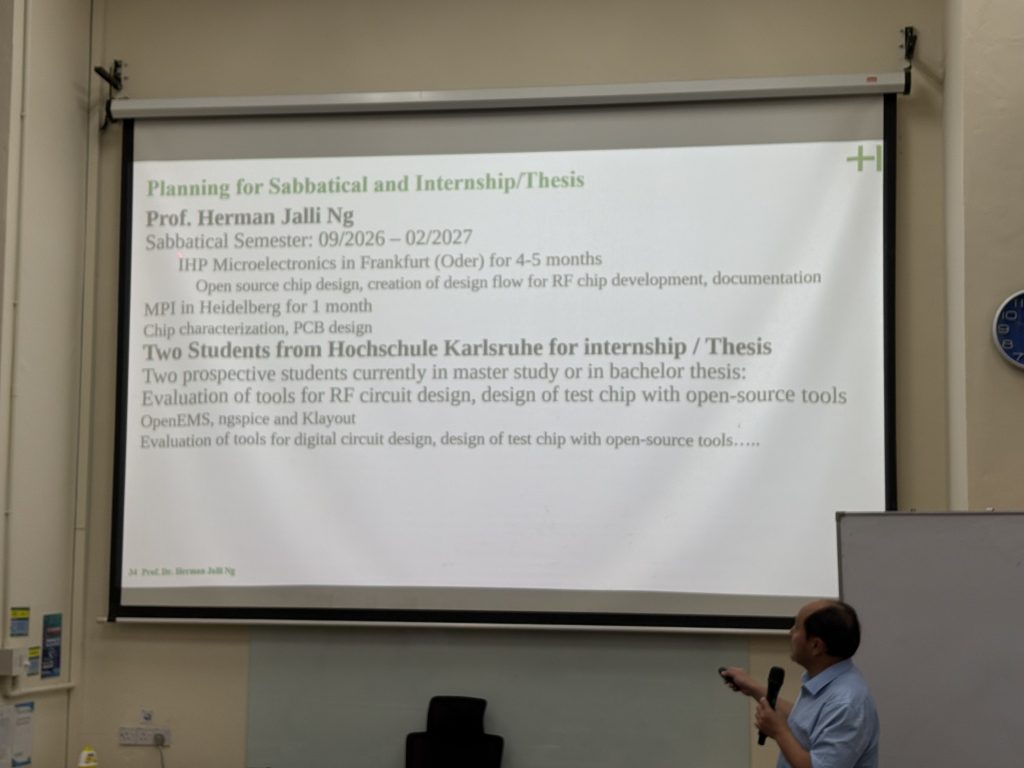
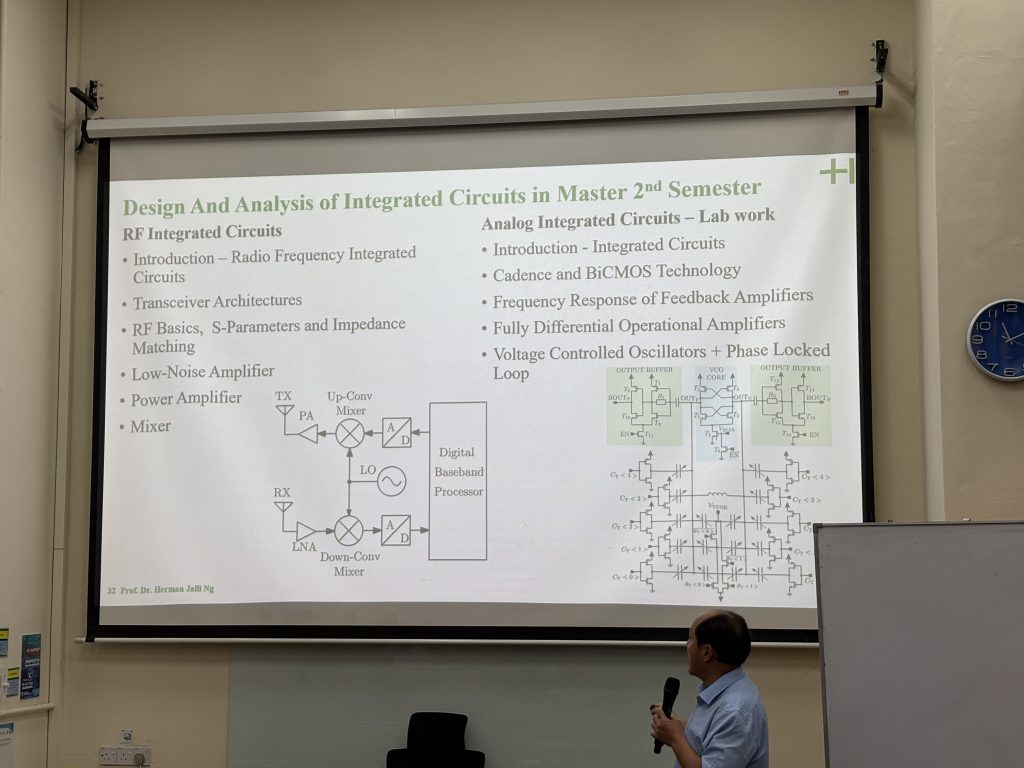
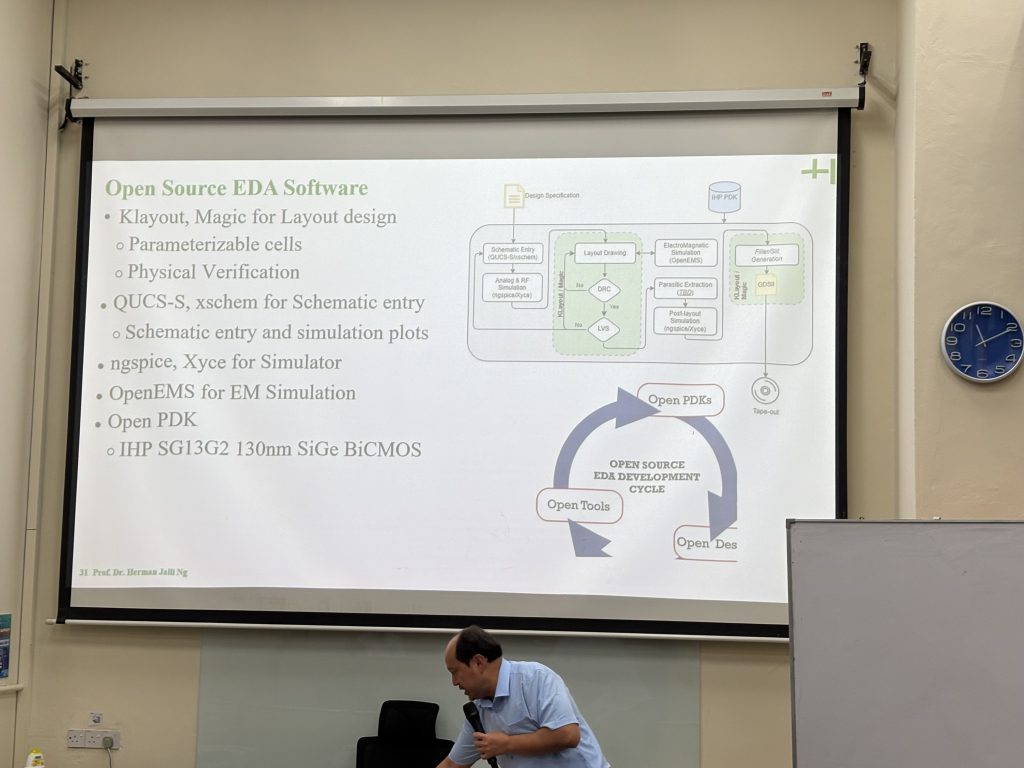
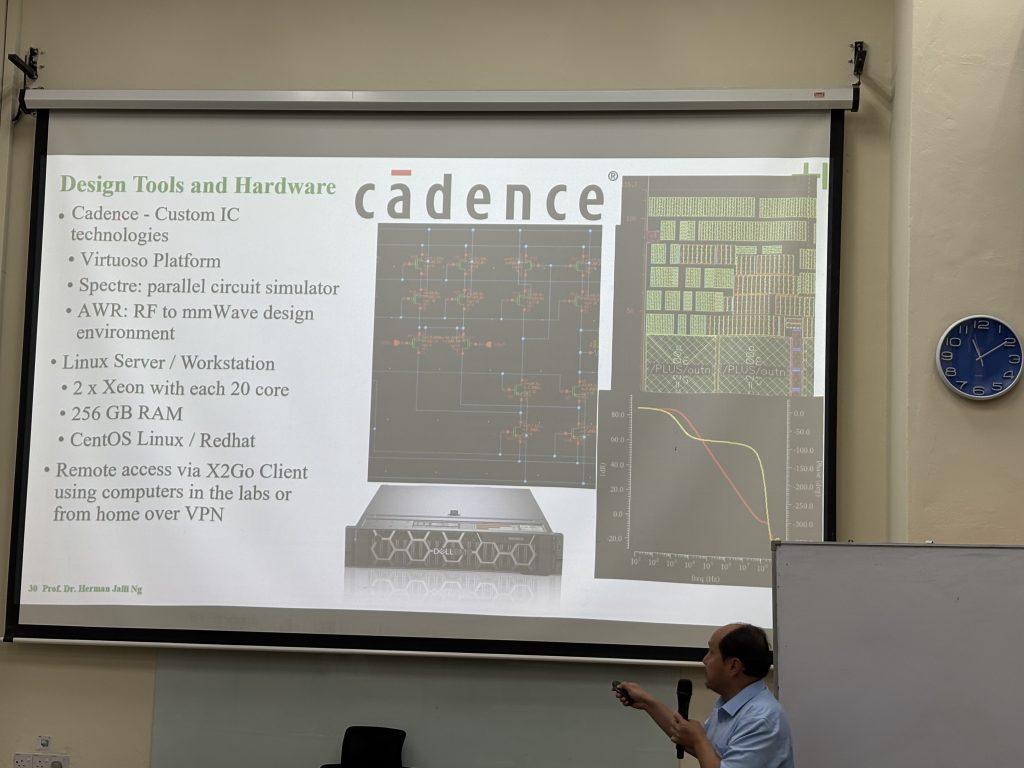
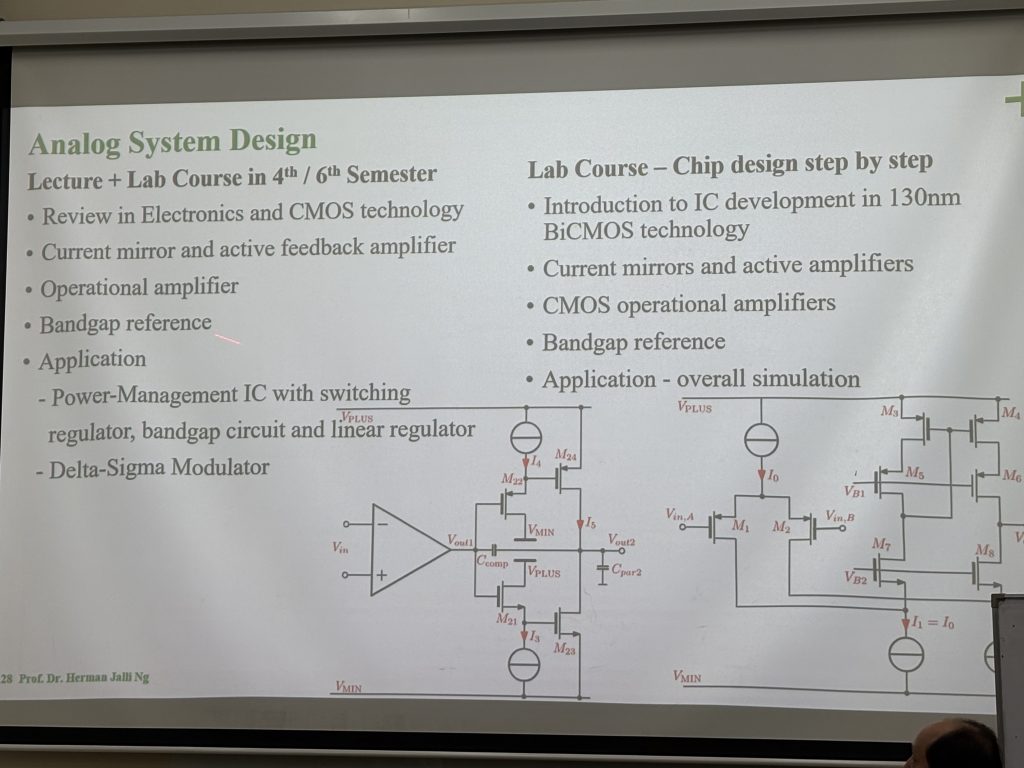
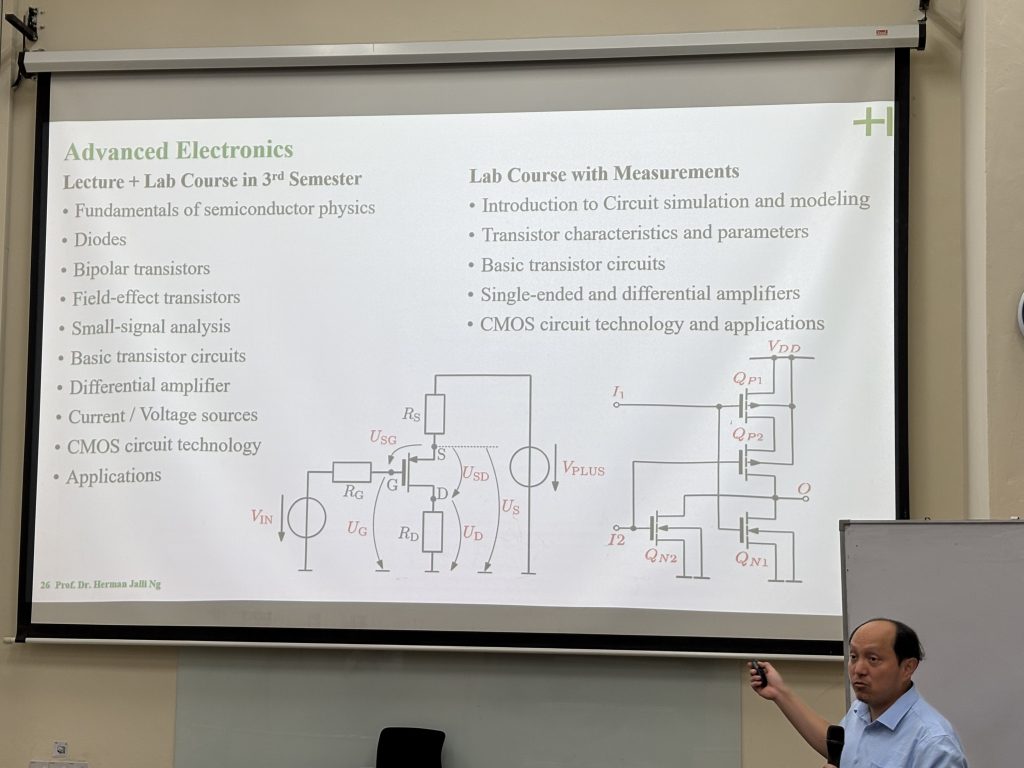
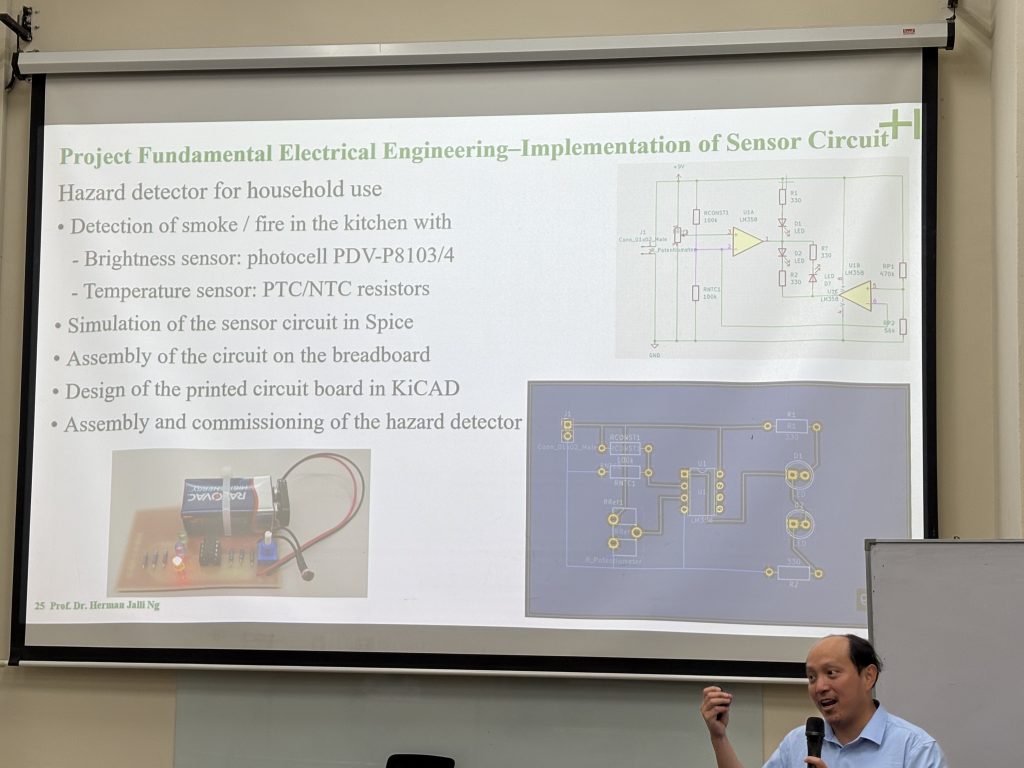
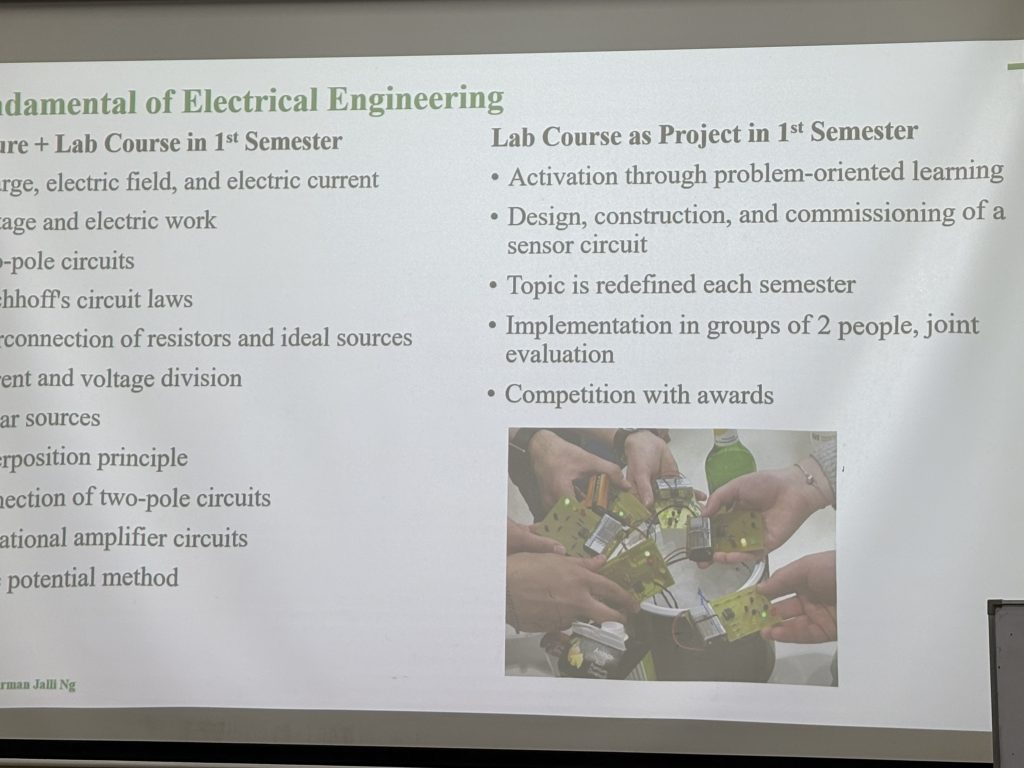
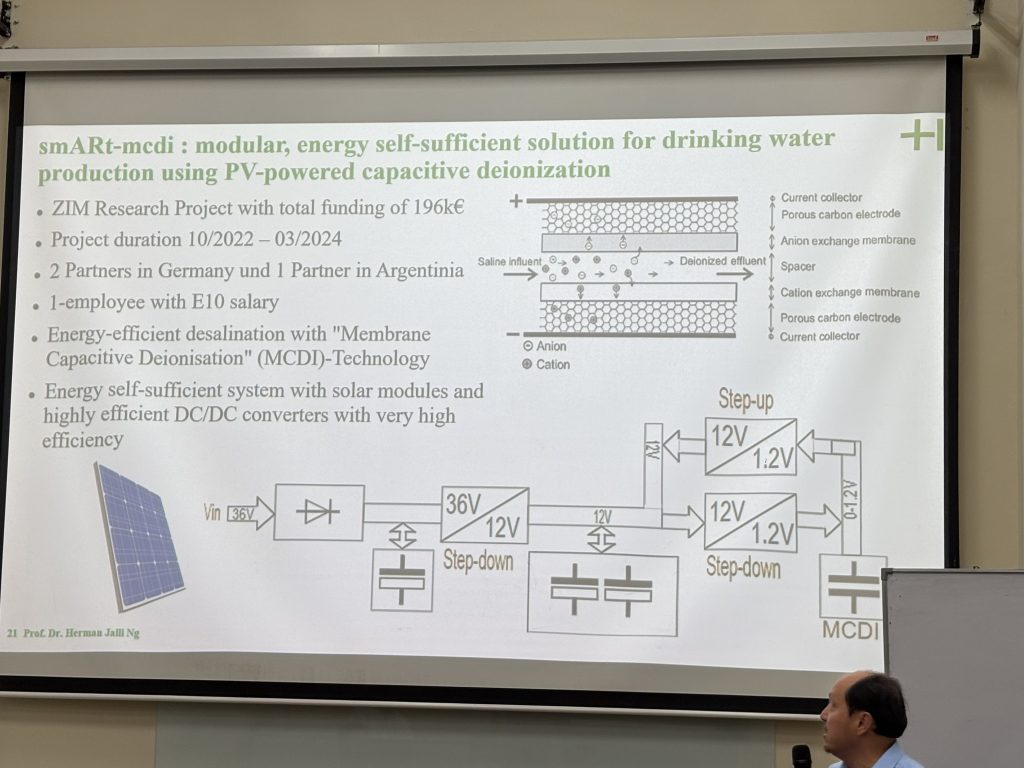
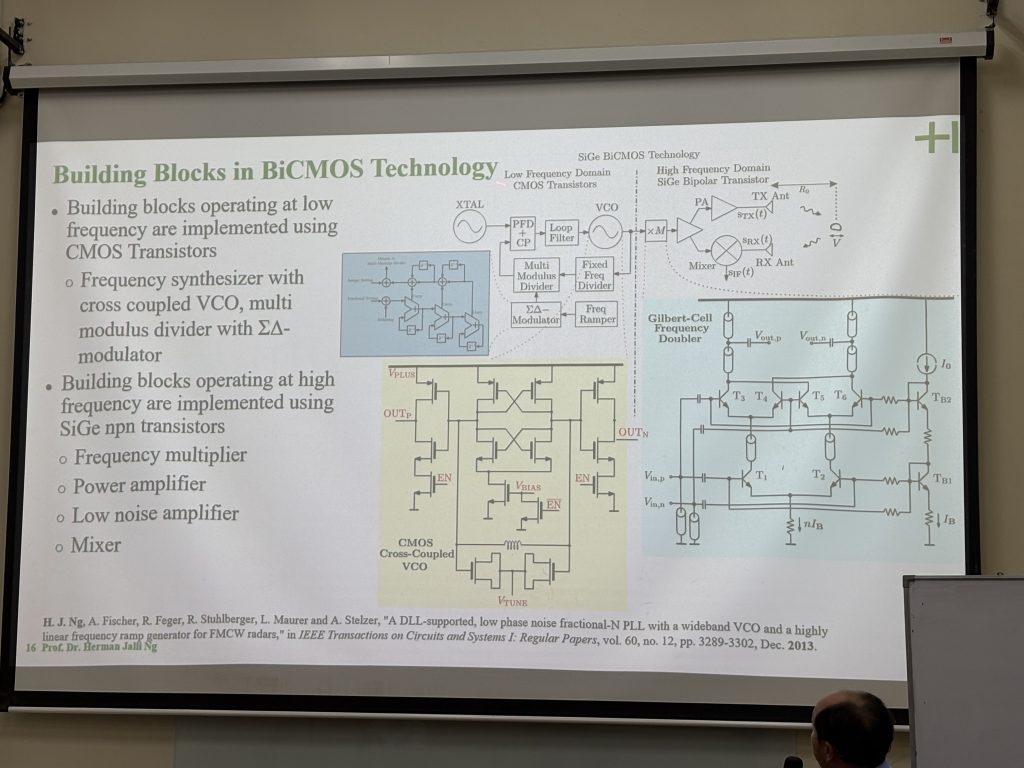
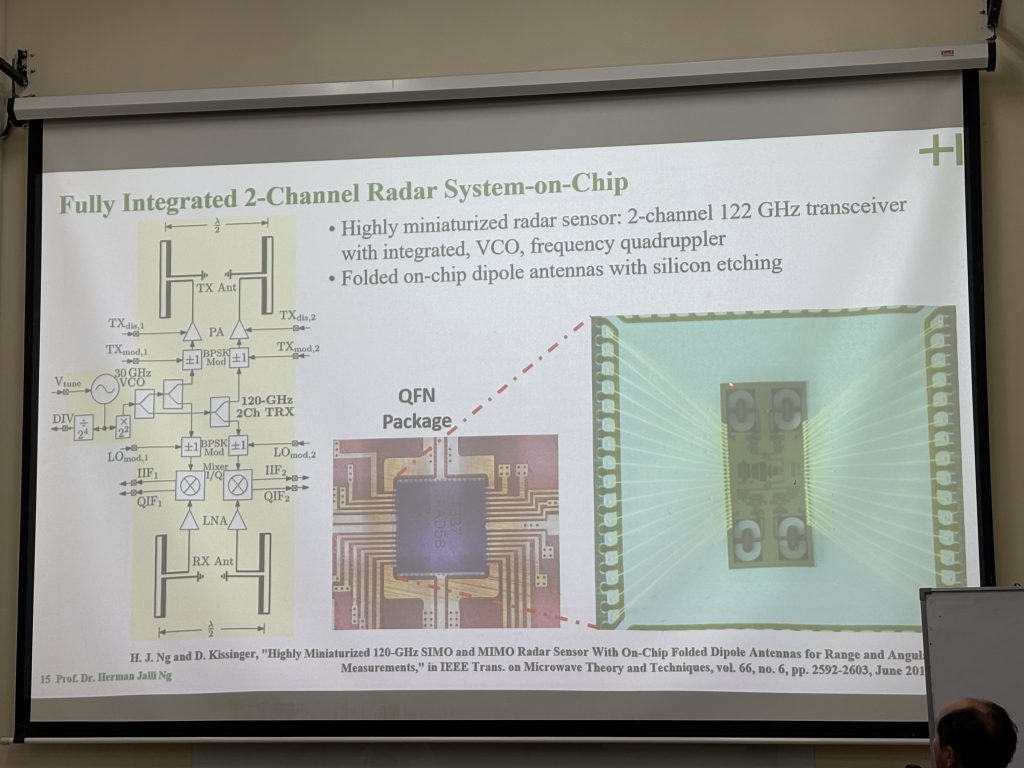
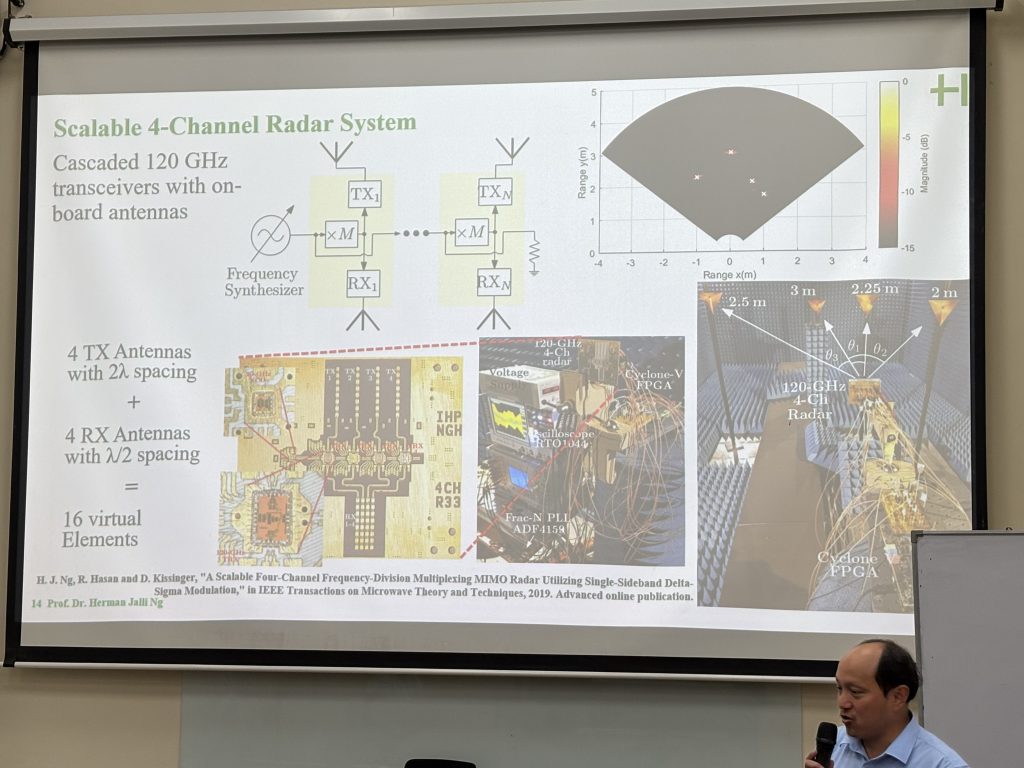
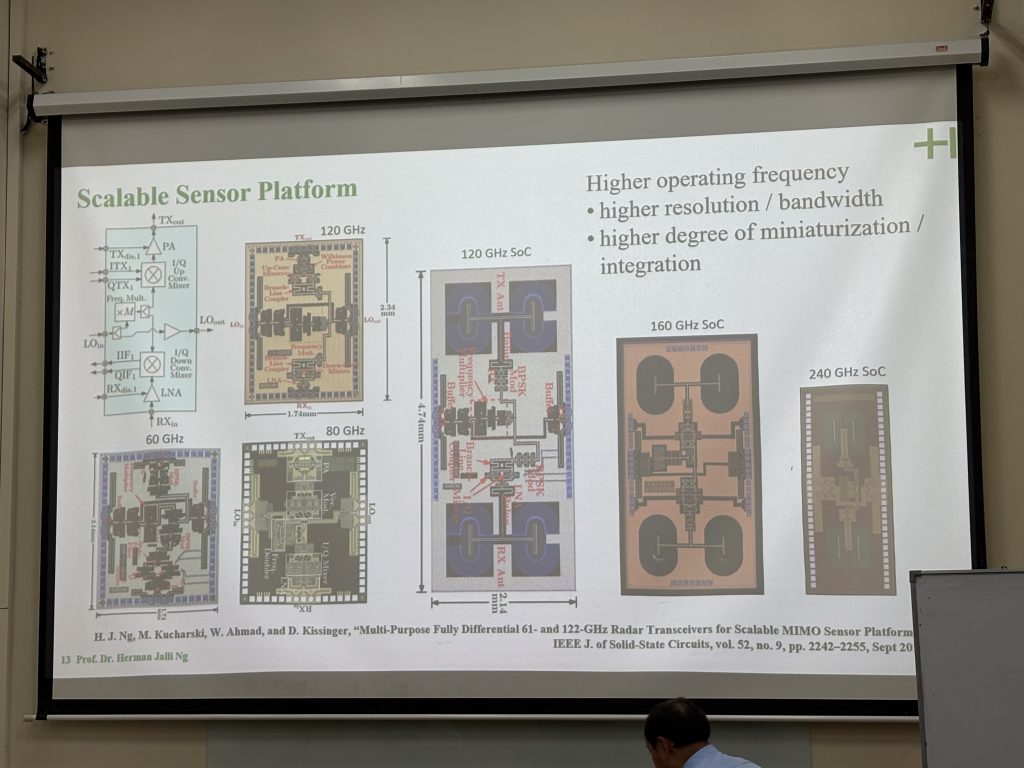
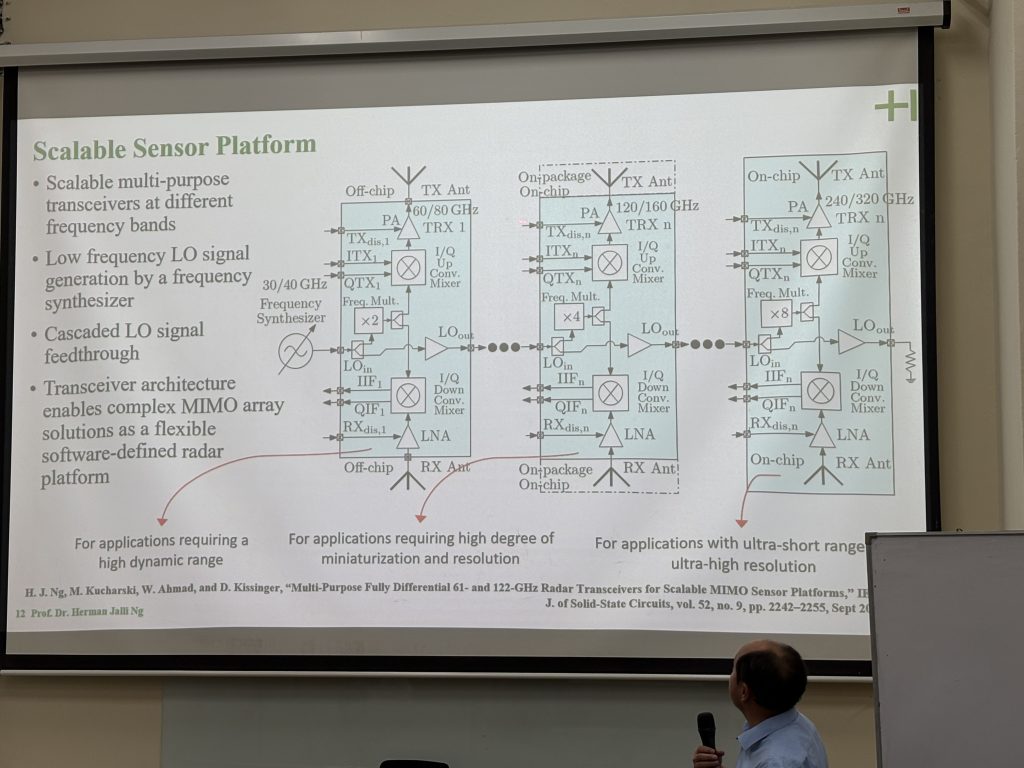
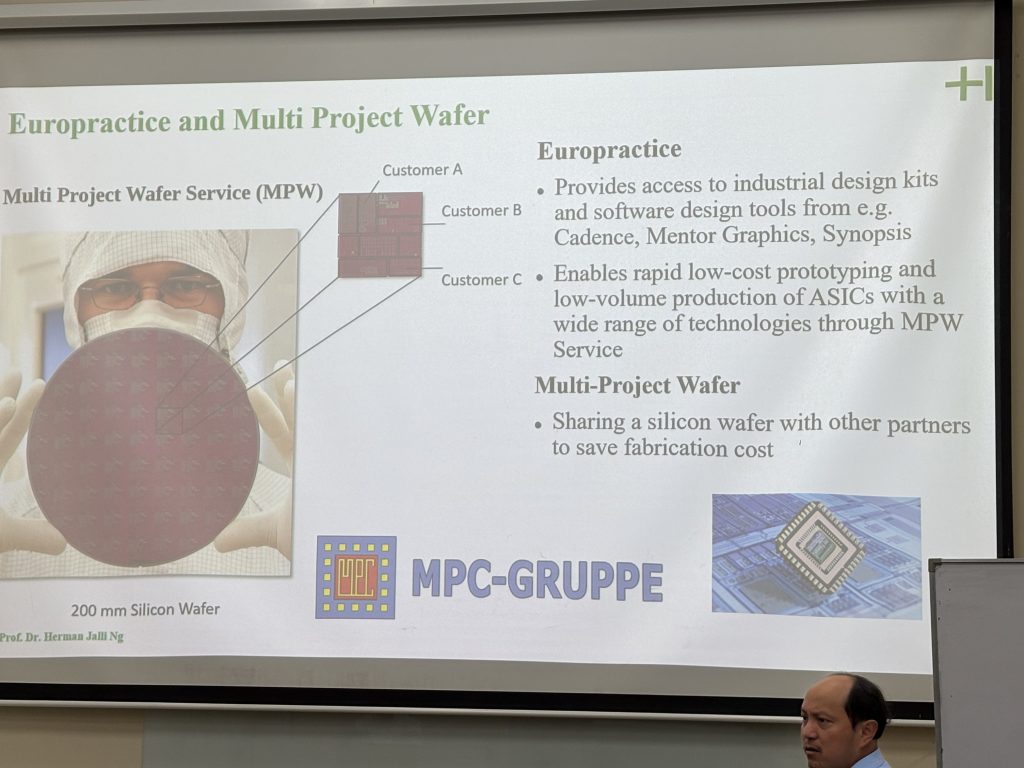
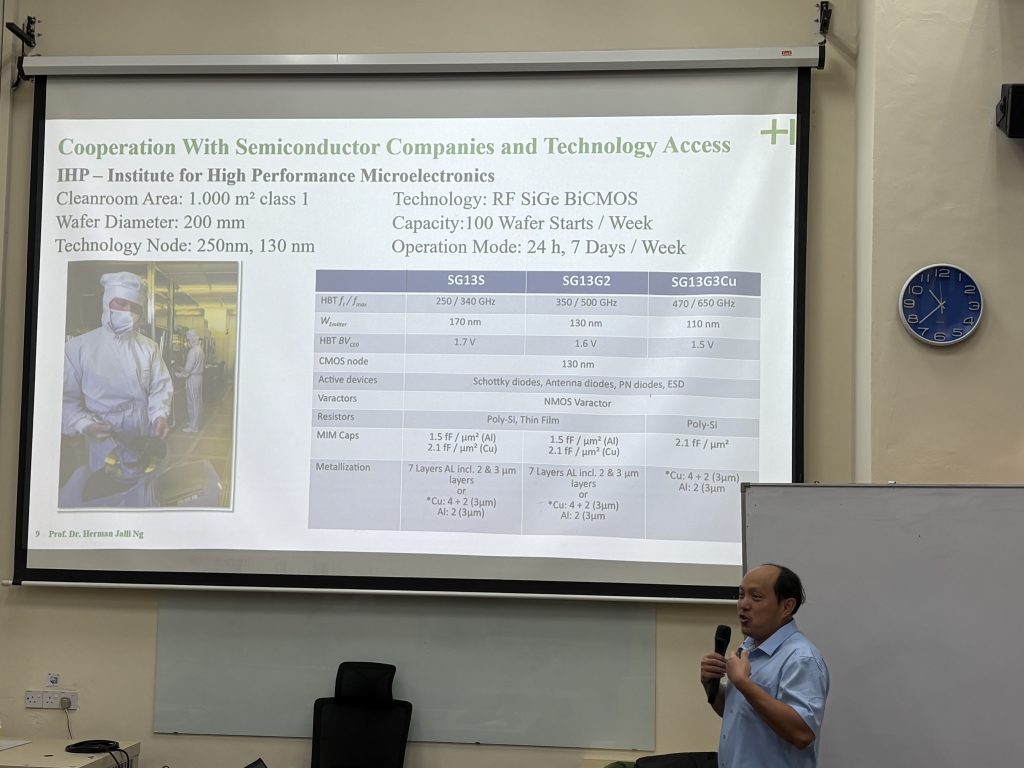
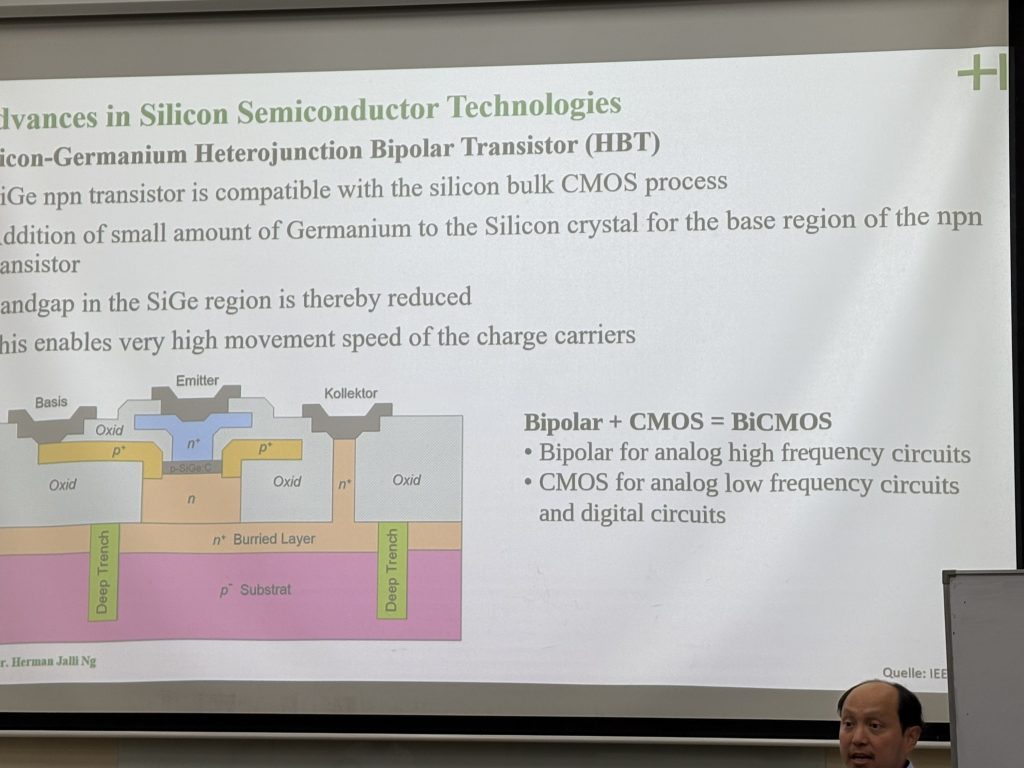
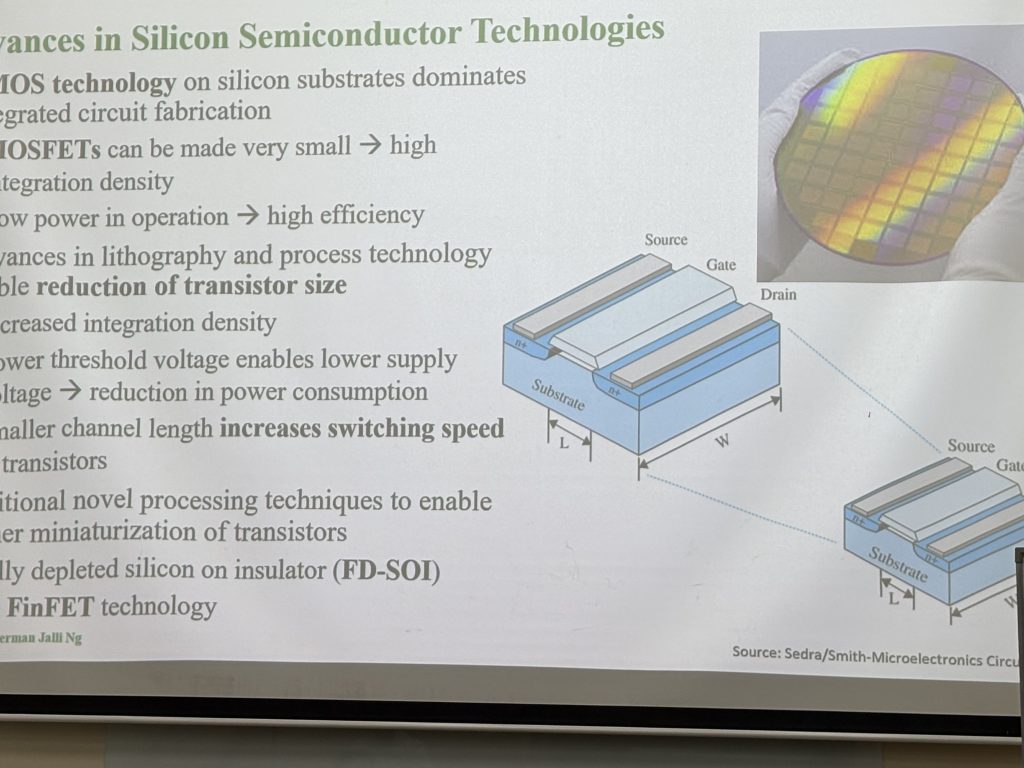
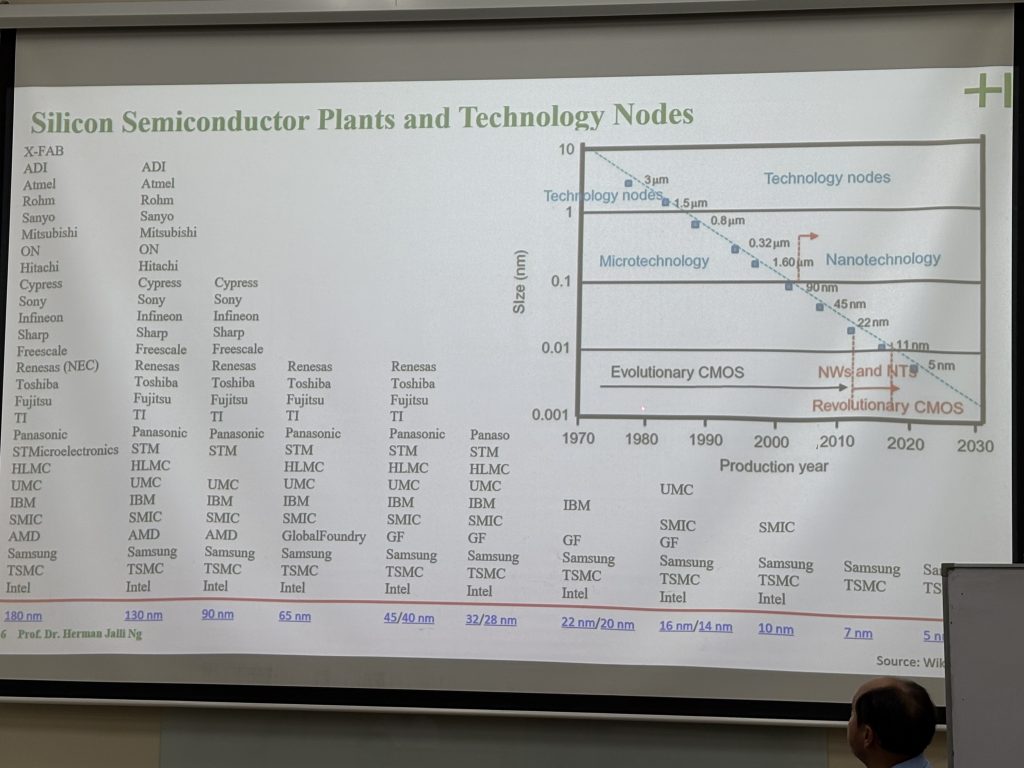
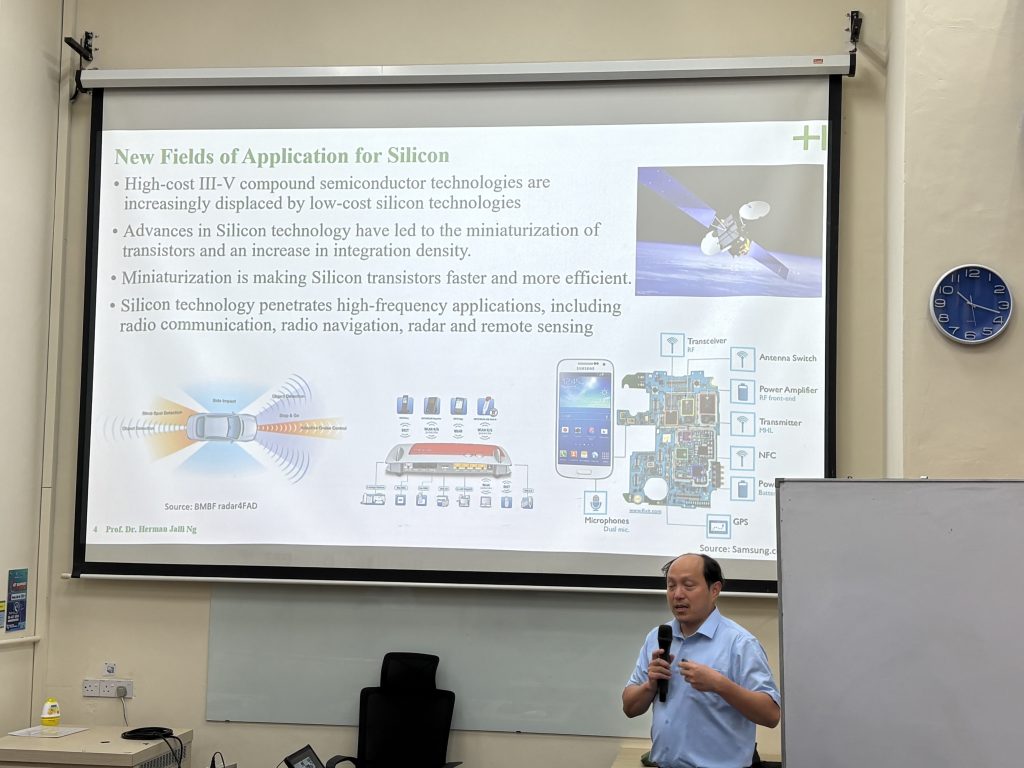
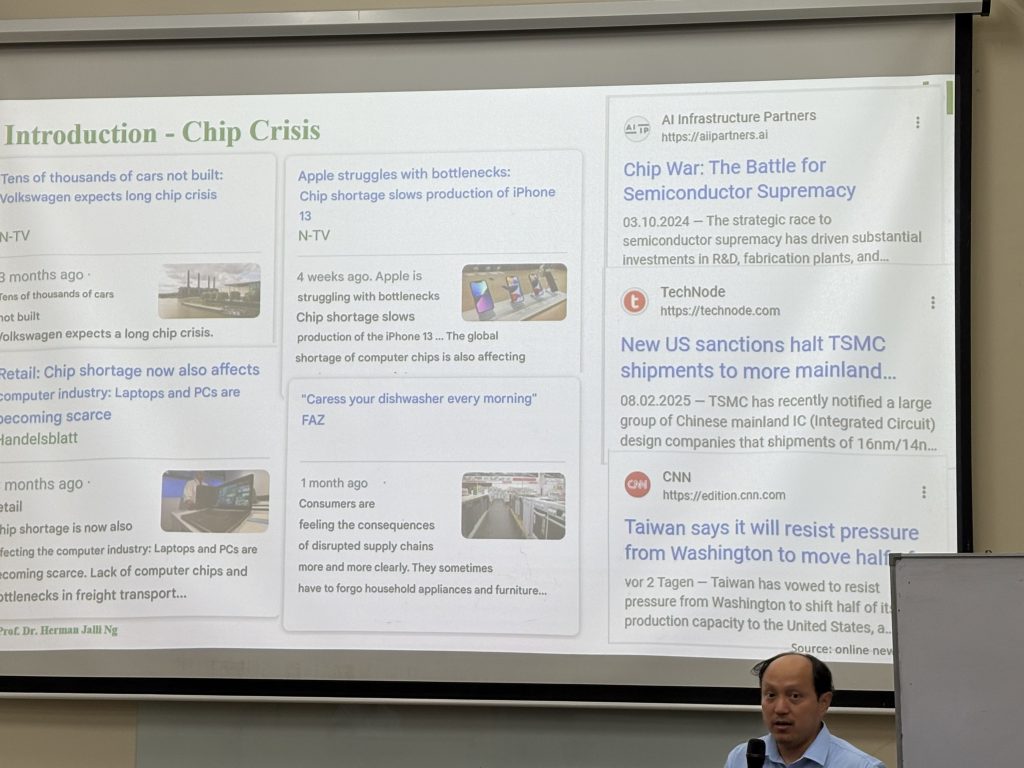
I recently attended a sharing session by Prof Hilman on research and teaching technology in Electronic Engineering, and it left a strong impression, particularly in terms of how much care and thought he puts into his teaching.

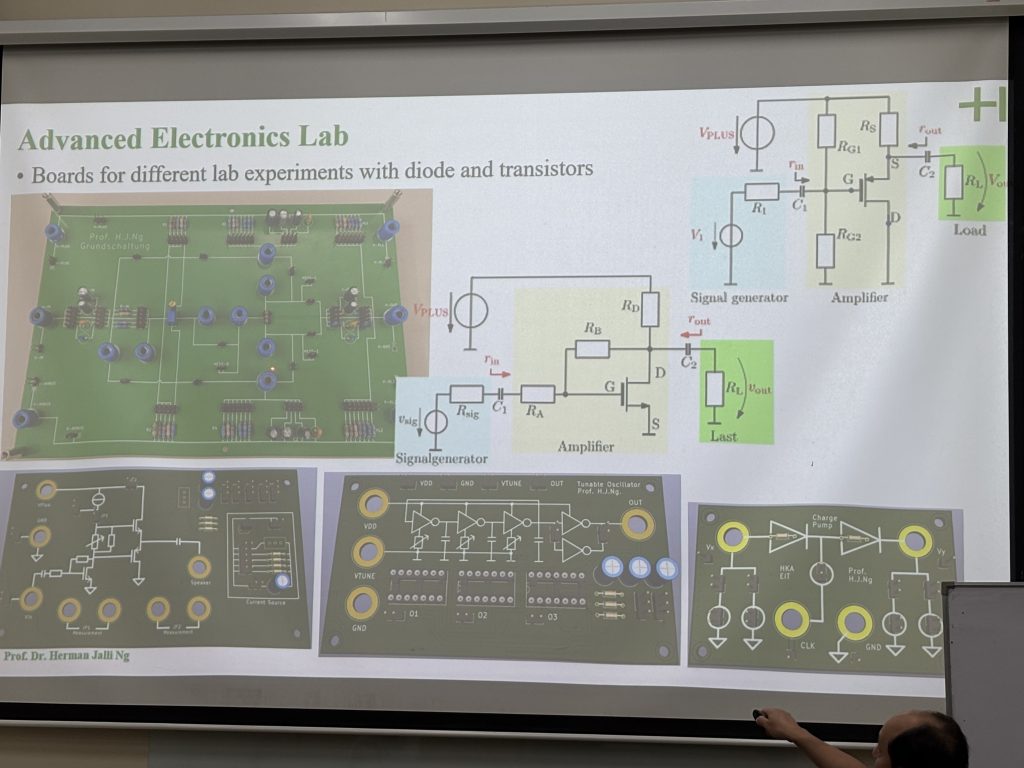
What stood out most was Prof Hilman’s creativity and long-term commitment to his classroom. Over the years, he has developed a series of learning kits that are used across different levels of the programme, from first year right up to final year. These kits are not one-size-fits-all; instead, they are modular, covering topics ranging from analog electronics and RF to sensor design. You can clearly see that they were built with progression in mind, allowing students to grow into the complexity of the subject rather than being overwhelmed by it.

Having developed teaching kits myself, mainly for mini robotics, embedded systems, and IoT, I found myself very much on the same page. Designing kits for teaching is rewarding, but it also comes with its own set of challenges, especially when it comes to deciding how much to give students and how much to leave for them to figure out on their own.

When I talk about “giving everything,” I’m referring to situations where kits / modules that are highly prepared: dedicated PCBs, predefined functional blocks, and ready-to-use modules. This certainly helps students get started more quickly and reduces frustration. At the same time, we sometimes forget that designing those things, like laying out a PCB or deciding how a circuit or functions (in software programming) should be structured, is also an important part of learning.

On the other end of the spectrum is giving students only the bare minimum and expecting them to build everything from scratch. While this can be very powerful for learning, it is not always easy to manage in a real classroom. Students learn at different speeds, and ensuring that everyone can keep up within a fixed semester timeline can be quite challenging.

This is something I’ve often thought about through the lens of the white‑box versus black‑box approach, which I also discussed in my earlier works on tiered scaffolding approaches in Python Slider Game and the STEMCube platform. Both approaches have their place, and the real question is how to strike the right balance.

During the session, I raised this question with Prof Hilman, and we had a good discussion around it. What I found particularly insightful was his view that modularity helps bridge the gap between these two extremes. By designing kits in modules, we can decide which parts are “given” and which parts students are encouraged to develop themselves. As students progress, more of the system can be opened up to them. This makes the learning process more flexible and helps accommodate different learning paces within the same class.

We also touched briefly on the role of AI in analog design, especially during the early design and optimisation stages. While still an evolving area, it sparked an interesting discussion about how such tools might eventually support both teaching and research in electronics engineering.

Overall, the session was a good reminder that effective teaching innovation doesn’t come from choosing one extreme over another, but from carefully designing learning experiences that evolve with students. Prof Hilman’s modular approach is a practical example of how this balance can be achieved, and it’s certainly something I will continue to reflect on in my own teaching practice.

Nurul – March 9th