


Month: October 2026
Research in Engineering and STEM Education – SMK Nenasi
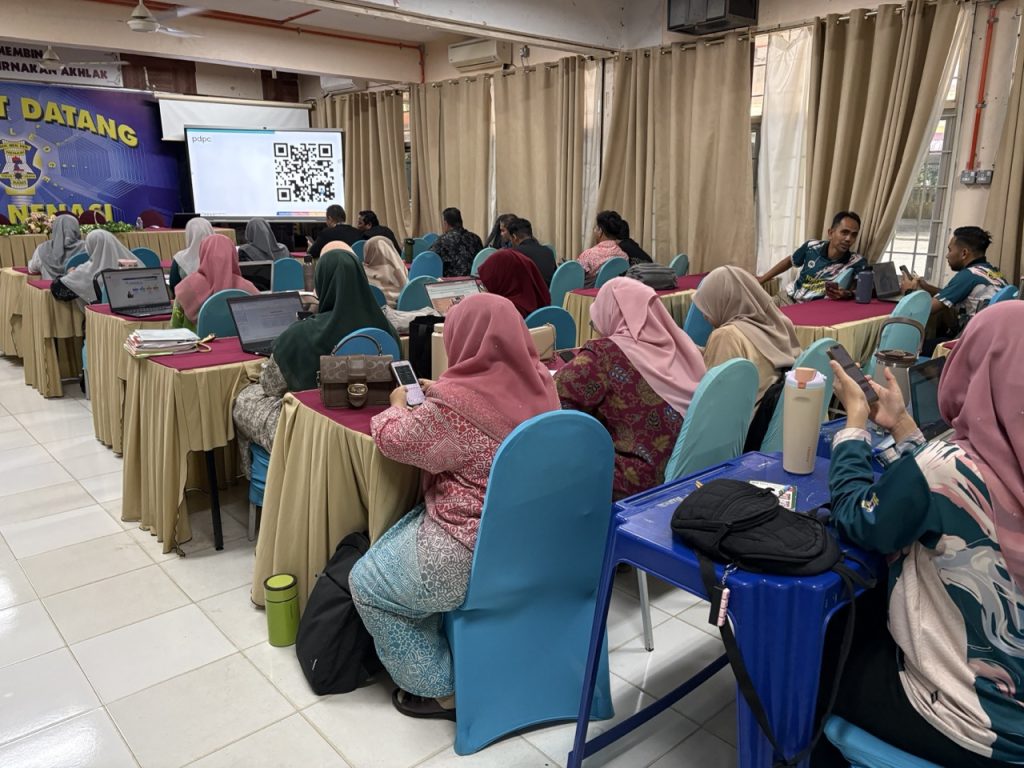
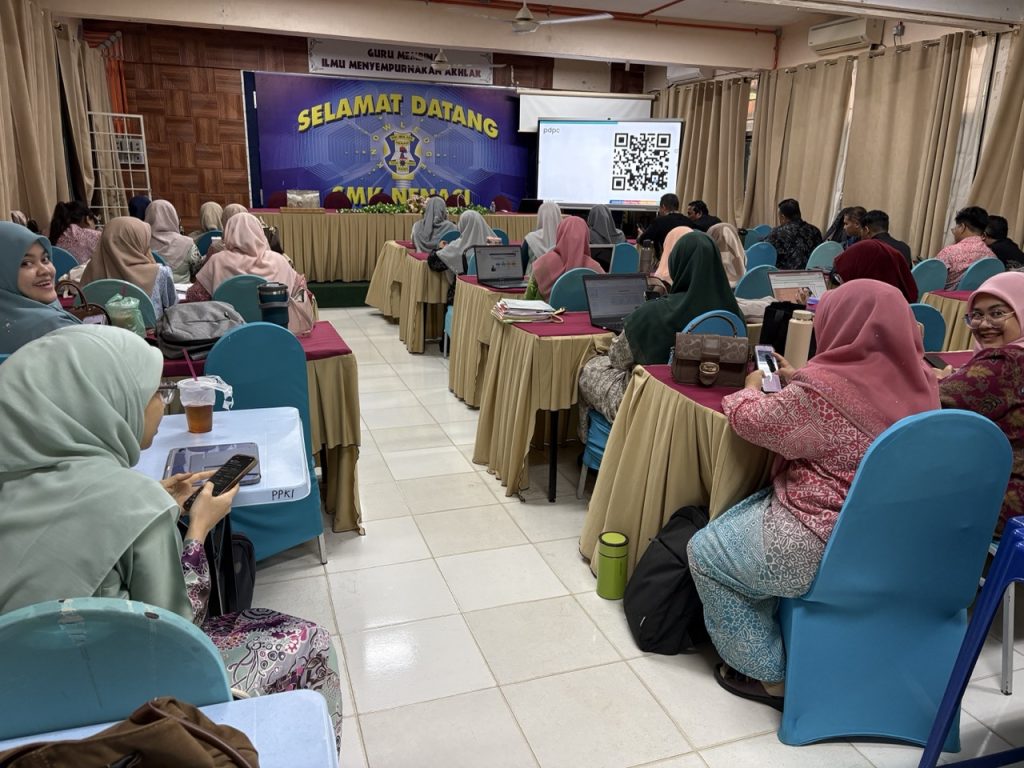
On Oct 29th, I delivered a talk on Research in Engineering and STEM Education in SMK Nenasi. This is part of their teacher’s profesisonal development workshop involving 40 teachers from SMK Nenasi. The session drew on two decades of engineering education research — not as a retrospective, but as a working framework. This post distils … Continue reading “Research in Engineering and STEM Education – SMK Nenasi”
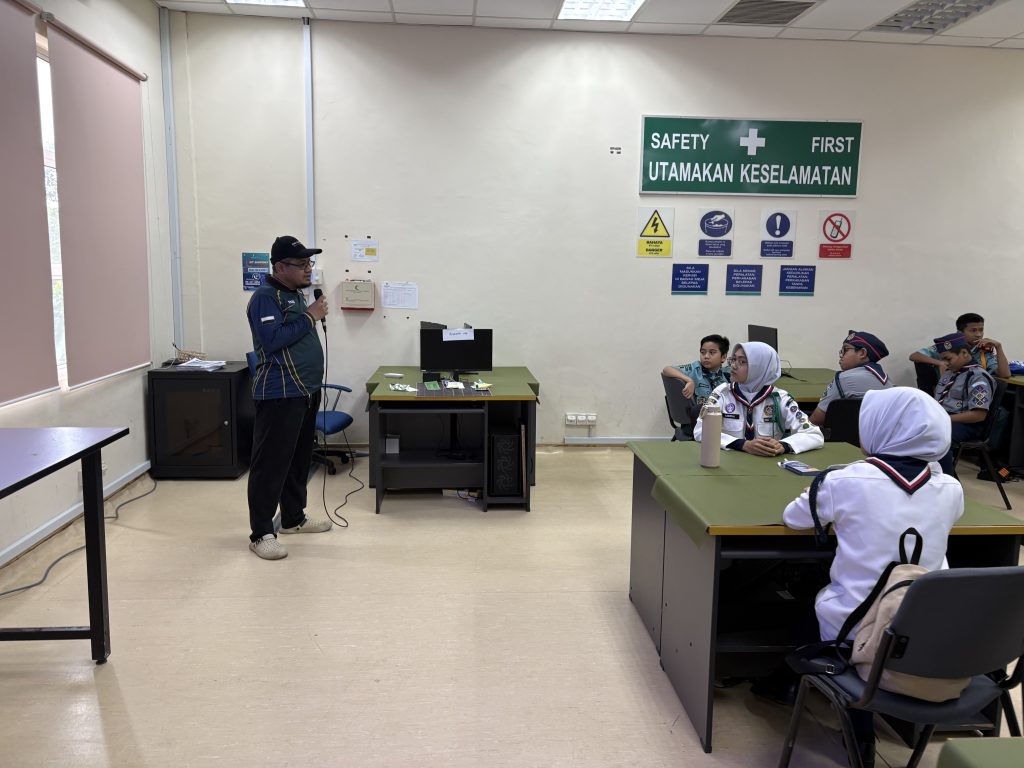
On Oct 29th, I delivered a talk on Research in Engineering and STEM Education in SMK Nenasi. This is part of their teacher’s profesisonal development workshop involving 40 teachers from SMK Nenasi.
The session drew on two decades of engineering education research — not as a retrospective, but as a working framework. This post distils the core ideas shared that day: a map of research areas in education, a cycle for turning classroom problems into publishable innovations, and four journal studies that demonstrate what that cycle looks like in practice.
A Framework for Understanding Educational Research
Conversations about education often reduce to familiar binaries — theory versus practice, teacher-centred versus student-centred. These oppositions are real, but they can obscure a more productive question: where, precisely, does a teaching problem live?
I’ve always believe in the framework that position the learning environment as a triangle of relationships: the Educator, the Student, and the Subject. Research in education tends to cluster around the edges and nodes of this triangle, giving rise to seven distinct areas of inquiry:

-
-
-
- Pedagogical research — approaches to teaching that connect educator to student
- Professional Development — how educators continue to grow in their practice
- Curriculum research — the selection, sequencing, and design of subject content
- Educational Technology — digital tools in support of learning
- Learning Sciences — how students learn particular content and skills
- Inclusive Education — equitable access and differentiated support for diverse learners
- Assessment — evidence of learning and feedback across the system
-
-
Any classroom problem can be located somewhere on this map. Most substantive problems touch more than one area — which is precisely what makes education research both challenging and consequential.
The Innovation Cycle in Teaching and Learning
Identifying where a problem lives is a starting point, not a solution. What translates observation into evidence is a systematic process. The Innovation Cycle in Teaching and Learning — Identify, Design, Apply, Evaluate — provides that structure.
-
-
- Identify. Define the problem precisely, through observation, diagnostic assessment, and engagement with existing literature. Vague problems produce vague solutions.
- Design. Develop an intervention grounded in educational theory. The design phase should be evidence-informed, not intuition-driven.
- Apply. Implement the intervention with real learners in a real context, with appropriate instruments in place to capture what happens.
- Evaluate. Analyse the data rigorously. Determine what worked, for whom, and under what conditions — then feed those findings back into a new cycle of Identify.
-
The cycle is not linear; it is iterative. Each pass through Evaluate generates a more precise version of Identify. Over time, this compounding of evidence produces not just better teaching practice, but publishable, replicable research that contributes to the broader field.
“Good teaching is, at its core, a form of research. Every classroom problem is a research question waiting to be asked properly.”
Four Studies: The Innovation Cycle in Practice
The following four studies in UMPS STEM Lab illustrate how this cycle operates across different educational contexts, learner populations, and research areas. Each began with a documented classroom problem; each produced findings published in internationally indexed journals.
Study 1 — Game Development-Based Learning and Programming Skill Acquisition

Noordin, N.H., & Karunanthini, G. (2026). Evaluating the impact of game development-based learning on programming skill acquisition and student engagement. International Journal of Evaluation and Research in Education (IJERE), Vol. 15, No. 1.
DOI: 10.11591/ijere.v15i1.35542 · Q2, SCOPUS-indexed
Research Area: Pedagogical · Learning Sciences · Educational Technology
The problem: Secondary school students encounter a well-documented gap in computing education — the ability to follow a worked programming example does not automatically translate into the ability to work independently. Form 1 students in a block-based programming context demonstrated strong performance during guided tasks and significant difficulty the moment that guidance was withdrawn.
Through the Innovation Cycle:
- Identify: Students lacked the structured progression needed to move from dependent to independent programming. The gap was not motivational but scaffolding-related.
- Design: A four-stage Full→Minimal scaffolding framework, with the development of a Snake Game in mBlock as the learning context. Game development was selected deliberately: it provides a meaningful goal that sustains engagement across multiple sessions.
- Apply: Students worked through four progressively less-supported activity sessions, building a fully functional game by the final stage.
- Evaluate: Pre- and post-test computational thinking scores, algorithm design quality, and block-programming error analysis. Result: Cohen’s d ≈ 1.86 — a very large effect size by conventional standards. Gains were observed in both achievement and self-reported engagement.
Key finding: Scaffolding design — not simply task design — determines whether students can transfer programming knowledge to novel problems.
Study 2 — The STEM Cube: Bridging Abstract Concepts and Physical Making

Noordin, N.H., Abdullah, K.K.B.H., & Eu, P.S. (2024). Assessing the effectiveness of UMP STEM Cube as a tool for developing digital making skill sets. IEEE Transactions on Education, pp. 1–11.
DOI: 10.1109/TE.2024.3376448 · Q1, IEEE
Research Area: Educational Technology · Curriculum · Learning Sciences
The problem: A structural weakness in STEM education is the tendency to teach Science, Technology, Engineering, and Mathematics as discrete disciplines. Students arrive at university able to calculate within a subject but unable to integrate across them — competent in isolated domains, underprepared for interdisciplinary engineering work.
Through the Innovation Cycle:
- Identify: Engineering students lacked hands-on, integrated experience with IoT systems and physical computing. Existing curricula addressed components of STEM separately, not as a unified practice.
- Design: The STEM Cube — a compact, 3D-printed kit (56×65×30 mm) integrating sensors, a servo motor, LEDs, and a microcontroller, programmable in both Arduino and Python. The physical artefact was designed to make cross-disciplinary integration tangible and unavoidable.
- Apply: Students assembled, programmed, and tested the STEM Cube in project-based sessions, applying physical computing skills to self-defined engineering challenges.
- Evaluate: Digital making skill sets assessed using validated measurement instruments. Results demonstrated significant gains across hardware integration, programming fluency, and design thinking — published in IEEE Transactions on Education, one of the field’s leading Q1 journals.
Key finding: Tangible, integrated learning objects can bridge the gap between disciplinary knowledge and cross-disciplinary application more effectively than software-only environments.
Study 3 — Computational Thinking Through Scaffolded Game Development

Noordin, N.H. (2025). Computational thinking through scaffolded game development activities: A study with graphical programming. European Journal of Educational Research, 14(4), 1137–1149.
DOI: 10.12973/eu-jer.14.4.1137 · Q2, SCOPUS-indexed
Research Area: Learning Sciences · Pedagogical · Assessment
The problem: A persistent concern in game-based learning research is whether students develop transferable thinking skills or simply learn to complete the specific task at hand. For programming education, the question is pointed: does building a game teach computational thinking, or does it teach game-building?
Through the Innovation Cycle:
- Identify: First-year university students struggled with abstract Python object-oriented programming concepts. Without a meaningful goal, engagement and retention were low. The question was whether a structured game-development sequence could develop computational thinking as a generalised competency, not merely task performance.
- Design: Seven sequential Pygame activities, moving from simple object manipulation to a fully playable slider puzzle game. Each activity introduced exactly one new computational concept — decomposition, abstraction, pattern recognition, or algorithmic design — before the next was added.
- Apply: Implemented with 310 first-year students across a semester-1 programming course, in studio-style sessions conducted over multiple weeks.
- Evaluate: Pre- and post-assessment of computational thinking using validated instruments. Significant gains in decomposition, abstraction, and algorithmic thinking — not merely game-making performance — confirming that the learning was transferable.
Key finding: Scaffolded game-development sequences can develop computational thinking as a generalisable skill, provided the design isolates and builds each thinking dimension deliberately.
Study 4 — AI Scaffolding in Programming Education

Noordin, N.H. (forthcoming). AI scaffolding in programming education. IEEE Transactions on Learning Technologies.
Accepted; DOI pending · Q1, IEEE
Research Area: Educational Technology · Inclusive Education · Learning Sciences
The problem: In large programming cohorts, instructor-to-student ratios make real-time, personalised scaffolding practically impossible. Students who struggle may not receive timely support, and by the time difficulty becomes visible it has often compounded. Artificial intelligence offers a potential structural solution — but only if the scaffolding it delivers is pedagogically sound and equitably distributed.
Through the Innovation Cycle:
- Identify: Large-cohort programming courses cannot provide adaptive scaffolding at the individual level through human instruction alone. The gap between strong and struggling students widens precisely because those who most need responsive support receive it least.
- Design: An AI-powered scaffolding system designed to respond in real time to learner behaviour within a programming environment, delivering calibrated hints and prompts based on each student’s current state rather than a fixed sequence.
- Apply: Deployed within a programming education context. Students received dynamic AI-generated guidance while working through programming challenges, with no change to their instructor contact time.
- Evaluate: Results accepted for publication in IEEE Transactions on Learning Technologies (Q1). The findings confirmed that AI scaffolding produced measurable learning gains — and revealed a significant pattern in which students benefited most, with important implications for equity in programming education.
Key finding: AI scaffolding in programming education is not simply an efficiency tool. Its most significant contribution may be to equity — reaching learners who are systematically underserved by conventional large-cohort instruction.
From Research to Practice: What This Means for Teachers
The four studies above were conducted in higher education settings, but the framework underpinning them is not institution-specific. The Innovation Cycle in Teaching and Learning is as applicable in a secondary school classroom as it is in a university research project.
A teacher who notices that students disengage during a particular topic has completed the first step: they have Identified a problem. The question is whether the response will be intuitive — a minor adjustment next time — or systematic: a Designed intervention, Applied with observation, and Evaluated with evidence.
The difference between those two responses is not access to a research grant or an institutional affiliation. It is the discipline of asking the problem precisely, building a response theoretically, and measuring what actually happens. That discipline is available to any educator. It is, in a meaningful sense, what professional teaching is.
The seven research areas in the triangle framework are not an academic taxonomy. They are a prompt: Which relationship is under strain — between teacher and student, between student and subject, or between teacher and subject? Locating the problem correctly is half the solution.
Conclusion
Two decades of research in engineering education have produced one consistent finding above all others: the classroom problems that resist easy solutions are almost always the ones worth studying. The gap between imitation and independent thinking in programming. The disconnect between disciplinary knowledge and integrated practice in STEM. The invisibility of struggling students in large cohorts. These are not incidental frustrations — they are the defining challenges of the field, and they are solvable through systematic, evidence-based inquiry.
The Innovation Cycle offers a structure for that inquiry. The Research Areas framework offers a map. What teachers and researchers bring to both is the most important element of all: sustained attention to the learner, and a commitment to acting on what that attention reveals.
References
Noordin, N.H., & Karunanthini, G. (2026). Evaluating the impact of game development-based learning on programming skill acquisition and student engagement. International Journal of Evaluation and Research in Education (IJERE), 15(1). https://doi.org/10.11591/ijere.v15i1.35542
Noordin, N.H., Abdullah, K.K.B.H., & Eu, P.S. (2024). Assessing the effectiveness of UMP STEM Cube as a tool for developing digital making skill sets. IEEE Transactions on Education, pp. 1–11. https://doi.org/10.1109/TE.2024.3376448
Noordin, N.H. (2025). Computational thinking through scaffolded game development activities: A study with graphical programming. European Journal of Educational Research, 14(4), 1137–1149. https://doi.org/10.12973/eu-jer.14.4.1137
Noordin, N.H. (forthcoming). AI scaffolding in programming education. IEEE Transactions on Learning Technologies. [Accepted; DOI pending]
https://nurulhazlina.github.io/eduResearch/PdPcNenasi


BTE1522 DRE2213 Week 4 – Flow Chart and Programming Skill
Week 5 marks a real milestone in our 10-step Snake Game Python journey. Students have now worked through nine of ten modules — from variables and game loops all the way through Object-Oriented Programming. But this week, we did not write a single new line of code. Instead, students were given one task: derive the … Continue reading “BTE1522 DRE2213 Week 4 – Flow Chart and Programming Skill”
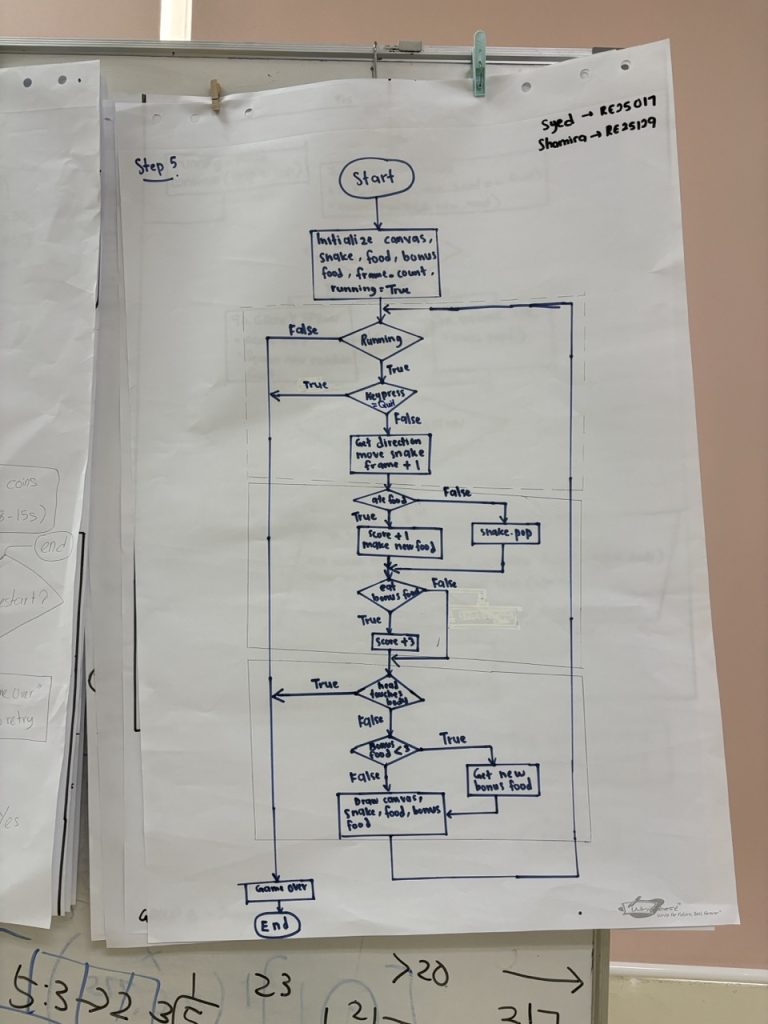
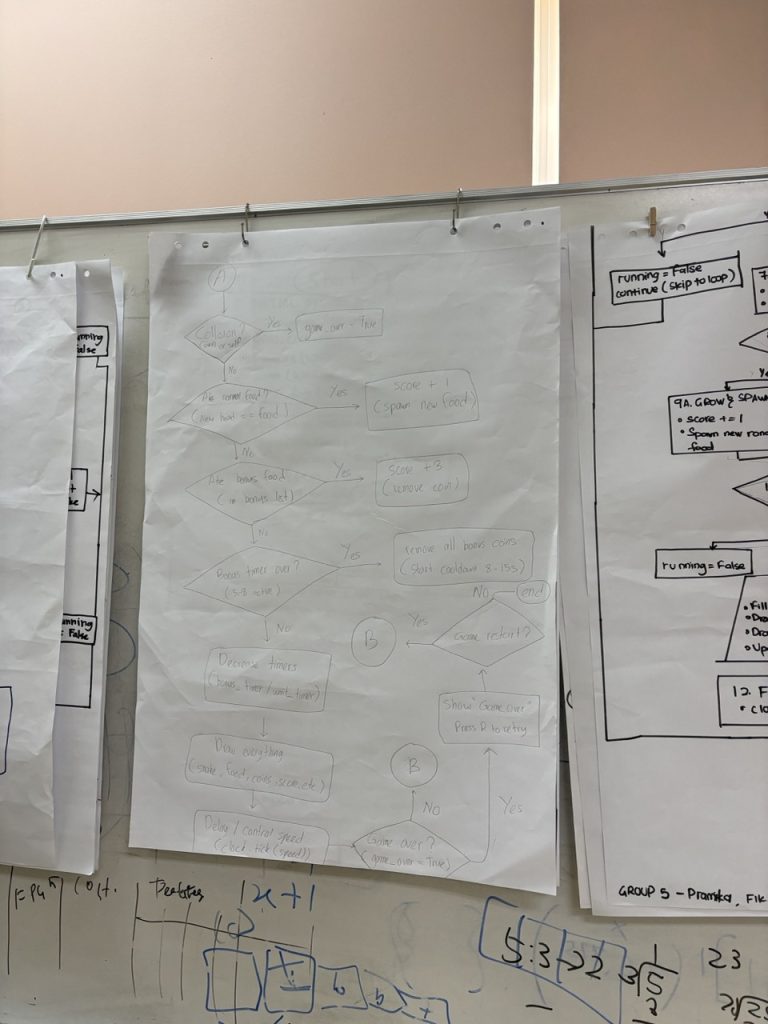
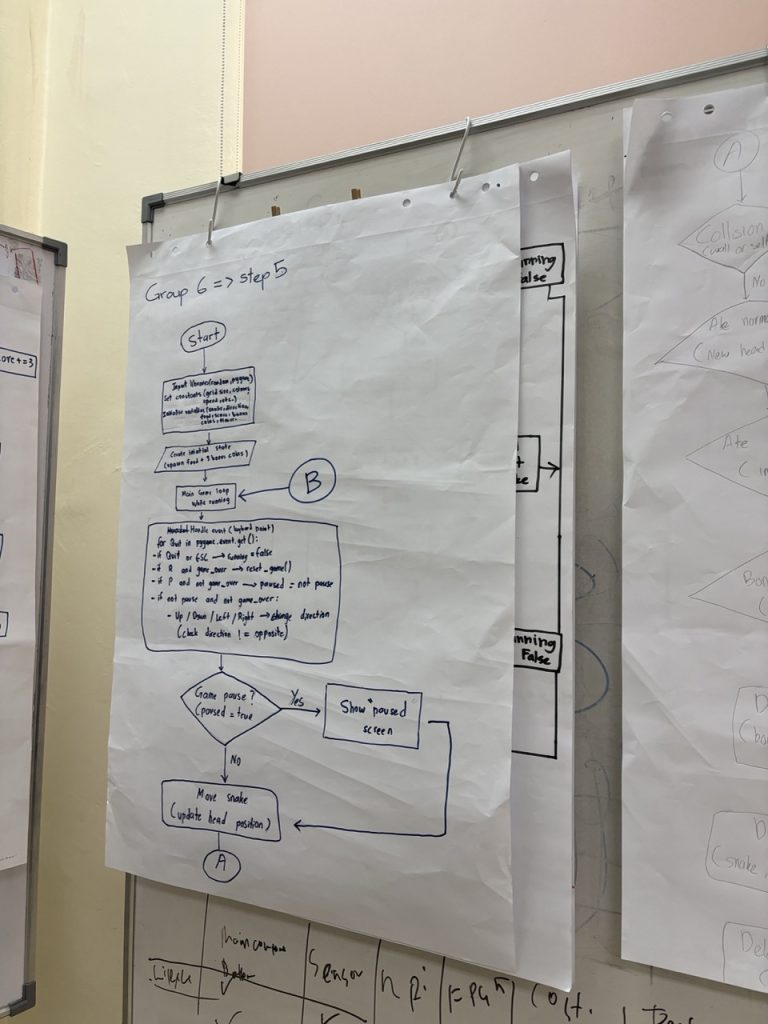
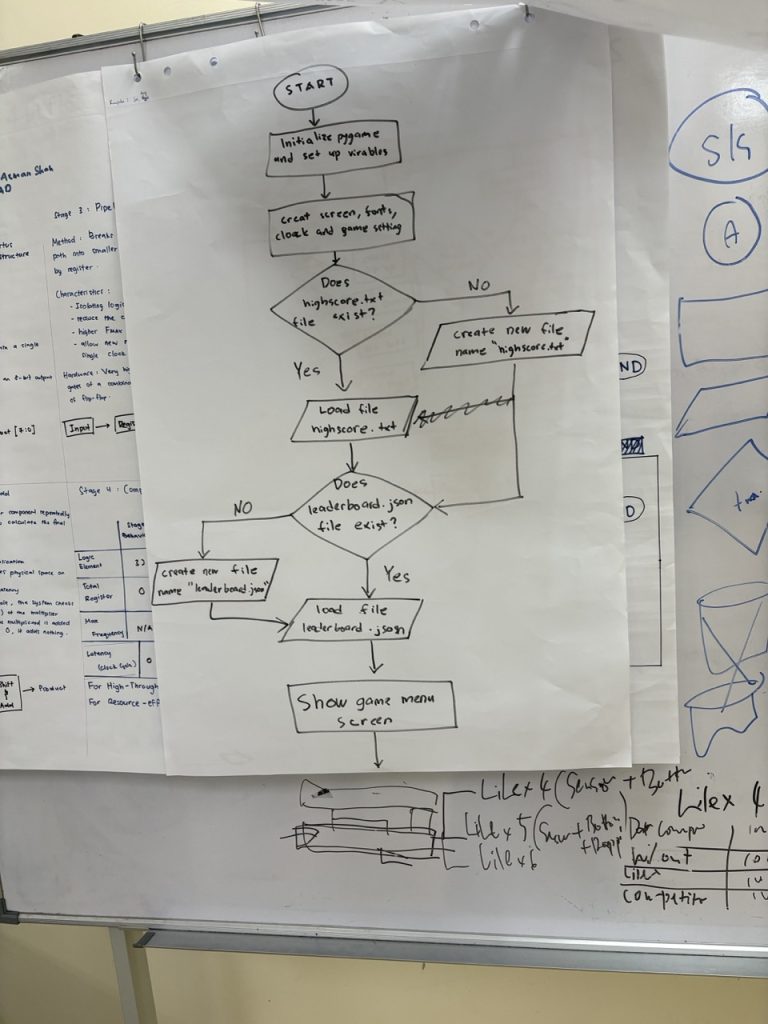
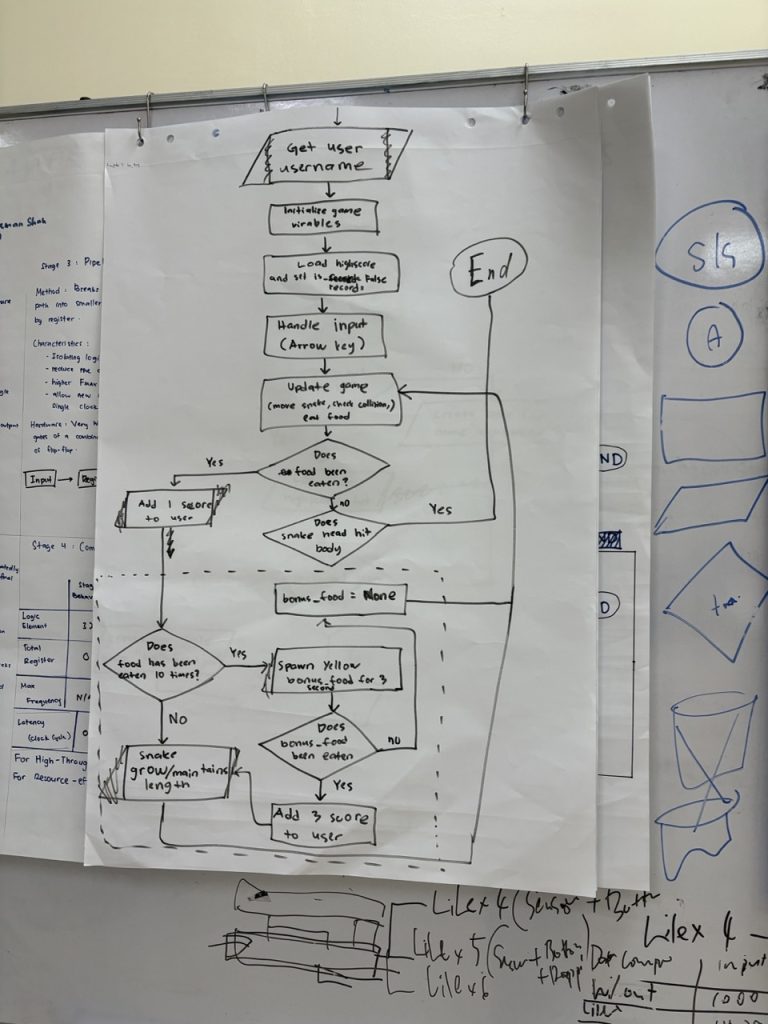
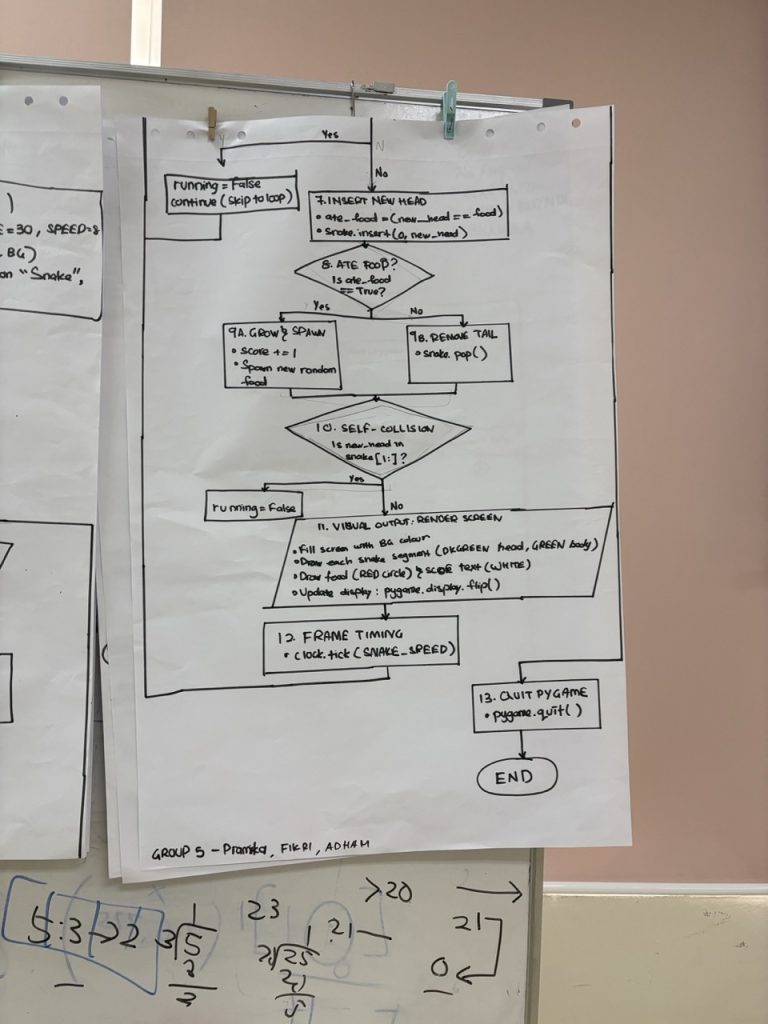
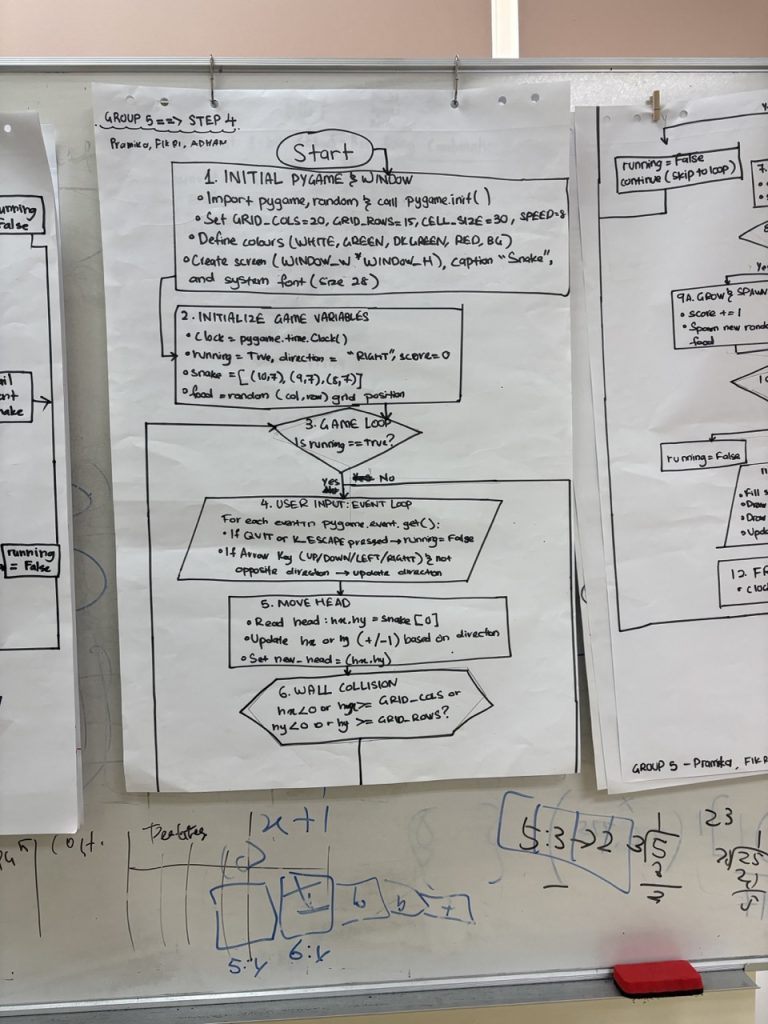
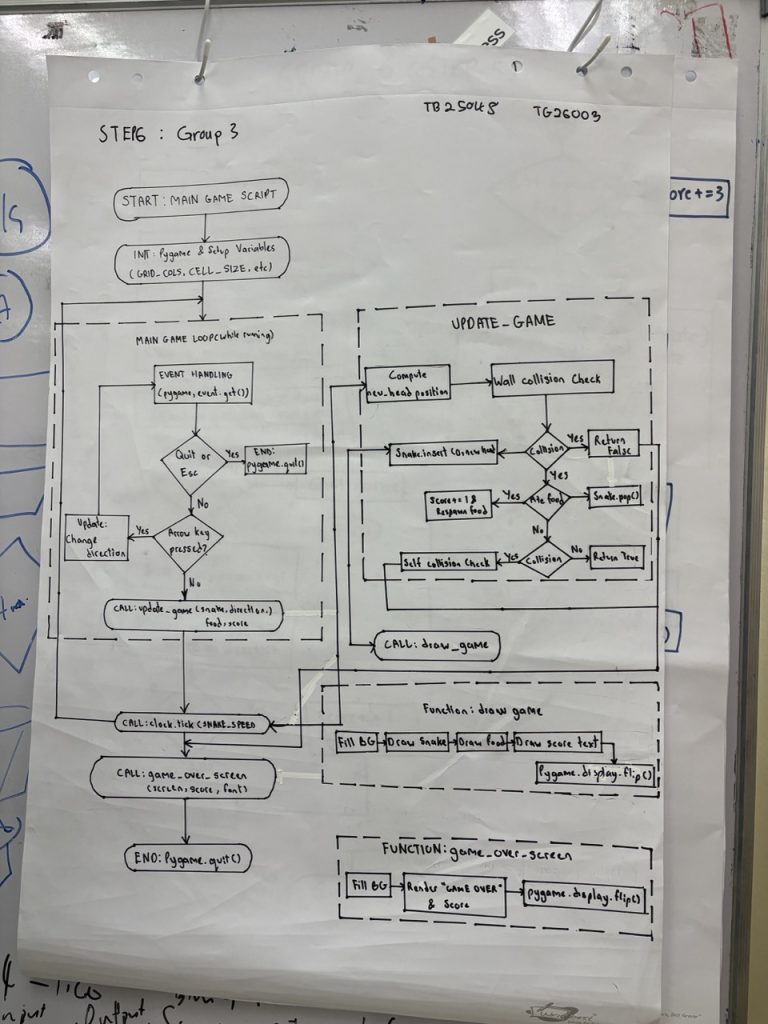
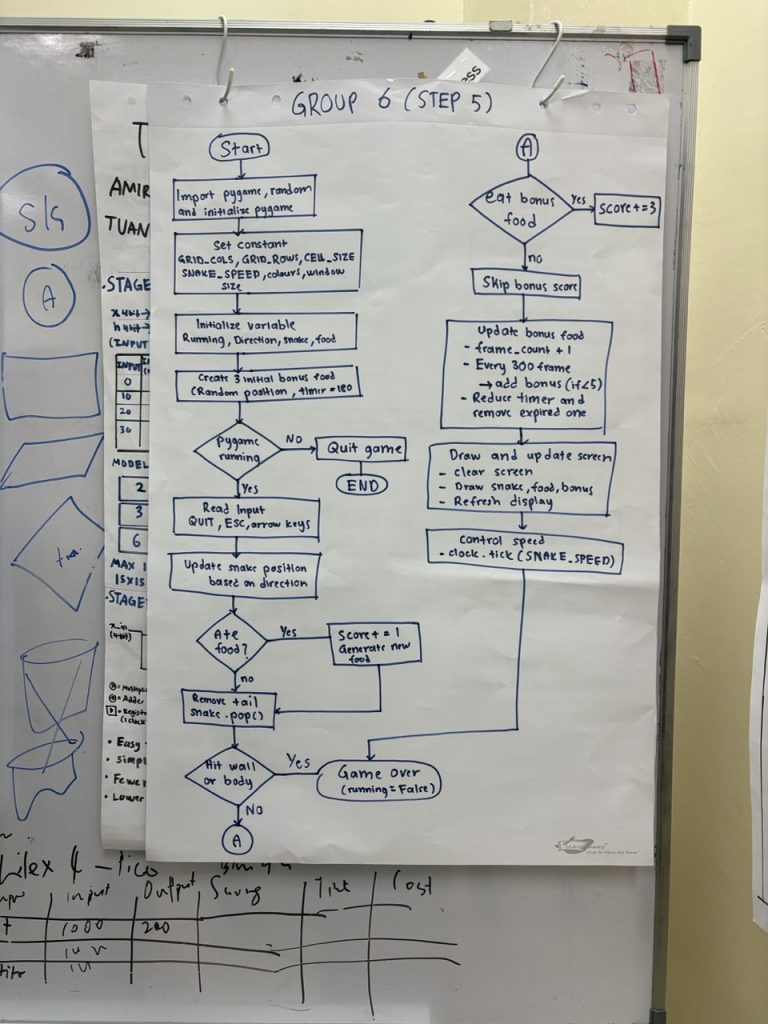
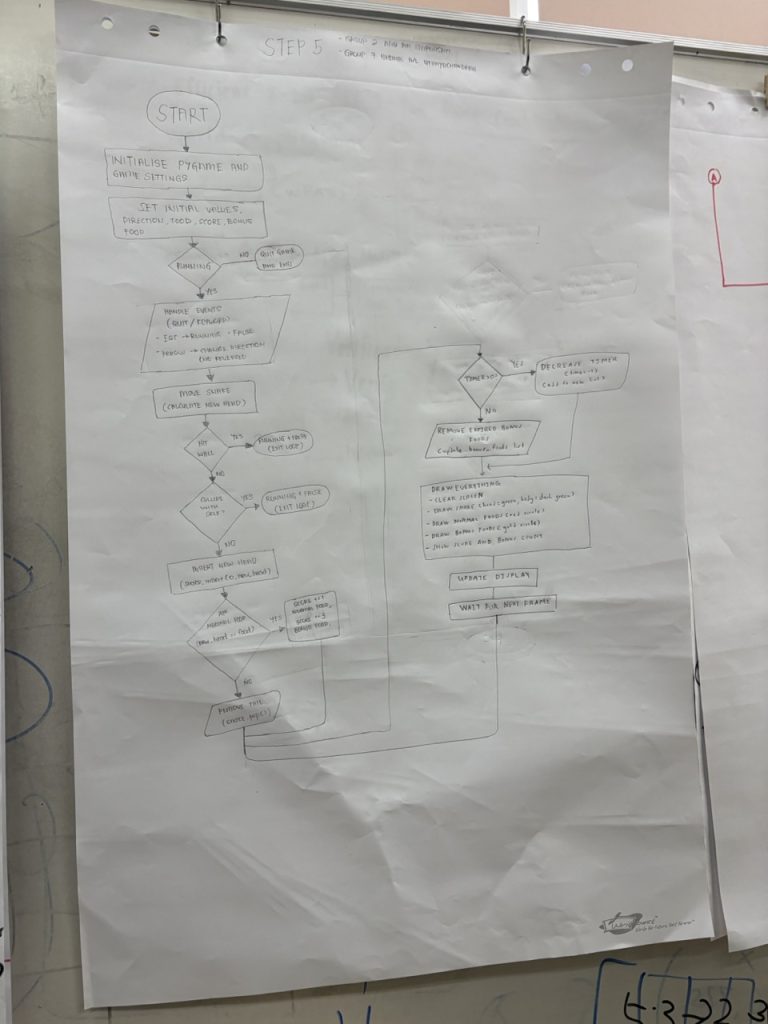
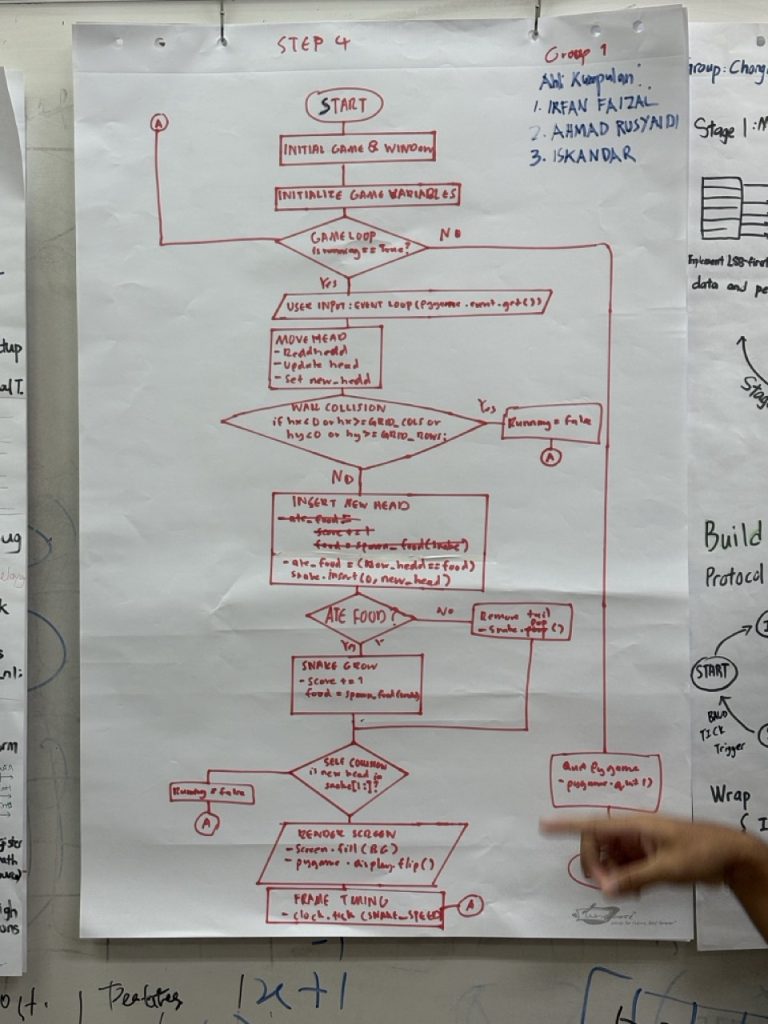
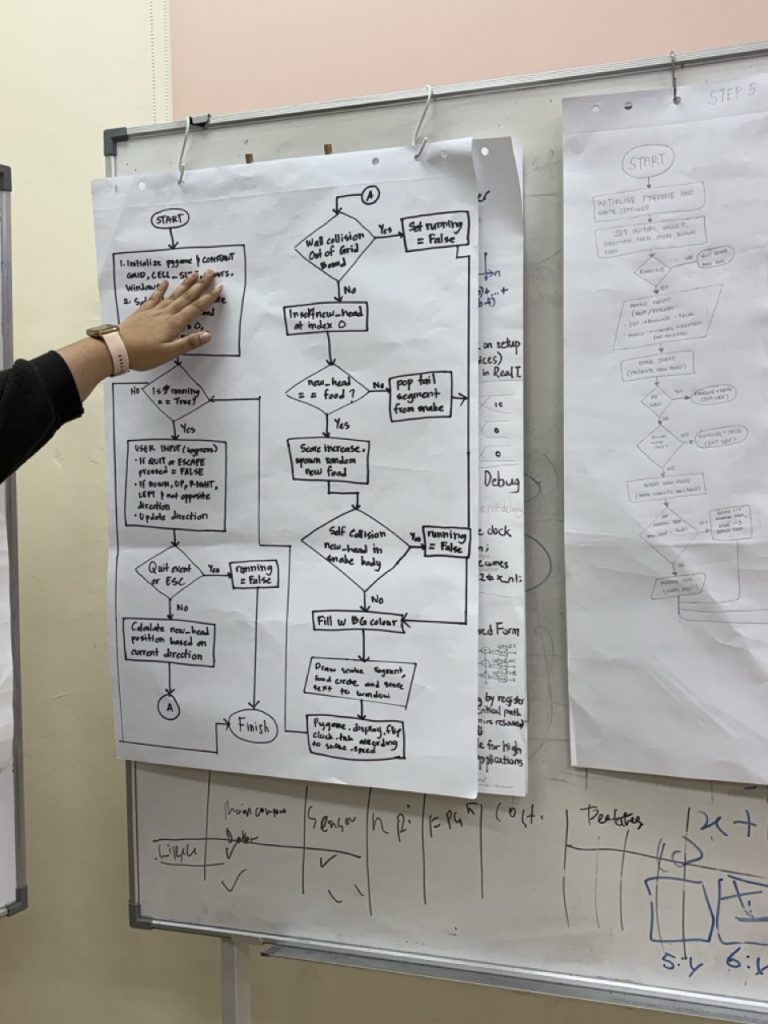
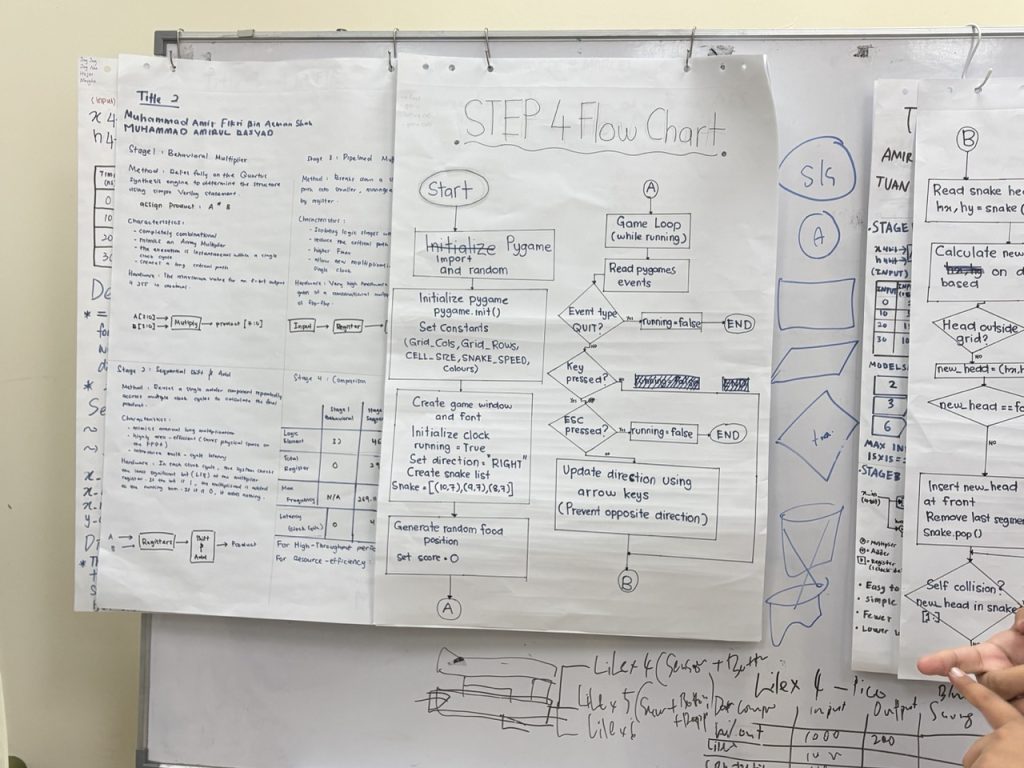
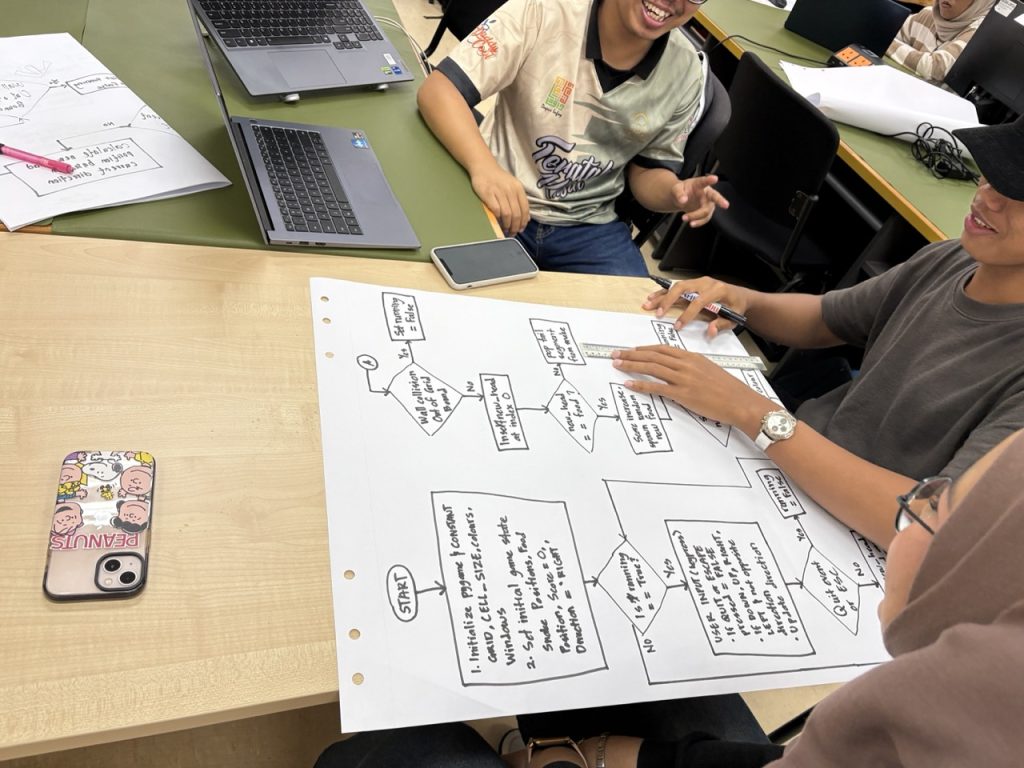
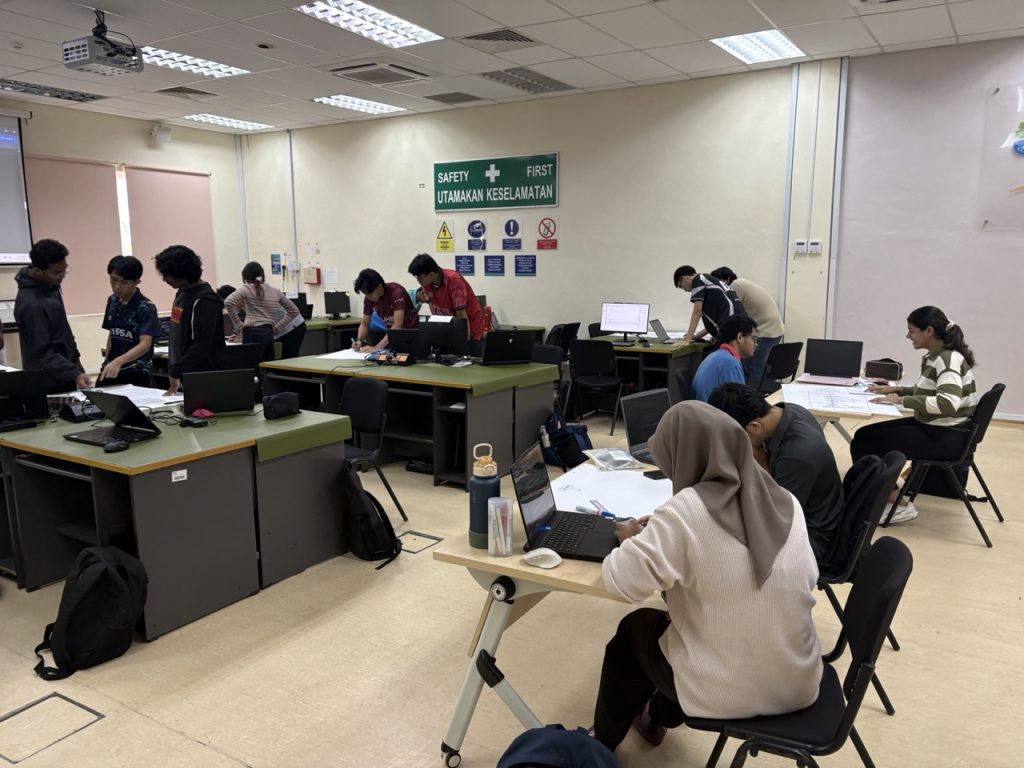
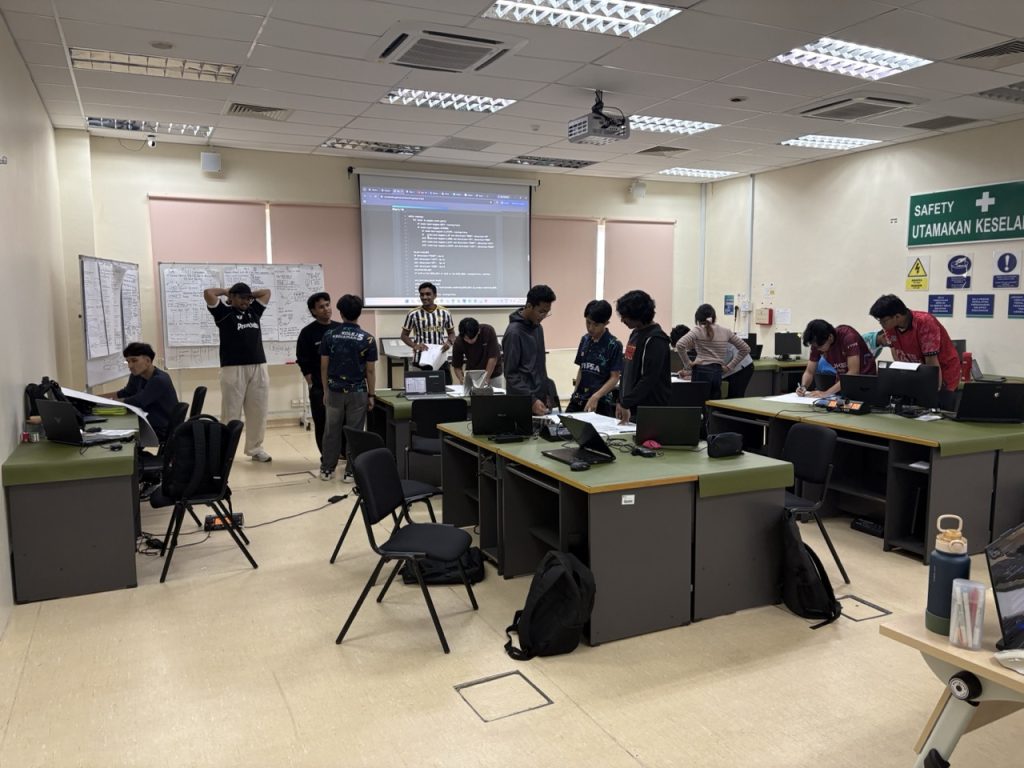
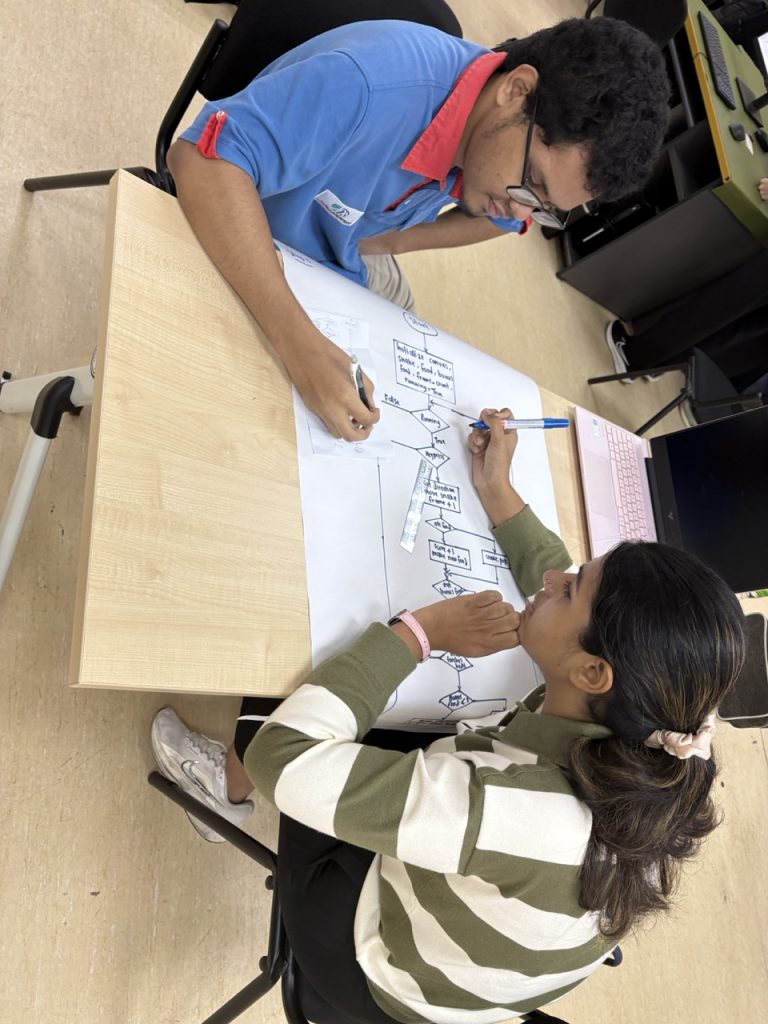
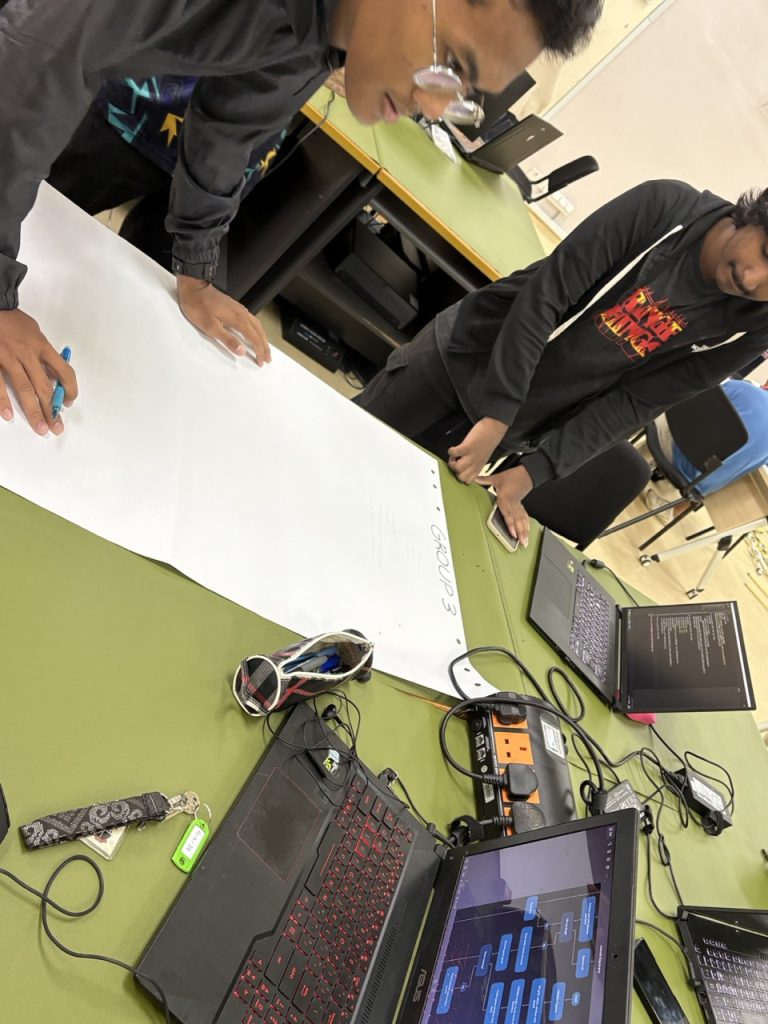
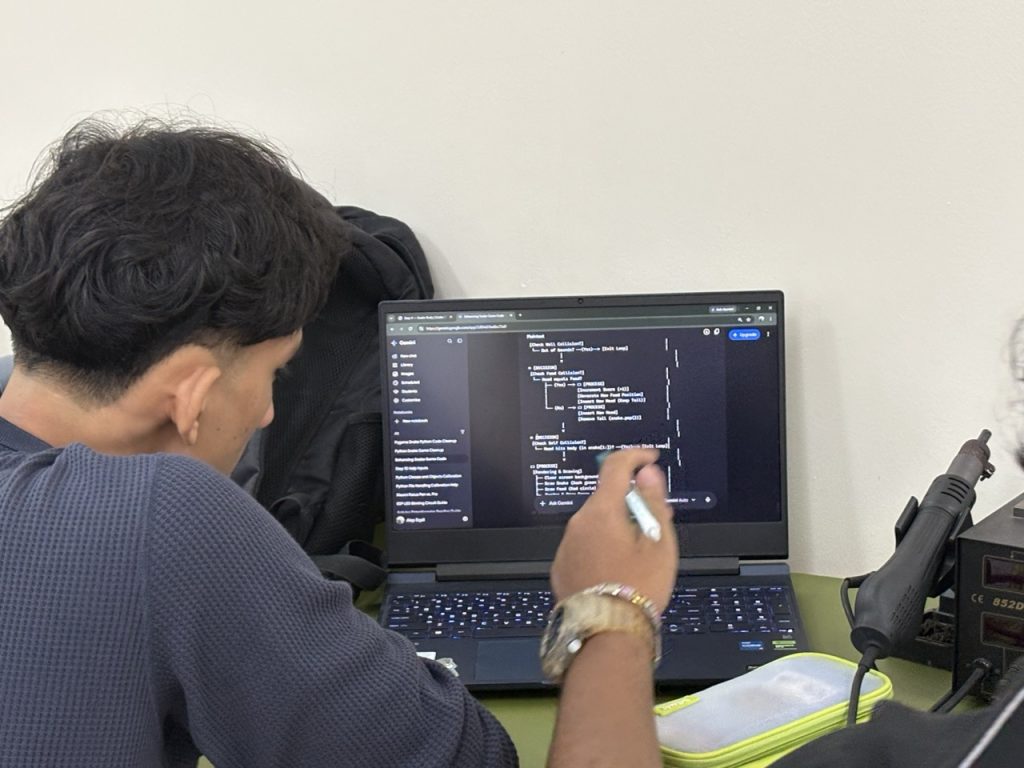
Week 5 marks a real milestone in our 10-step Snake Game Python journey. Students have now worked through nine of ten modules — from variables and game loops all the way through Object-Oriented Programming. But this week, we did not write a single new line of code. Instead, students were given one task: derive the flowchart of the snake game you have already built.
The result was one of the most insightful sessions of the entire series.
What Students Have Covered So Far
| Step | Topic |
|---|---|
| 1 | Variables & Constants — Grid Setup |
| 2 | Game Loop — Animation & Frame Rate |
| 3 | Direction Control — Boolean Syarat |
| 4 | Snake Body — Lists, insert(), pop() |
| 5 | Bonus Food — Timers & Modulo |
| 6 | Functions — Decompose & Reuse |
| 7 | Wrap-Around — Modulo for Boundaries |
| 8 | File I/O — High Score Persistence |
| 9 ✓ | OOP — Classes & Encapsulation |
| 10 | ML / Q-Learning — AI Agent (coming up!) |
This Week’s Activity: Charting the Game Logic
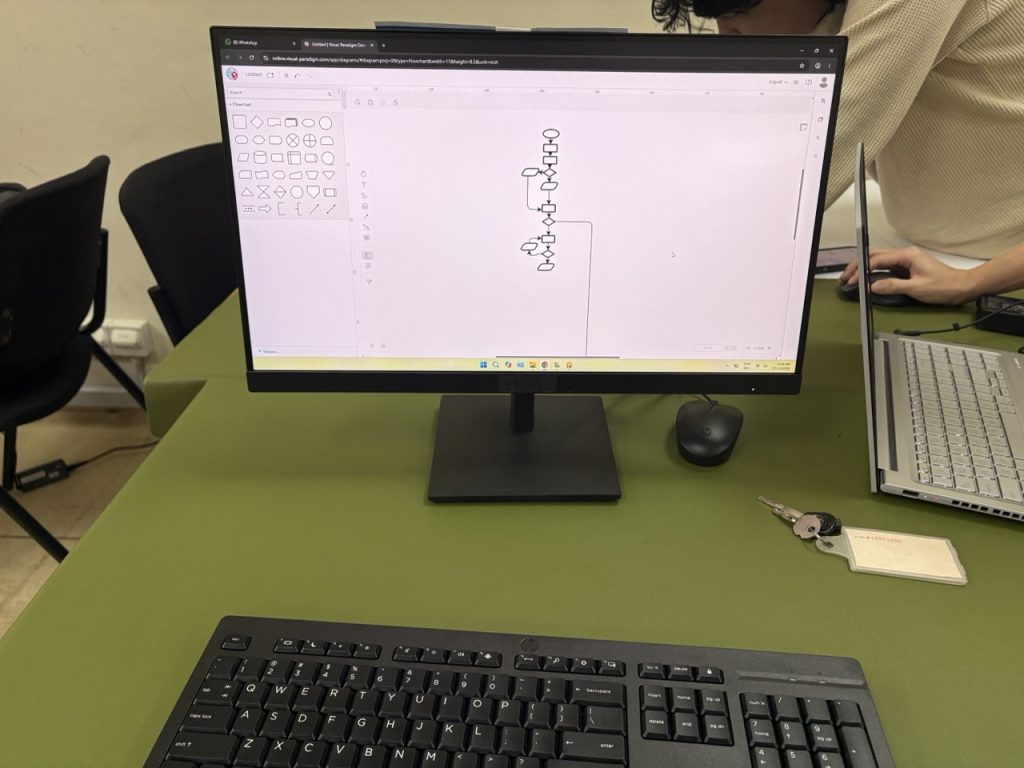
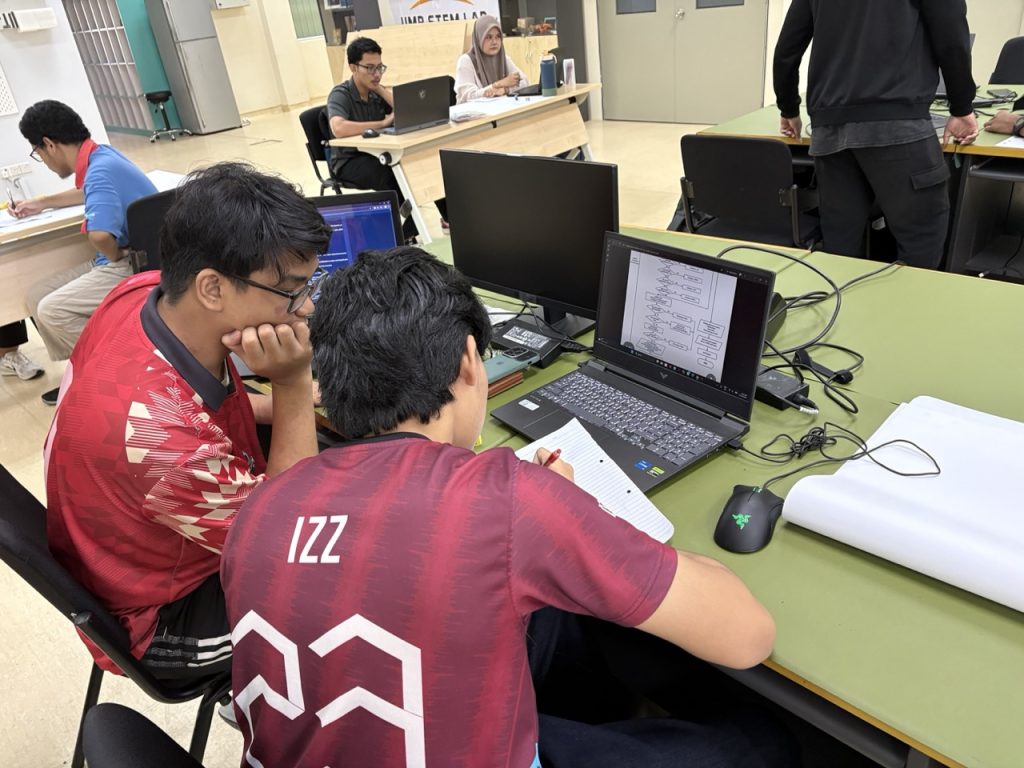
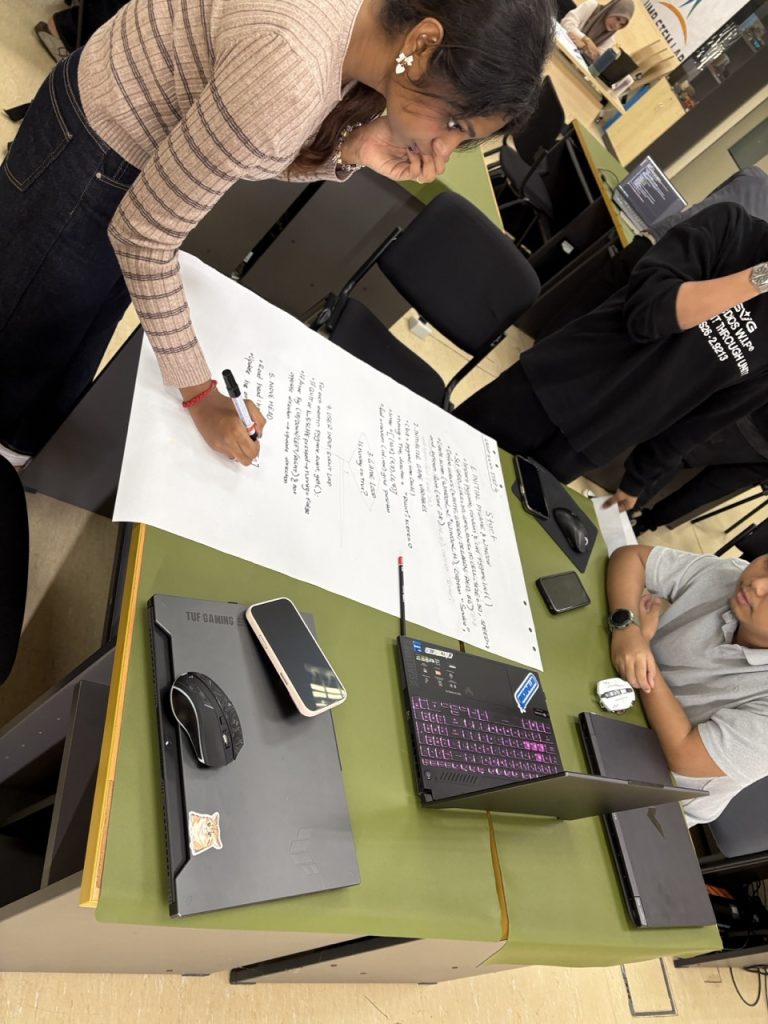
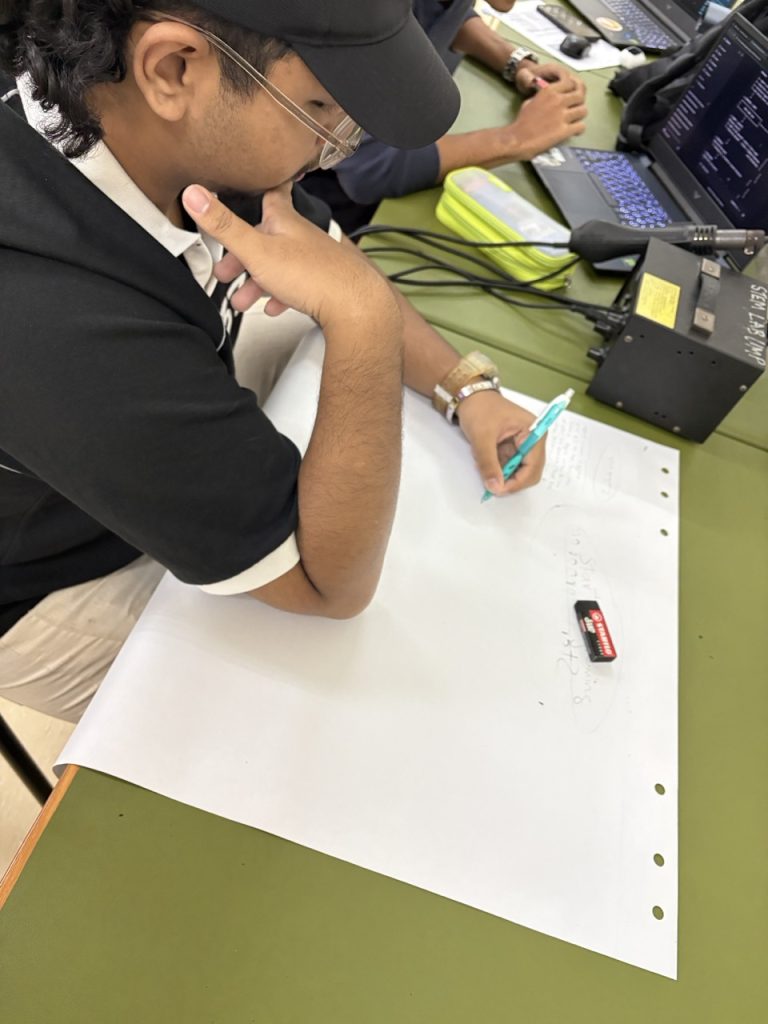
The challenge was open-ended — no template, no hints. Students had to read their own code, reason about control flow, and represent the game’s execution as a diagram. For many, it was the first time they had looked at the full program as a system rather than a collection of steps they had built one by one.
Students who had been through all nine modules found the exercise satisfying rather than daunting. They could trace a path from “Start” through the game loop, through every conditional branch, and back to the top — because they had lived through every one of those concepts over the past weeks.
Building a flowchart is a metacognitive act. It forces a student to hold the program’s execution model in their head, sequence decisions, and check their understanding against what the code actually does.
The Code Students Traced
1. Game Setup — Constants & Initial State
python
# Constants
COLS = 20
ROWS = 15
CELL_SIZE = 25
FPS = 10
BONUS_INTERVAL = 300   # frames between bonus spawns
BONUS_TIMER = 240      # frames a bonus food lasts

# Initial state
snake = [(10, 7), (9, 7), (8, 7)]  # list of (x, y) tuples
direction = "RIGHT"
score = 0
frame_count = 0
game_over = False
2. The Main Game Loop
python
while not game_over:

    # 1. Handle events
    for event in pygame.event.get():
        if event.type == pygame.QUIT:
            game_over = True
        if event.type == pygame.KEYDOWN:
            handle_direction(event.key)

    # 2. Move snake — compute new head with wrap-around
    head_x, head_y = snake[0]
    dx, dy = DIRECTION_MAP[direction]
    new_head = ((head_x + dx) % COLS,
                (head_y + dy) % ROWS)

    # 3. Check self-collision
    if new_head in snake:
        game_over = True

    # 4. Update body
    snake.insert(0, new_head)
    if new_head == food:
        score += 1
        food = spawn_food()
    else:
        snake.pop()   # remove tail if no food eaten

    # 5. Bonus food logic
    frame_count += 1
    if frame_count % BONUS_INTERVAL == 0:
        spawn_bonus()
    bonus_foods = [(pos, t - 1) for pos, t in bonus_foods if t > 0]

    # 6. Draw frame
    draw()
    clock.tick(FPS)
3. Direction Control — The “Syarat” Logic
python
DIRECTION_MAP = {
    "UP":    (0, -1),
    "DOWN":  (0,  1),
    "LEFT":  (-1, 0),
    "RIGHT": (1,  0),
}

def handle_direction(key):
    global direction
    # Syarat: cannot reverse into yourself
    if key == pygame.K_UP    and direction != "DOWN":
        direction = "UP"
    elif key == pygame.K_DOWN  and direction != "UP":
        direction = "DOWN"
    elif key == pygame.K_LEFT  and direction != "RIGHT":
        direction = "LEFT"
    elif key == pygame.K_RIGHT and direction != "LEFT":
        direction = "RIGHT"
The Flowchart

The flowchart covers one full iteration of the game loop:
-
-
- START → Initialise snake, food, direction, score
- GAME LOOP → Process events (QUIT? → END)
- Update direction (syarat: cannot reverse)
- Compute new_head using DIRECTION_MAP + modulo wrap
- Self-collision? → YES: GAME OVER + save high score | NO: continue
snake.insert(0, new_head)- Ate food? → YES: score += 1, spawn new food | NO:
snake.pop() - Bonus food logic →
frame_count % BONUS_INTERVAL == 0 draw()+clock.tick(FPS)- → Loop back to Step 2
-
Why This Activity Works — 4 CT Pillars
Decomposition — Students break the game into distinct sub-processes: events, movement, collision, food, rendering. Each becomes a separate node in the chart.
Pattern Recognition — The insert/pop pattern for the snake body, and the modulo pattern for periodic events, stand out clearly when drawn as flowchart branches rather than buried in code lines.
Algorithmic Thinking — The flowchart forces students to think about sequence and order. A common discovery: does the collision check come before or after inserting the new head? Getting that order wrong changes the game’s behaviour entirely.
Abstraction — Students represent function calls like draw() and spawn_food() as single chart nodes — hiding internal detail behind a named action, exactly as abstraction works in OOP (which they just finished in Module 9).
What Comes Next
With nine modules done and a clear visual model of how the game works, students are ready for Module 10: extending the snake game with a Q-Learning agent that trains itself to play. The flowchart work this week means they enter that module with a stable mental model of the game loop — a foundation the reinforcement learning extension builds directly upon.
The metacognitive journal entries from this week will be especially valuable for the research analysis. They capture the moment students shifted from following code to reading code as a system — which is exactly the kind of transfer we are looking for.
UMPSA STEM Lab – Radio Foxhunting 2026
In 1895, an Italian inventor named Guglielmo Marconi astonished the world by transmitting a wireless signal across his family’s garden in Bologna. Within a few years, his signals were crossing the Atlantic Ocean. What Marconi had demonstrated was not merely a clever gadget, it was proof that invisible electromagnetic waves could carry information through the … Continue reading “UMPSA STEM Lab – Radio Foxhunting 2026”
In 1895, an Italian inventor named Guglielmo Marconi astonished the world by transmitting a wireless signal across his family’s garden in Bologna. Within a few years, his signals were crossing the Atlantic Ocean. What Marconi had demonstrated was not merely a clever gadget, it was proof that invisible electromagnetic waves could carry information through the air, without a single wire connecting sender and receiver. It was, in every meaningful sense, magic made physical.
Today, more than a century later, that same magic underpins virtually every device in our pockets, our homes, and our skies. WiFi, Bluetooth, GPS, 5G cellular, satellite communication , all of them are descendants of Marconi’s garden experiment. Yet as wireless technology has grown ever more sophisticated and ever more invisible, the underlying principles, wavelength, propagation, directionality, signal strength, have become a hidden language that fewer and fewer people truly understand.
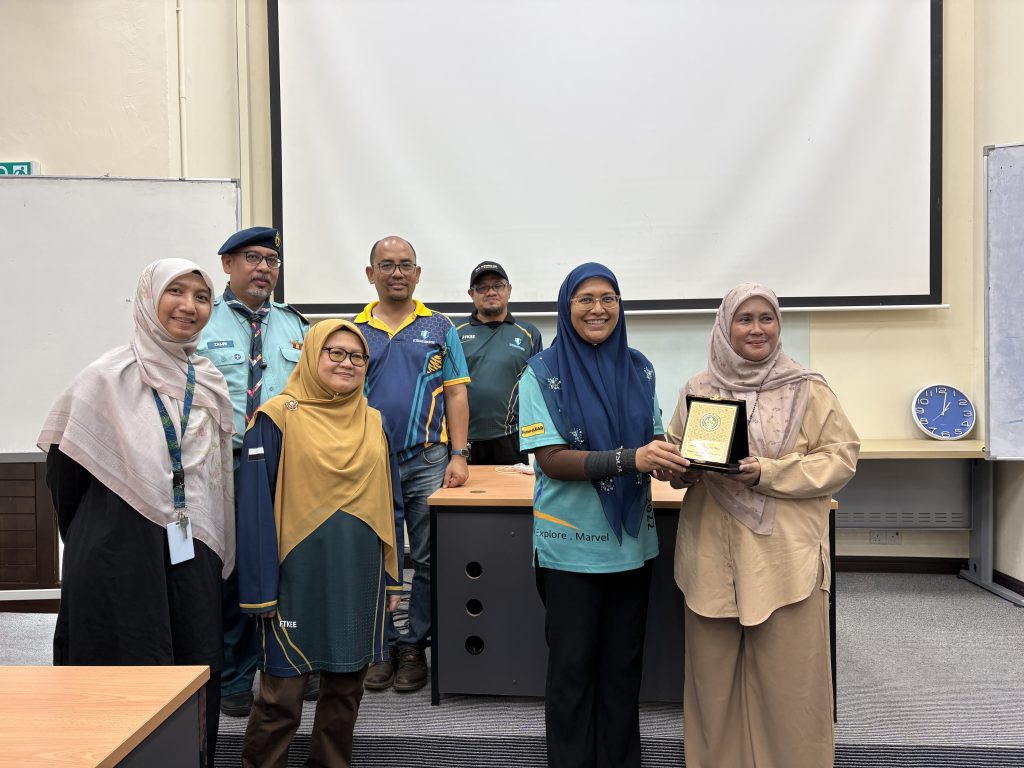
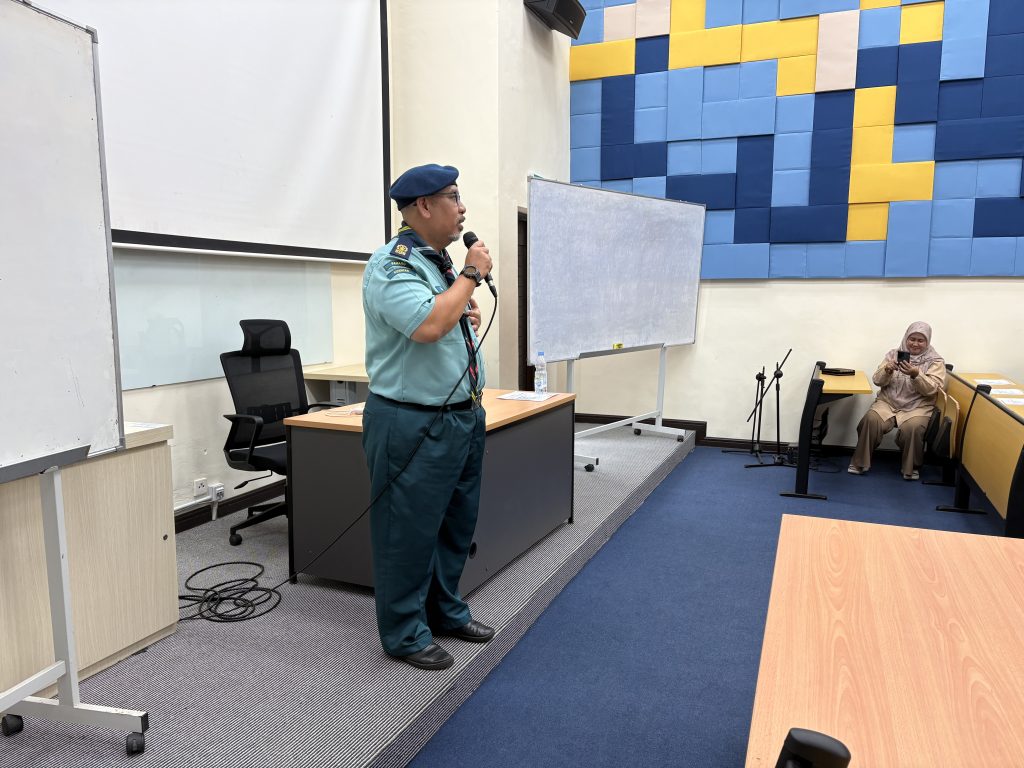
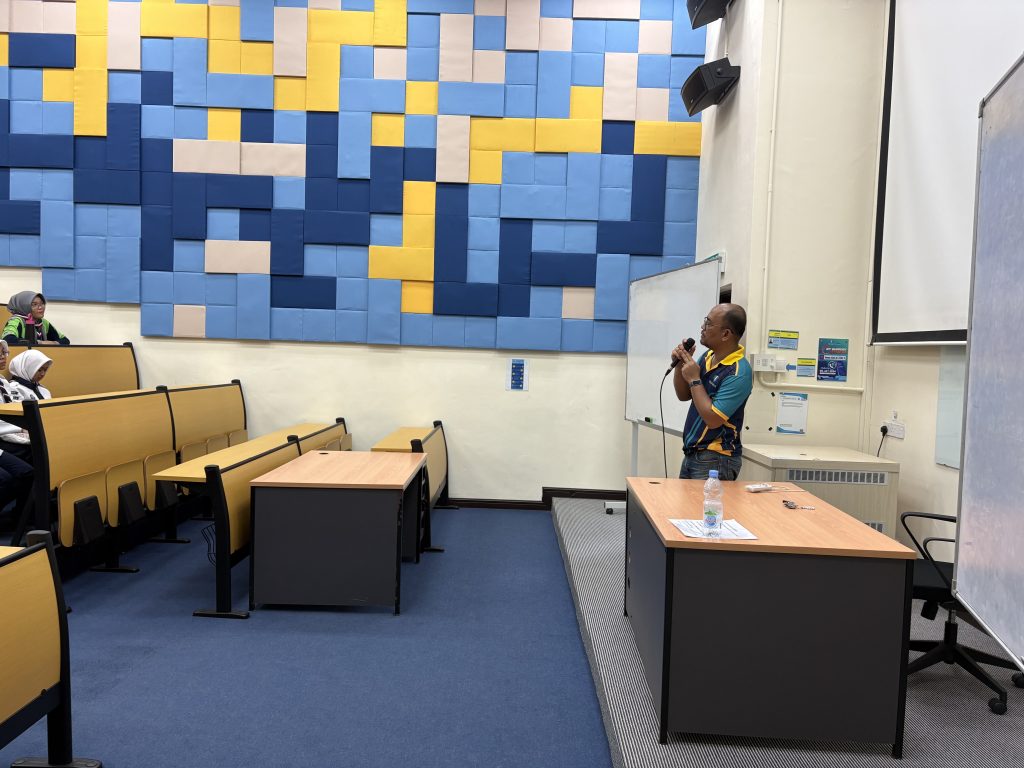
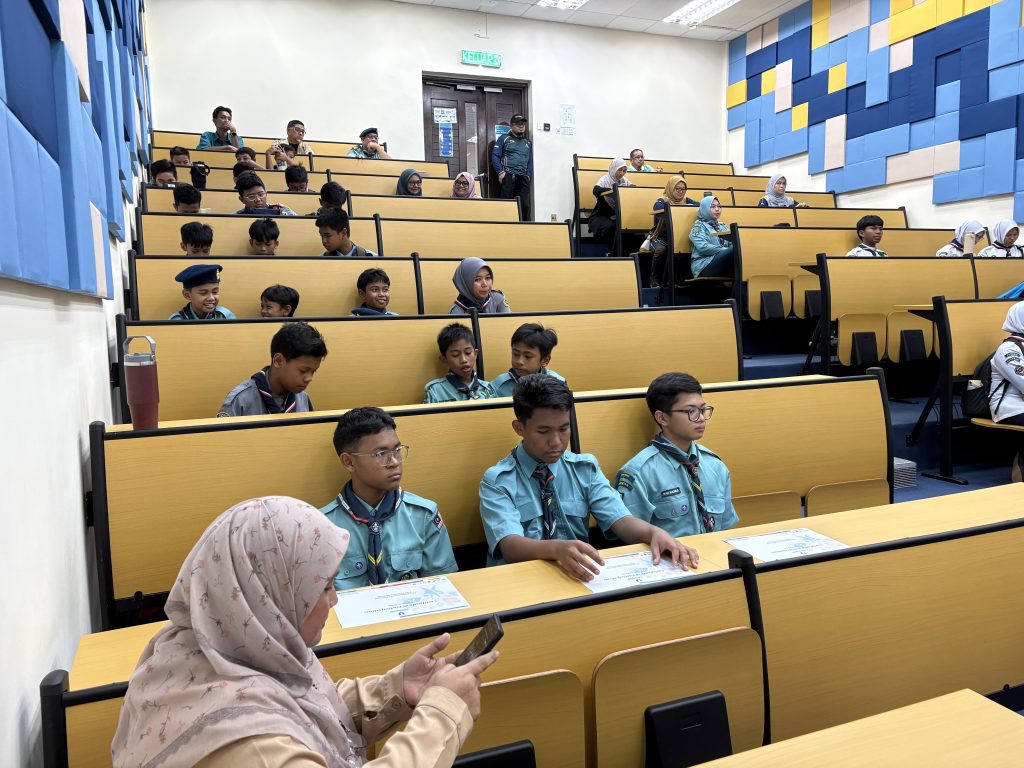
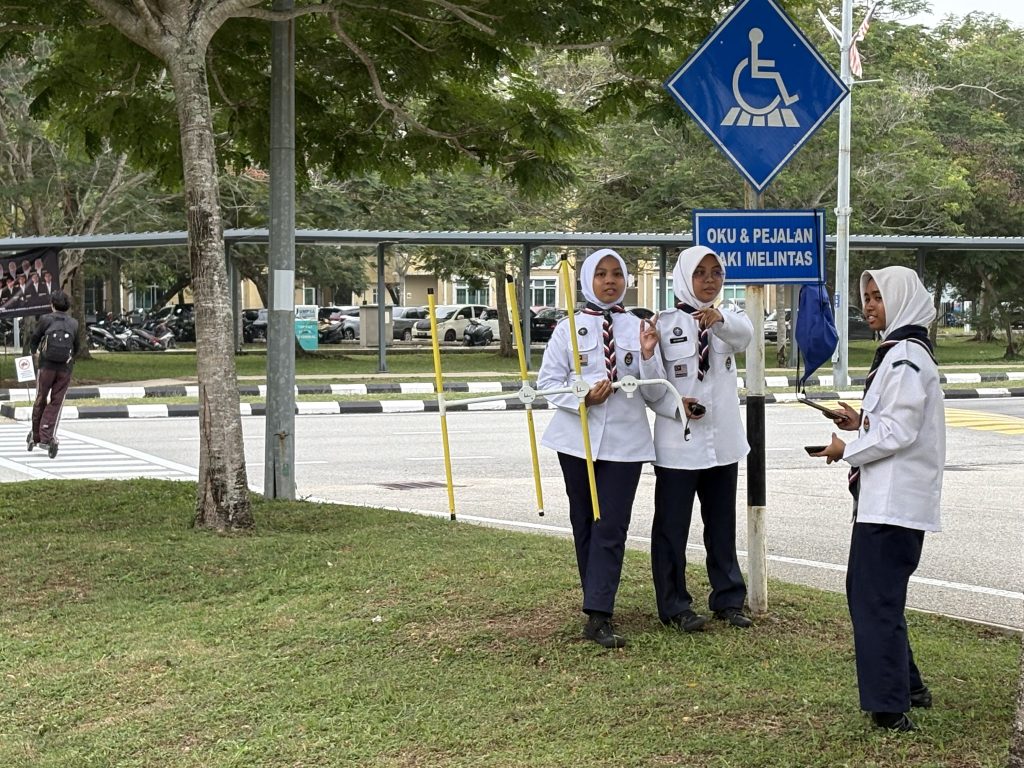
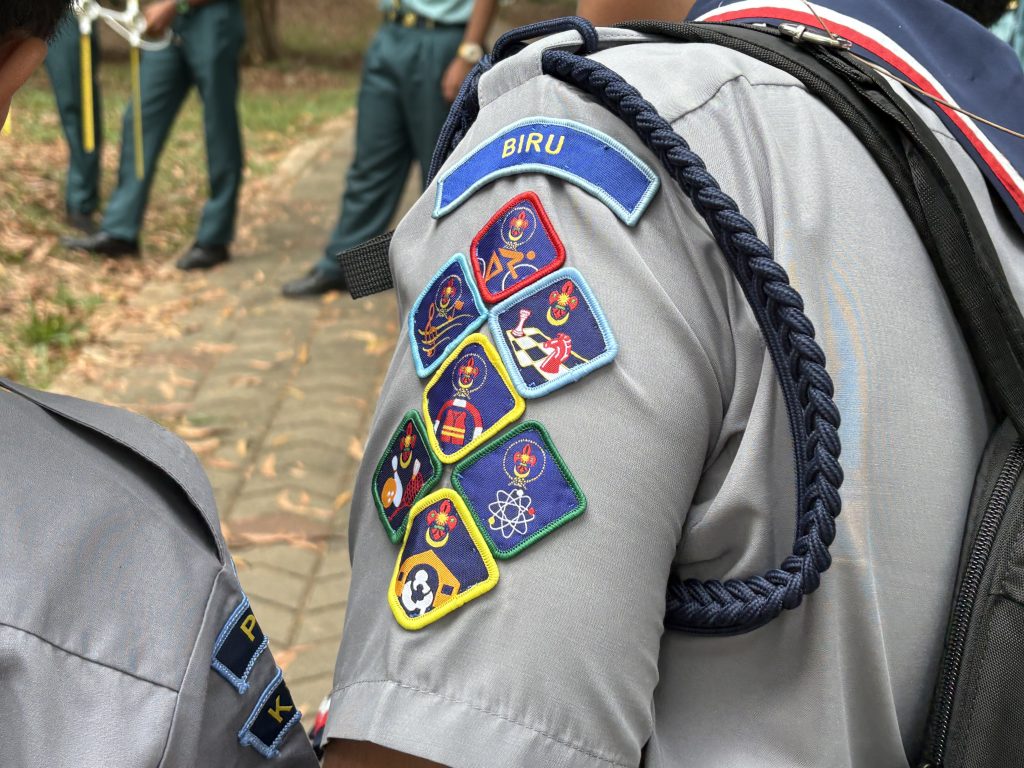
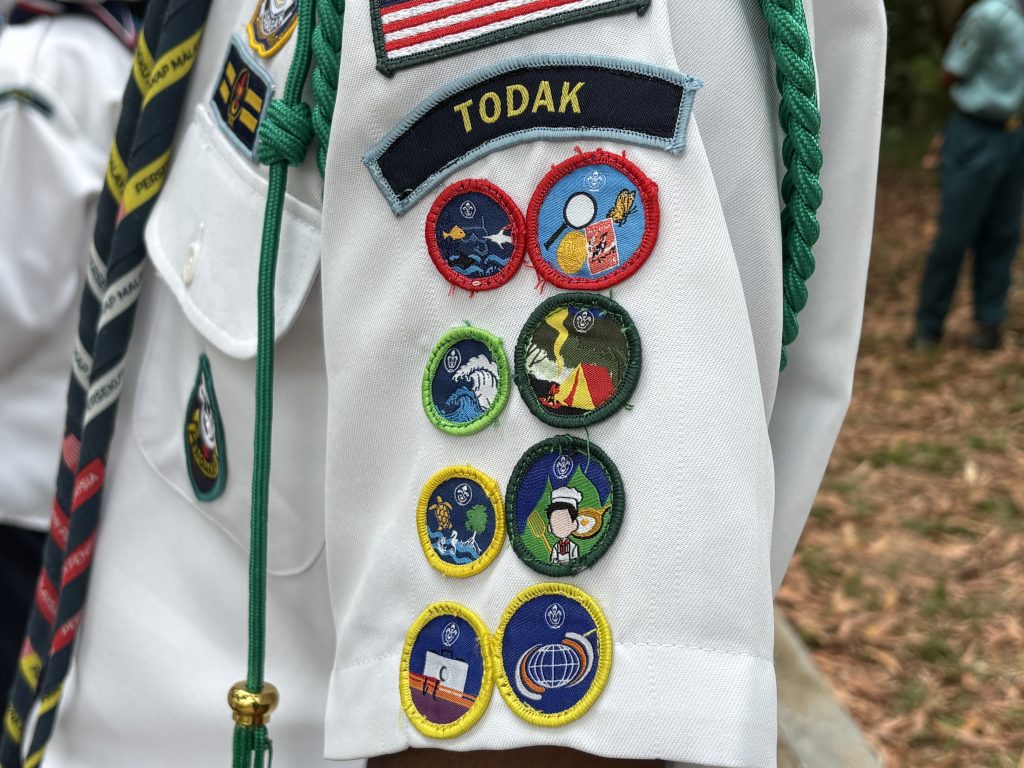
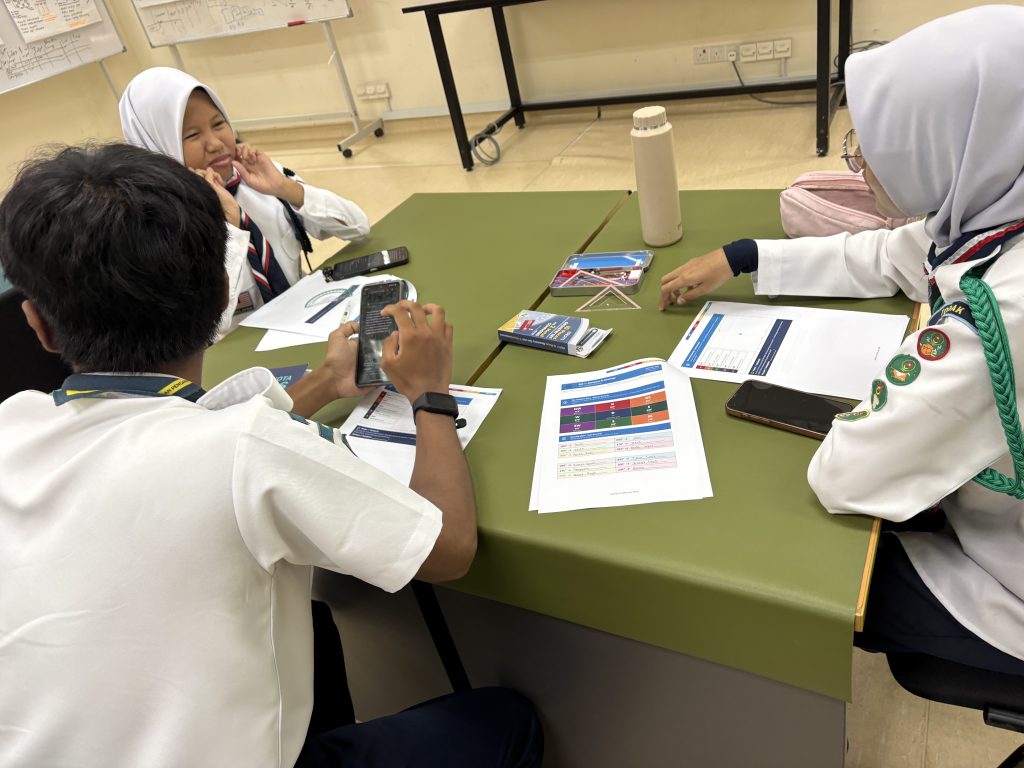
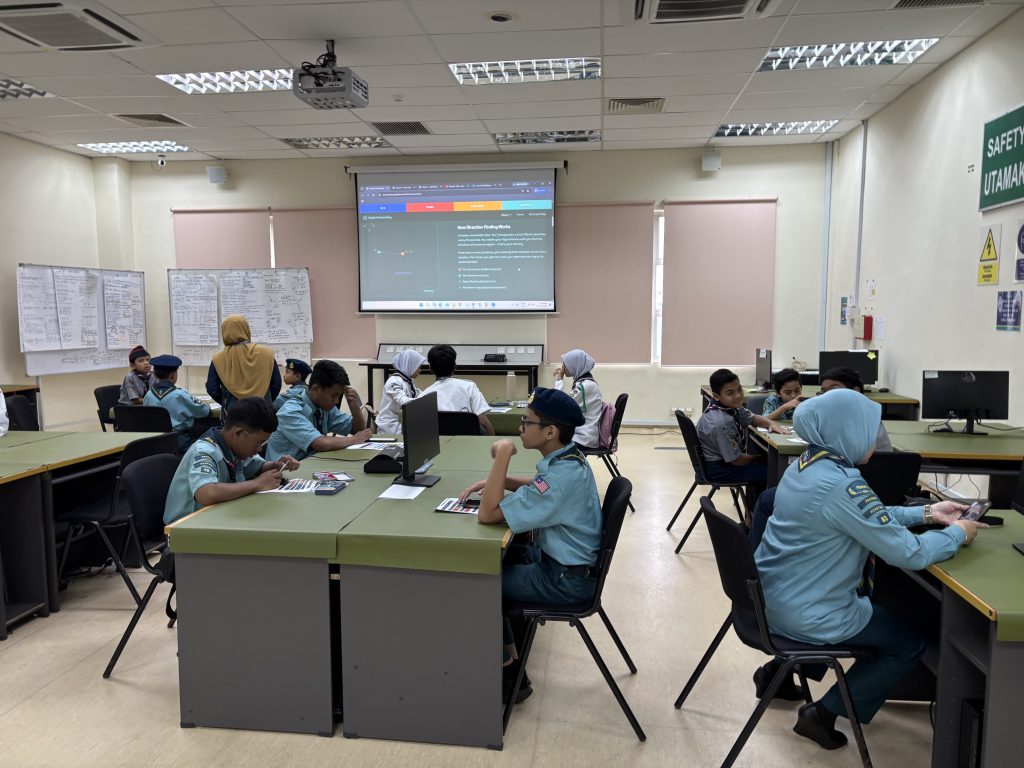
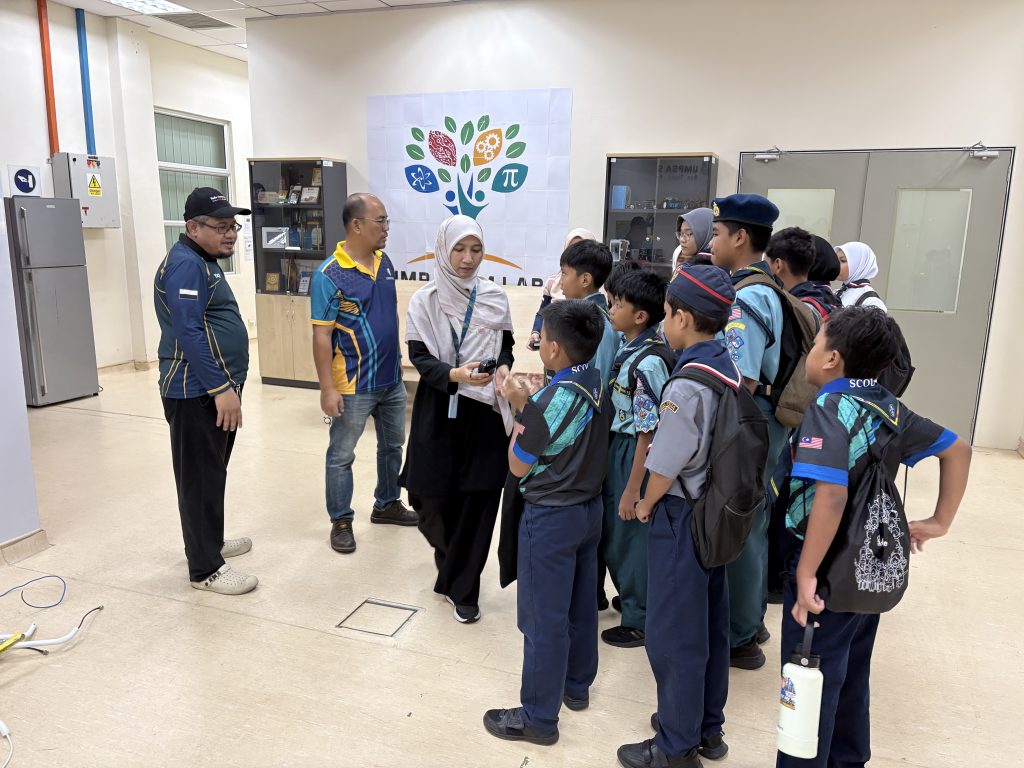
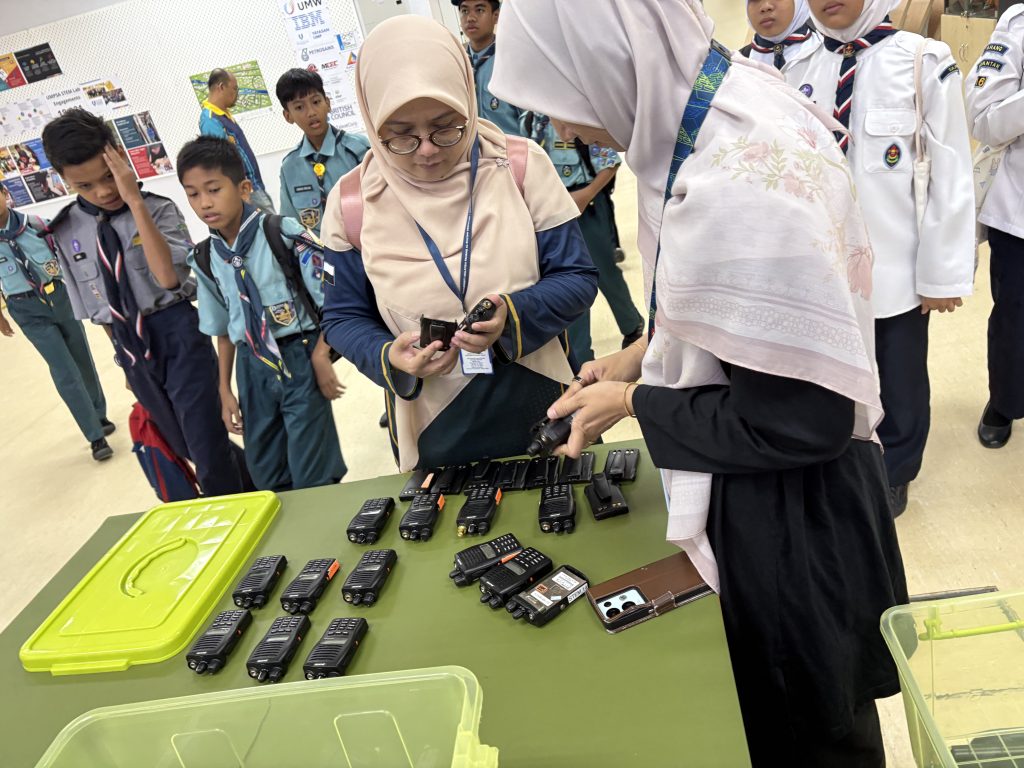
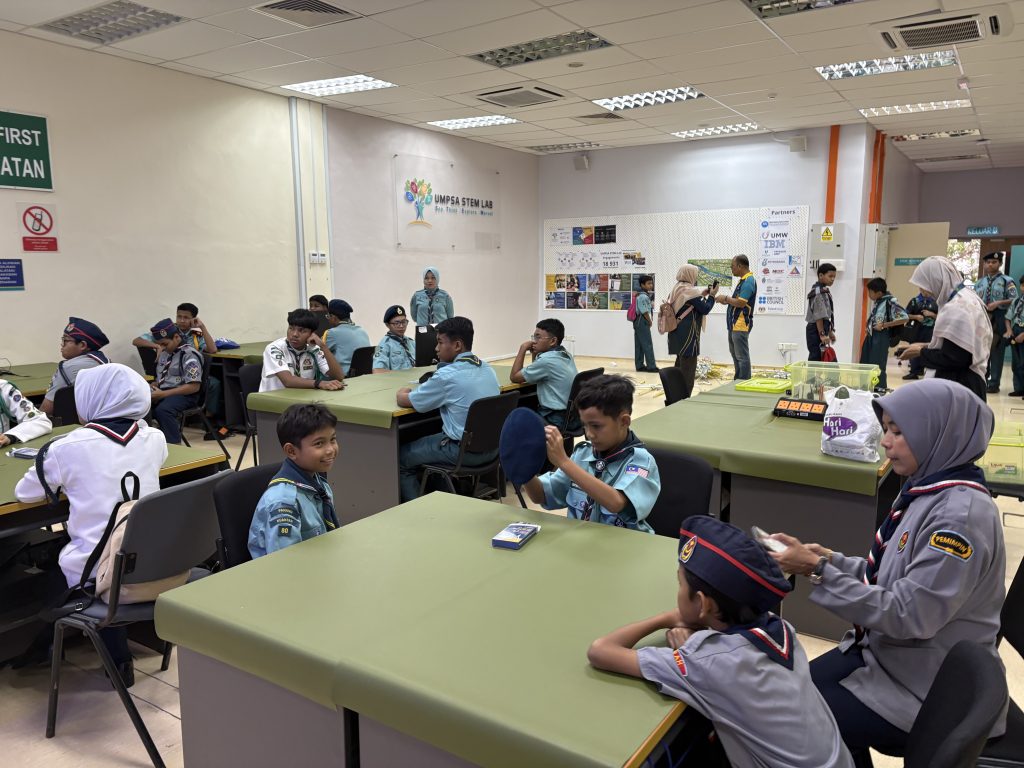
It was precisely this gap that UMPSA STEM Lab set out to address last Saturday, in partnership with Pengakap Malaysia Pahang Kuantan, in conjunction with International Radio Week 2026. The programme: Radio Foxhunting, the sport of locating a hidden radio transmitter using direction-finding equipment, navigational skill, and teamwork. The venue: UMPSA Pekan campus. The objective: to nurture a genuine appreciation of radio technology by putting it in participants’ hands.

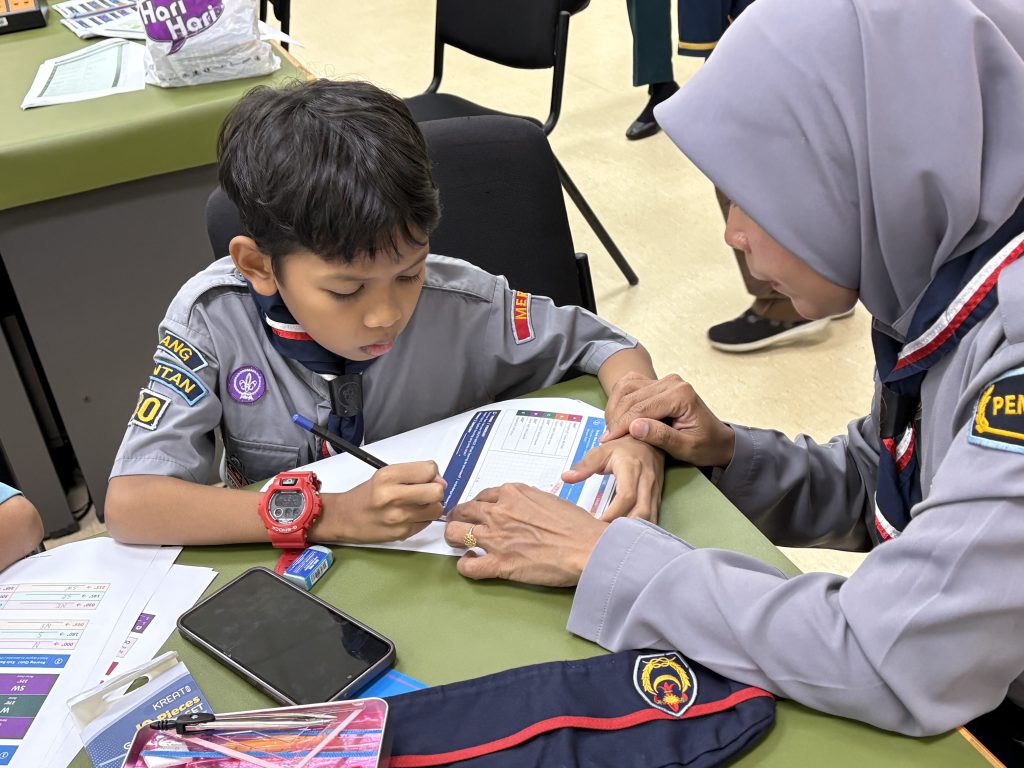
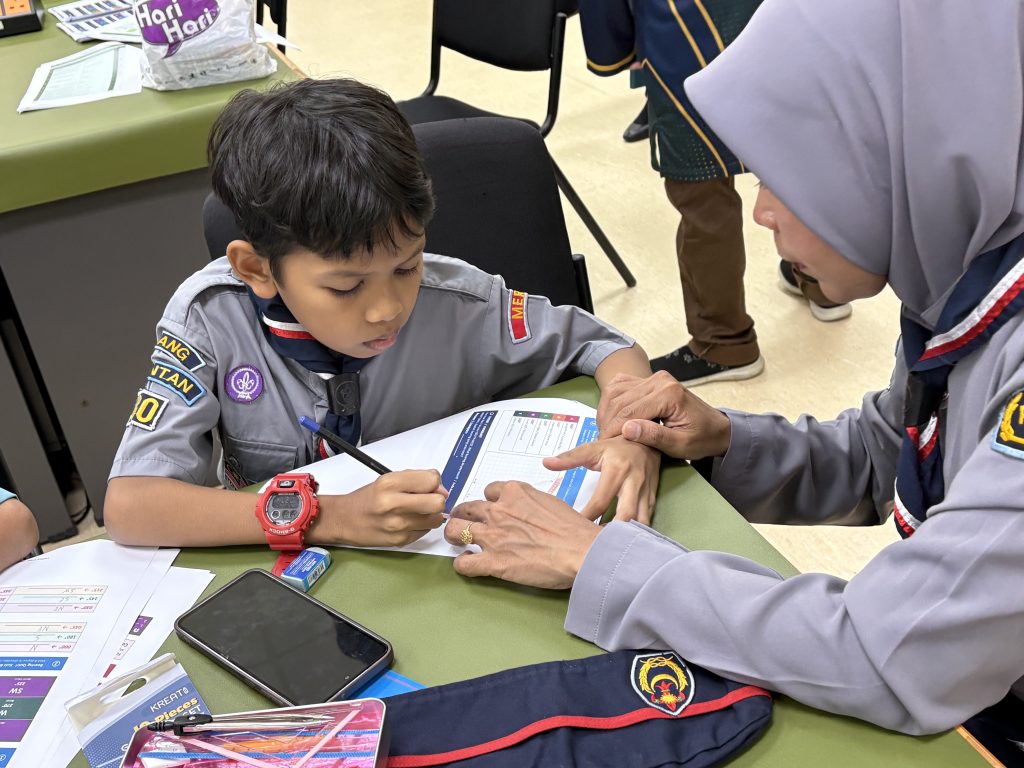
The half-day programme ran in two parts. The first half covered four focused learning modules. The second half was the hunt itself, one beacon, hidden somewhere on campus, with teams competing to find it using everything they had just learned.
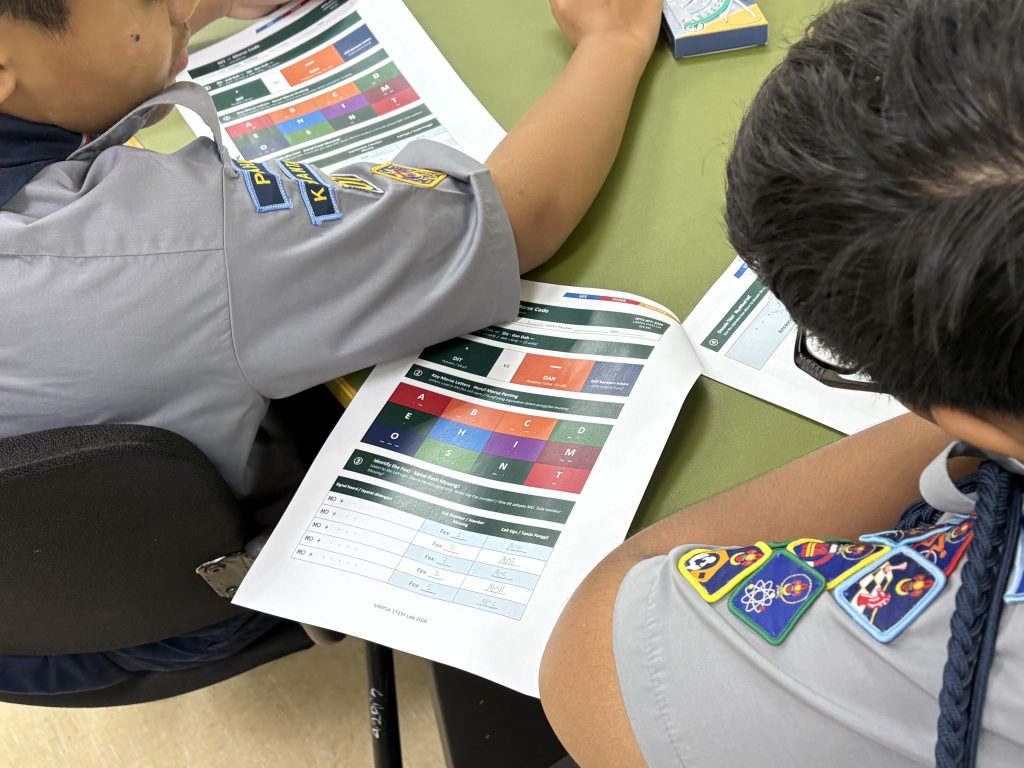
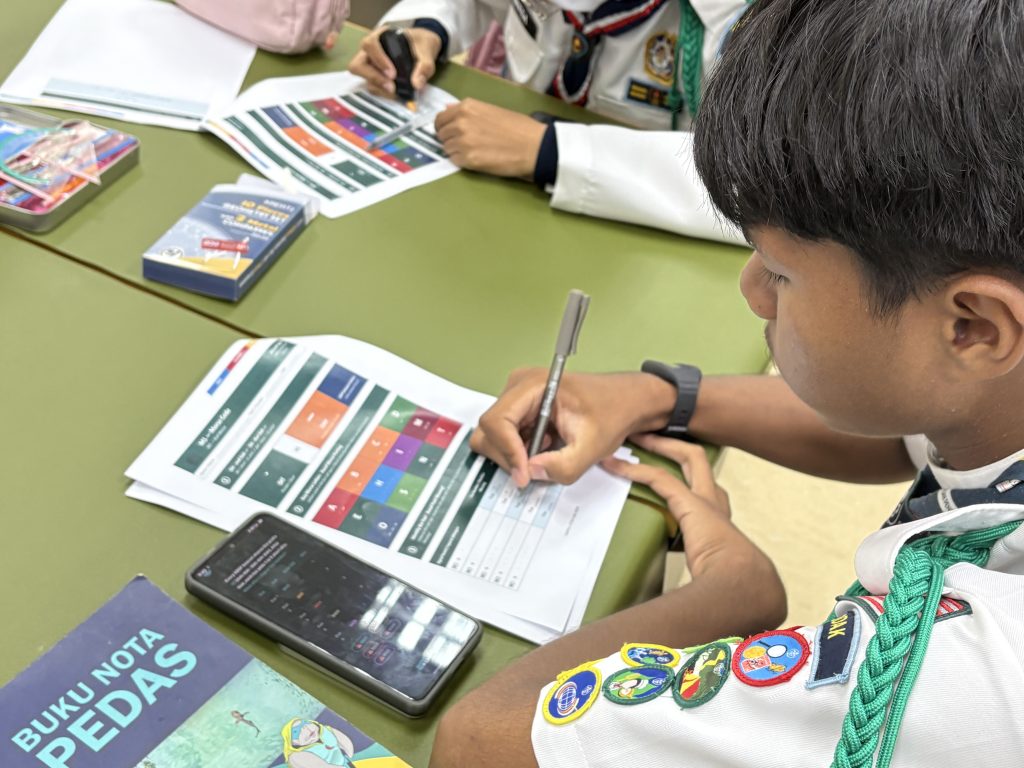
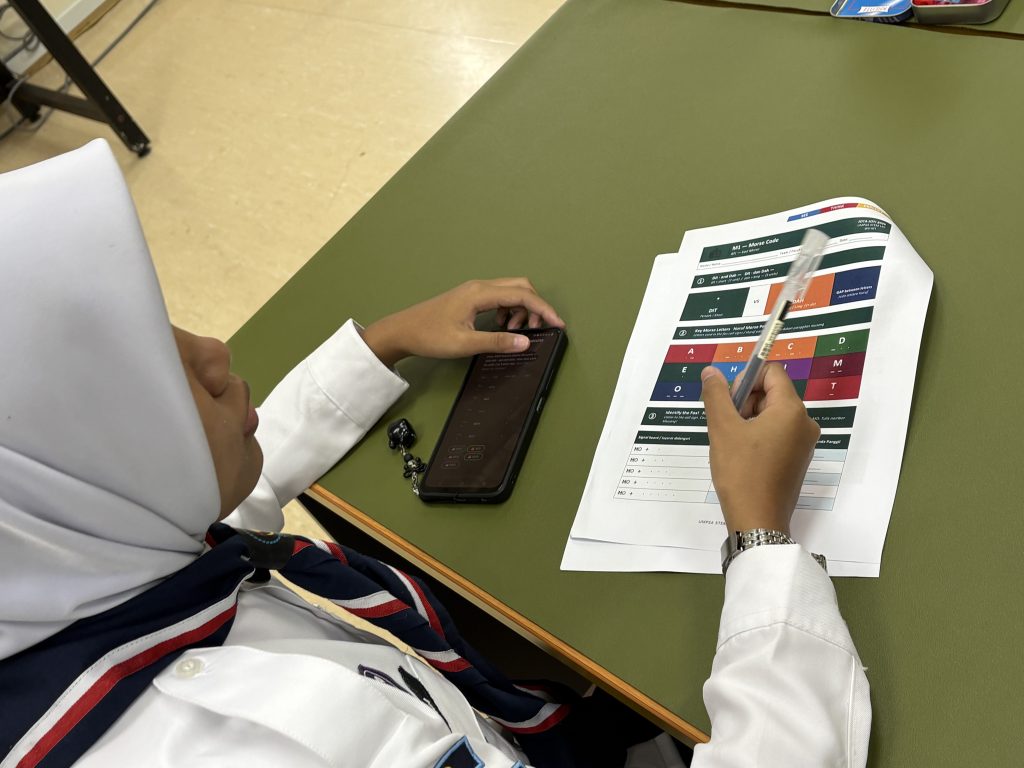
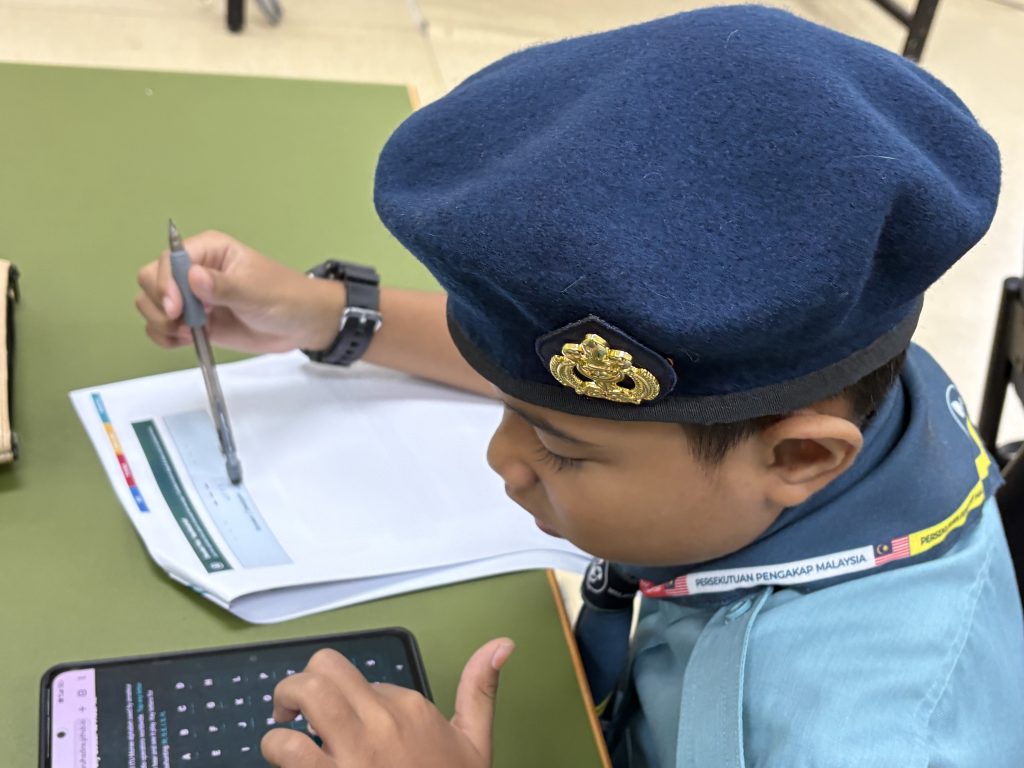
Module 1: Morse Code and Beacon Identification
Before any participant could hunt a fox, they needed to understand how foxes speak.
In ARDF — Amateur Radio Direction Finding, the formal name for foxhunting — hidden transmitters identify themselves using Morse code. Each beacon broadcasts a short, repeating identifier: MO, MOE, MOI, MOS, MOH, and MO5. These are not arbitrary labels; they are sequences of dots and dashes drawn from the international system that Samuel Morse established in the 1840s, and they allow a hunter to identify which transmitter they are hearing without ever seeing it.
This module opened with the fundamentals. Participants learned the timing ratios that separate a dit (short signal) from a dah (long signal) — a ratio of 1:3 — and how the silence between signals carries as much meaning as the signals themselves. The famous SOS distress call (· · · — — — · · ·) served as a memorable teaching moment: in 1912, Titanic’s radio operators sent exactly this sequence as the ship sank, helping rescue 710 survivors. It was one of the first real-world uses of the signal, and it saved lives because radio operators on nearby vessels were listening.

From history, the session moved to practice. Participants worked through the full Morse alphabet and tackled the central challenge of any foxhunt: identifying which beacon is transmitting during the standard 60-second beacon cycle, where each of the five transmitters broadcasts in turn. A hunter who cannot quickly decode what they are hearing wastes precious minutes, and loses ground to competitors who can.
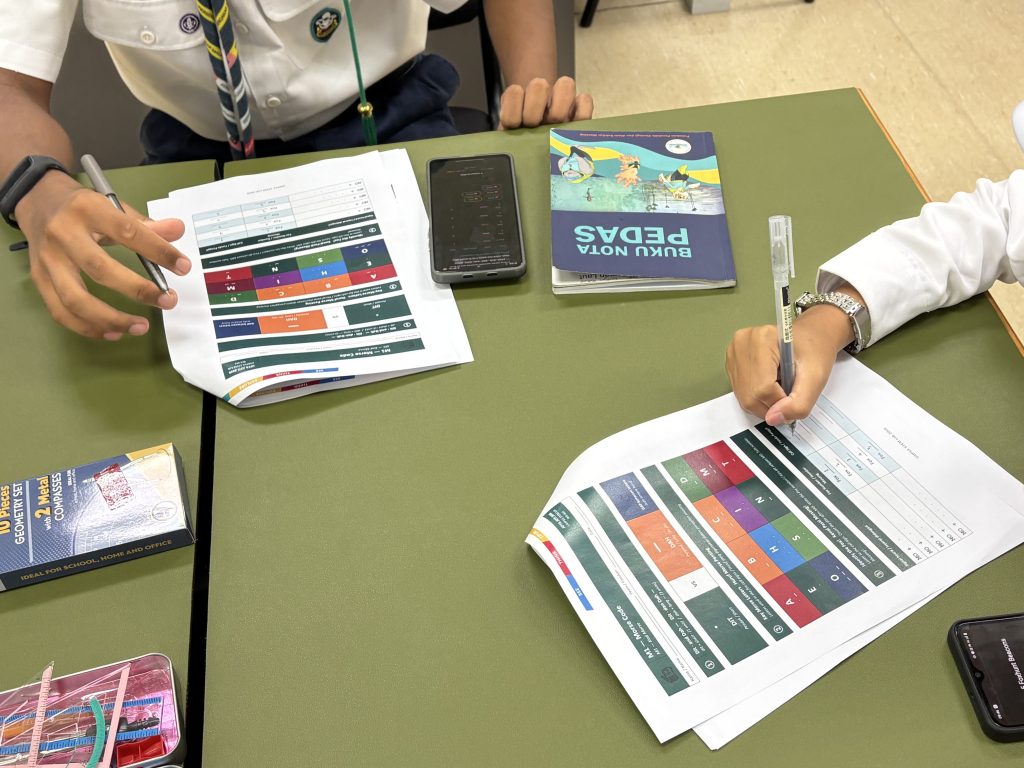
The module wrapped up with a decode challenge and a set of facts that broadened the picture: Morse code is still used by amateur radio operators worldwide because its signal penetrates interference that defeats voice transmission; the Malaysian Radio Amateur Examination (RAE) still tests Morse timing theory; and the world speed record for Morse transmission is 216 characters per minute — around four letters every second.
Module 2: Map Reading and Triangulation
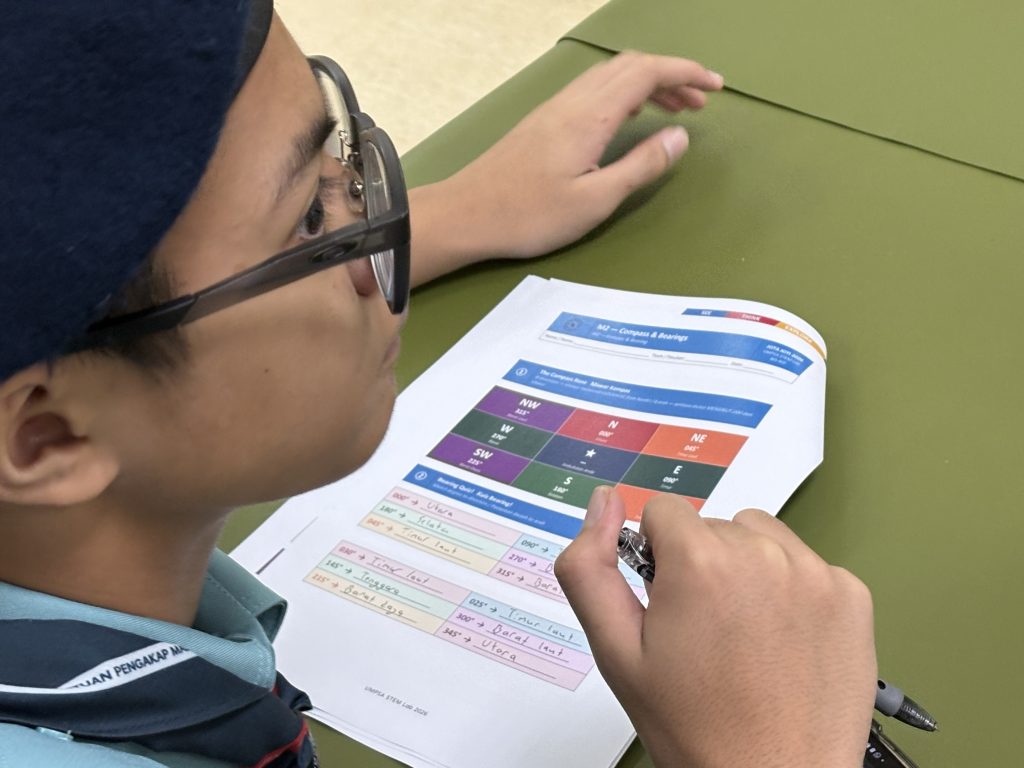
Hearing the fox is only half the problem. Knowing where it is hiding requires a completely different set of skills, and those skills begin with a map and a compass.
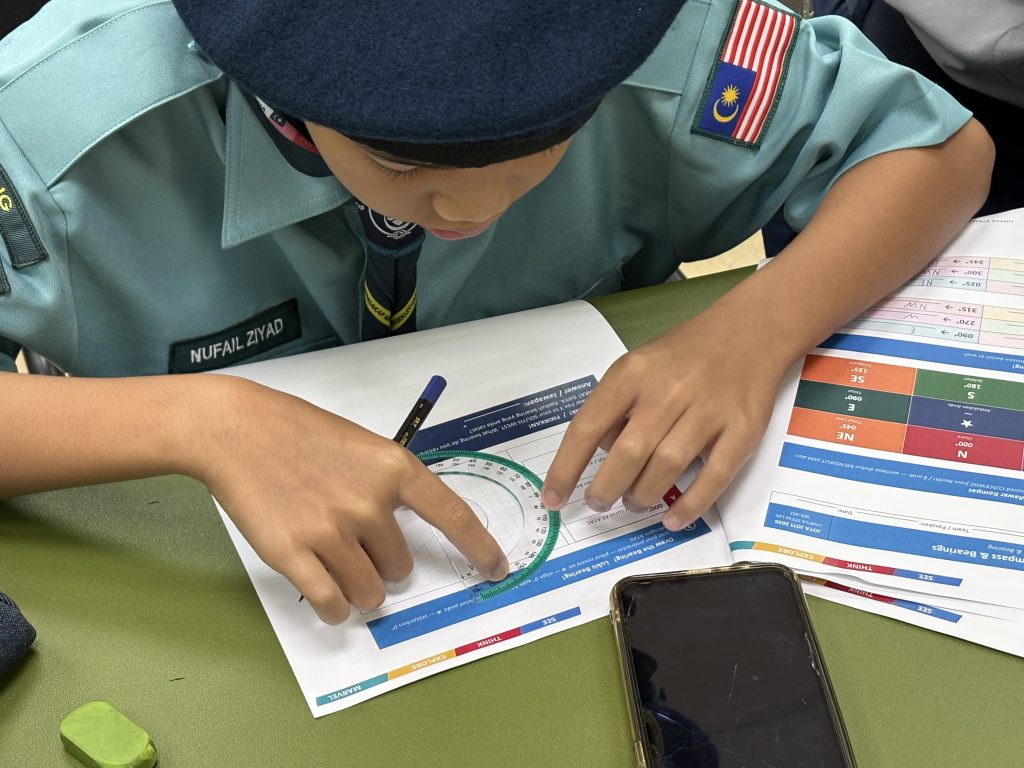
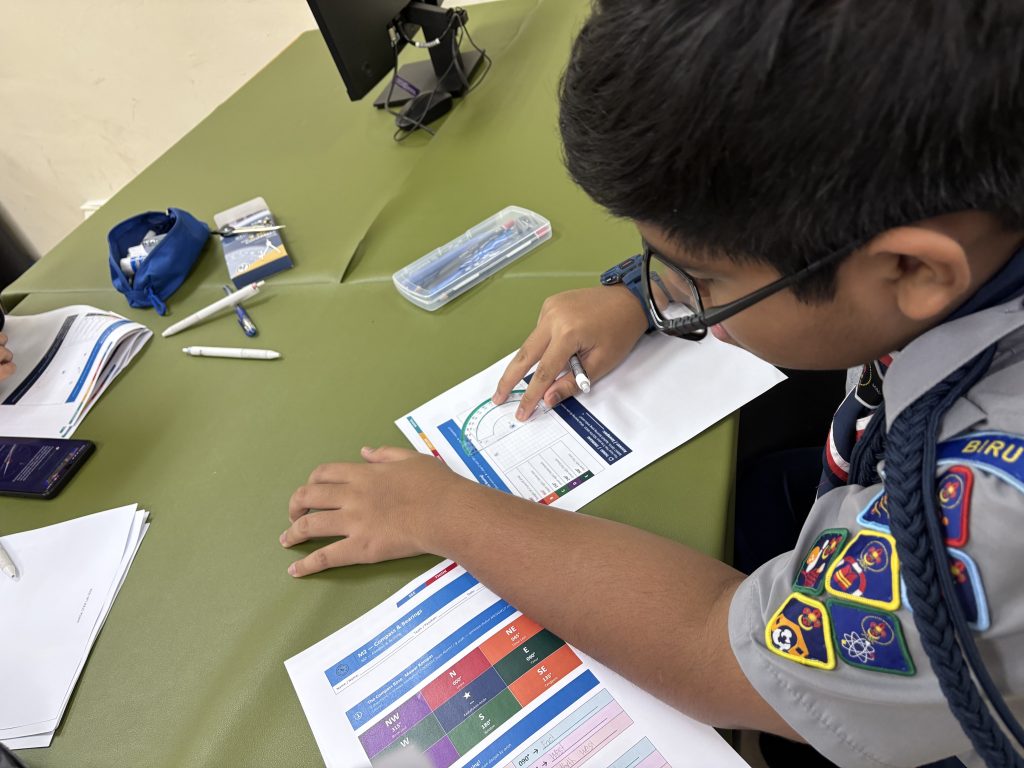
This module introduced participants to topographic maps, how to read contour lines (each connecting points of equal elevation, with closer lines indicating steeper slopes), how to interpret scale, and how to orient a map so that north on paper matches north on the ground. For many of the scouts, this was familiar territory from their Pengakap training. But applying those navigation skills to radio direction finding added a layer they had not encountered before.
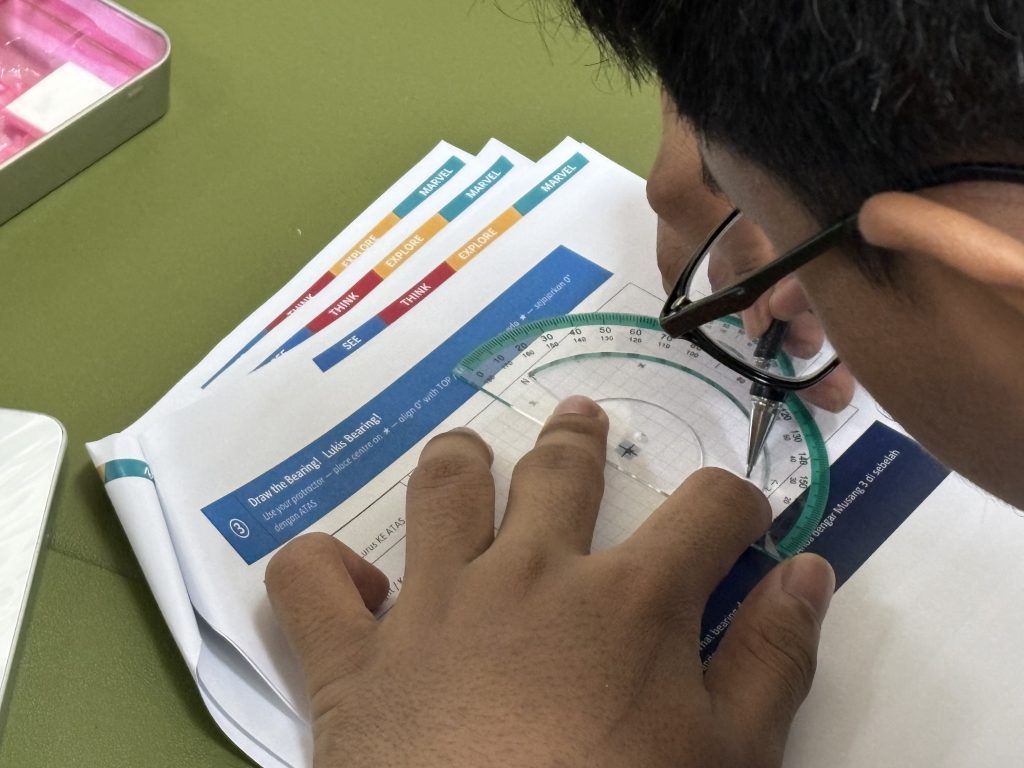
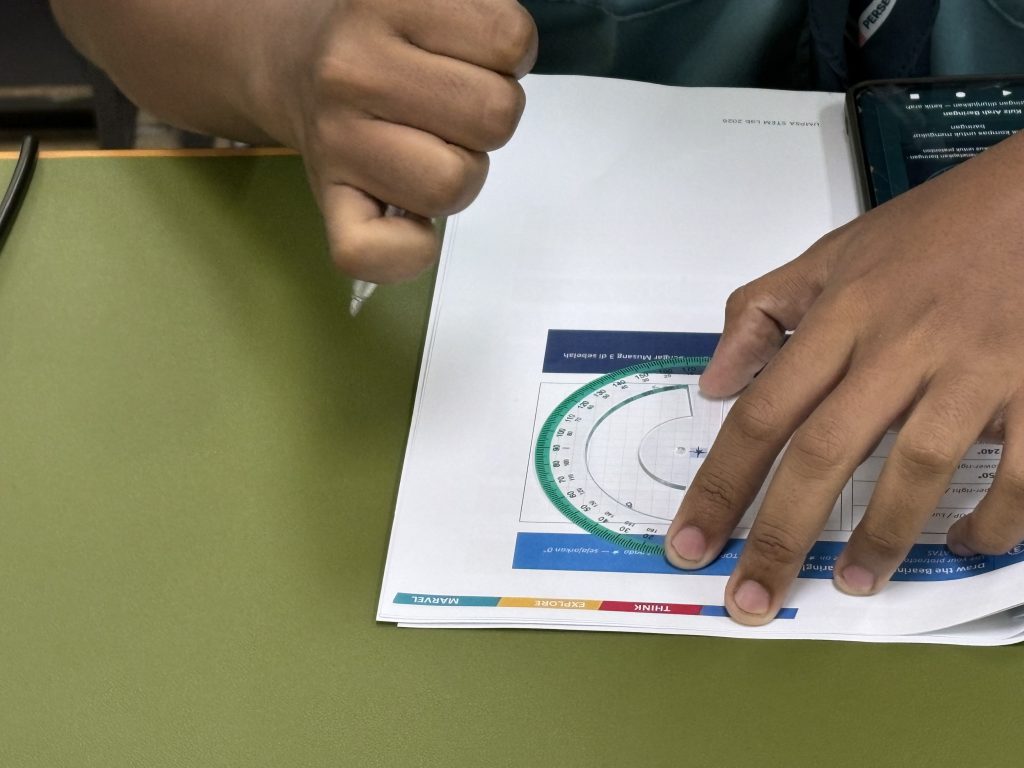
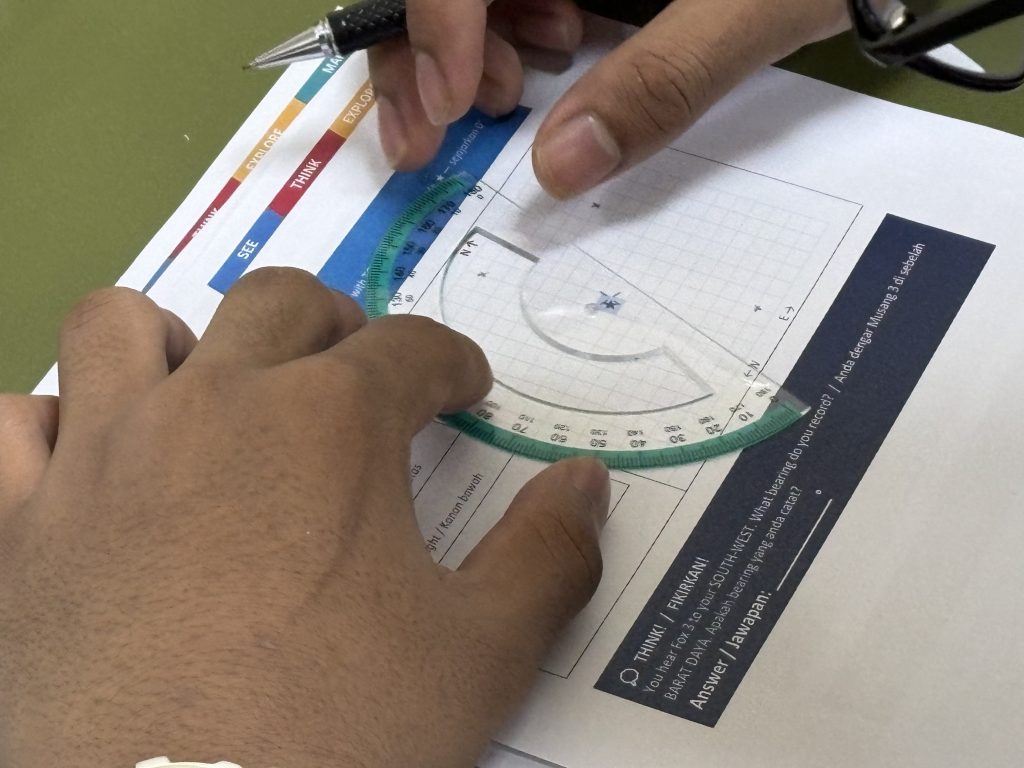
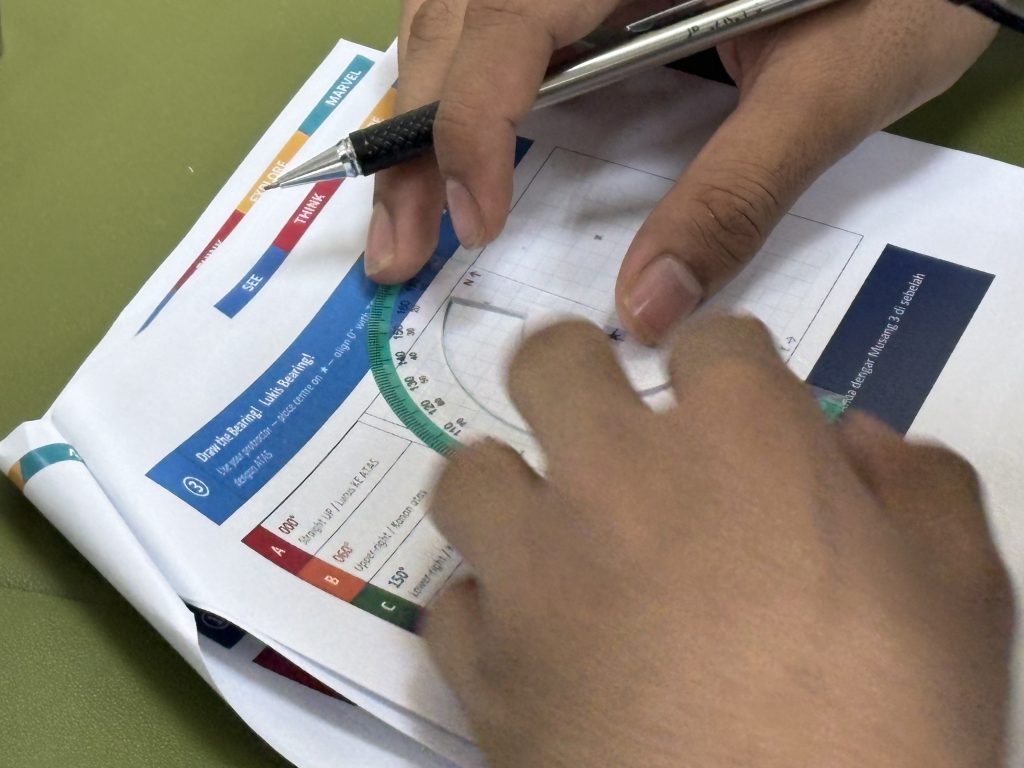
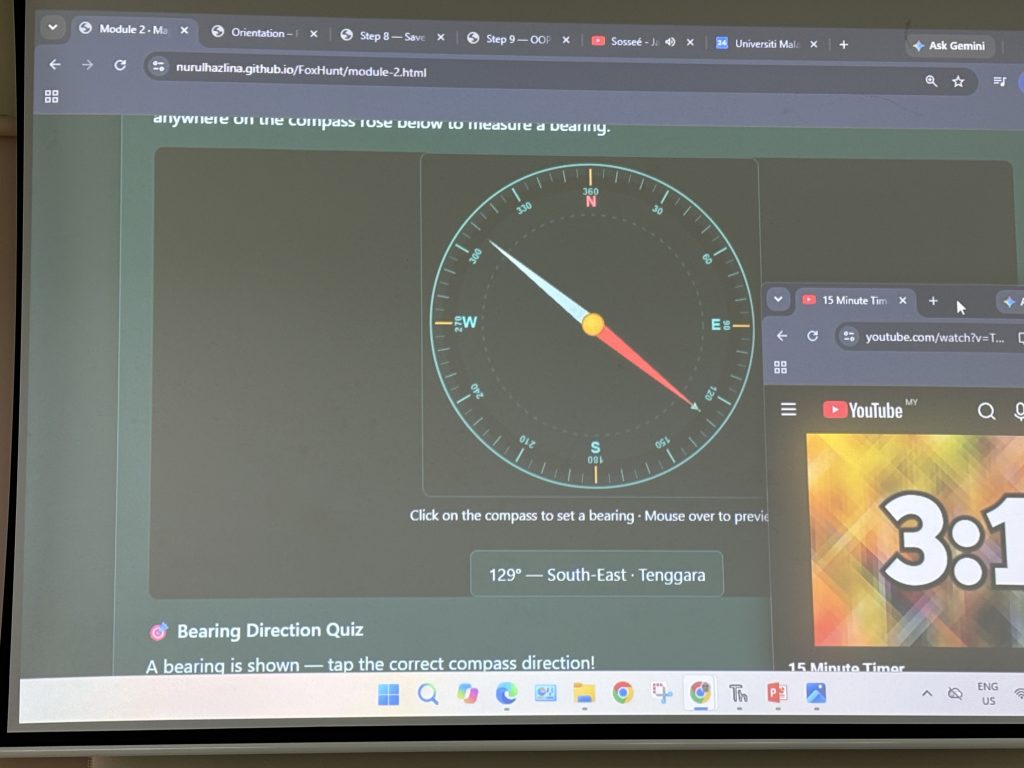
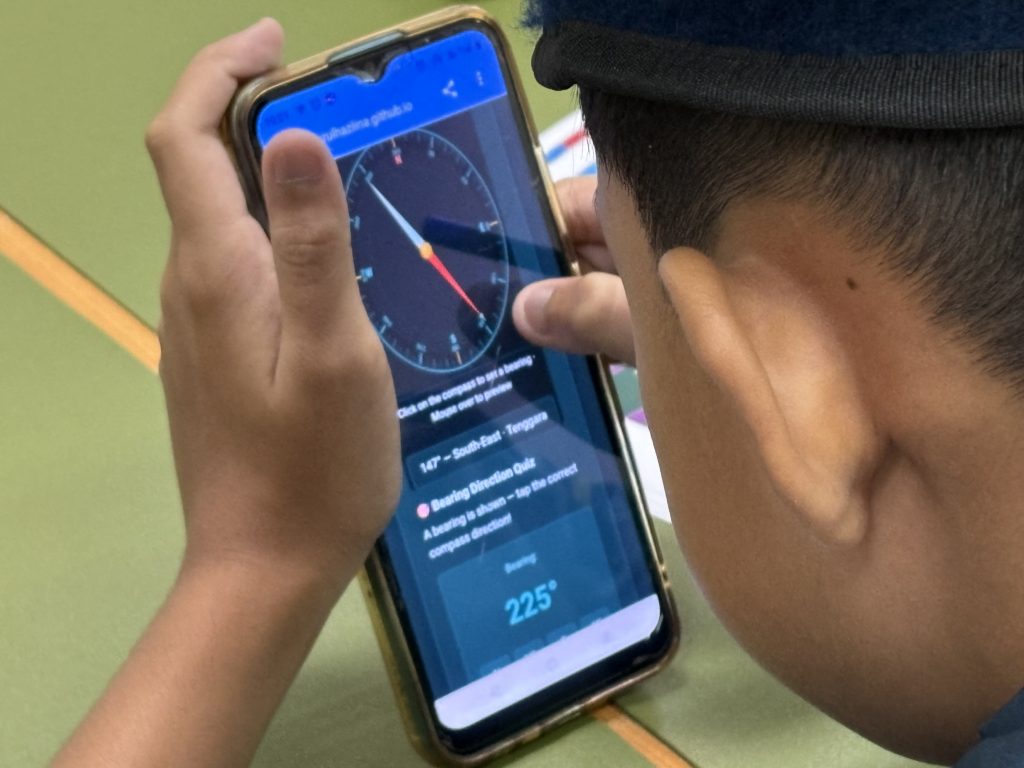
The key technique is triangulation. A single bearing from one position tells you that the fox is somewhere along a specific line radiating from where you stand. Move to a different position, take another bearing, and draw a second line. Where those two lines intersect is where the fox must be — or very nearly so. In practice, a third bearing from a third position creates a small triangle of uncertainty called the “cocked hat,” and the transmitter is almost certainly within it.
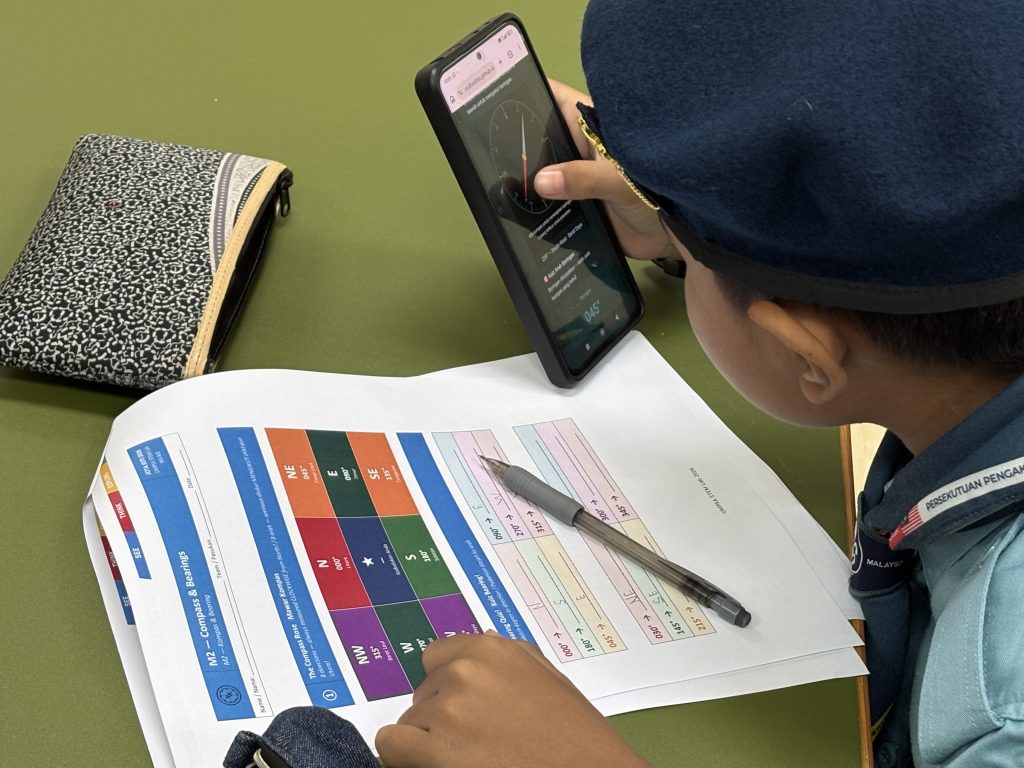
To bring the concept to life, the module used an interactive simulator where participants plotted bearings and watched their estimated position converge on the hidden target. The session also explored how the same mathematical principle operates at a global scale: GPS satellites triangulate your position from signals sent by at least four orbital transmitters, and mobile phone networks locate handsets by measuring signal timing between cell towers. The campus foxhunt is, in miniature, the same problem that every navigation system on Earth solves.

Participants practised taking magnetic bearings, reading grid references, and plotting a route across a simplified campus map — the exact skills they would need within the hour.
Module 3: Yagi Antenna Construction
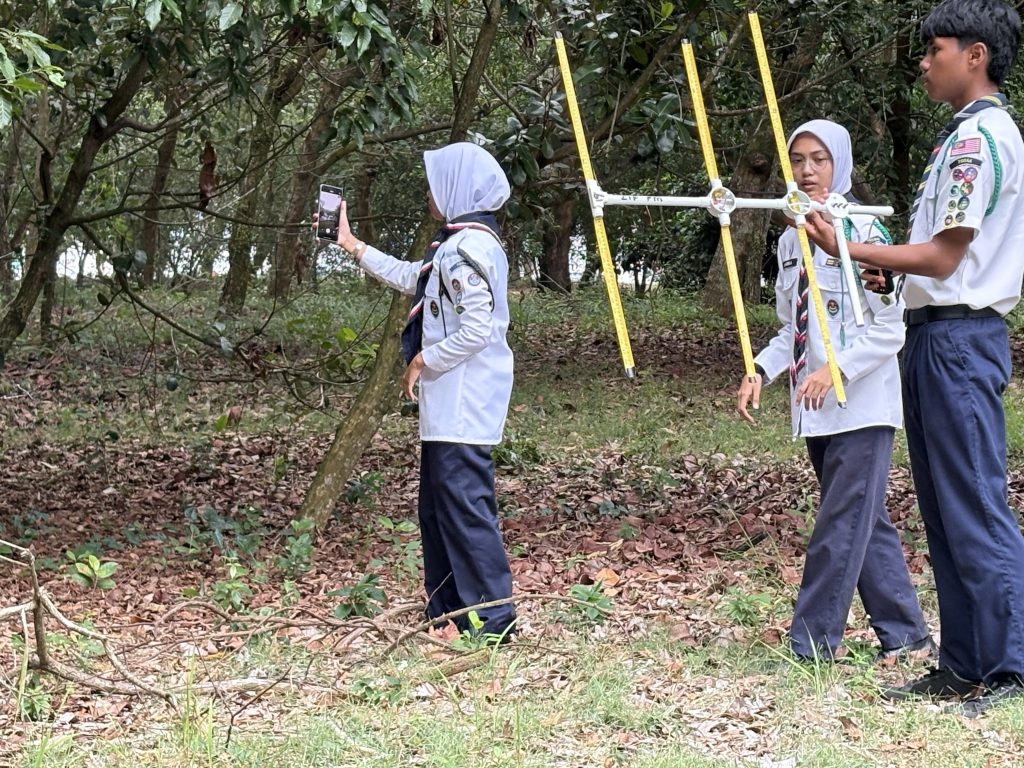
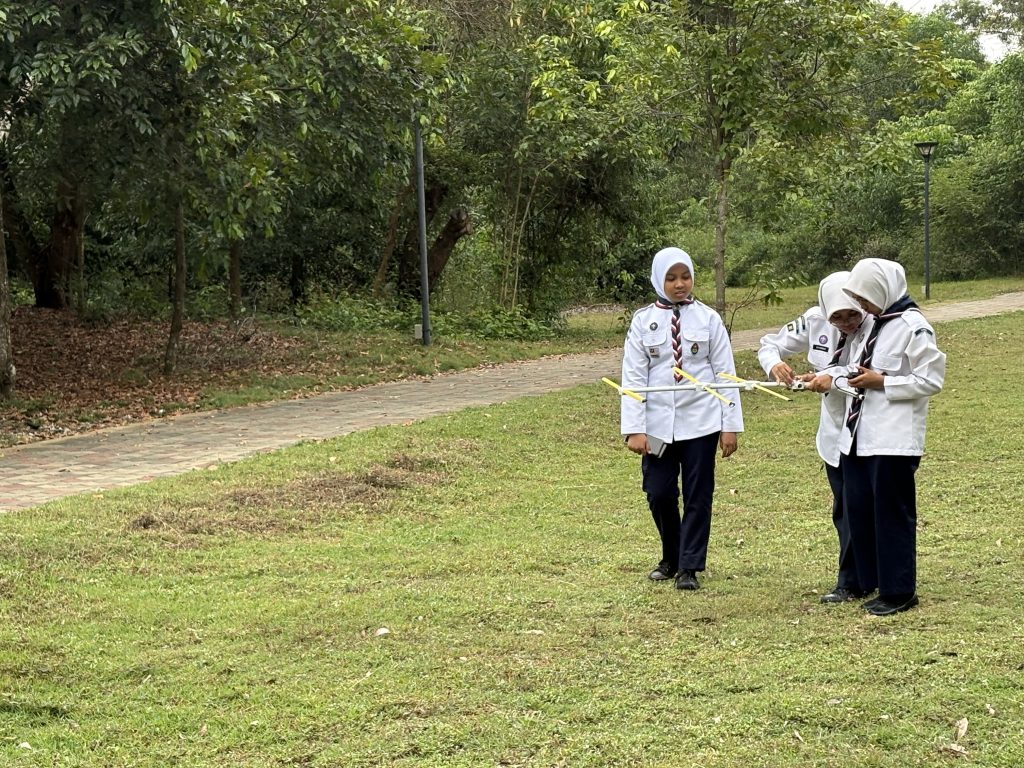
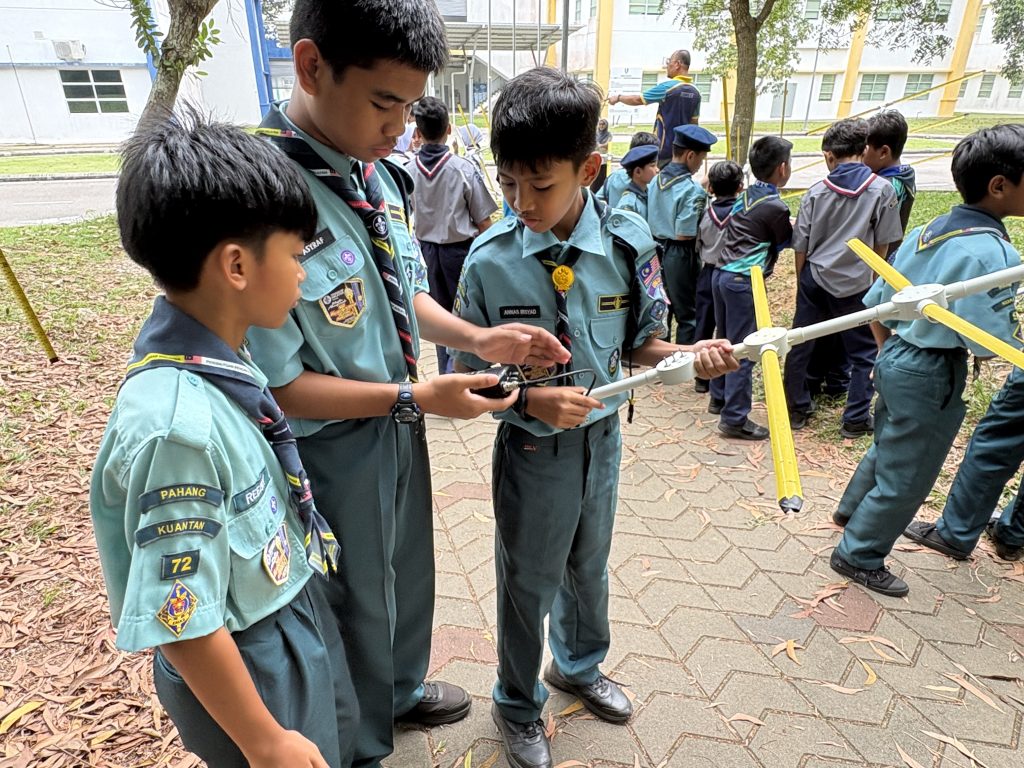
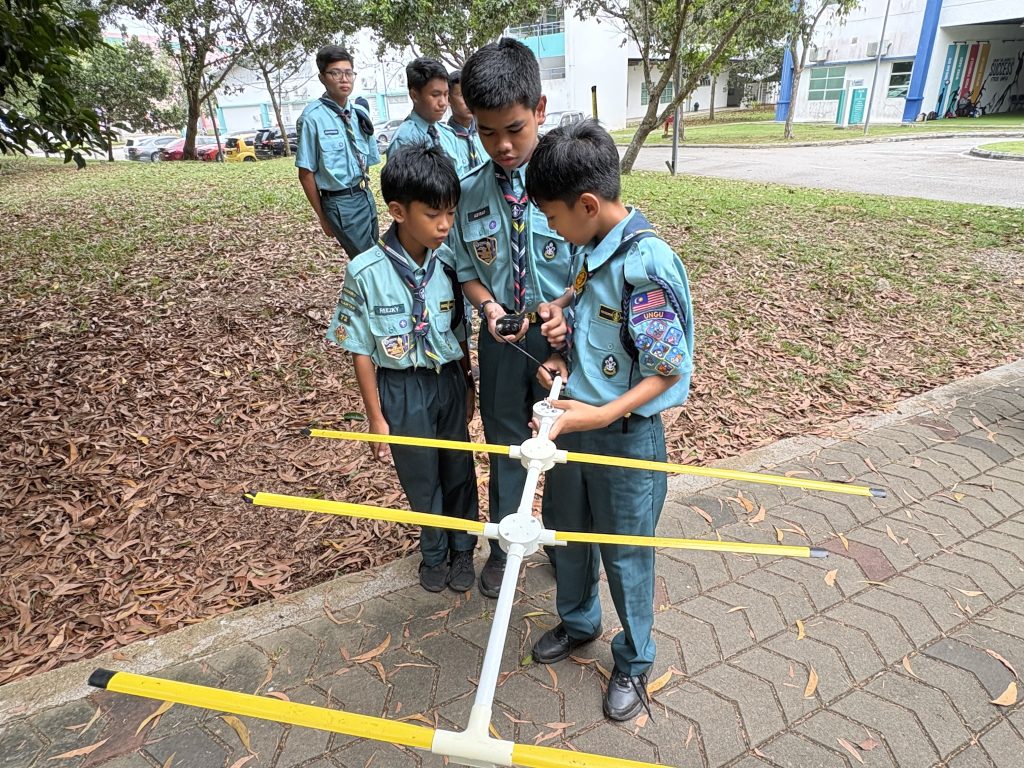
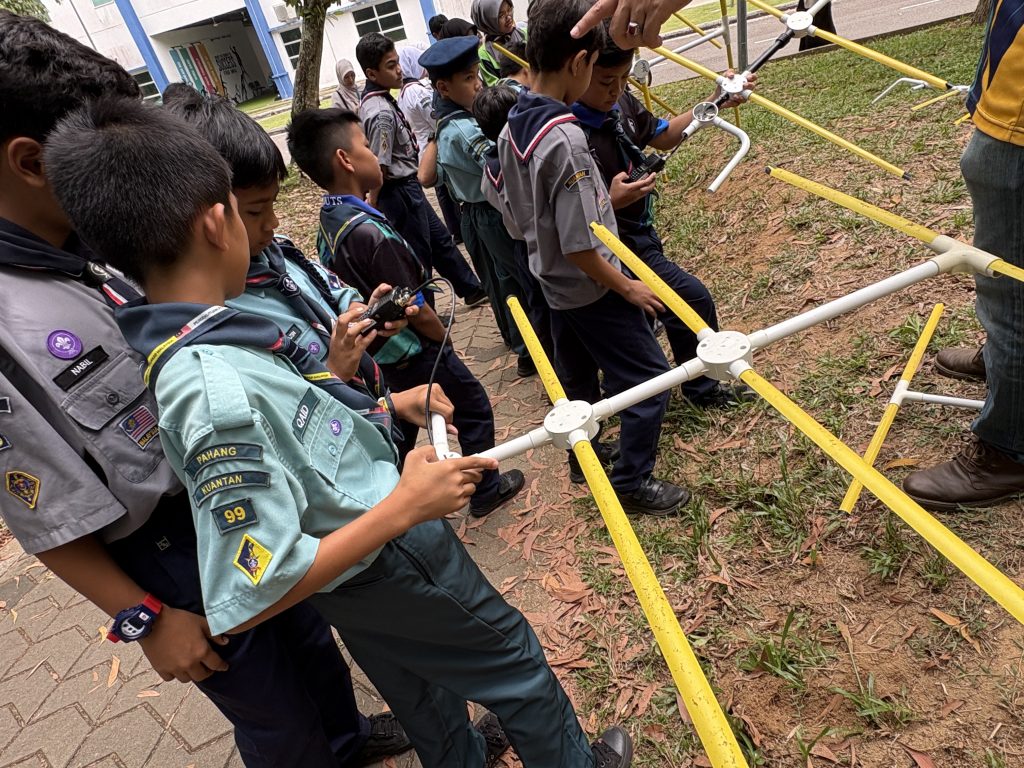
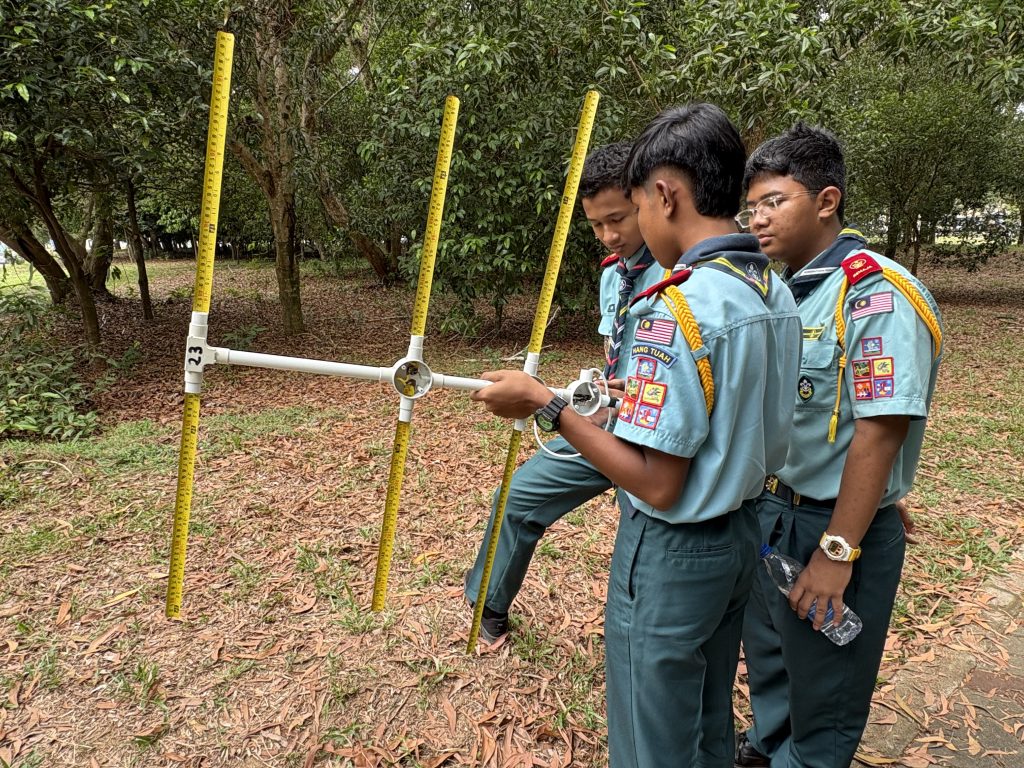
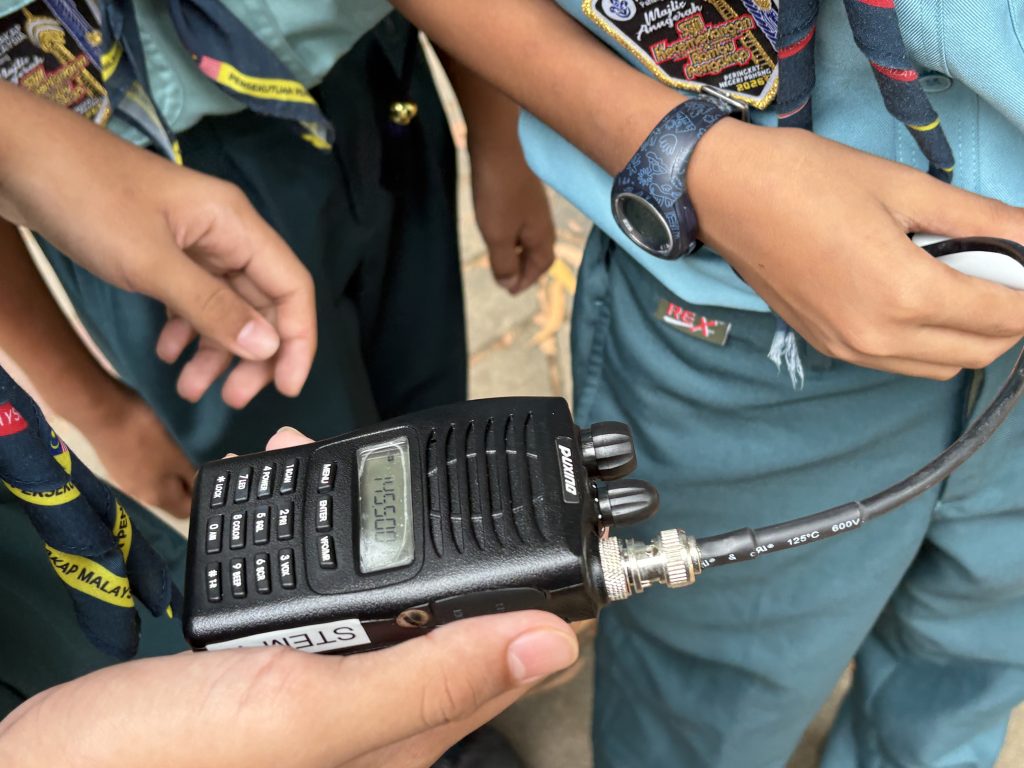
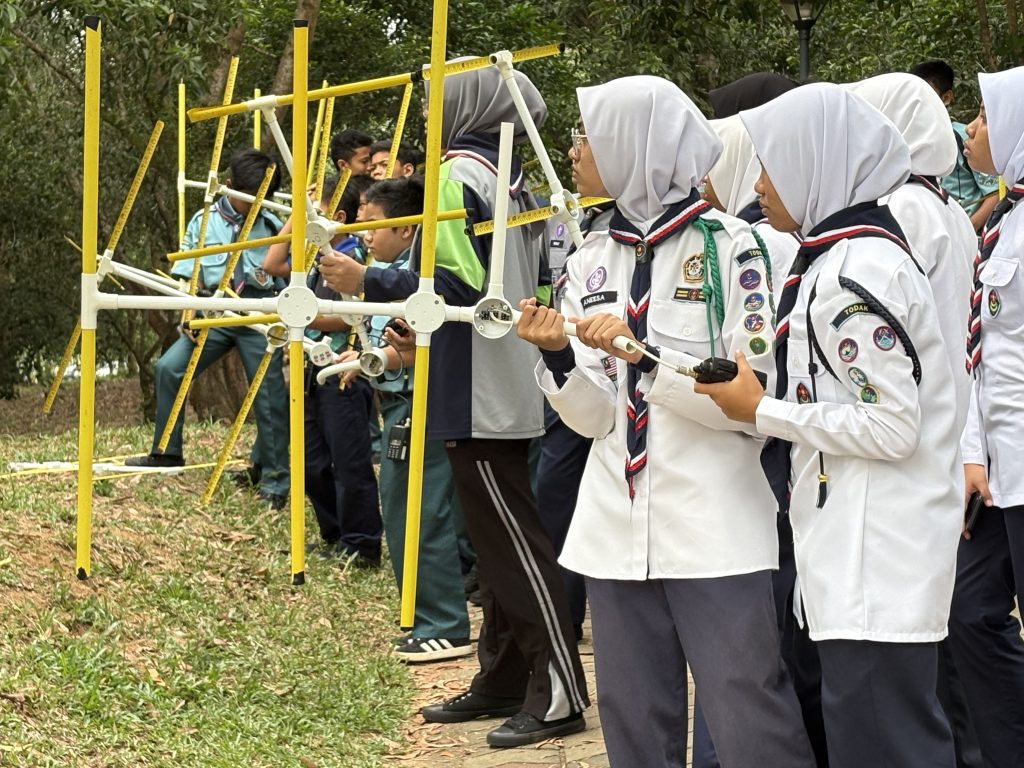
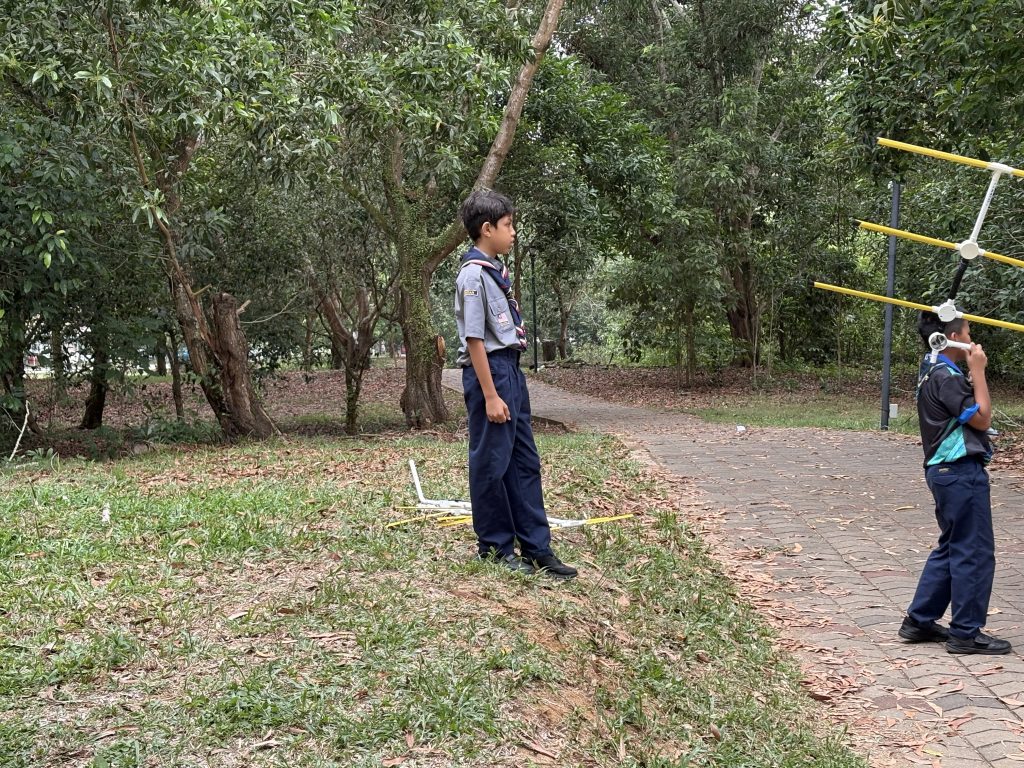
This was the module that drew the widest eyes. Participants arrived to find lengths of PVC pipe, rolls of steel measuring tape, coaxial cable, and a set of connectors laid out on the table. The task: build a functional 3-element Yagi antenna for the 144 MHz signal that the hidden fox beacon would be broadcasting.
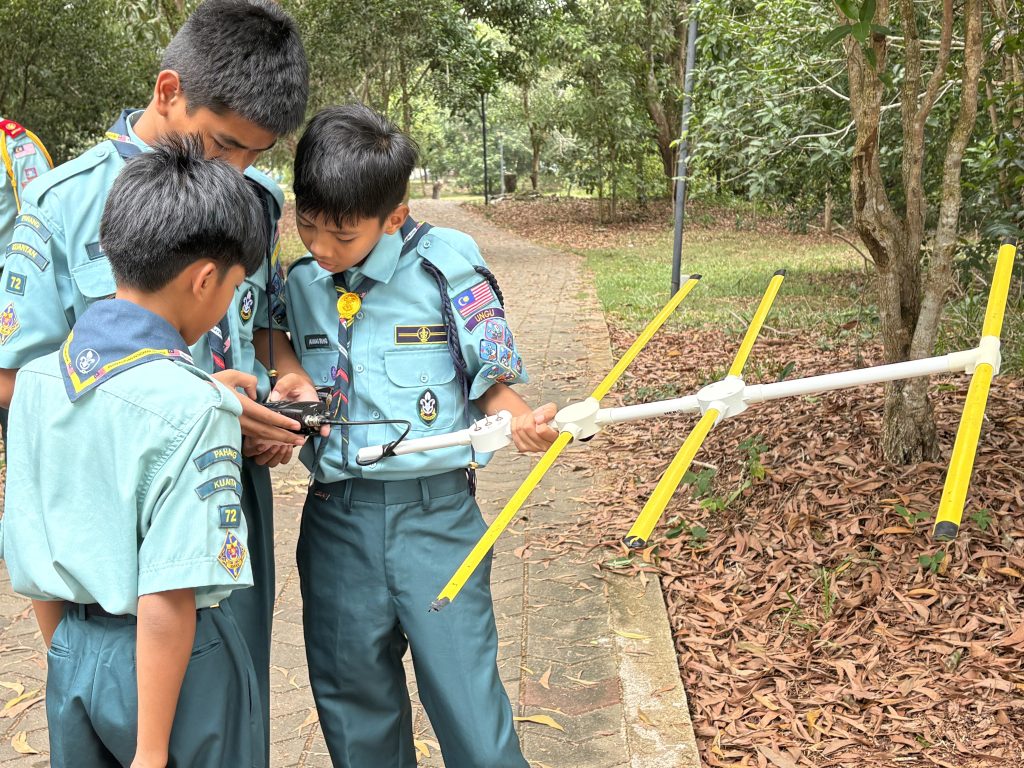
A Yagi antenna, named after Japanese physicists Hidetsugu Yagi and Shintaro Uda, who developed it in 1926, is a directional antenna. Unlike the short rubber-duck antennas on handheld radios, which receive signals roughly equally from all directions, a Yagi is focused. It picks up signals strongly from one direction and weakly from others. This directionality is exactly what a foxhunter needs: point the Yagi until the signal peaks, and the fox is somewhere along that line.

Construction followed eight precise steps. Participants first cut three elements from steel measuring tape: a 104.0 cm reflector, a 99.4 cm driven element, and a 94.6 cm director. These lengths are calculated from the wavelength formula for 144 MHz and are non-negotiable, a wrong length shifts the antenna’s resonant frequency and degrades its performance. A 120 cm PVC boom was then marked and drilled at three positions: reflector at 0 cm, driven element at 36.5 cm, director at 67.0 cm. Each element was attached perpendicular to the boom, with the driven element connected to a coaxial connector soldered to the feedline.
By the end of the session, every participant was holding a functional antenna they had built with their own hands. For many, this was the first time they had truly grasped that radio hardware is not mystical — it is physics, made from materials you can touch. The module also covered antenna gain, Standing Wave Ratio (SWR), and the concept of front-to-back ratio: the difference in signal strength between the antenna’s pointed direction and directly behind it. A well-built Yagi achieves a front-to-back ratio of 20 dB or more, turning a faint and indistinct signal into a clear directional pointer.
Module 4: Field Strategy
The fourth module tied everything together. Even a hunter who decodes Morse instantly, reads a map precisely, and holds a Yagi steadily will struggle without a coherent strategy. This session was about thinking like a foxhunter under competition conditions.

Participants learned that a successful hunt unfolds in three phases. The first is coarse direction finding: from the starting area, rotate slowly with the Yagi held horizontally until the signal peaks. Mark the compass bearing. This gives direction but no distance. The second phase is active triangulation: move along the bearing and take a second reading from a new position. The cross-bearing narrows the fox’s location to a small zone on the map. The third phase is close-in searching: as the signal grows very strong near the transmitter, the antenna becomes less useful — it seems to point everywhere. Experienced hunters switch to body-shielding technique, pressing the receiver against their torso and rotating slowly, using their own body to absorb signal and locate the precise direction of minimum strength. This counter-intuitive approach, finding the fox by pointing away from it, is one of the most effective techniques in ARDF.

The module also covered signal attenuation (using a built-in attenuator to prevent the receiver from saturating when very close to the beacon), systematic bearing logging to avoid retracing covered ground, and competition pacing: keep moving, trust the triangulation, and communicate within your team.
The Hunt: One Beacon, Somewhere on Campus
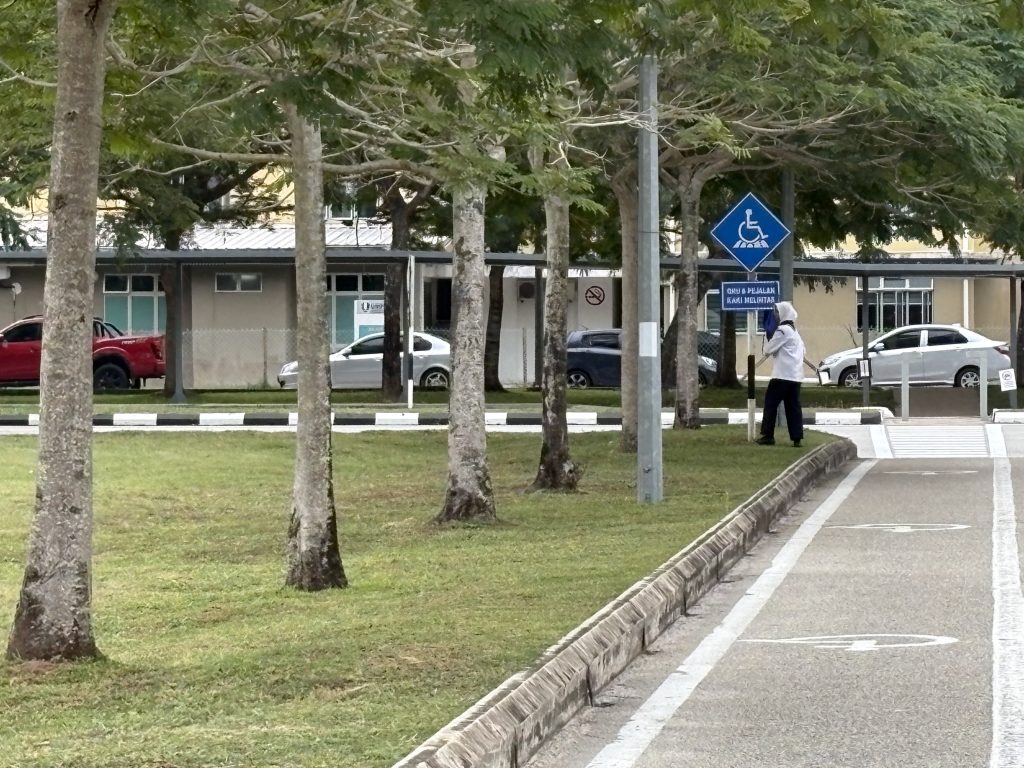
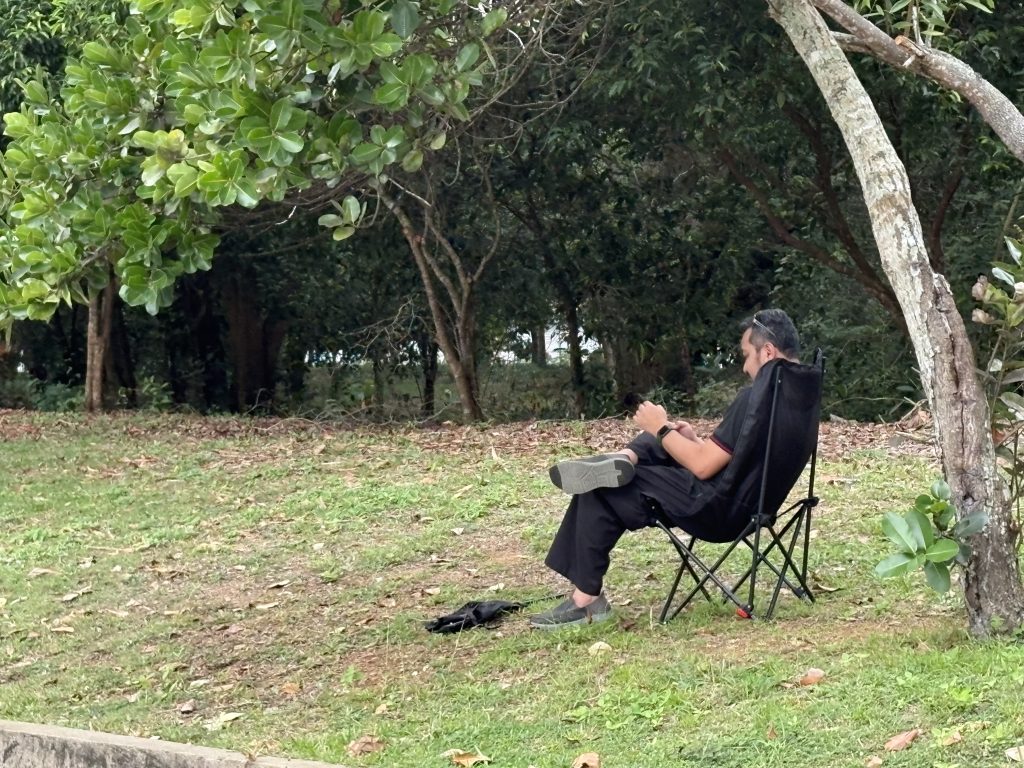
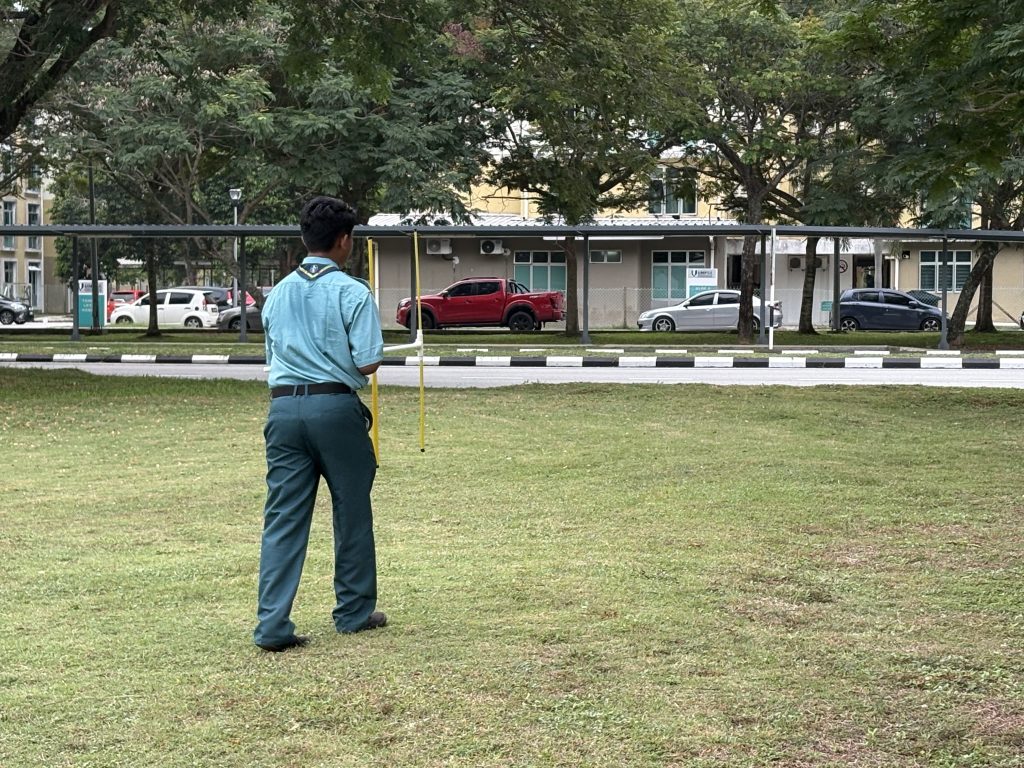
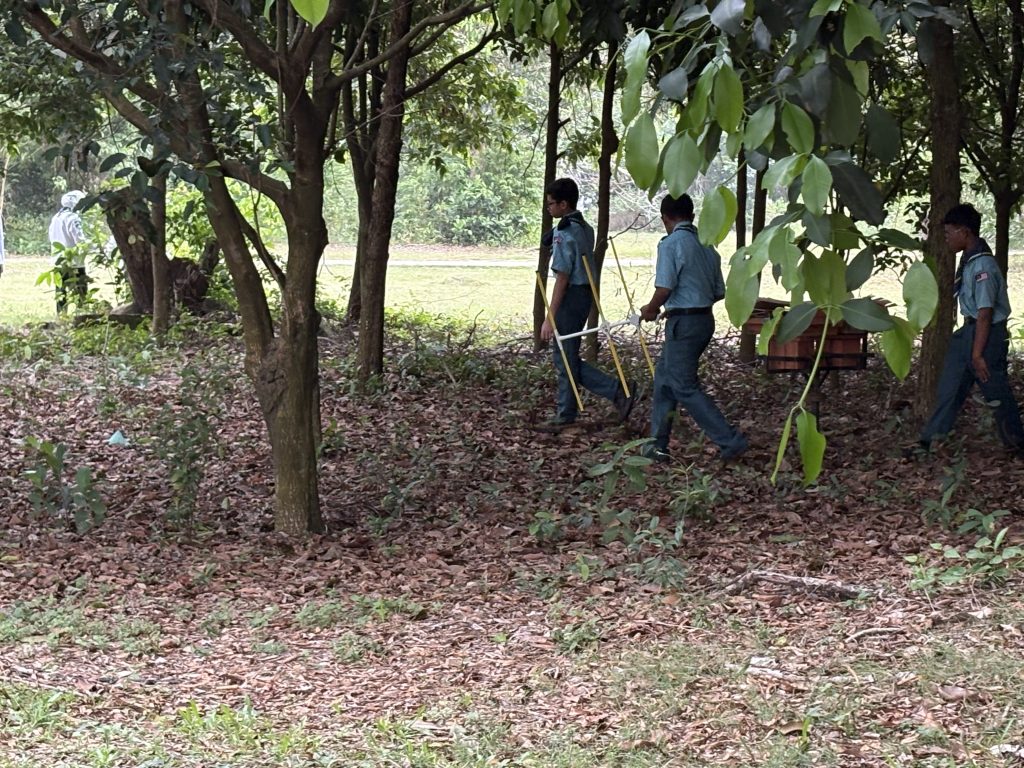
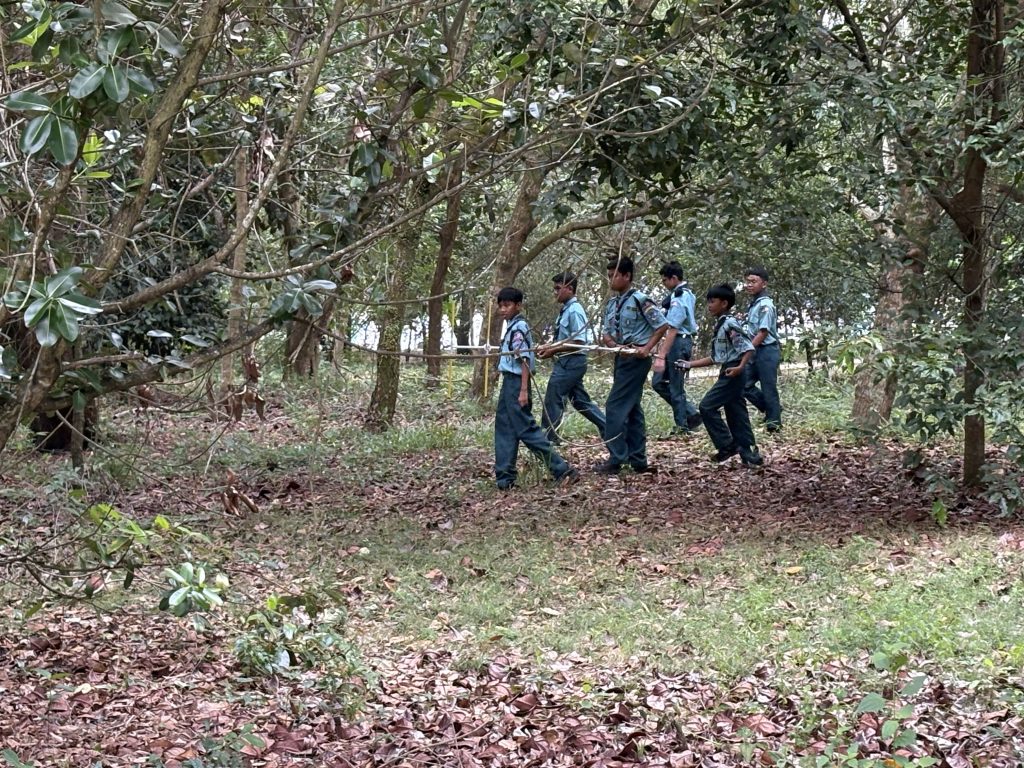
Armed with hand-built Yagis, bearing logs, and four modules of fresh knowledge, participants stepped into the afternoon heat of UMPSA Pekan campus to locate a single hidden beacon.
The shift from classroom to field was where the real learning happened. Participants who had decoded Morse with ease on screen now filtered the fox’s signal from background radio noise. Maps that had seemed clear under fluorescent light needed to be reconciled with actual terrain. And the antennas they had built proved their worth, the directional signal swung to an unmistakable peak whenever a team rotated to face the right bearing.
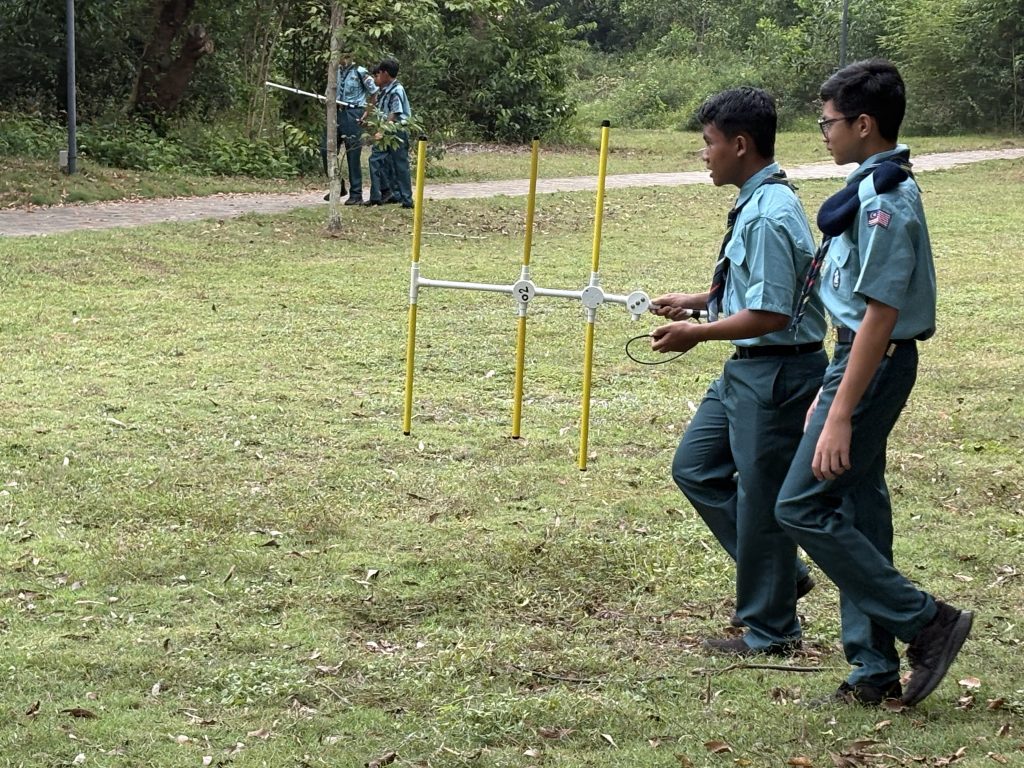
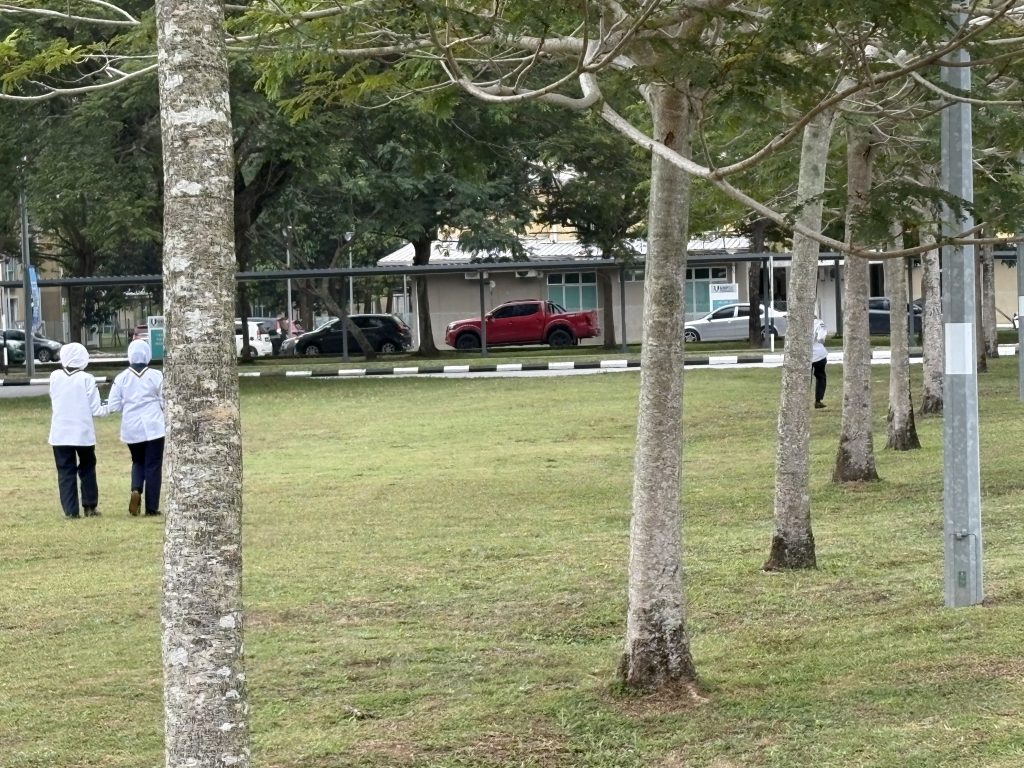
Teams spread across campus, taking bearings from different vantage points and plotting cross-lines on their maps. The beacon broadcast its patient, steady Morse identifier, transmitting its position to anyone willing to listen and think. Groups converged on likely locations, compared readings, and deployed body-shielding in the final close-in approach. The moment a team’s triangulation collapsed from a zone on a map to a physical object sitting in the environment, that was the moment the morning’s modules became something more than theory.
Why Radio Still Matters
Marconi’s wireless telegraph was a revolution not because it replaced something better, but because it made possible things that had never existed before: communication across oceans, between ships at sea, through environments where no wire could reach. The same is true of every wireless technology we depend on today, each one governed by the same physics, shaped by the same tradeoffs between power, frequency, and directionality.
Radio Foxhunting is, among other things, a way of recovering the sense of wonder that wireless communication deserves. When you build an antenna and watch it respond to invisible waves propagating through space, when you rotate it and feel the signal peak and fade with each degree of turn, you are not playing a game. You are conducting a physics experiment with your hands and ears. The air around you starts to have a shape.
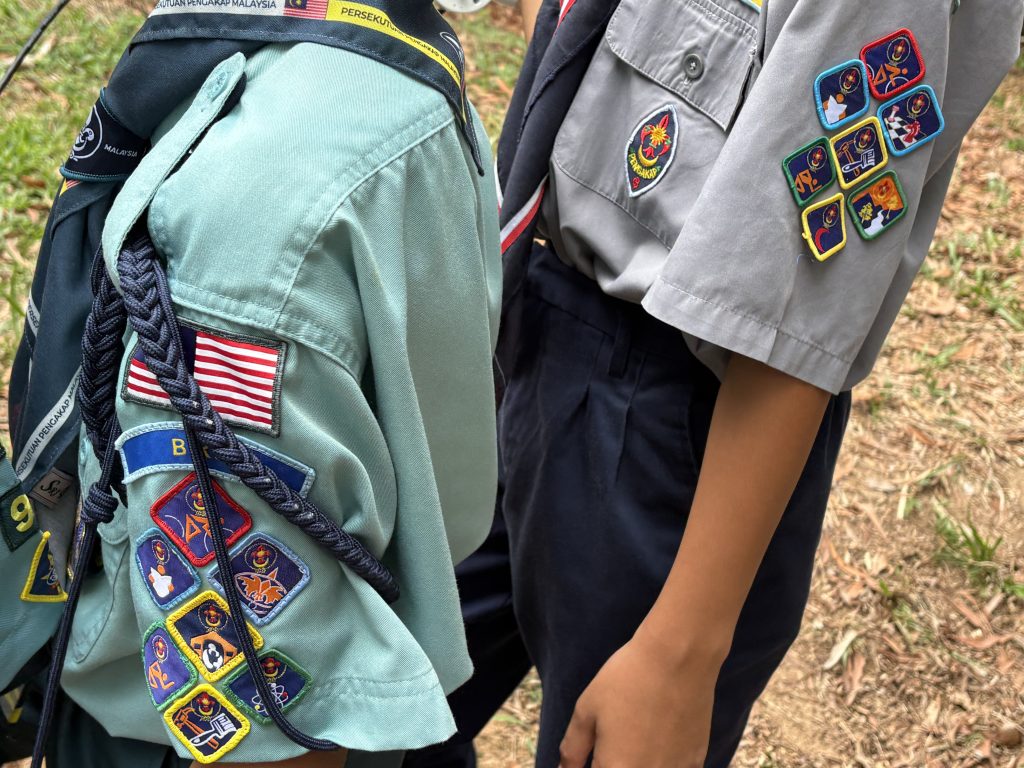
For the Pengakap participants from Pahang Kuantan who joined UMPSA STEM Lab last Saturday, the programme was a reminder that the Scouts have always been about developing practical competence suited to the age we live in. Amateur radio has been part of the Jamboree On The Air (JOTA) tradition since 1958, connecting scouts across borders through the airwaves. Last Saturday’s event brought that tradition to campus in its most hands-on form yet.
The hunt for the fox ended. The hunt for knowledge, as always, continues =)

Programme organised by UMPSA STEM Lab in collaboration with Pengakap Malaysia Pahang Kuantan, held at UMPSA Pekan campus on 25 Oktober 2026, in conjunction with International Radio Week 2026 (JOTA-JOTI).









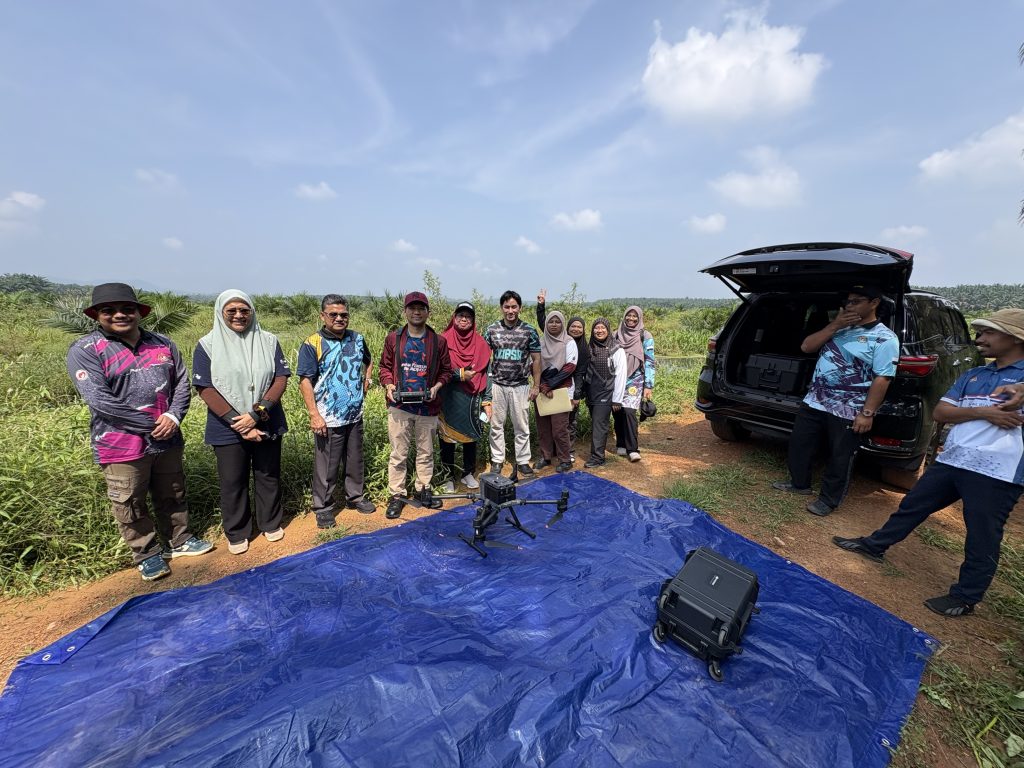
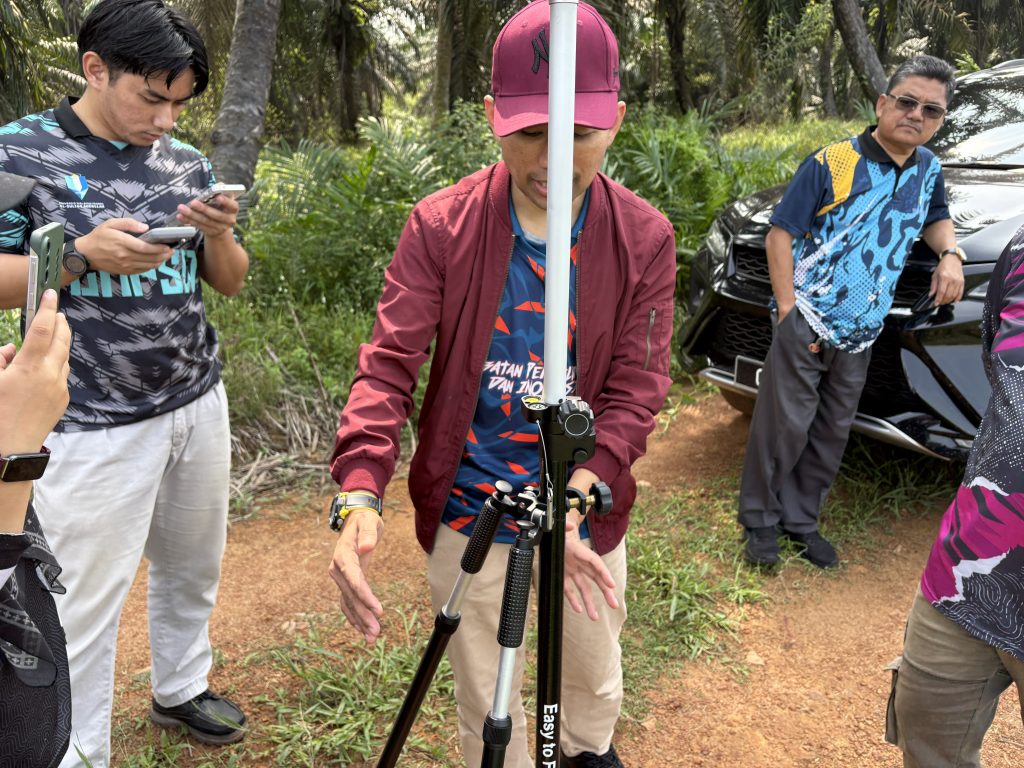
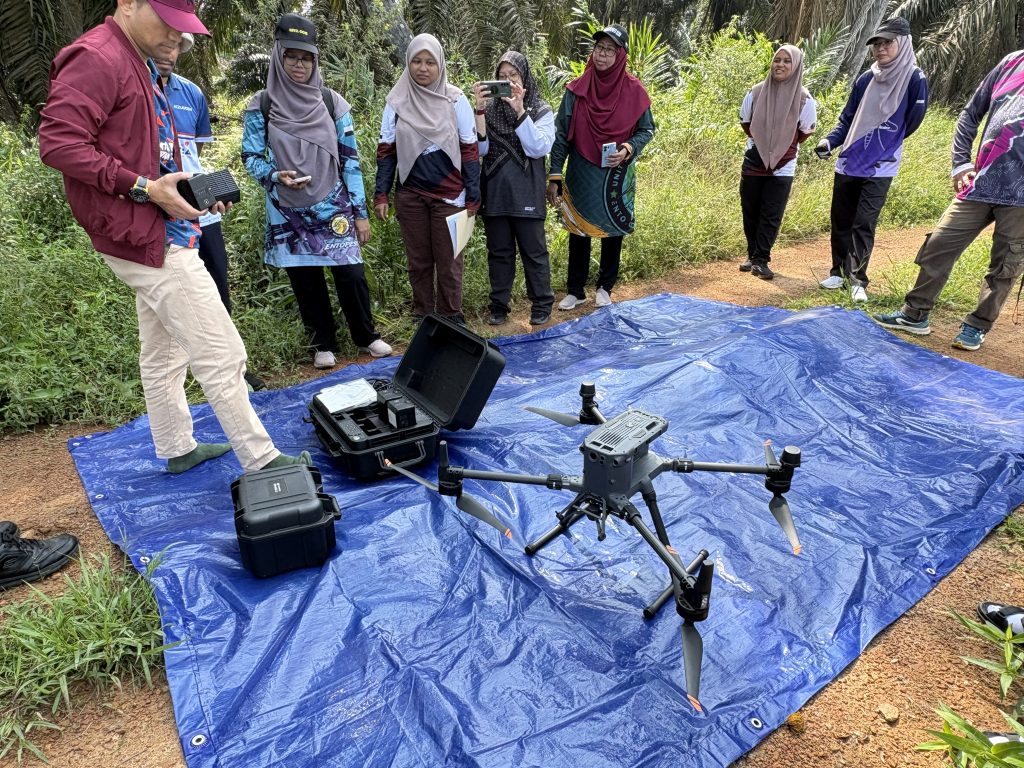
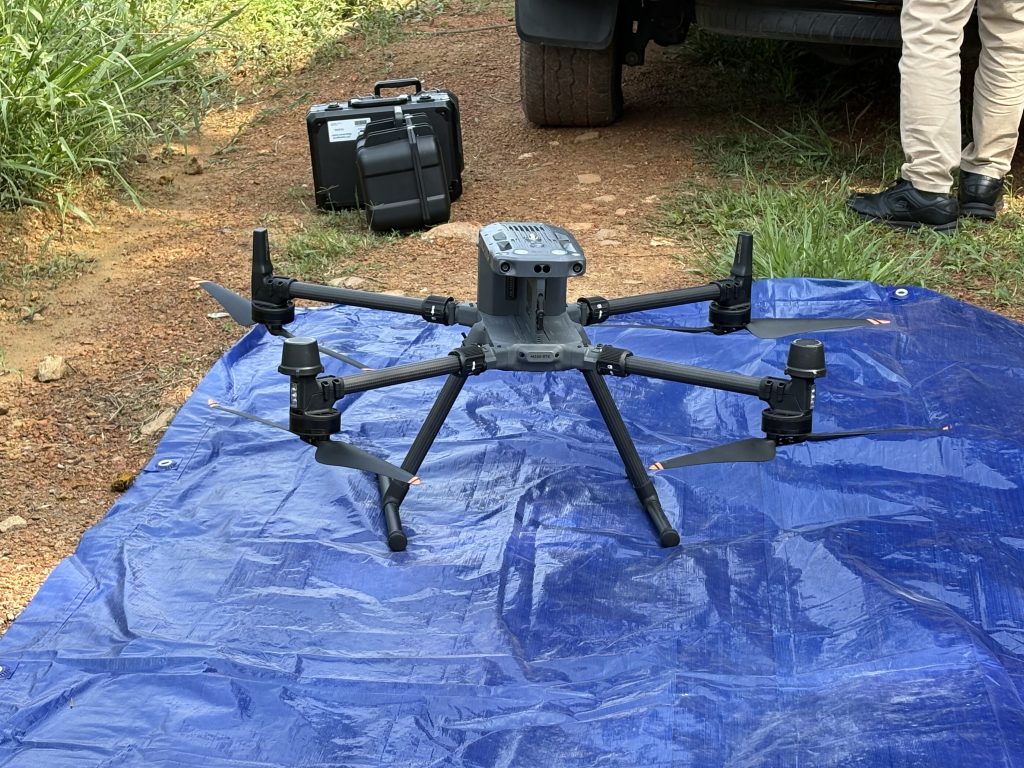
Drone Mapping



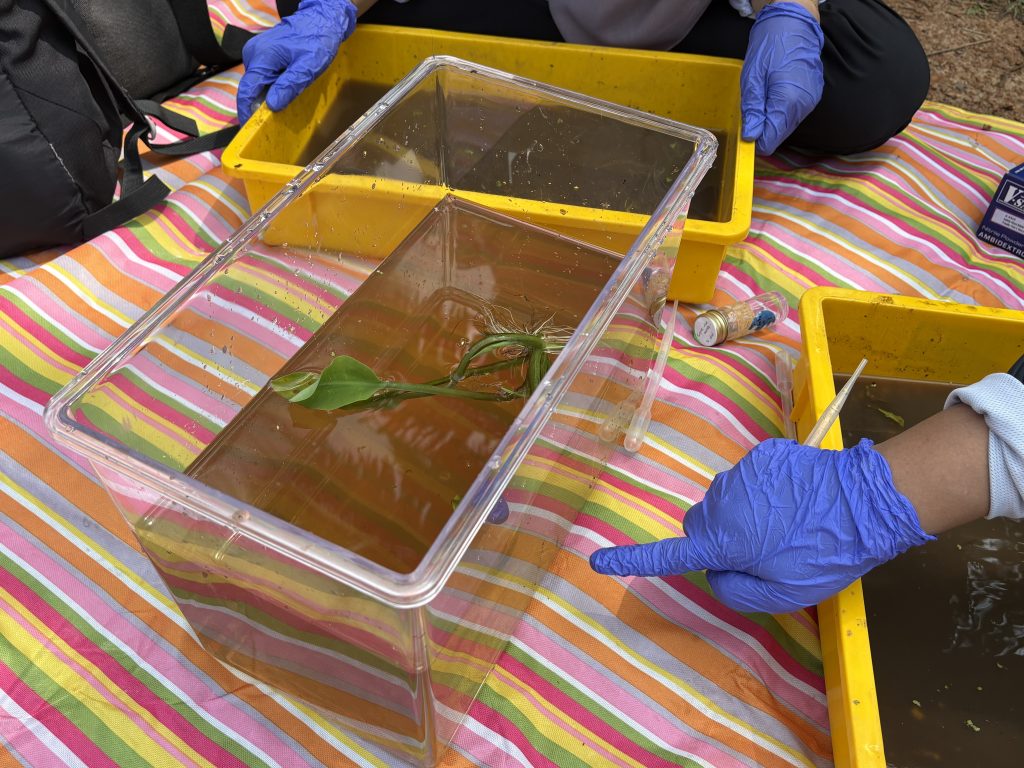
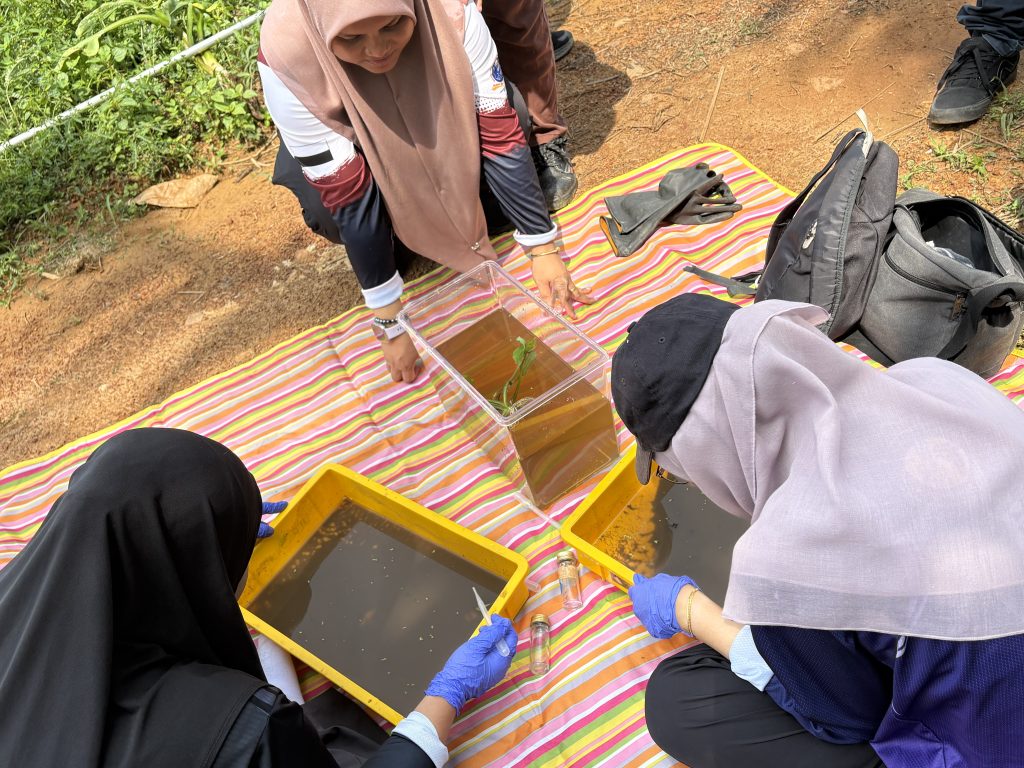


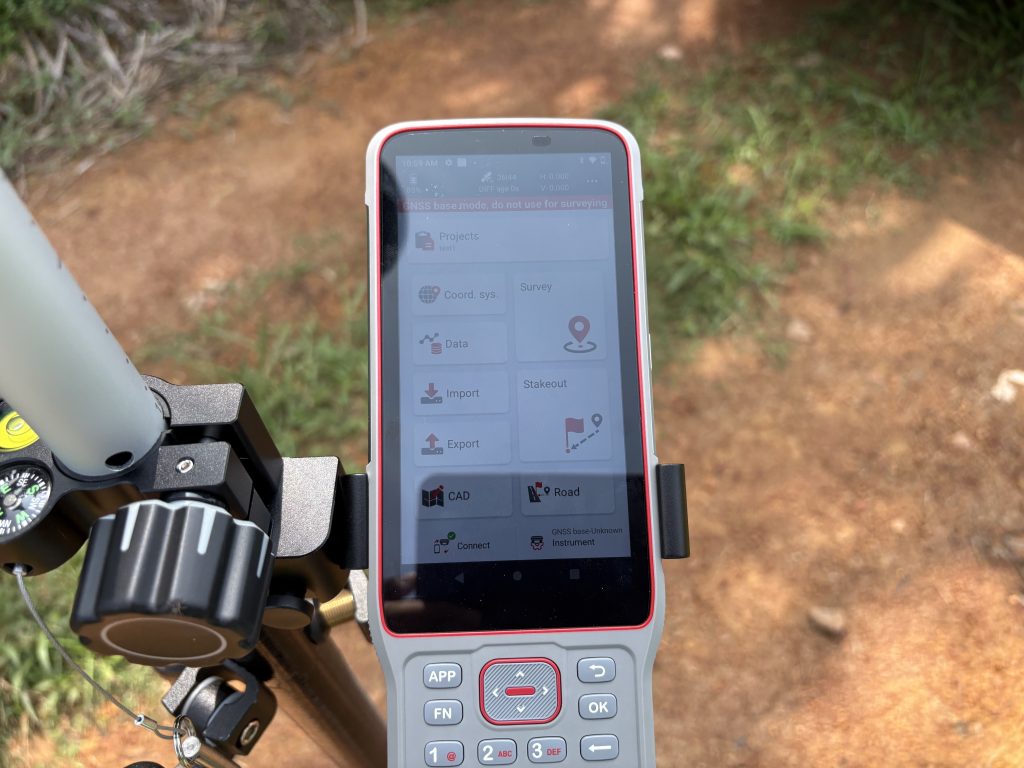
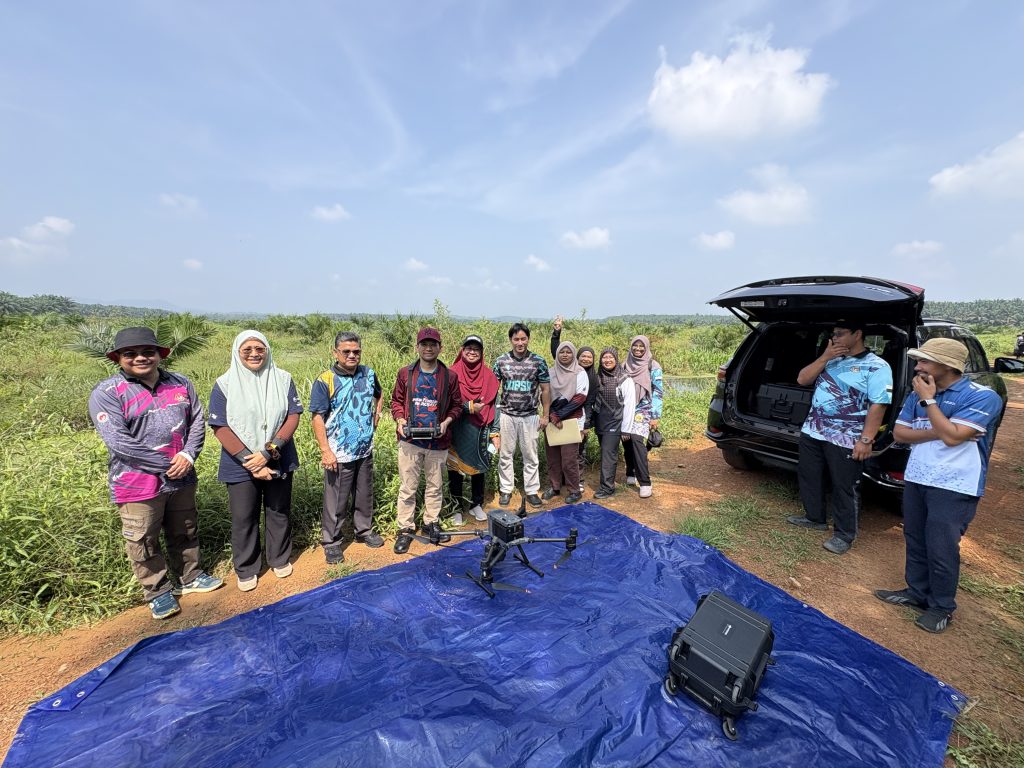
Proposal Defense BHE 2026


Mock PreViva MSc


2026 Cycle 2 Agrovator – Online Bootcamp Phase 2


Week 3 – DRE2213 / BTE1522 – Step 4 (Snake Length), Step 5 (Bonus Point)
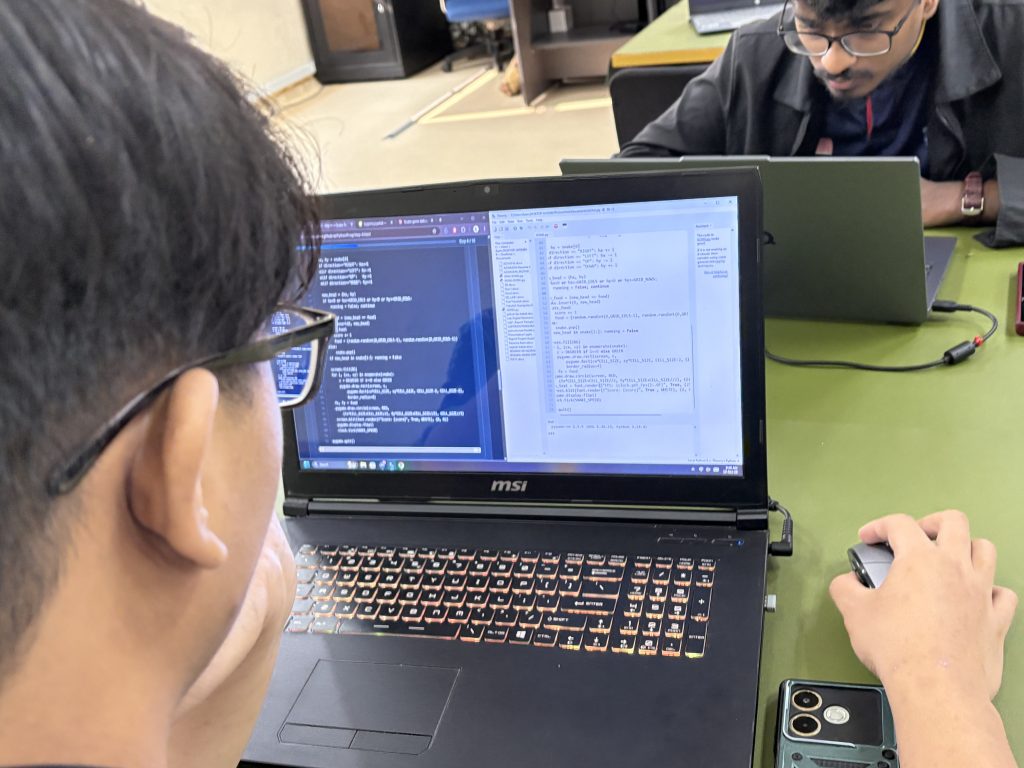
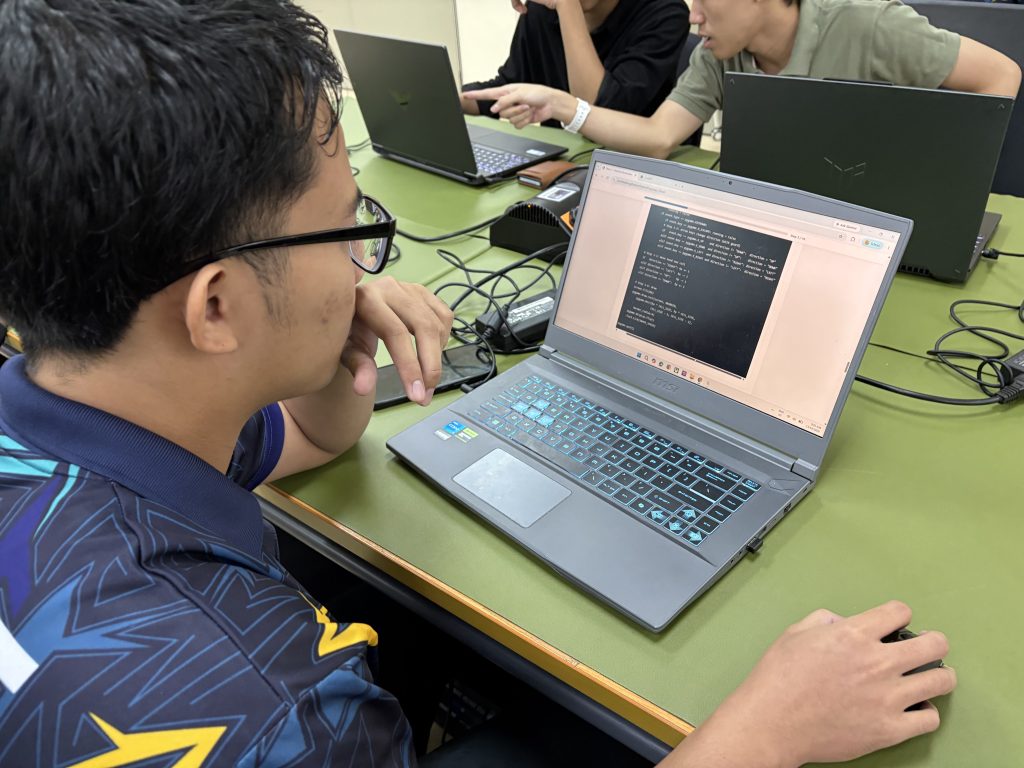
If Steps 2 and 3 were the week the snake first moved, then Steps 4 and 5 were the week it truly came alive. This session was the most cognitively demanding so far — and the most rewarding to watch unfold. Step 4: Snake Body — Lists at Work Until this point, our snake was … Continue reading “Week 3 – DRE2213 / BTE1522 – Step 4 (Snake Length), Step 5 (Bonus Point)”
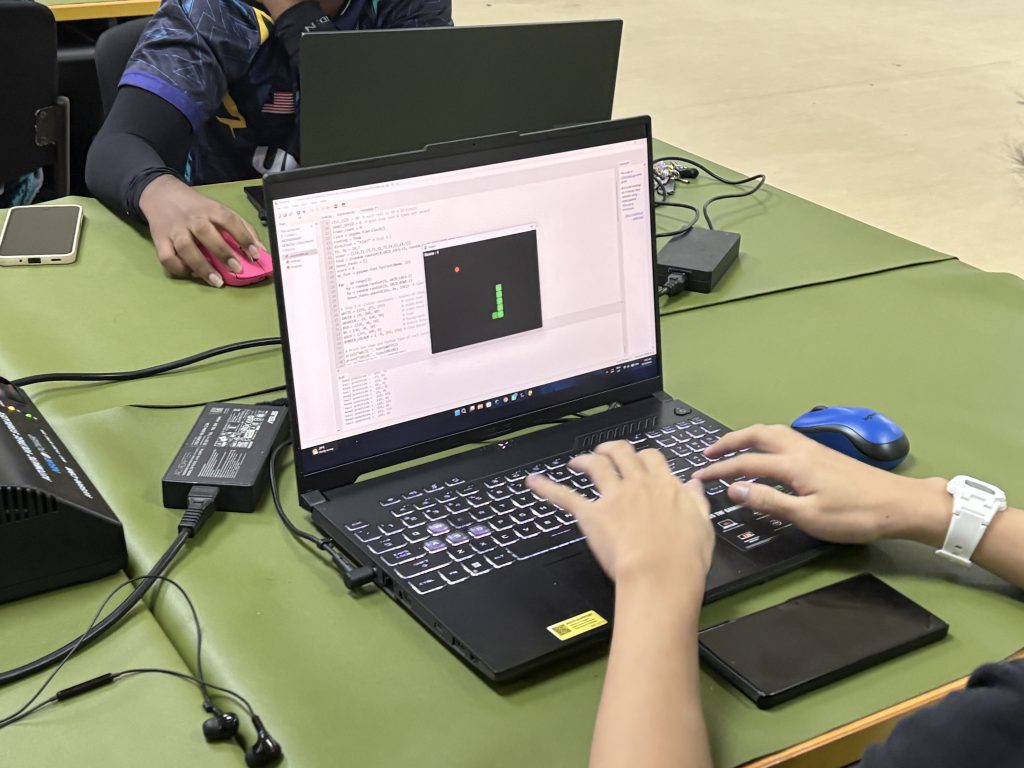
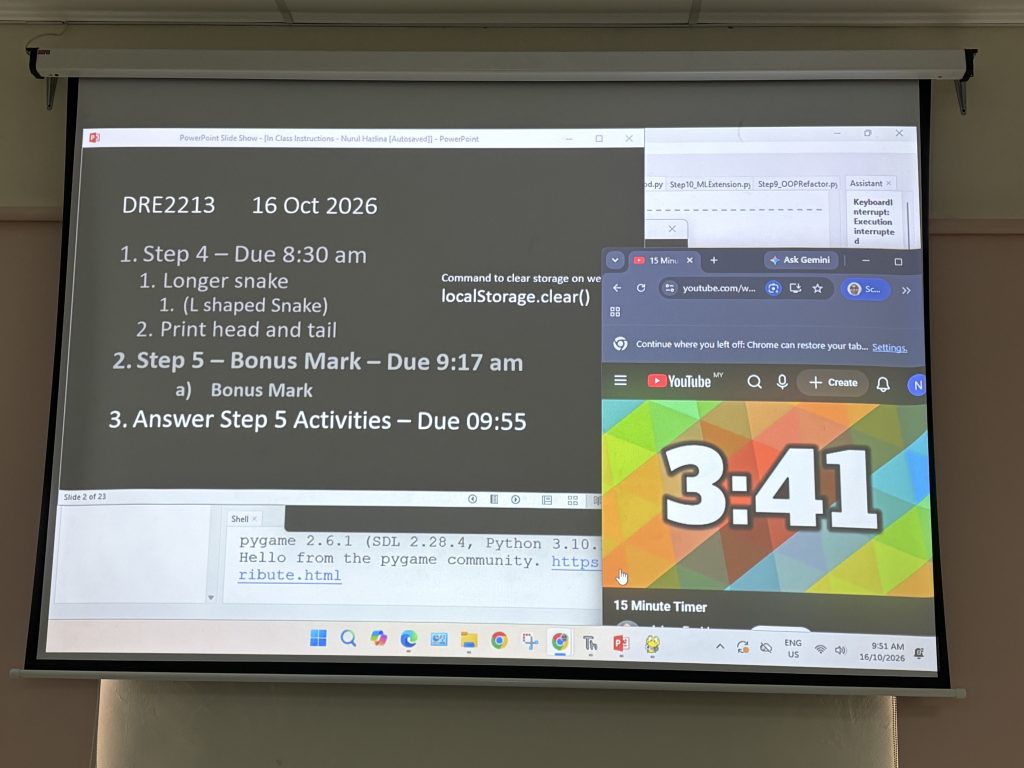
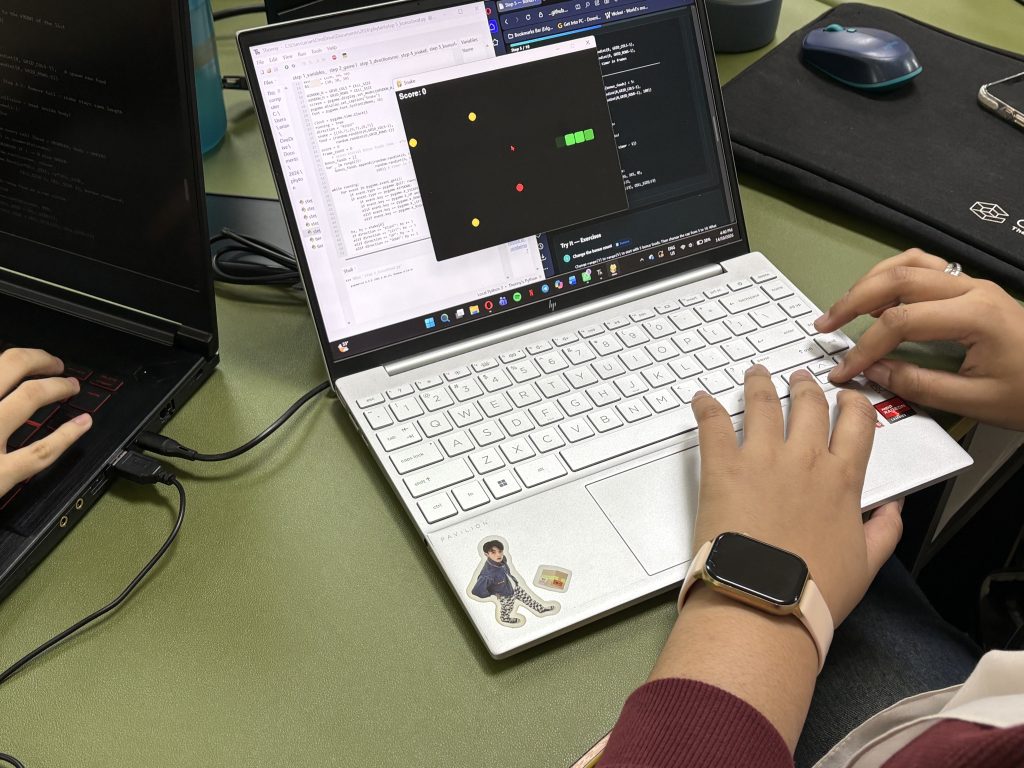
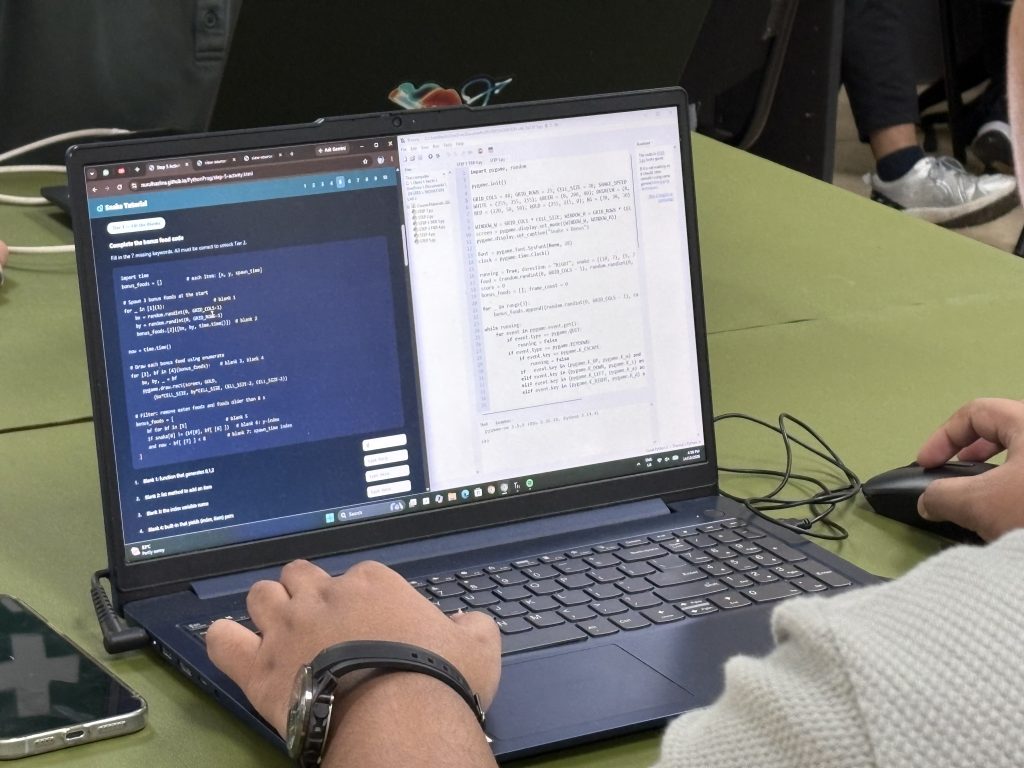
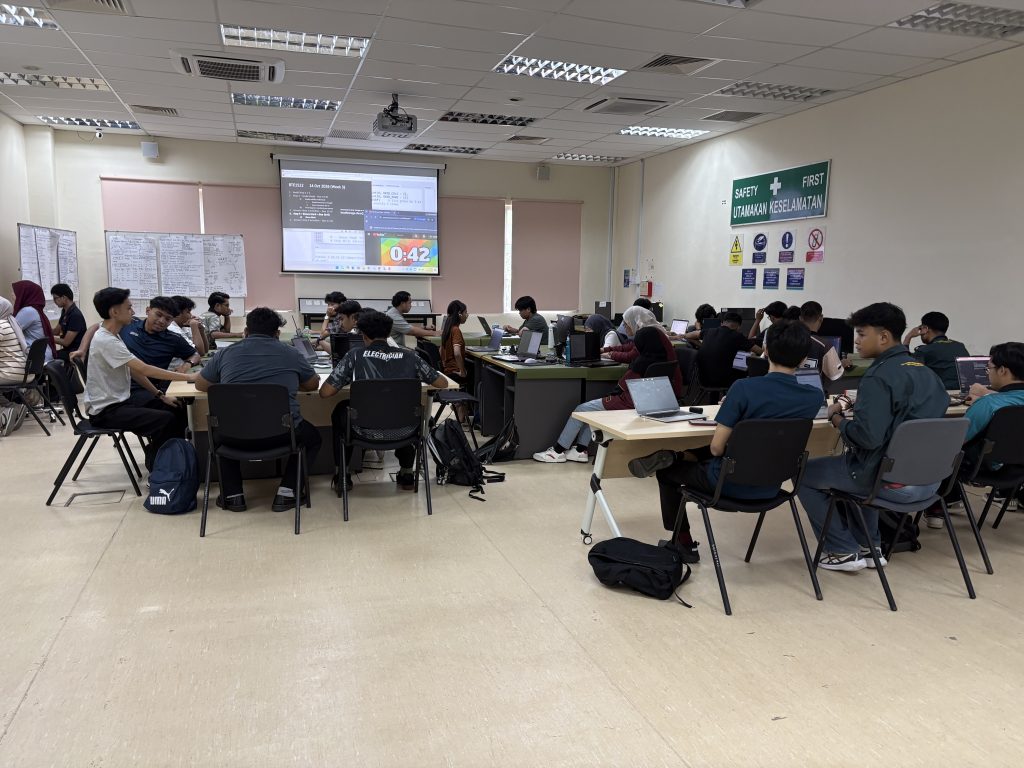
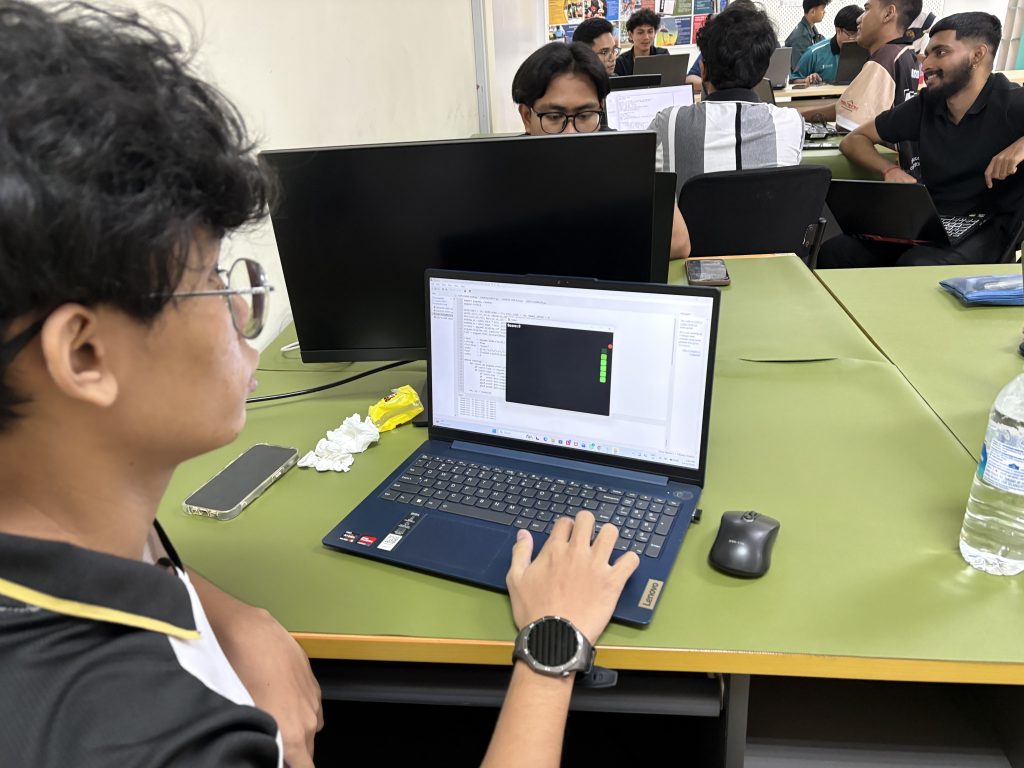
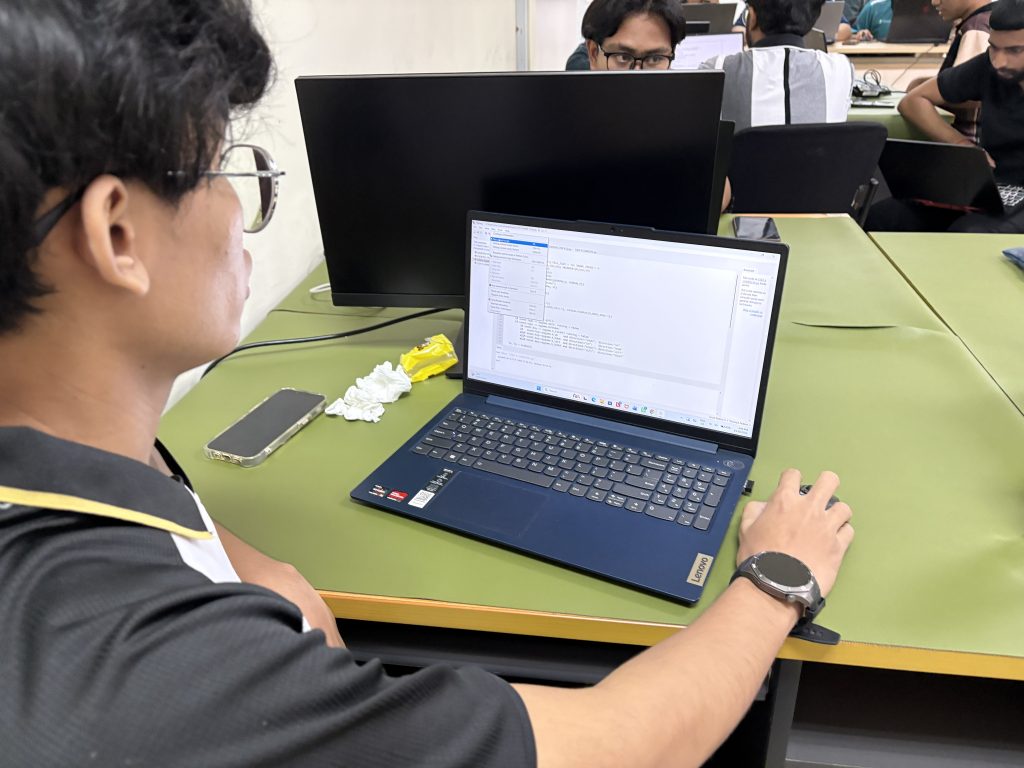
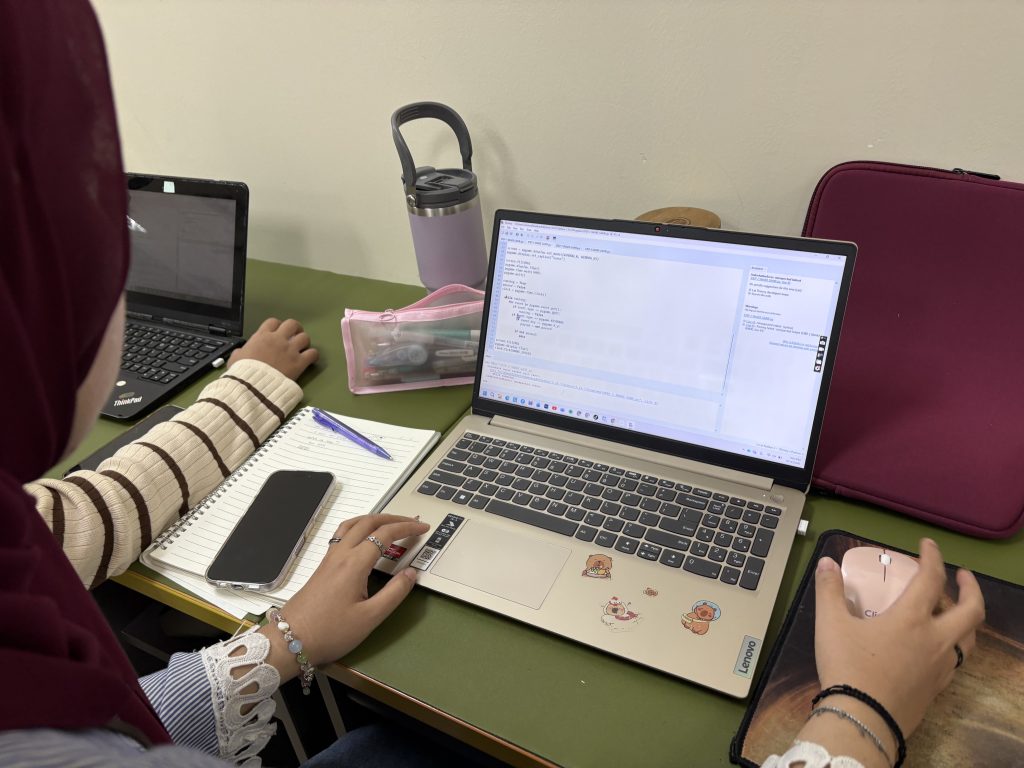
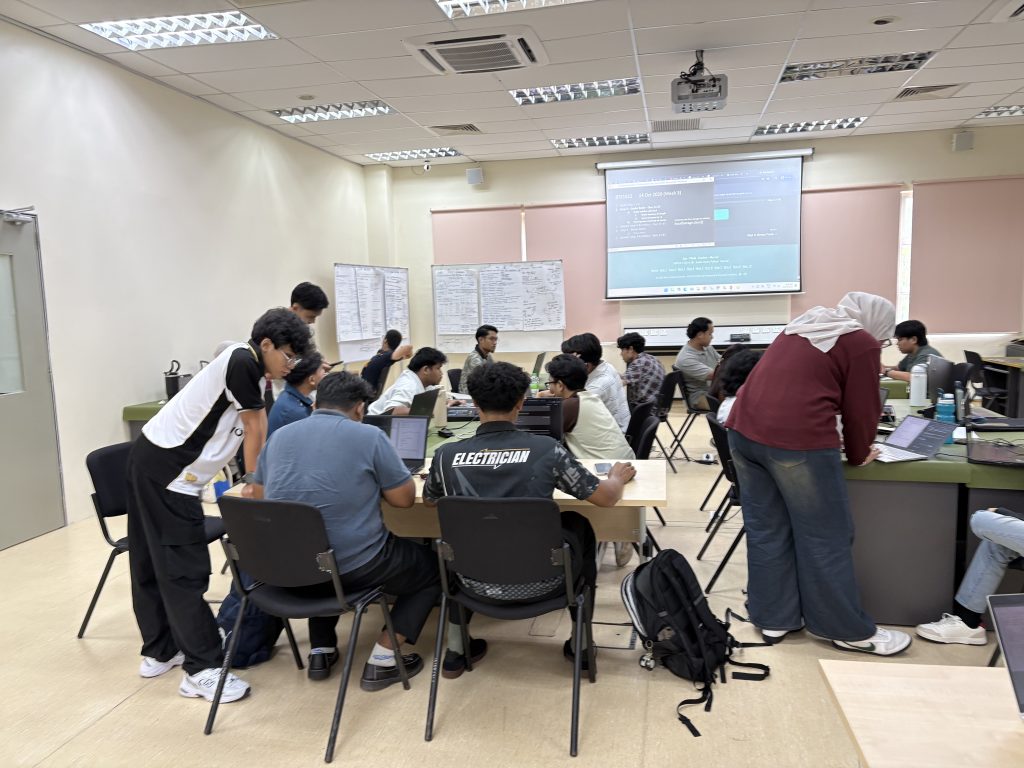
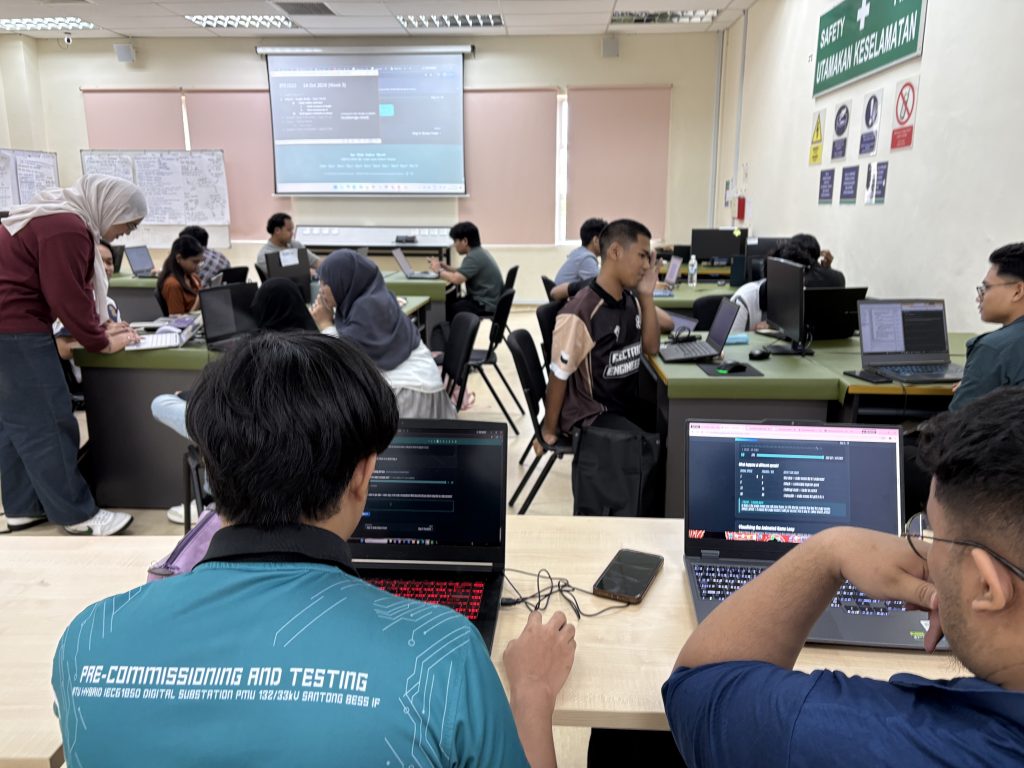
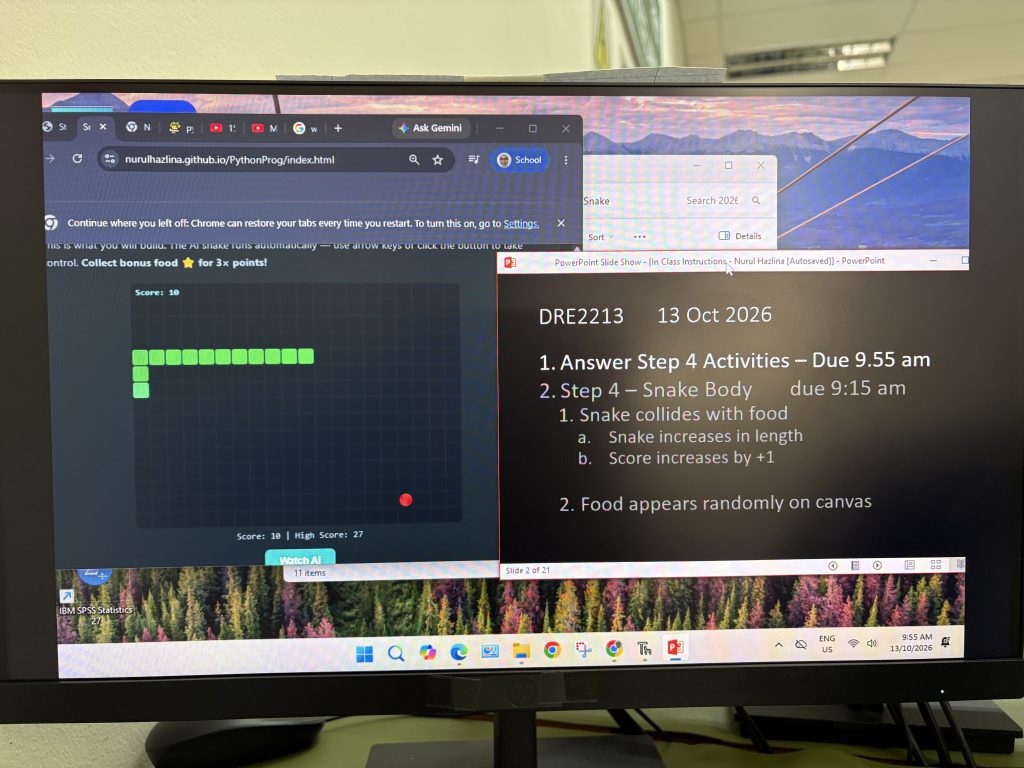
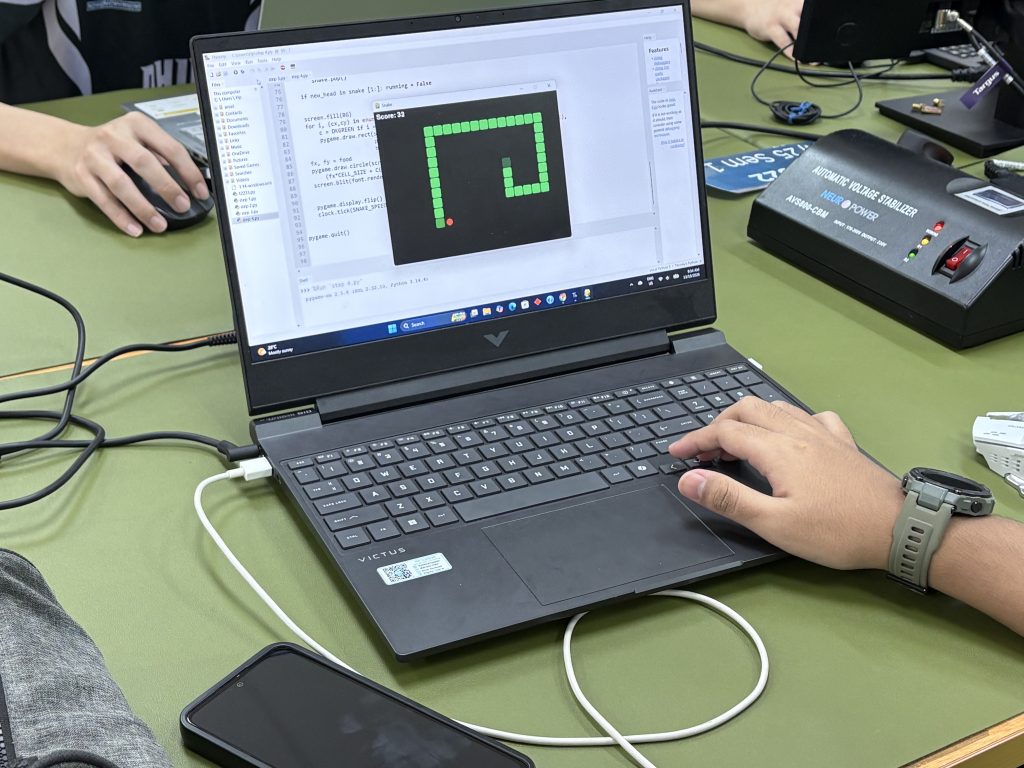
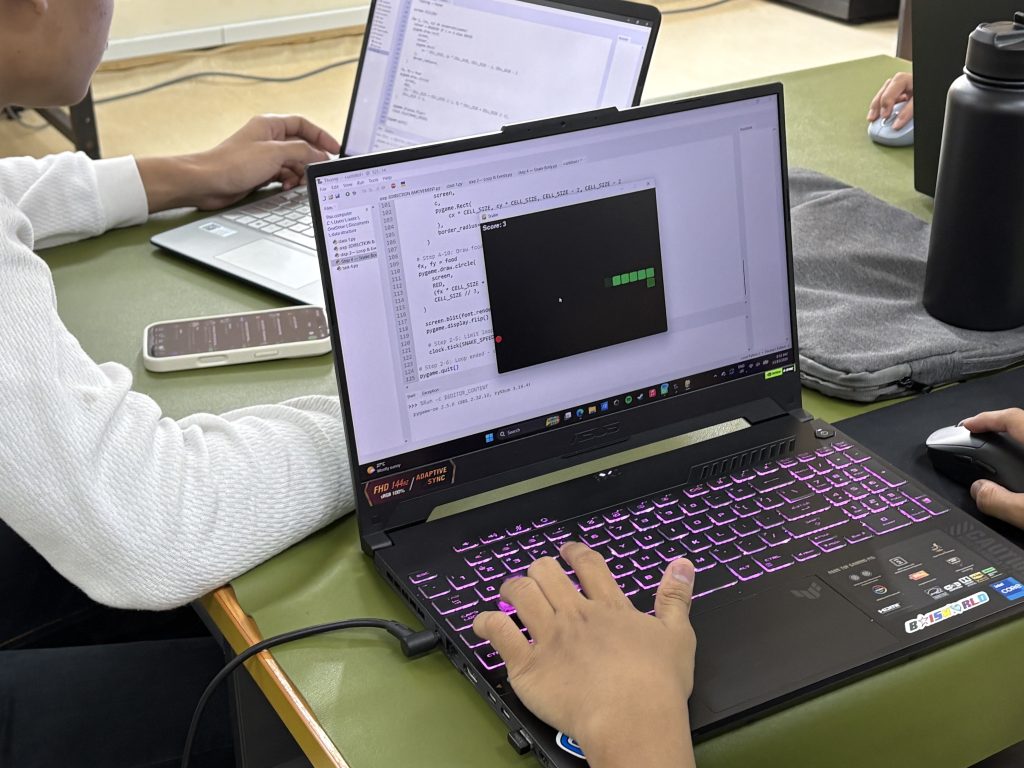
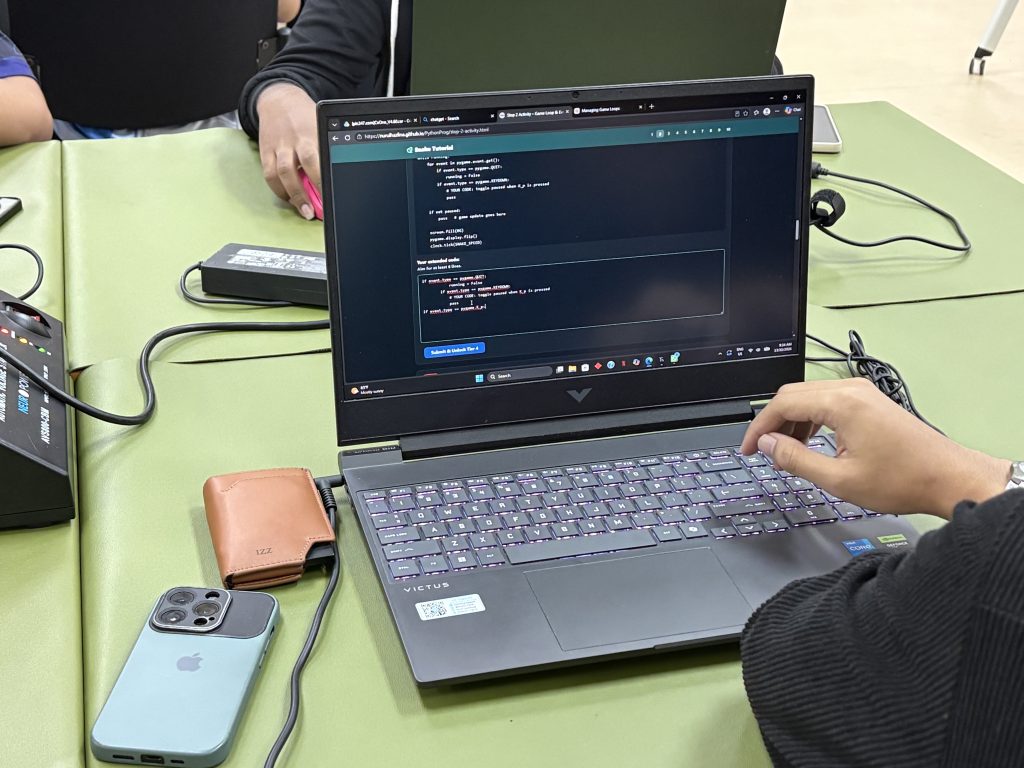
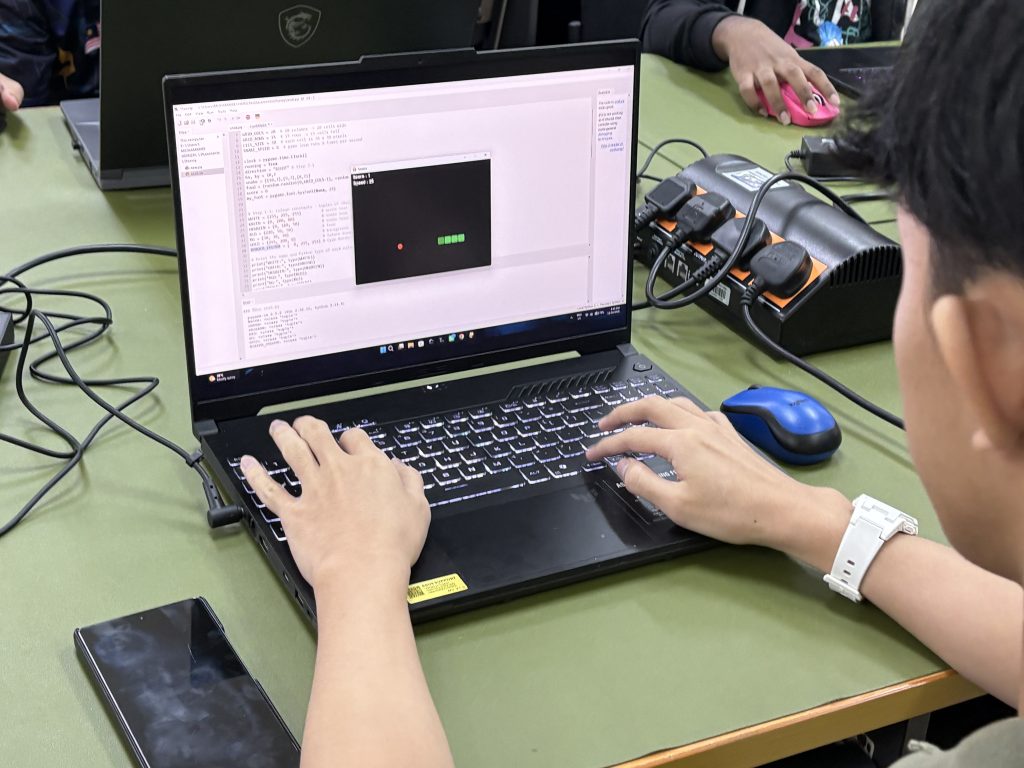
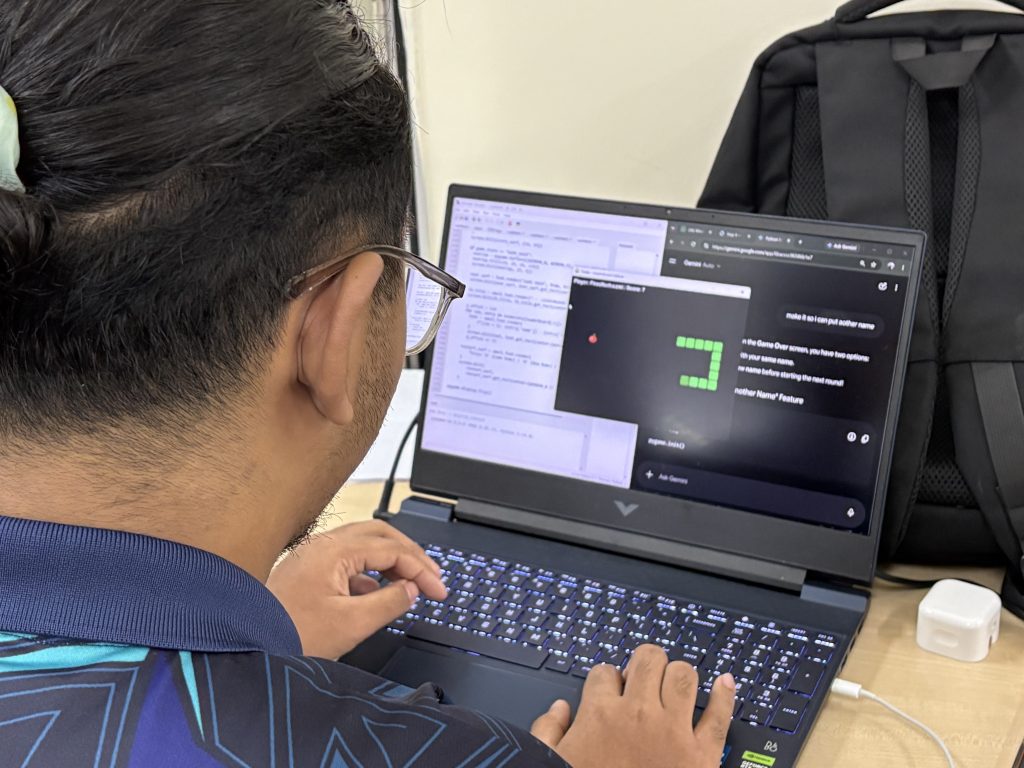
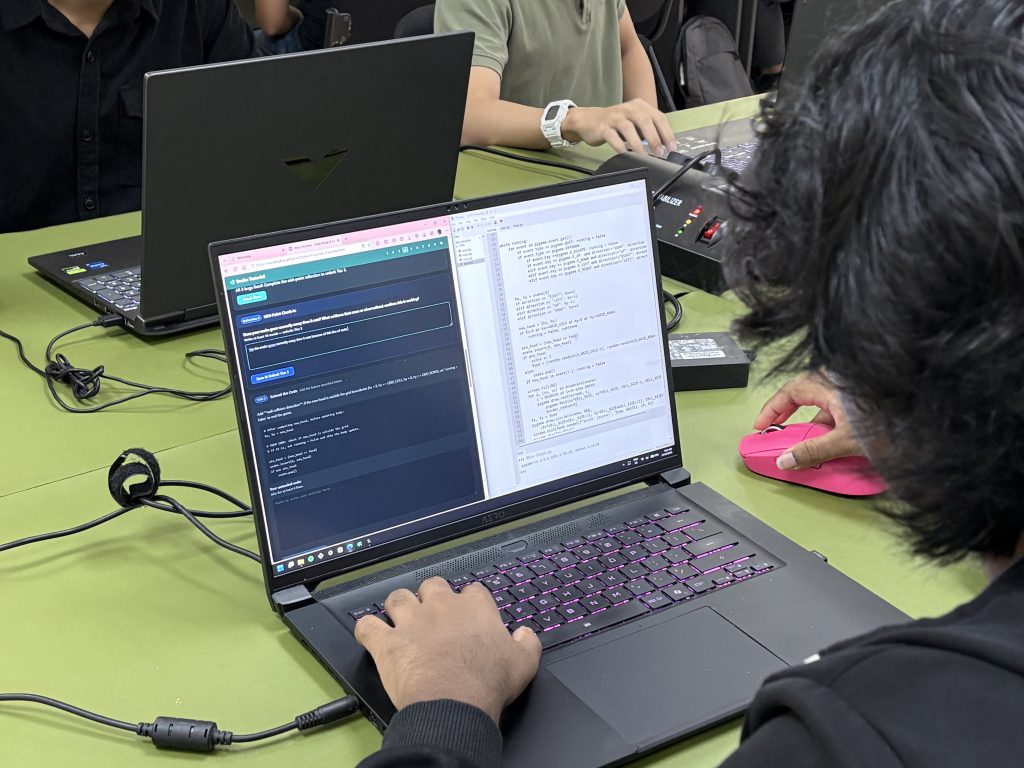
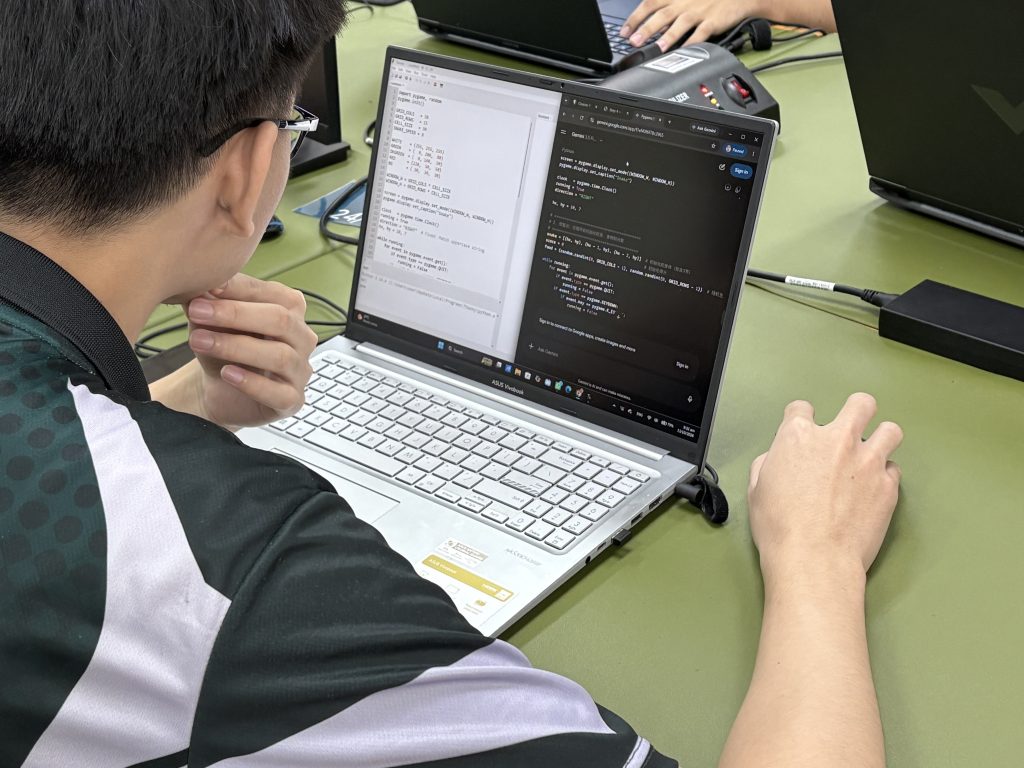
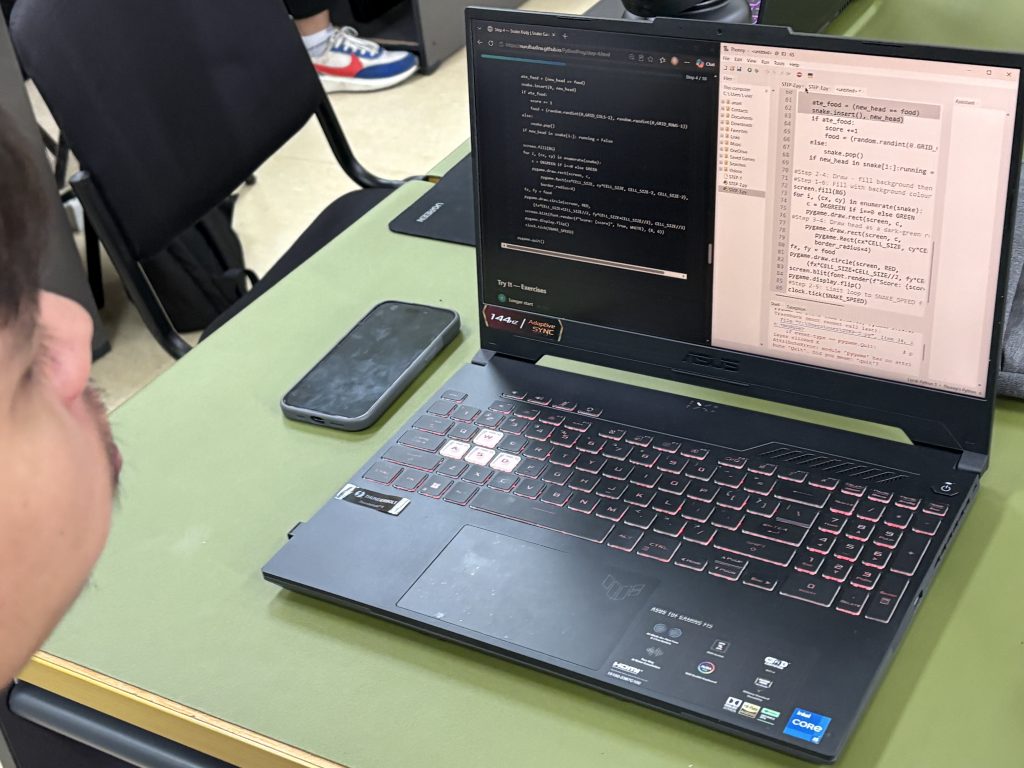
If Steps 2 and 3 were the week the snake first moved, then Steps 4 and 5 were the week it truly came alive. This session was the most cognitively demanding so far — and the most rewarding to watch unfold.
Step 4: Snake Body — Lists at Work
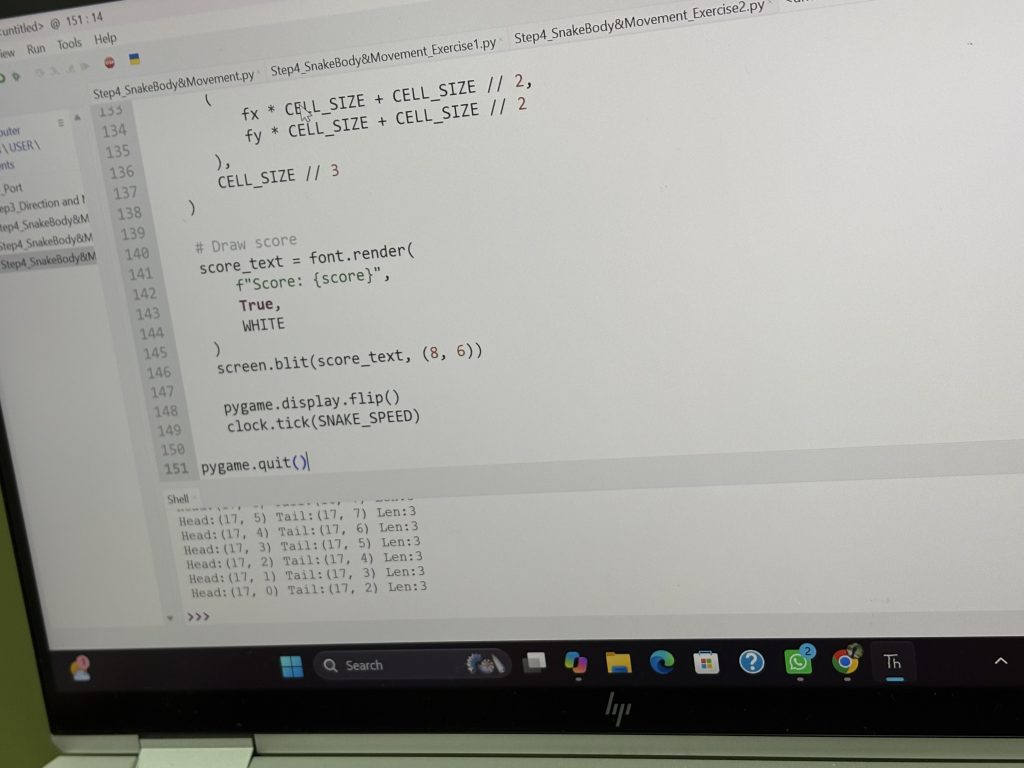
Until this point, our snake was just a head: a single (col, row) tuple gliding across the grid. Step 4 is where it grew a body, and with it came the first real encounter with lists.
The central idea is elegant: the snake’s body is a list of tuples — [(col, row), (col, row), …] — where index 0 is always the head. Every move, a new head is calculated from the current direction and inserted at the front of the list with snake.insert(0, new_head). Then, if no food was eaten, the tail is removed with snake.pop(). The snake slides forward — growing from the front, shrinking from the back — without ever touching the middle.
Students initially found this hard to visualise. Why insert(0, ...) and not append()? The animated demo was invaluable here: watching the snake body update frame by frame made it clear that the newest position must always sit at index 0. Once students understood that, the logic clicked.
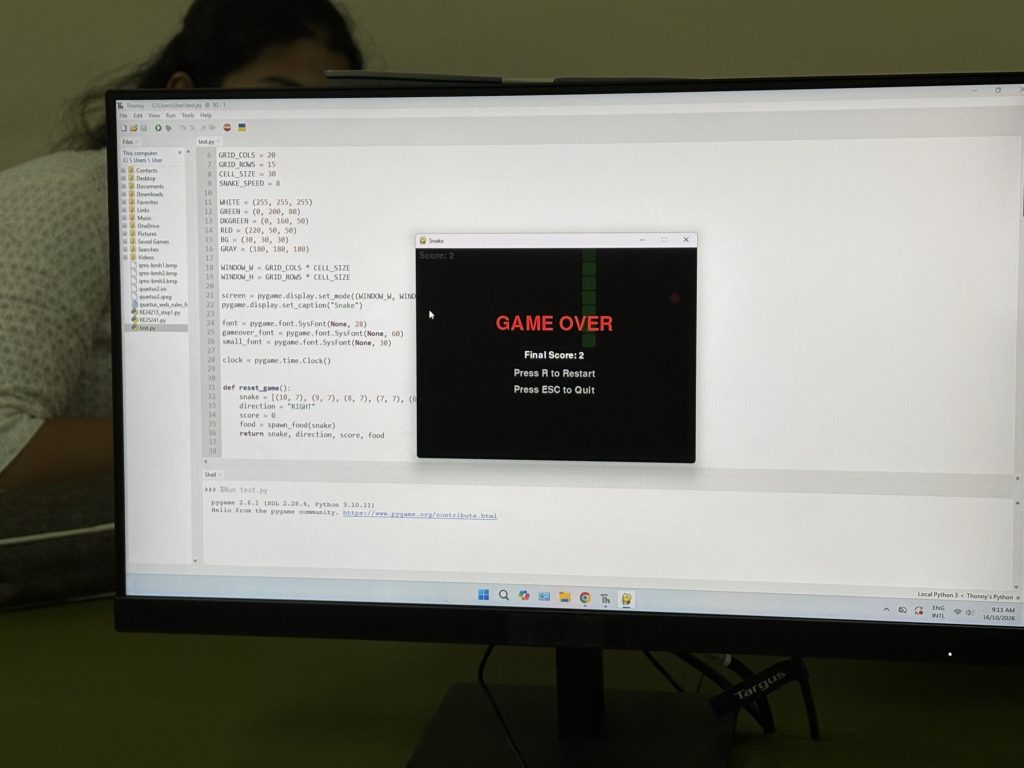
Collision detection with the body itself was the sharpest moment of the step. The check is simple — if new_head in snake_body[1:] — but the reasoning behind [1:] sparked real discussion. Why skip index 0? Because the head has not been inserted yet at the point of checking. Several students independently spotted this edge case before I mentioned it. That kind of anticipatory thinking is exactly the pattern recognition we are building toward.
The CT Activity on the homepage — clicking the body components to reveal their Python concepts — proved its value here. Students who had explored it in Week 1 arrived with the word “list of tuples” already in mind. The scaffold paid off.
Step 5: Bonus Food — Timers, For Loops & Modulo
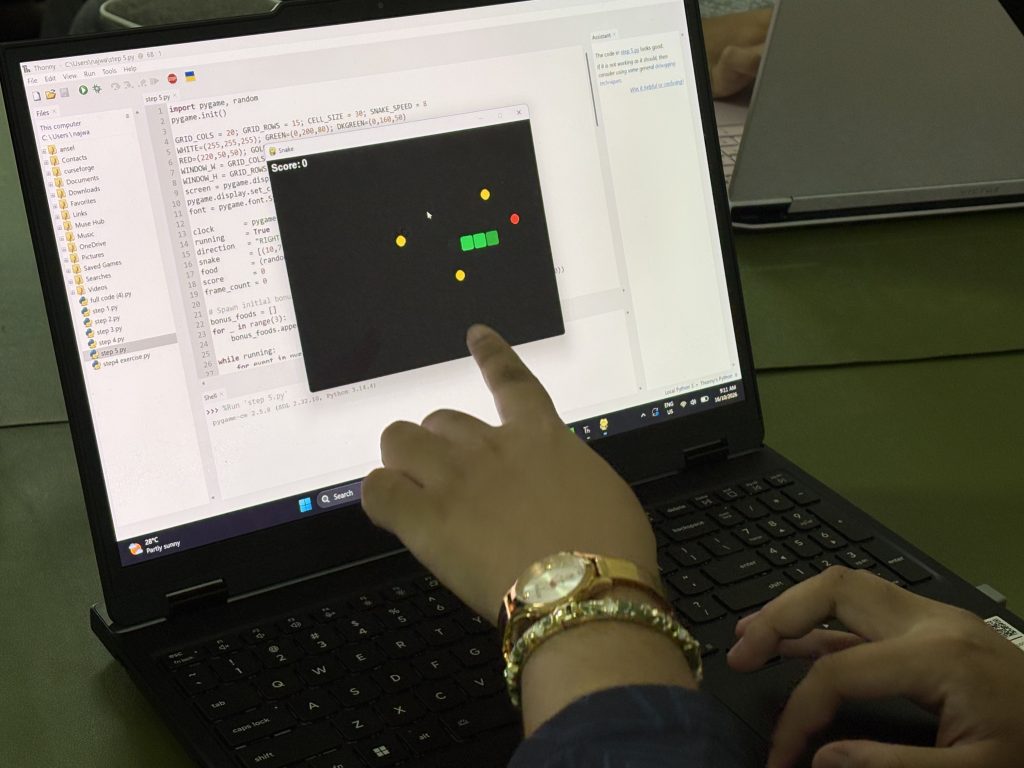
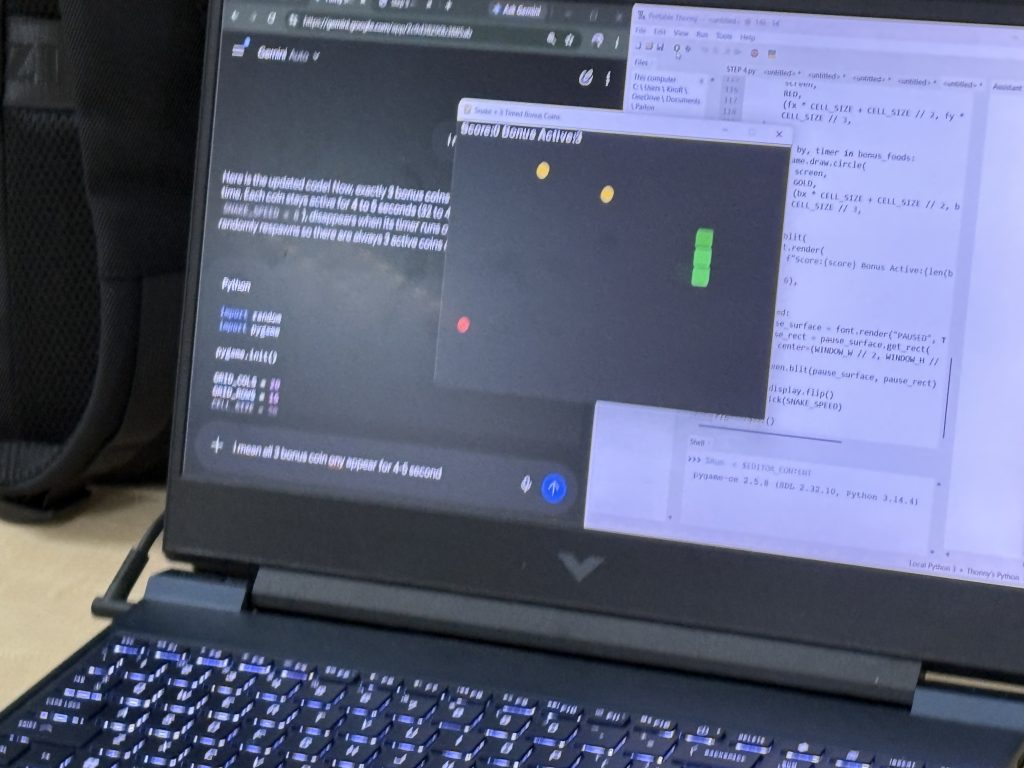
Step 5 introduced the bonus food mechanic: a golden star ⭐ that spawns periodically, scores 3 points, and disappears after a countdown. It is a small feature with a large conceptual payload.
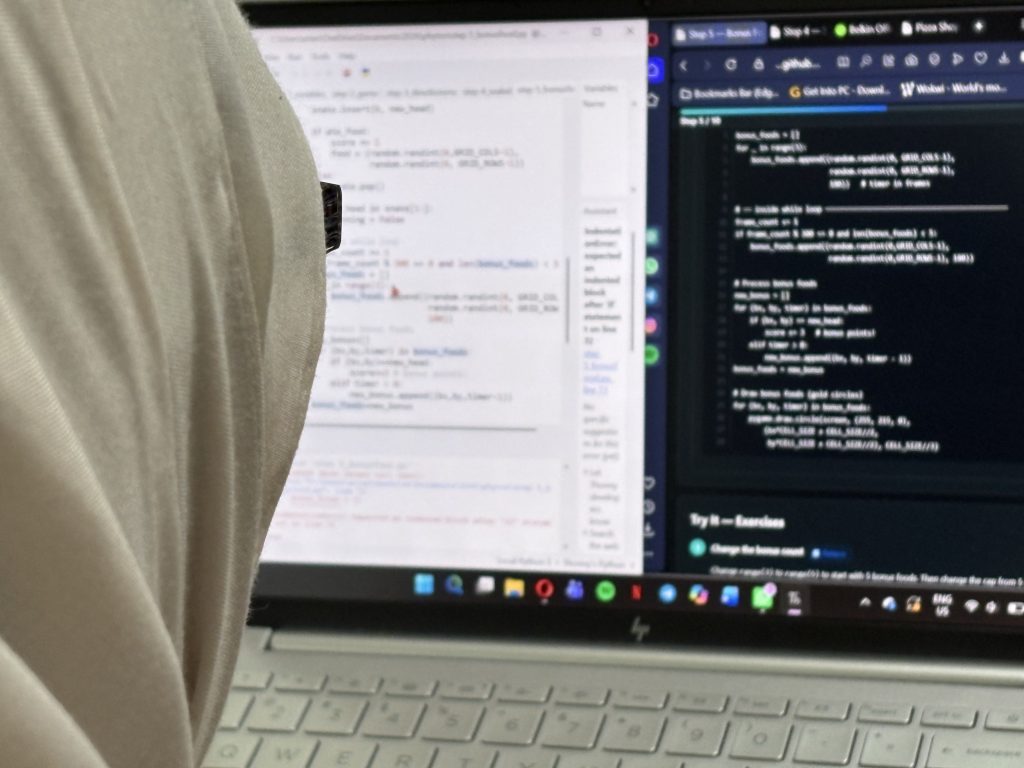
The bonus food is stored as a list of tuples with a timer: (col, row, timer). Every frame, a for loop walks through the list, counts down each timer by 1, and removes any item whose timer has reached zero. Students had just learned insert() and pop() — now they were filtering a list inside a loop, which required thinking about iteration and removal at the same time.
The spawning logic introduced the modulo operator in a meaningful context: if frame_count % 300 == 0: spawn_bonus(). Before this, % was an abstract arithmetic operator. Here it became a clock — a way of asking “has enough time passed?” Students immediately grasped it: “Every 300 frames, the condition becomes True — like an alarm going off.”
The bonus food also made score strategy visible. Students playing the demo noticed that chasing the bonus star is riskier — it often appears in a corner, and the snake’s growing body makes sharp turns treacherous. Several started thinking about whether a 3-point bonus is worth the collision risk. That is algorithmic thinking applied to decision-making, not just code.
What We Observed This Week
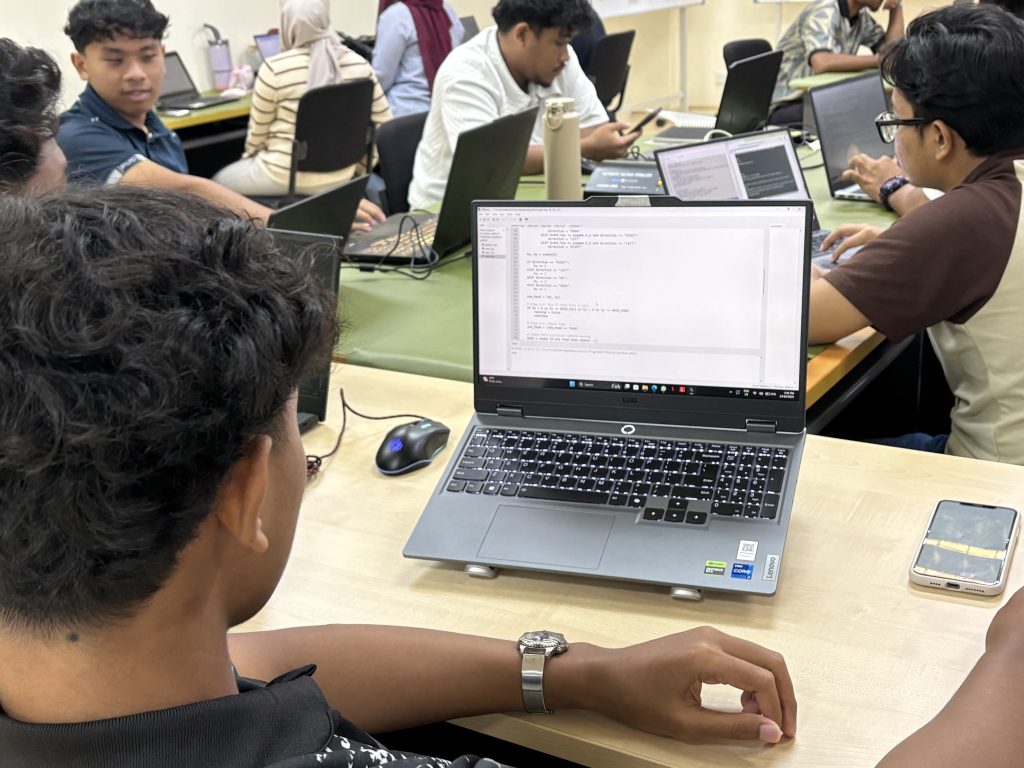
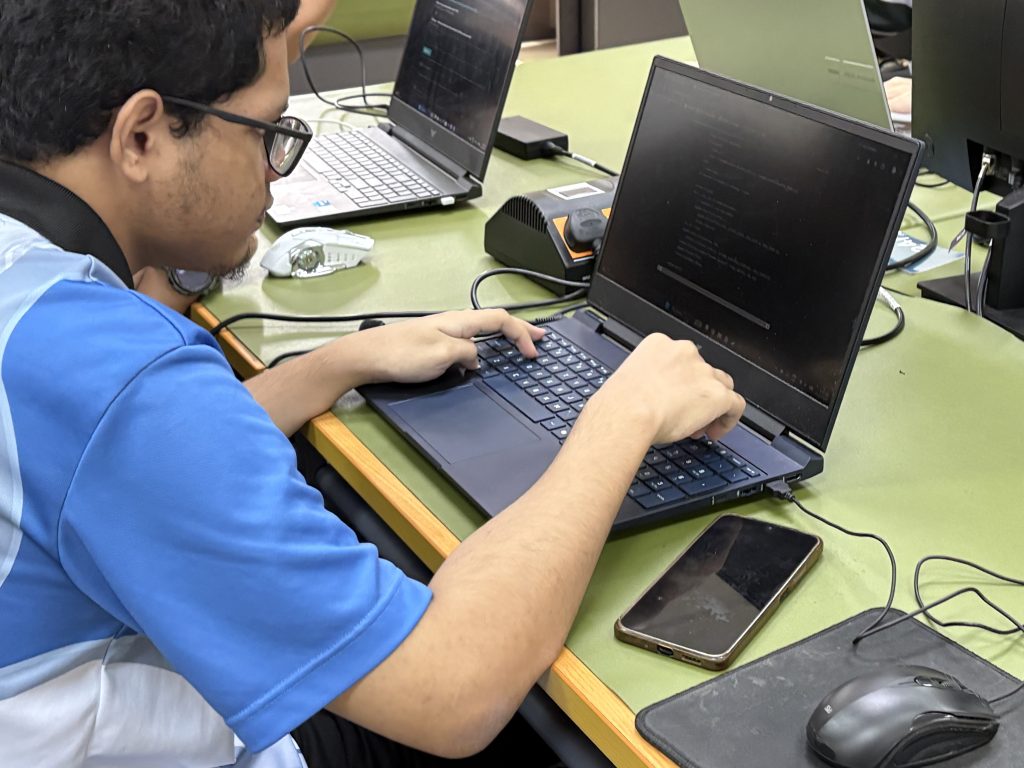
Steps 4 and 5 are the first cognitive hotspots in the module — the points where students are most likely to feel stuck. And they did. But the sticking was productive. Watching students trace through a list with their finger on the screen, muttering insert… pop… check…, was evidence of real engagement with the data structure, not just the syntax.
The animated snake on the tutorial page carried more weight this week than any previous session. Because the body grows and the bonus food fades in and out, students had a concrete target to aim for. Every line of code they wrote had an observable effect they had already seen working.
Next: Steps 6 & 7
Step 6 refactors the growing codebase into functions — a step about organisation and the DRY principle. Step 7 then introduces wrap-around movement using the modulo operator, now familiar from Step 5. The groundwork laid this week will pay forward directly.
Discussion PSDC FTKEE UMPSA
