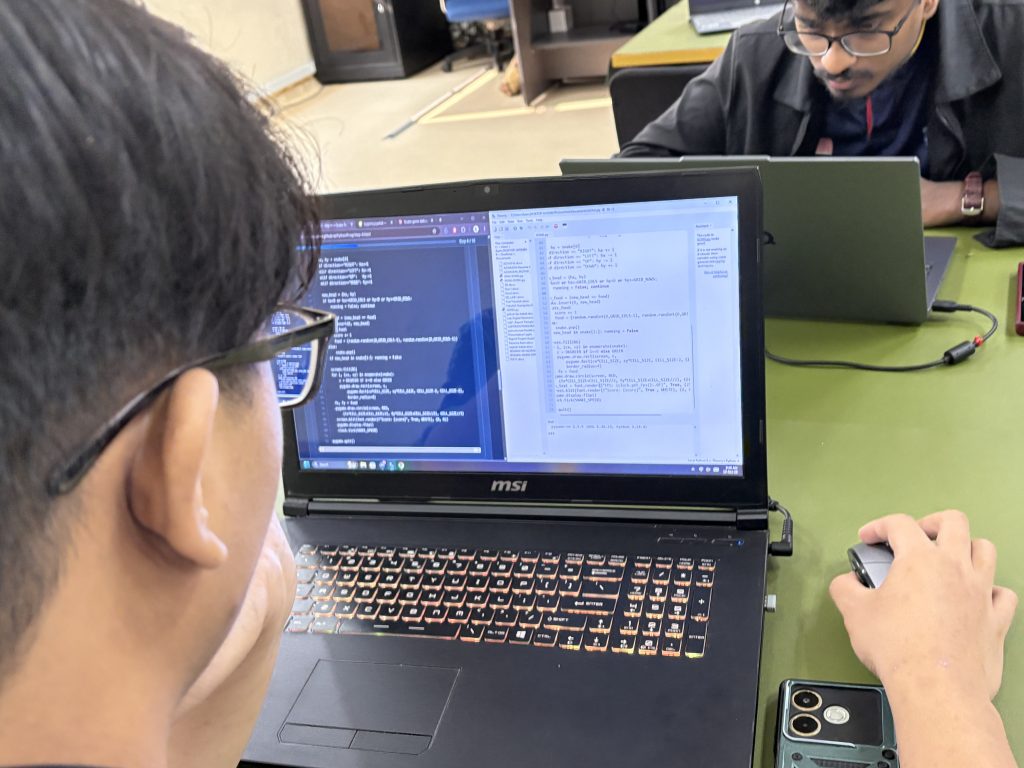
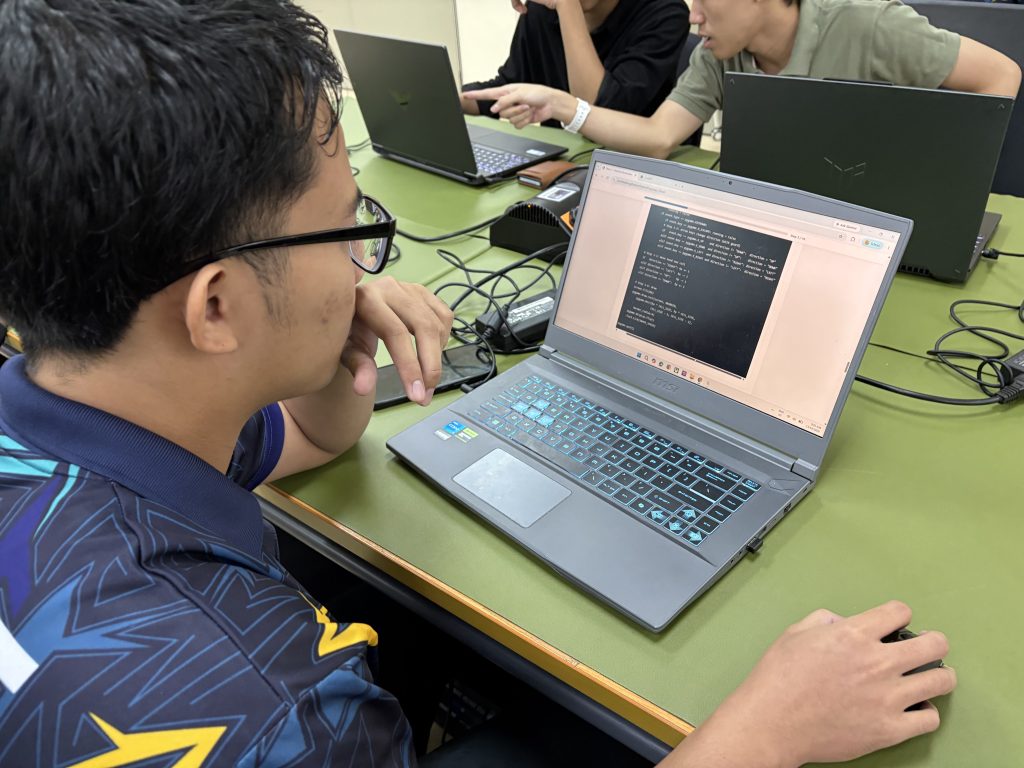
In 1895, an Italian inventor named Guglielmo Marconi astonished the world by transmitting a wireless signal across his family’s garden in Bologna. Within a few years, his signals were crossing the Atlantic Ocean. What Marconi had demonstrated was not merely a clever gadget, it was proof that invisible electromagnetic waves could carry information through the air, without a single wire connecting sender and receiver. It was, in every meaningful sense, magic made physical.
Today, more than a century later, that same magic underpins virtually every device in our pockets, our homes, and our skies. WiFi, Bluetooth, GPS, 5G cellular, satellite communication , all of them are descendants of Marconi’s garden experiment. Yet as wireless technology has grown ever more sophisticated and ever more invisible, the underlying principles, wavelength, propagation, directionality, signal strength, have become a hidden language that fewer and fewer people truly understand.
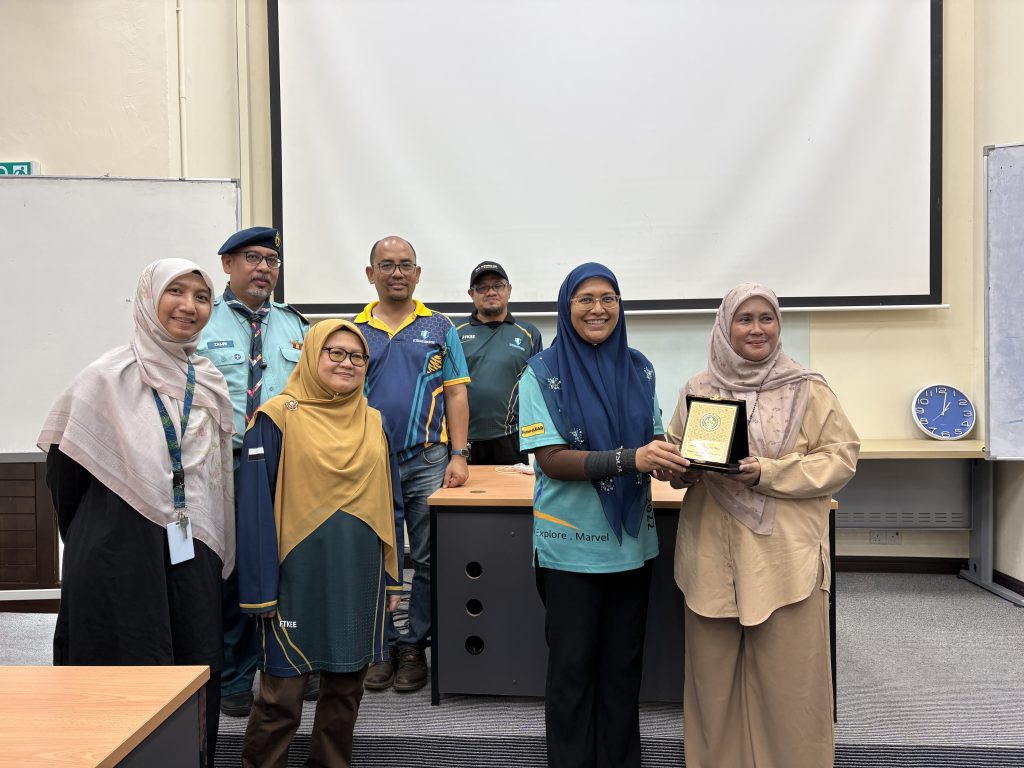
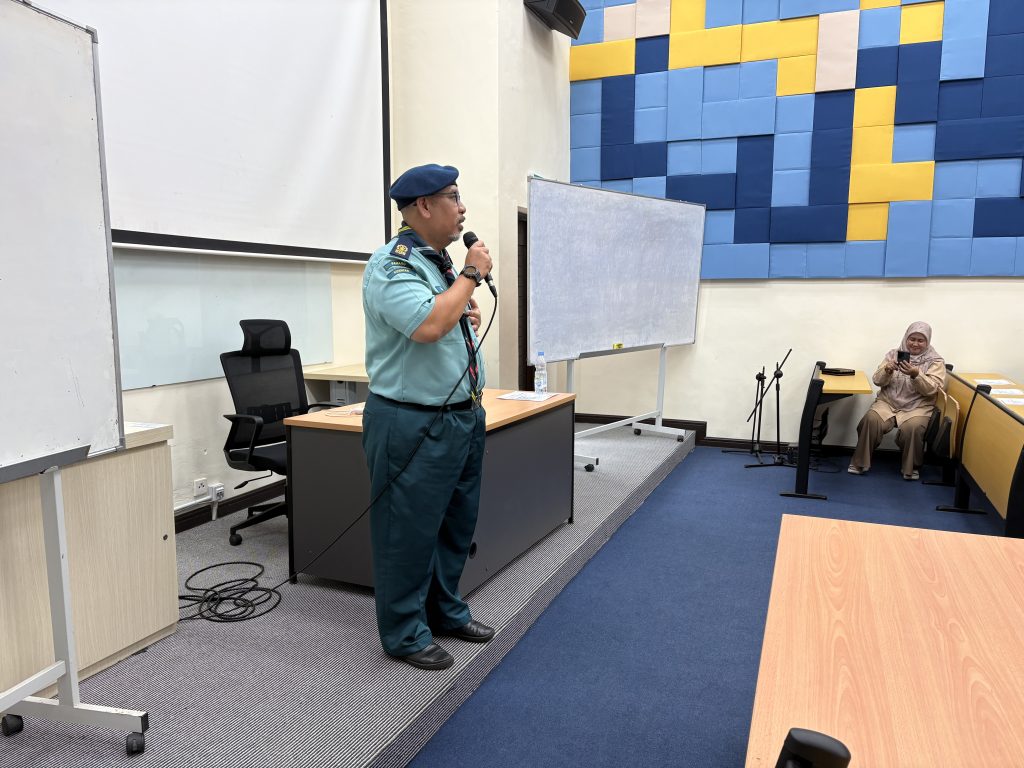
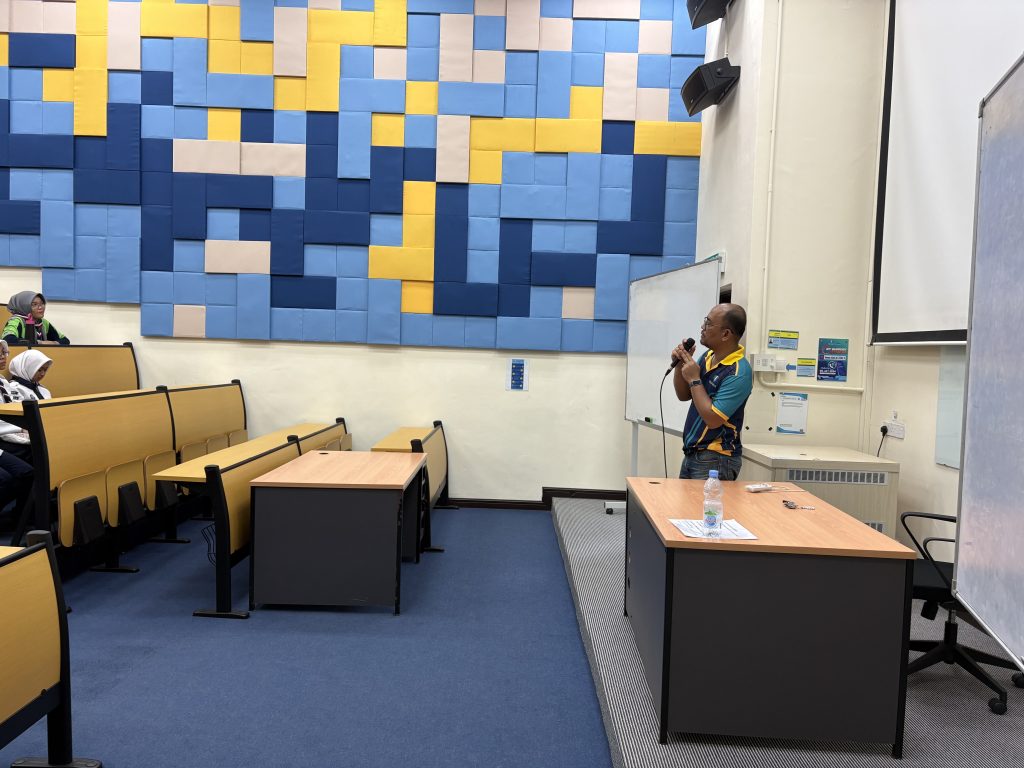
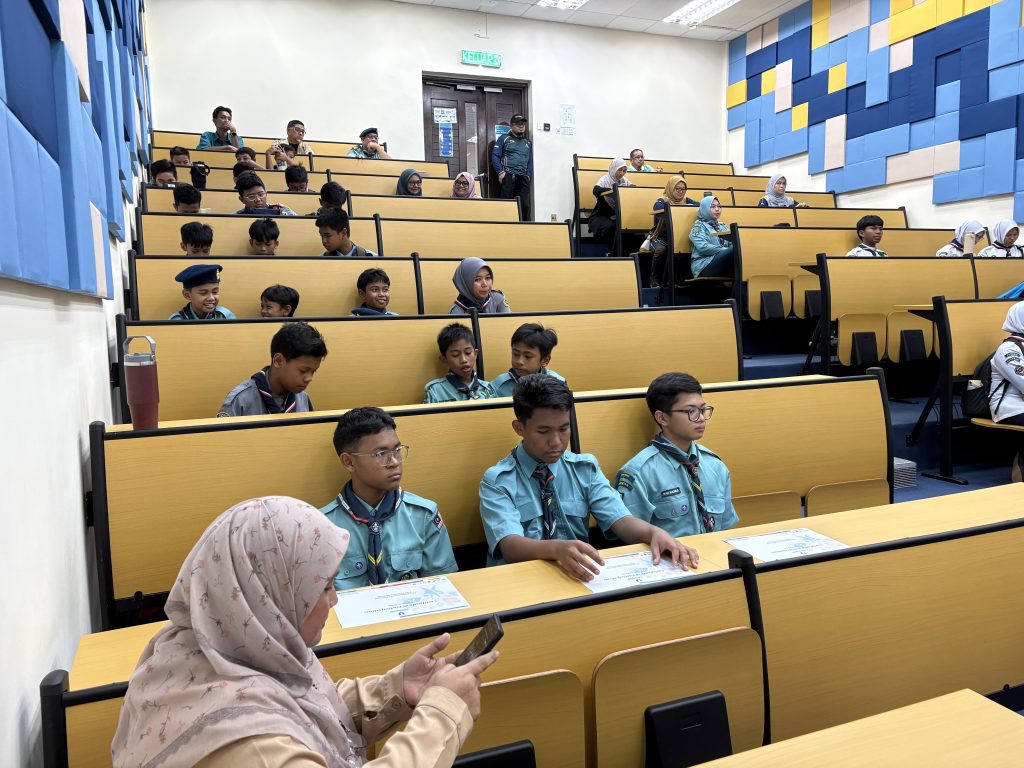
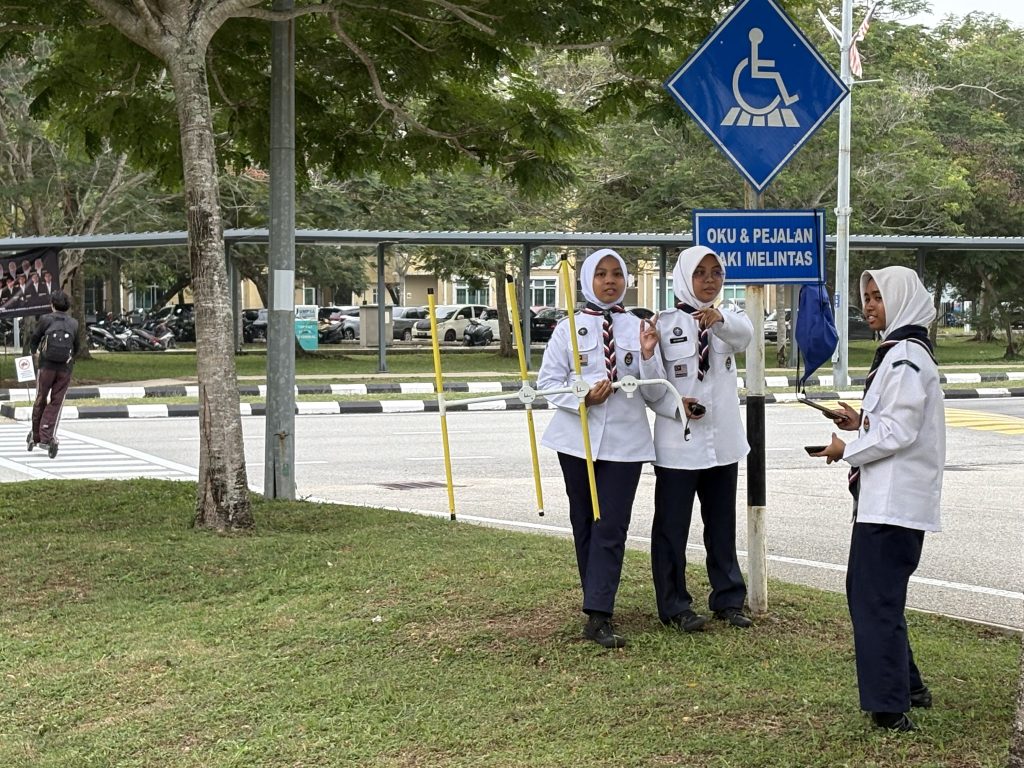
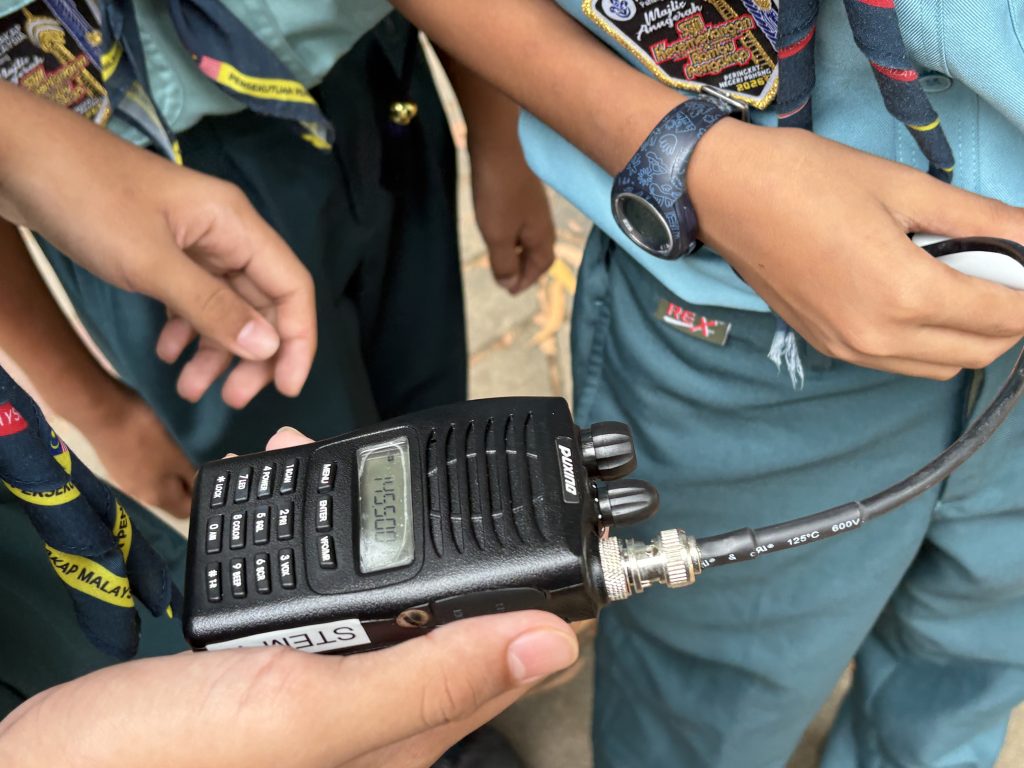
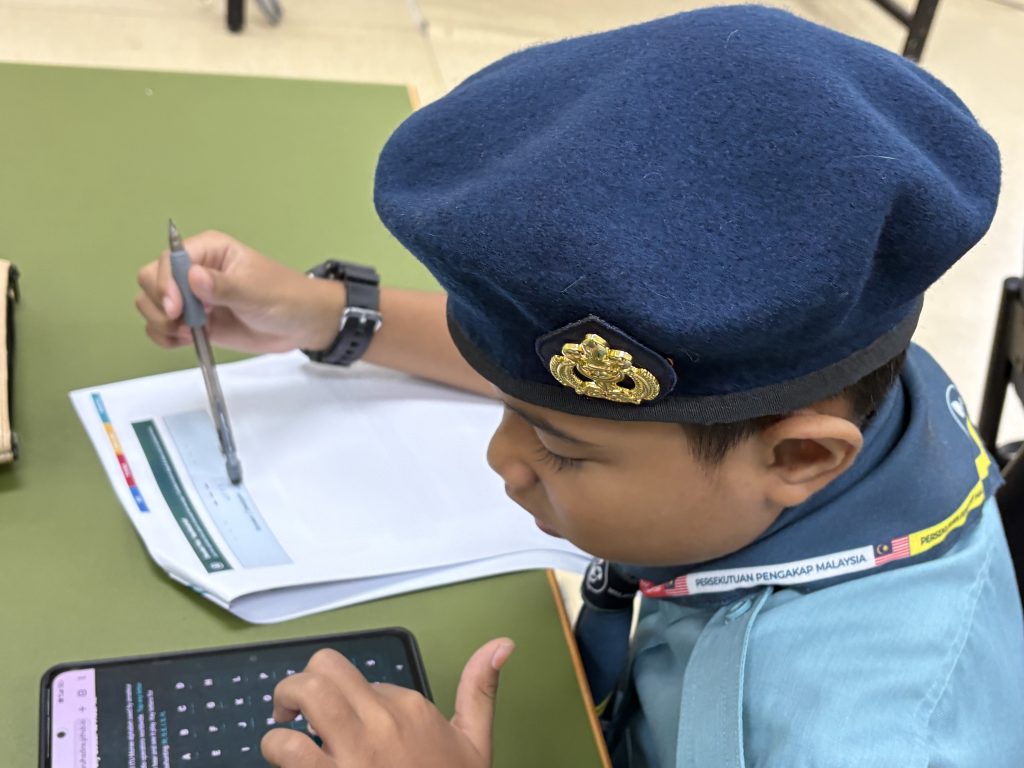
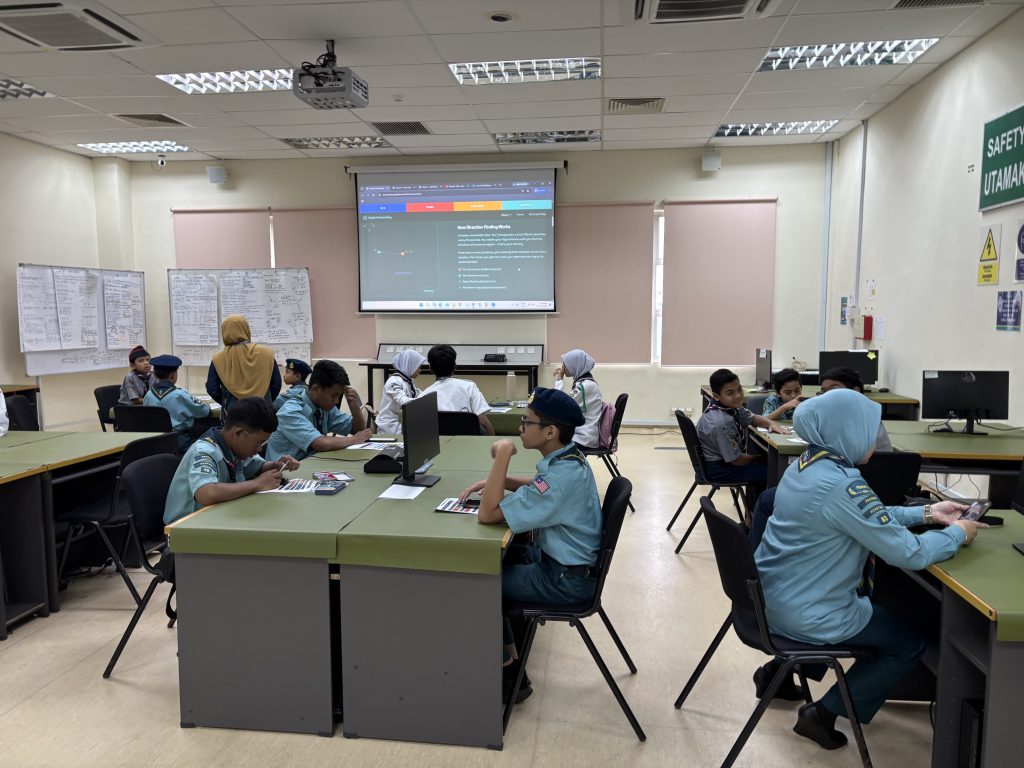
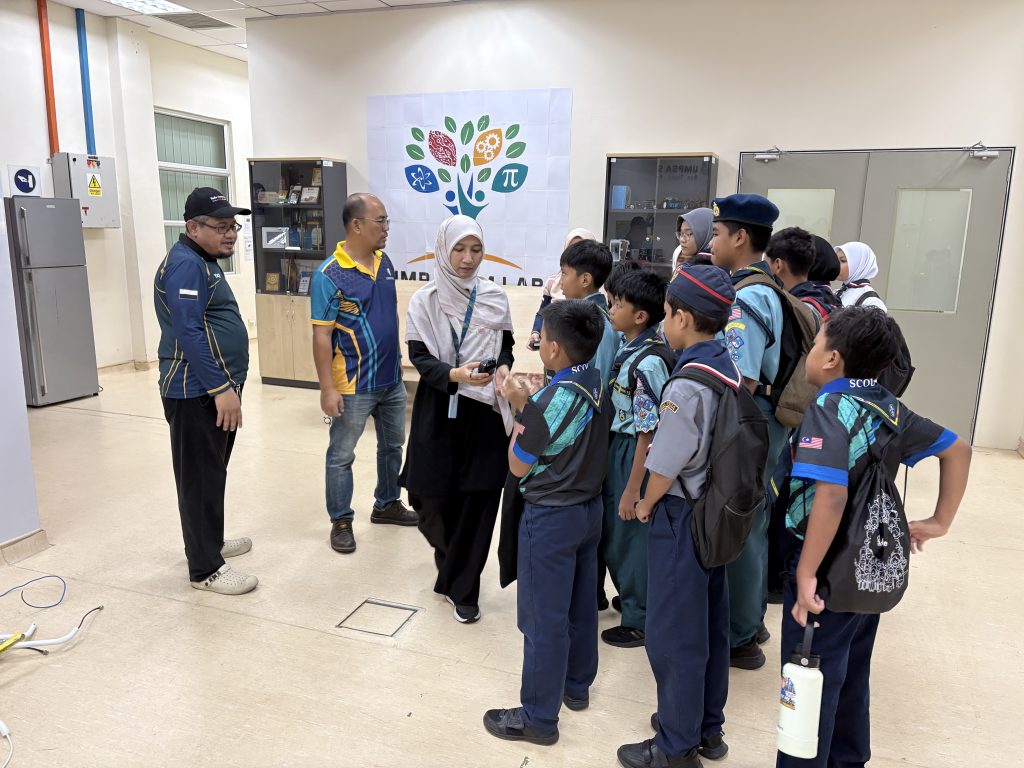
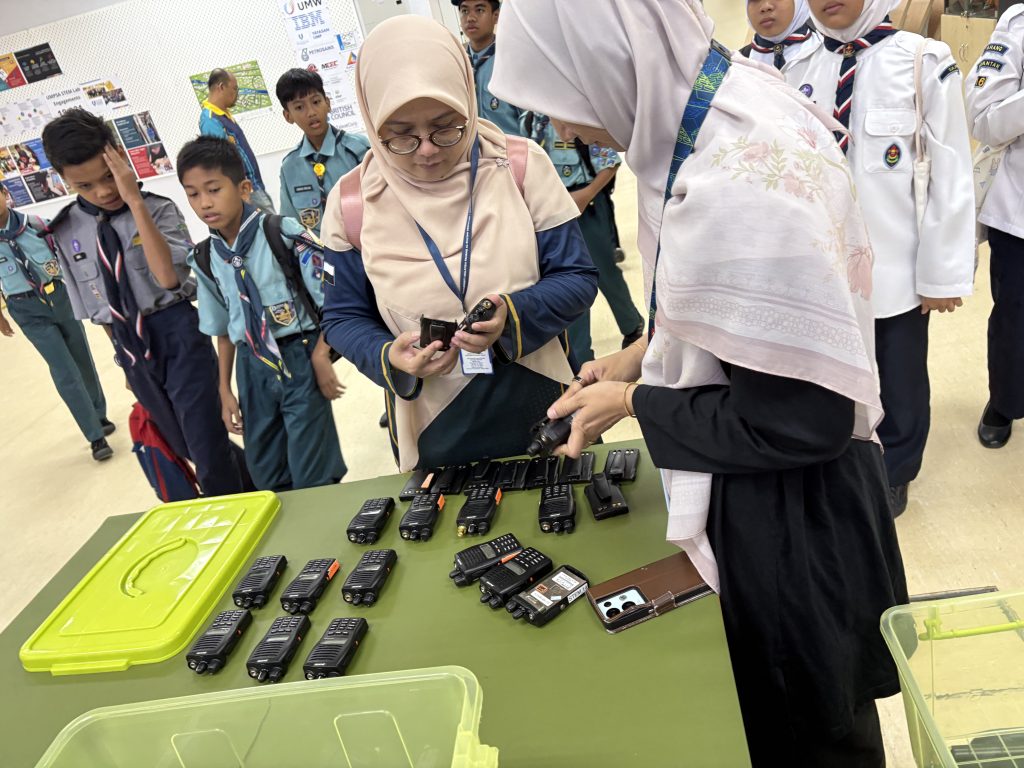
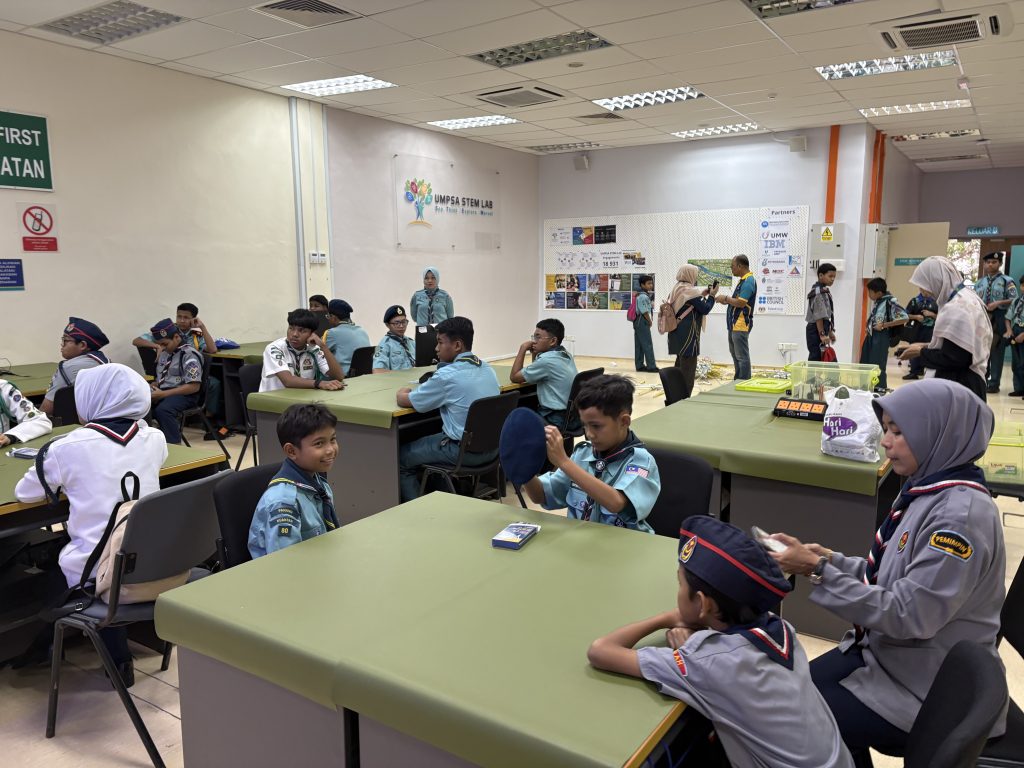
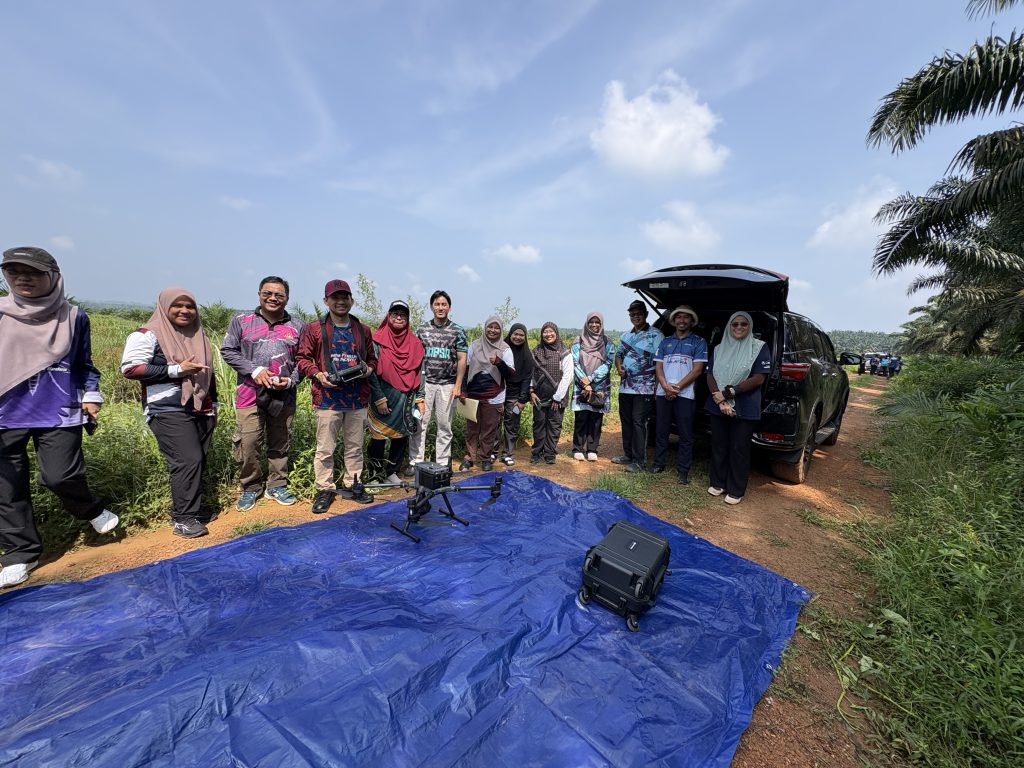
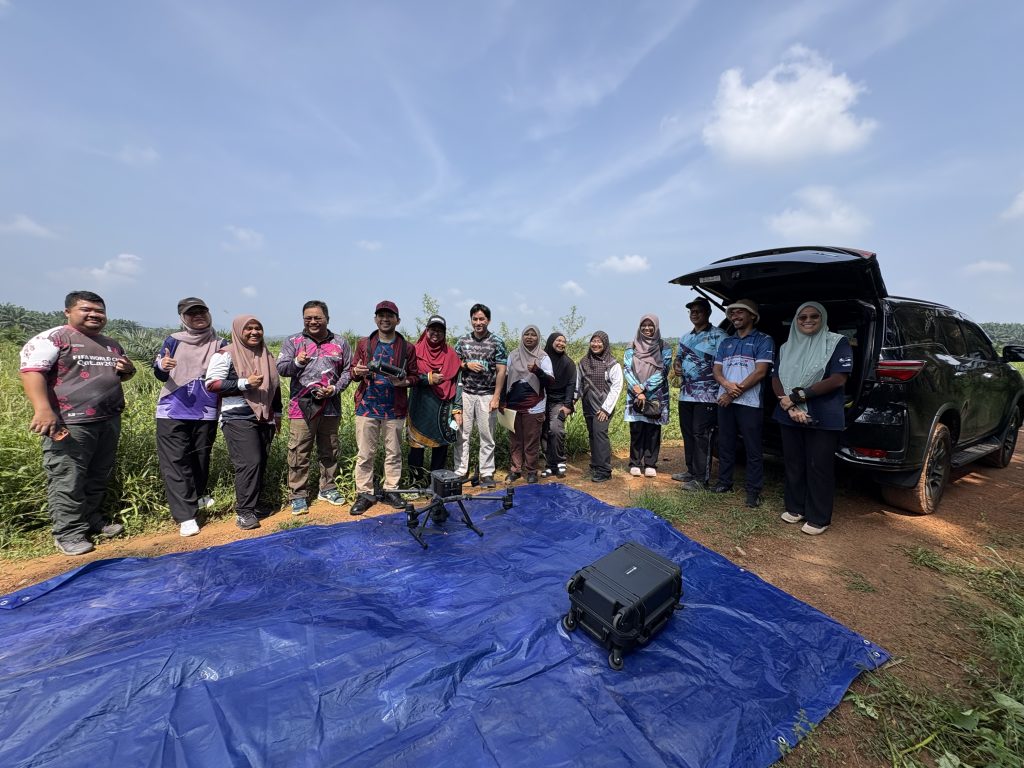
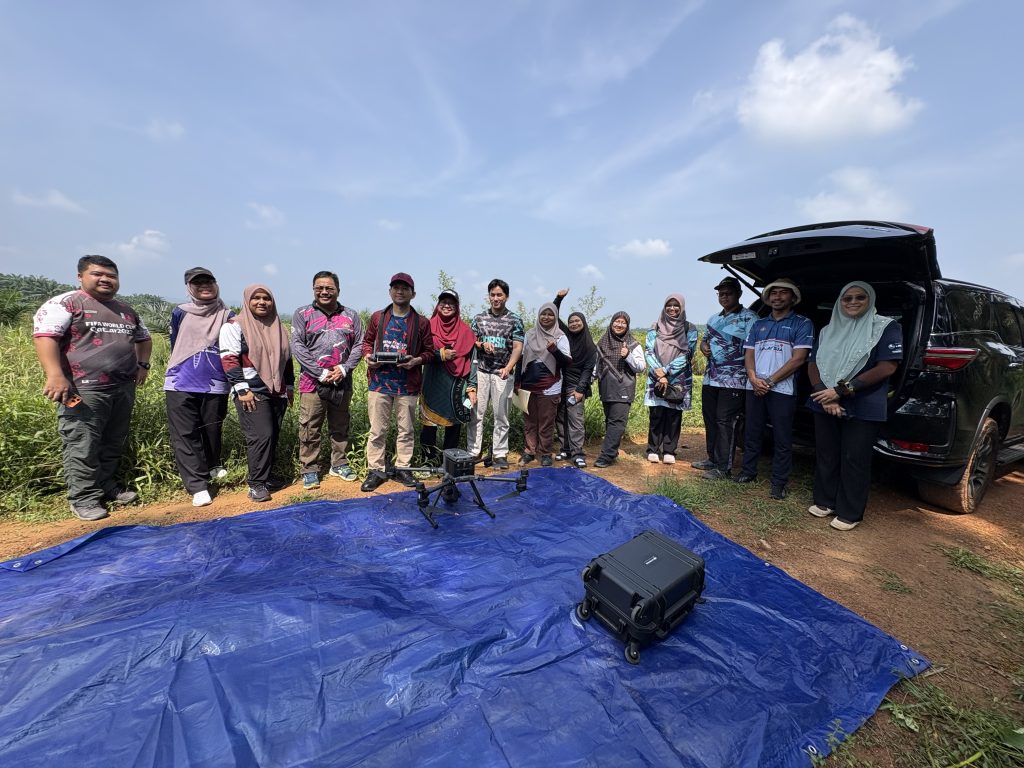
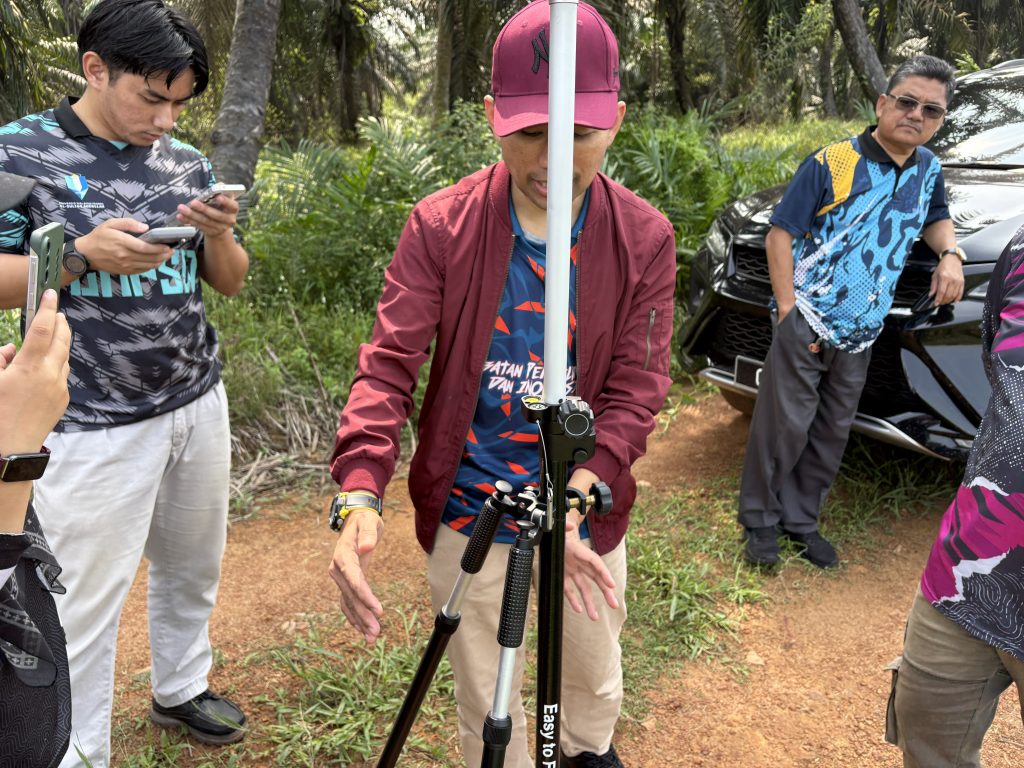
It was precisely this gap that UMPSA STEM Lab set out to address last Saturday, in partnership with Pengakap Malaysia Pahang Kuantan, in conjunction with International Radio Week 2026. The programme: Radio Foxhunting, the sport of locating a hidden radio transmitter using direction-finding equipment, navigational skill, and teamwork. The venue: UMPSA Pekan campus. The objective: to nurture a genuine appreciation of radio technology by putting it in participants’ hands.

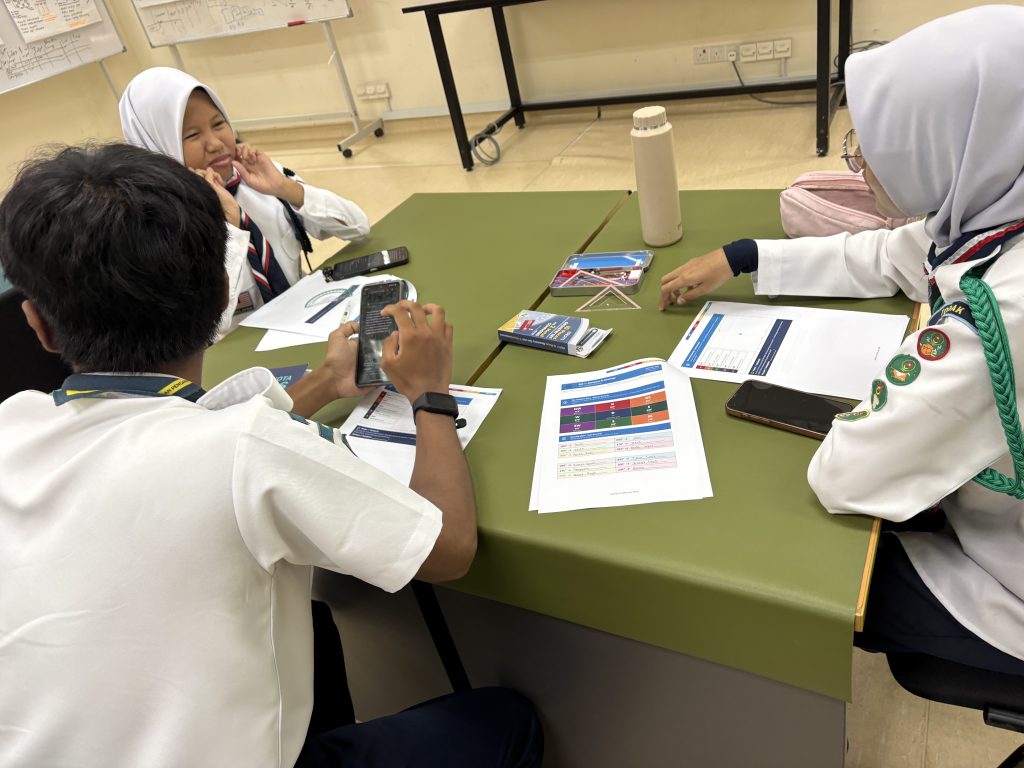
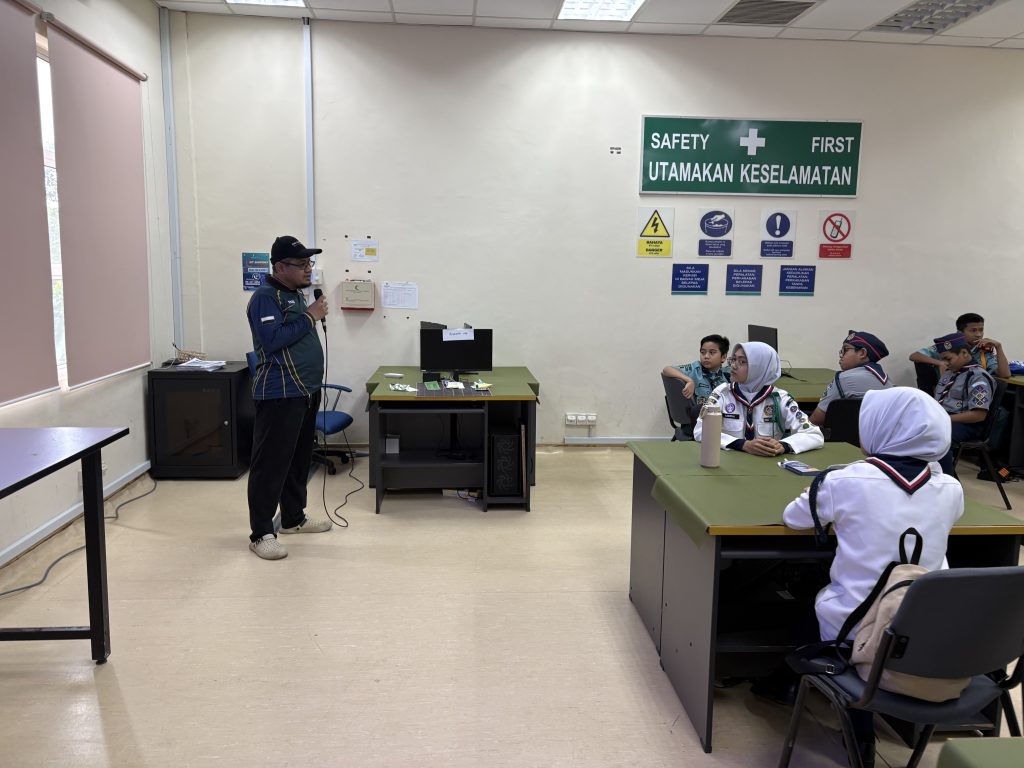
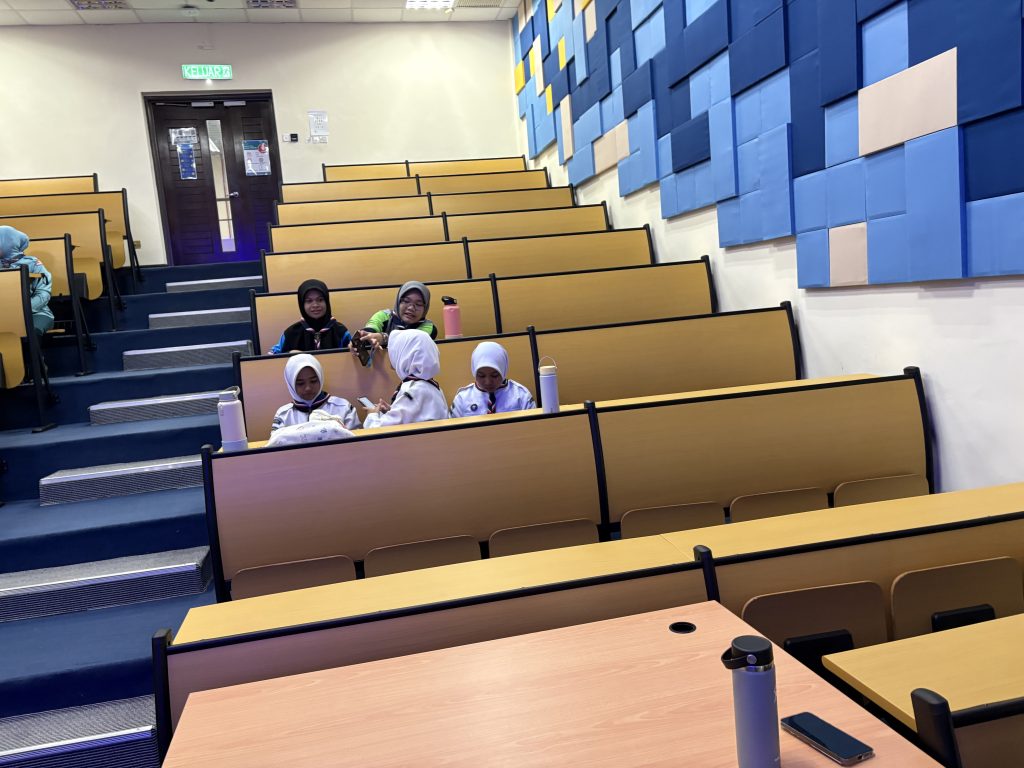
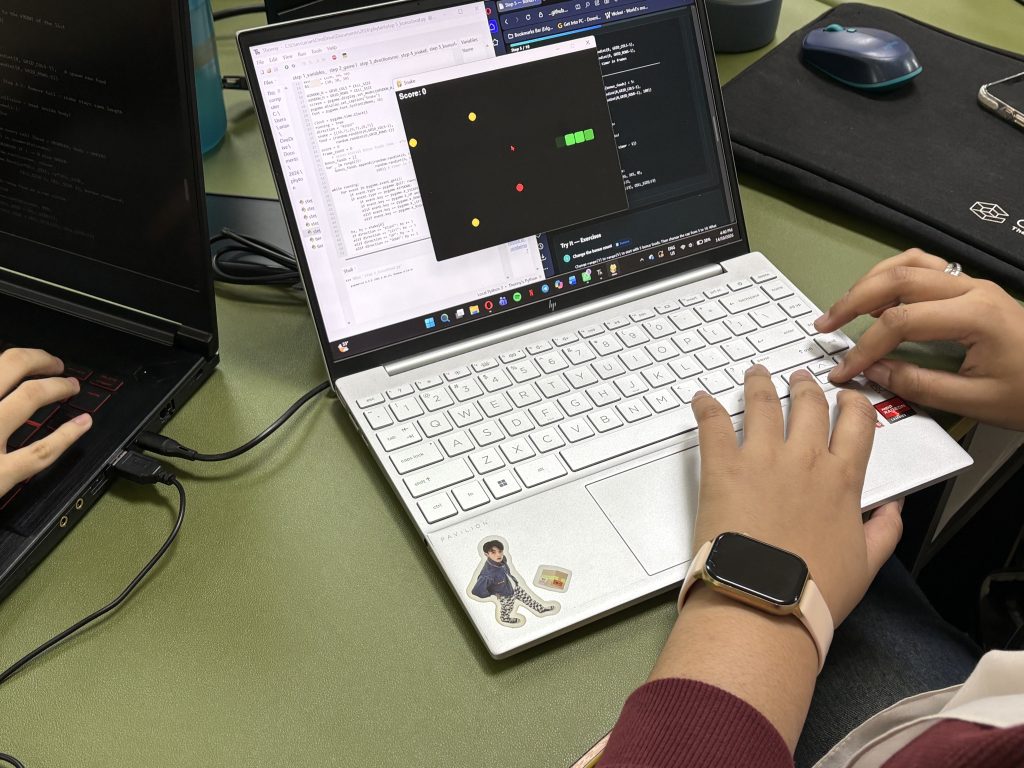
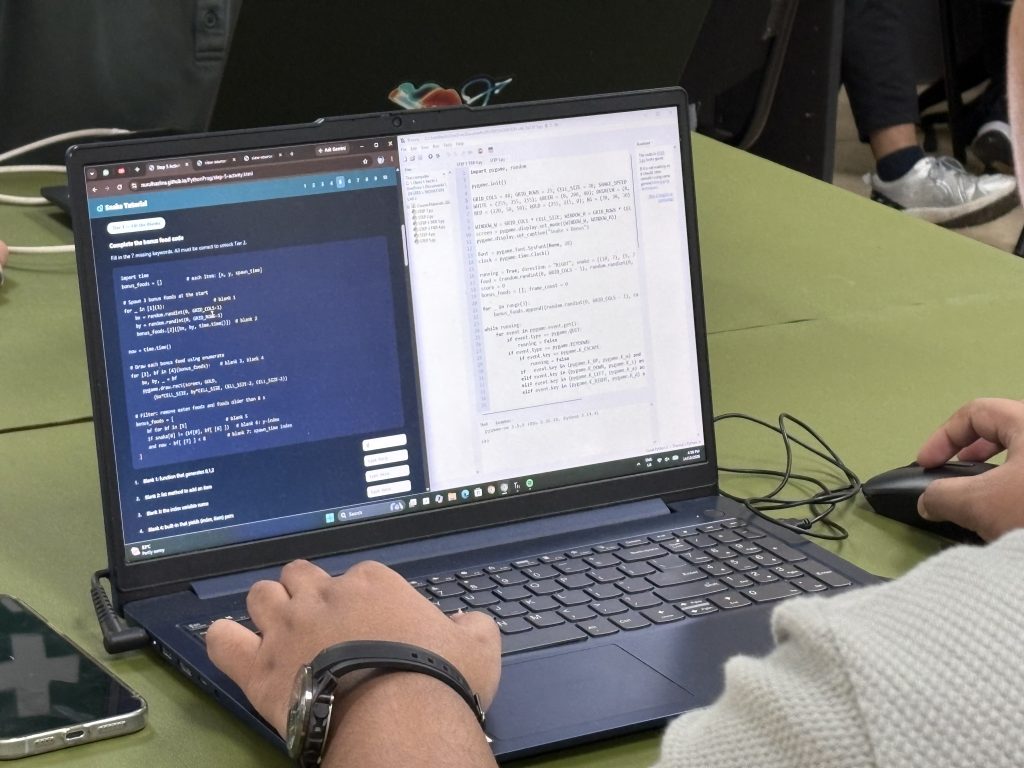
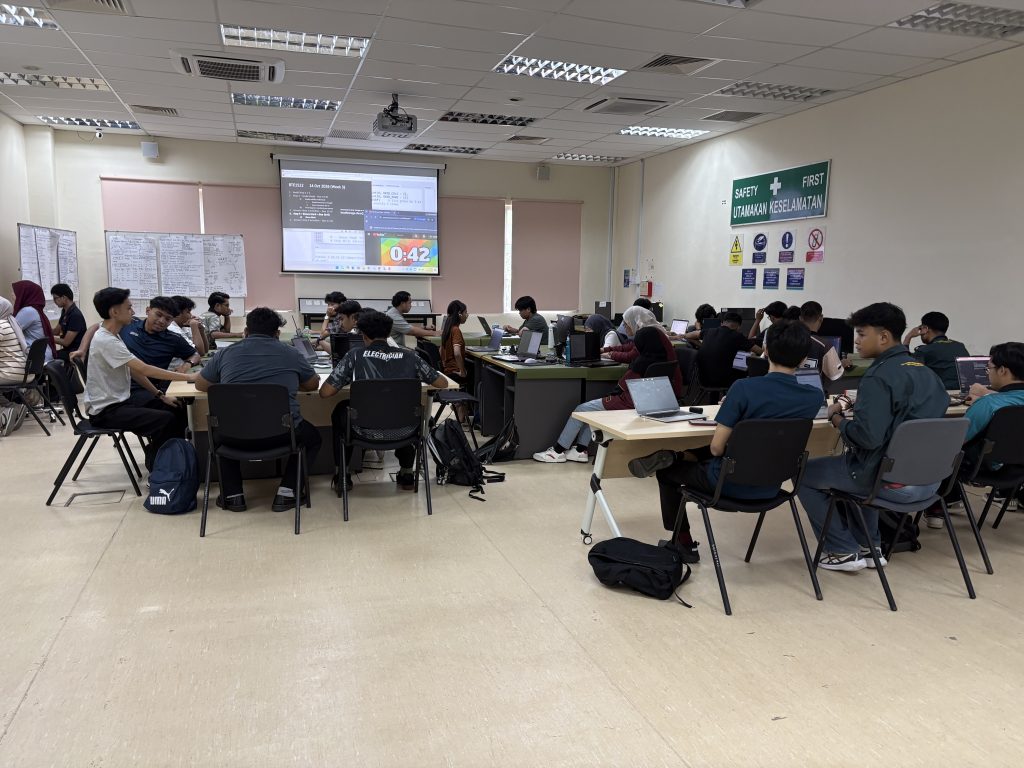
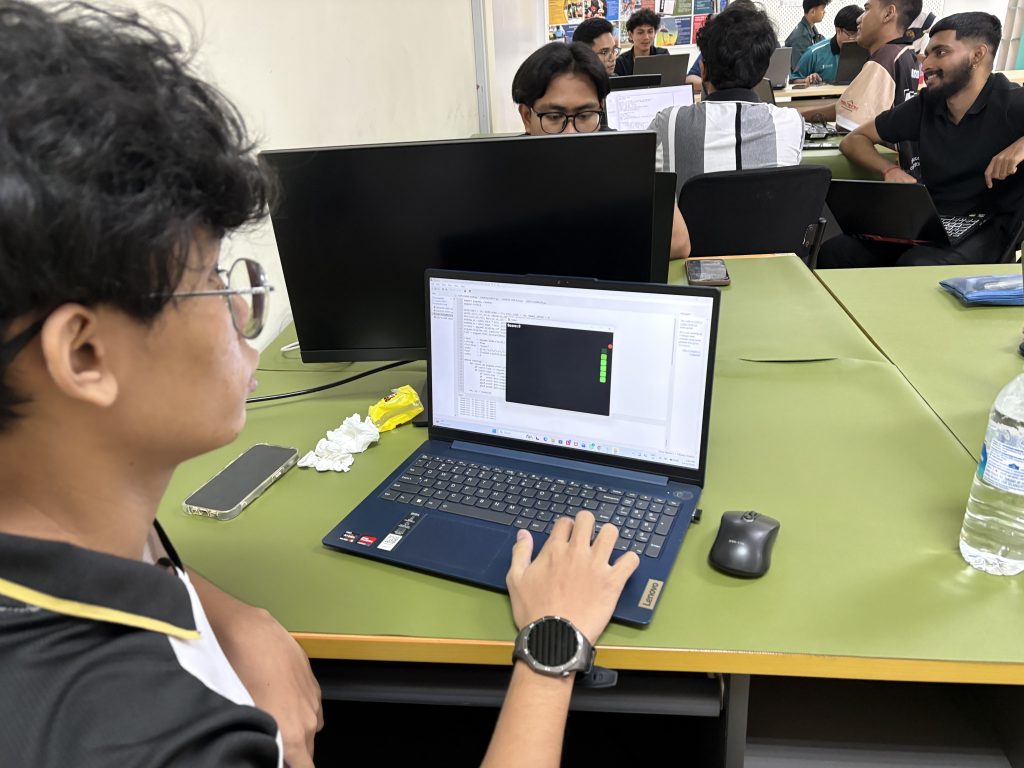
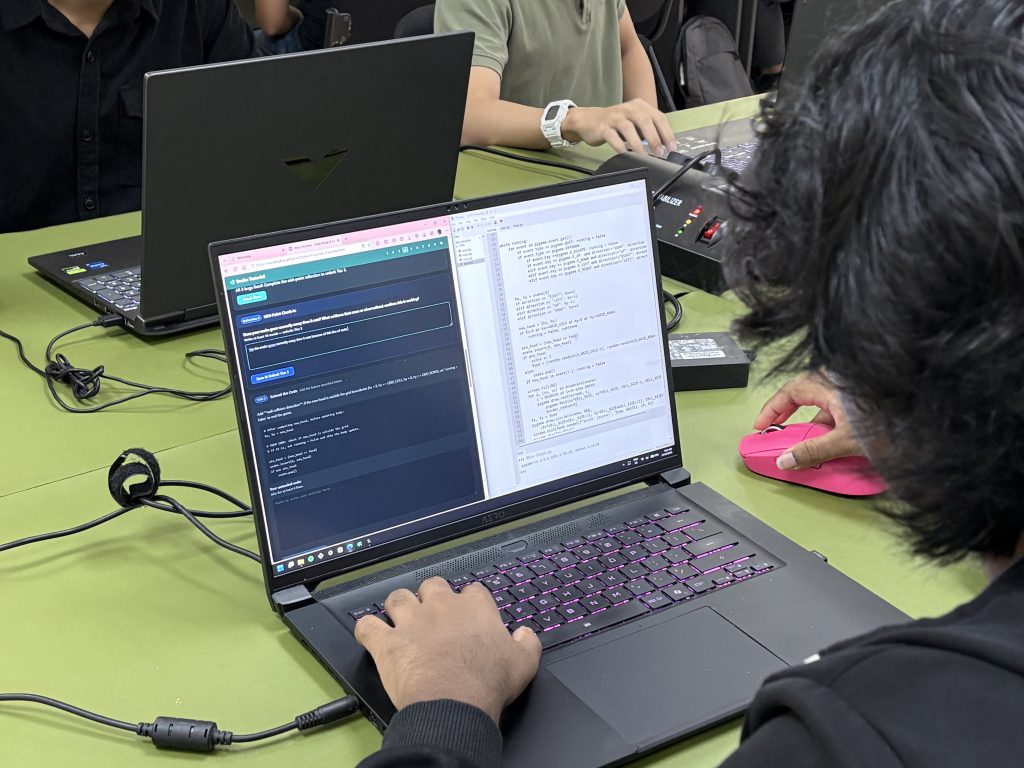
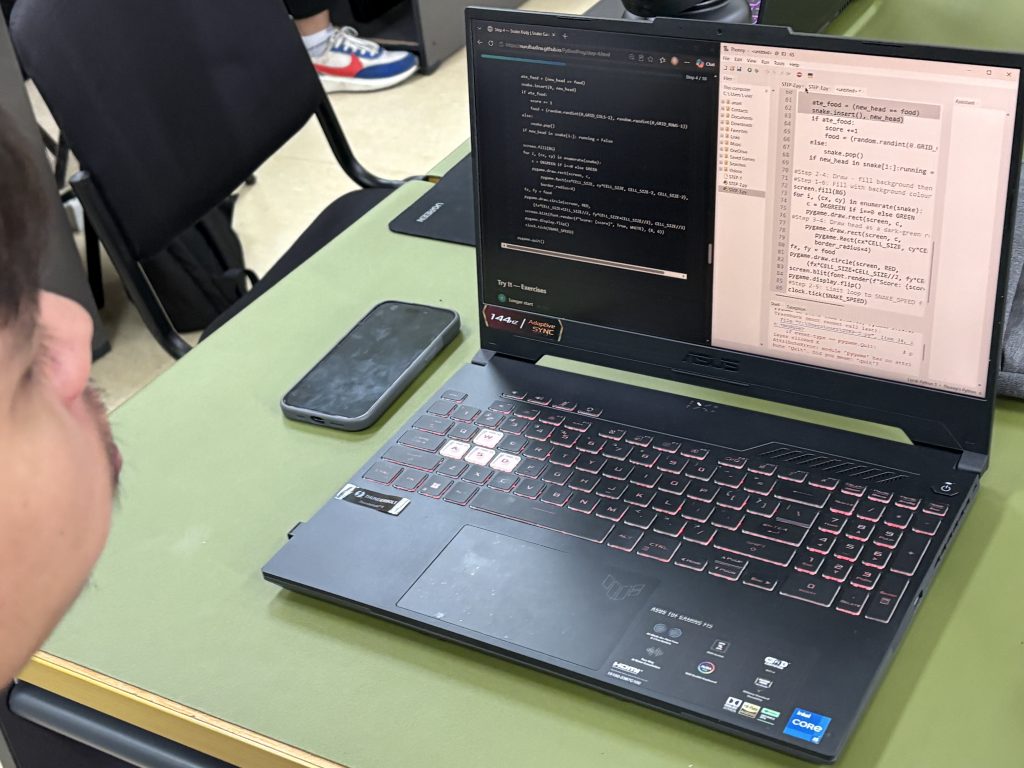
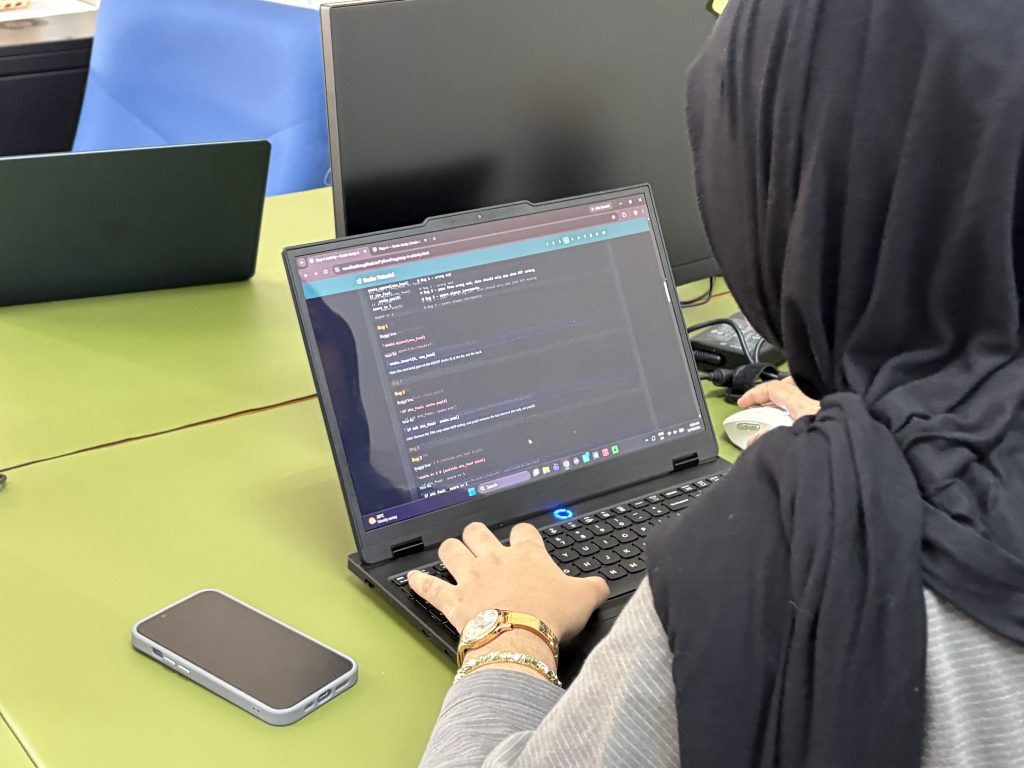
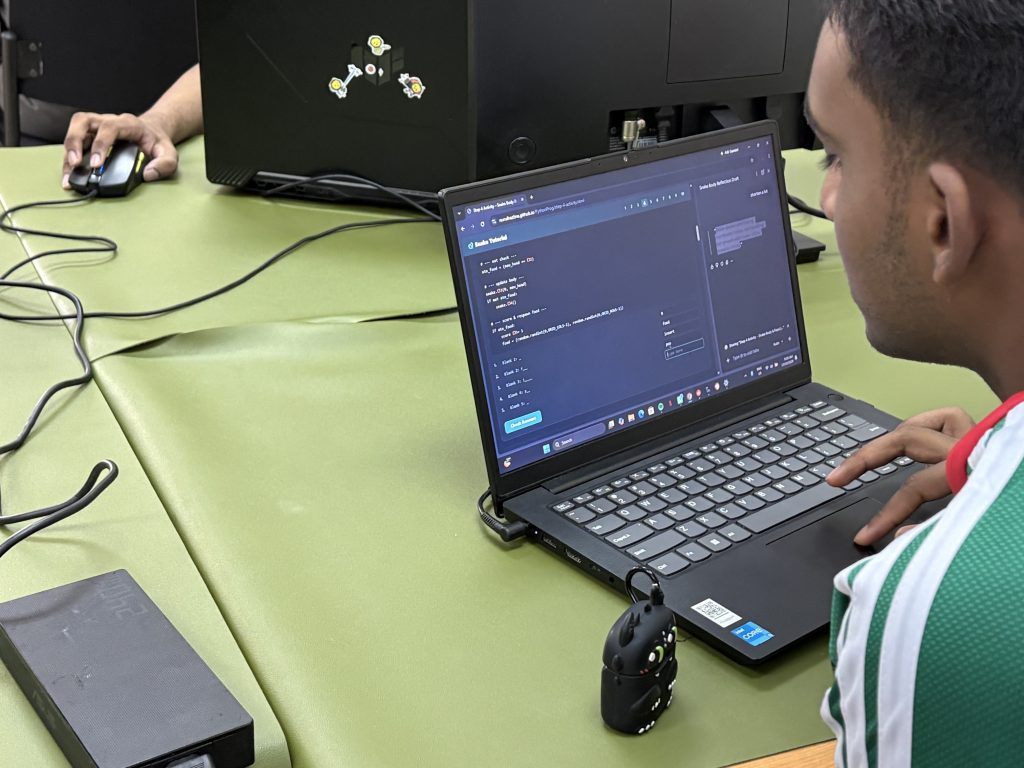
The half-day programme ran in two parts. The first half covered four focused learning modules. The second half was the hunt itself, one beacon, hidden somewhere on campus, with teams competing to find it using everything they had just learned.
Module 1: Morse Code and Beacon Identification
Before any participant could hunt a fox, they needed to understand how foxes speak.
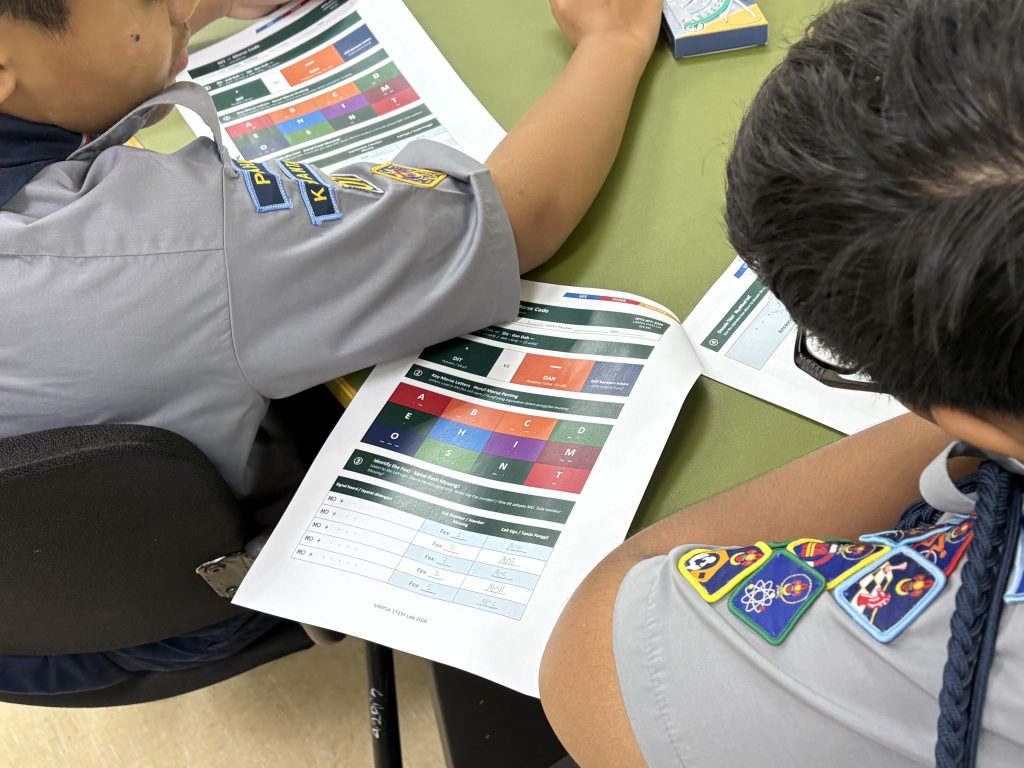
In ARDF — Amateur Radio Direction Finding, the formal name for foxhunting — hidden transmitters identify themselves using Morse code. Each beacon broadcasts a short, repeating identifier: MO, MOE, MOI, MOS, MOH, and MO5. These are not arbitrary labels; they are sequences of dots and dashes drawn from the international system that Samuel Morse established in the 1840s, and they allow a hunter to identify which transmitter they are hearing without ever seeing it.
This module opened with the fundamentals. Participants learned the timing ratios that separate a dit (short signal) from a dah (long signal) — a ratio of 1:3 — and how the silence between signals carries as much meaning as the signals themselves. The famous SOS distress call (· · · — — — · · ·) served as a memorable teaching moment: in 1912, Titanic’s radio operators sent exactly this sequence as the ship sank, helping rescue 710 survivors. It was one of the first real-world uses of the signal, and it saved lives because radio operators on nearby vessels were listening.

From history, the session moved to practice. Participants worked through the full Morse alphabet and tackled the central challenge of any foxhunt: identifying which beacon is transmitting during the standard 60-second beacon cycle, where each of the five transmitters broadcasts in turn. A hunter who cannot quickly decode what they are hearing wastes precious minutes, and loses ground to competitors who can.
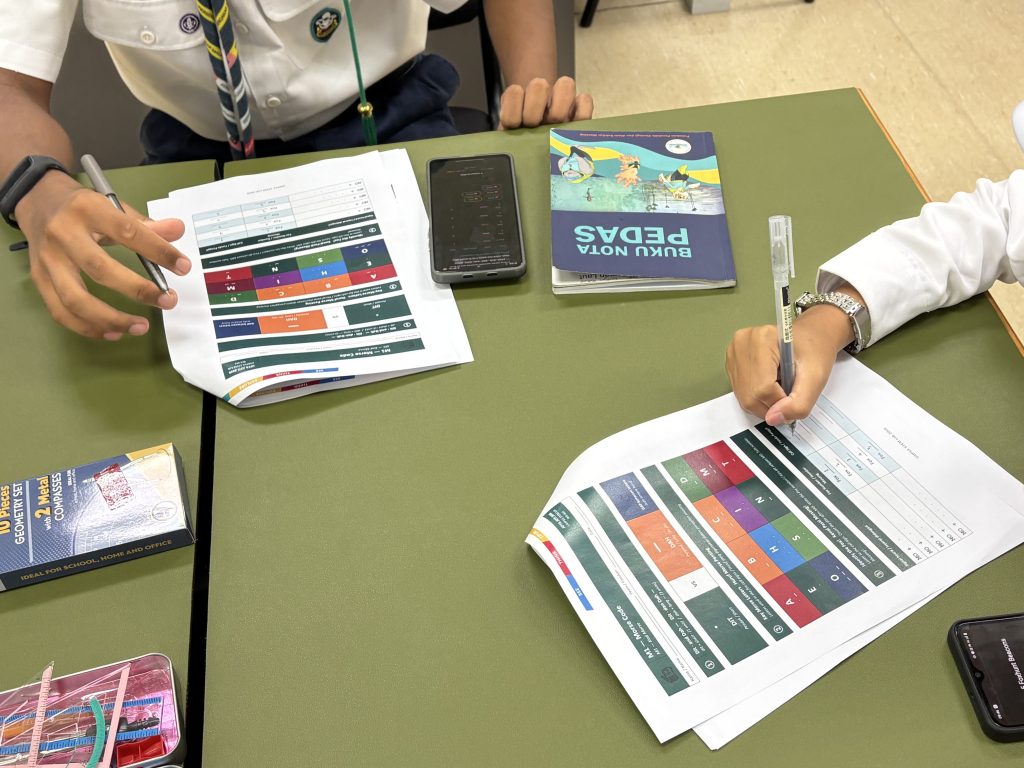
The module wrapped up with a decode challenge and a set of facts that broadened the picture: Morse code is still used by amateur radio operators worldwide because its signal penetrates interference that defeats voice transmission; the Malaysian Radio Amateur Examination (RAE) still tests Morse timing theory; and the world speed record for Morse transmission is 216 characters per minute — around four letters every second.
Module 2: Map Reading and Triangulation
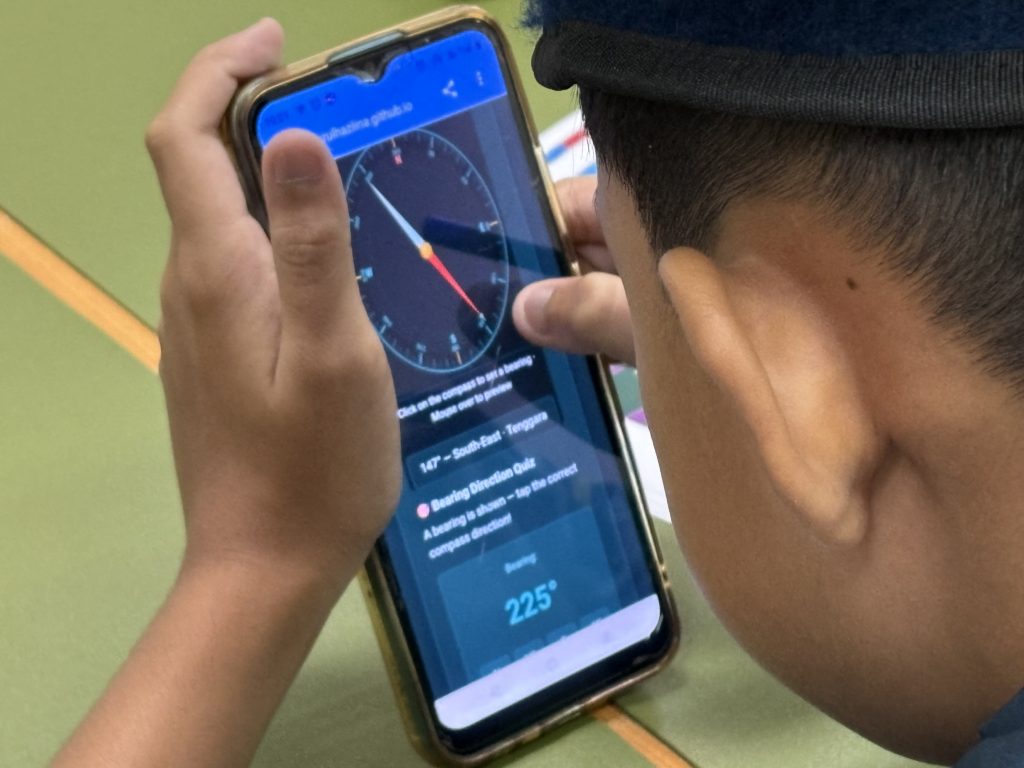
Hearing the fox is only half the problem. Knowing where it is hiding requires a completely different set of skills, and those skills begin with a map and a compass.
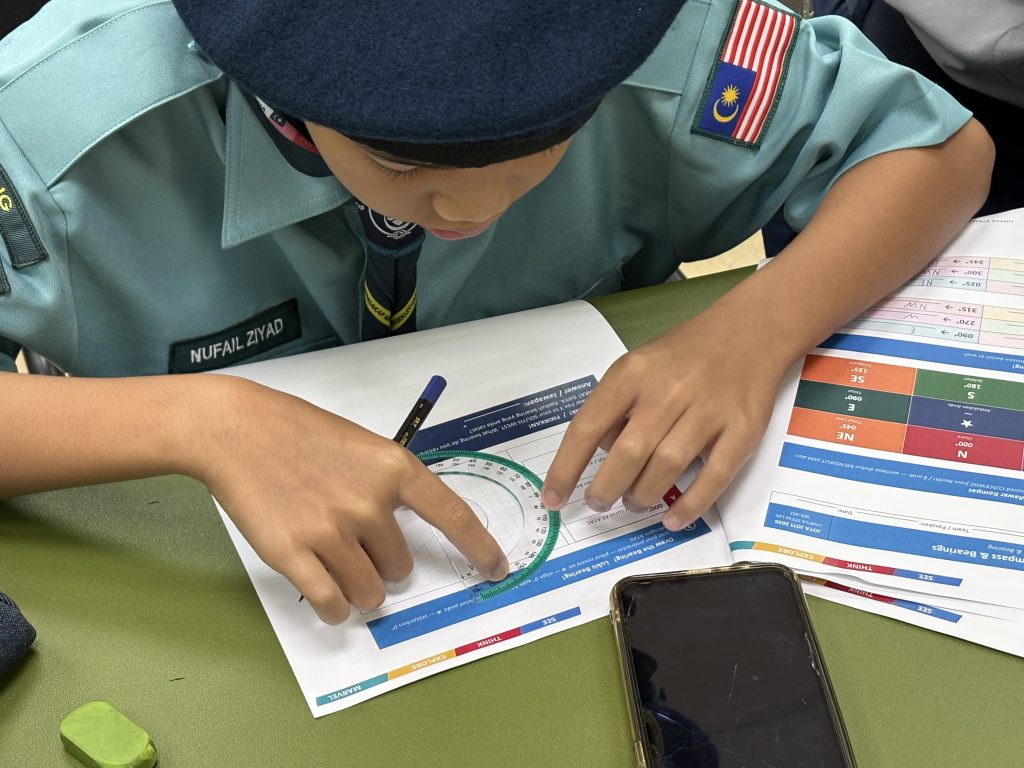
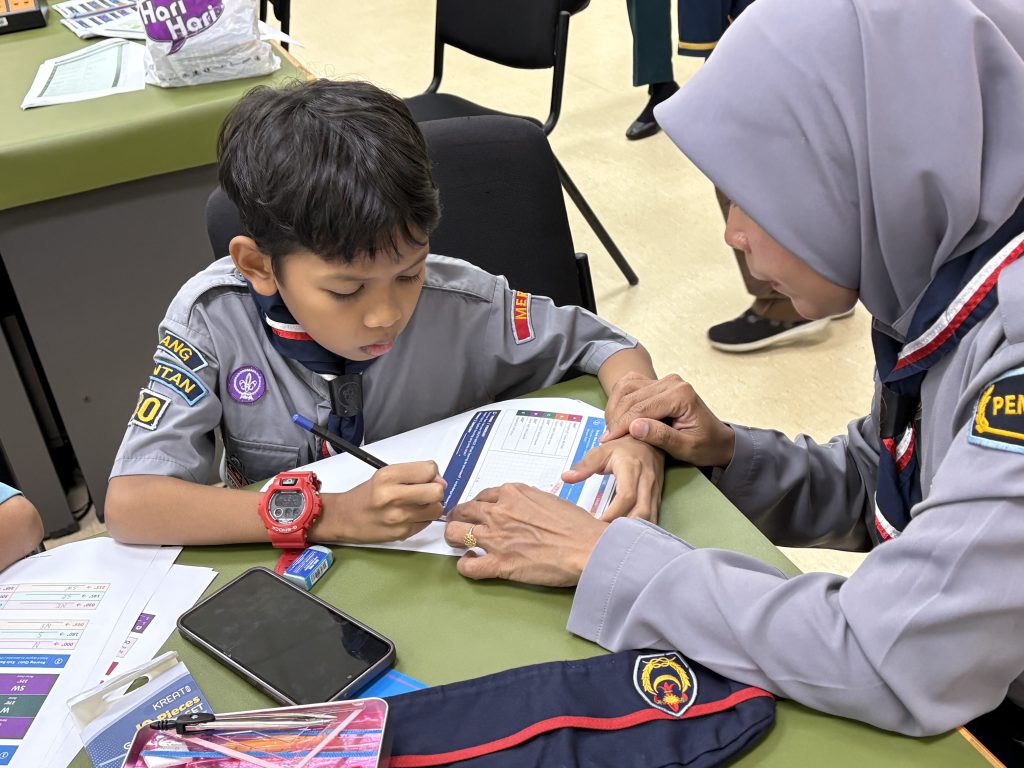
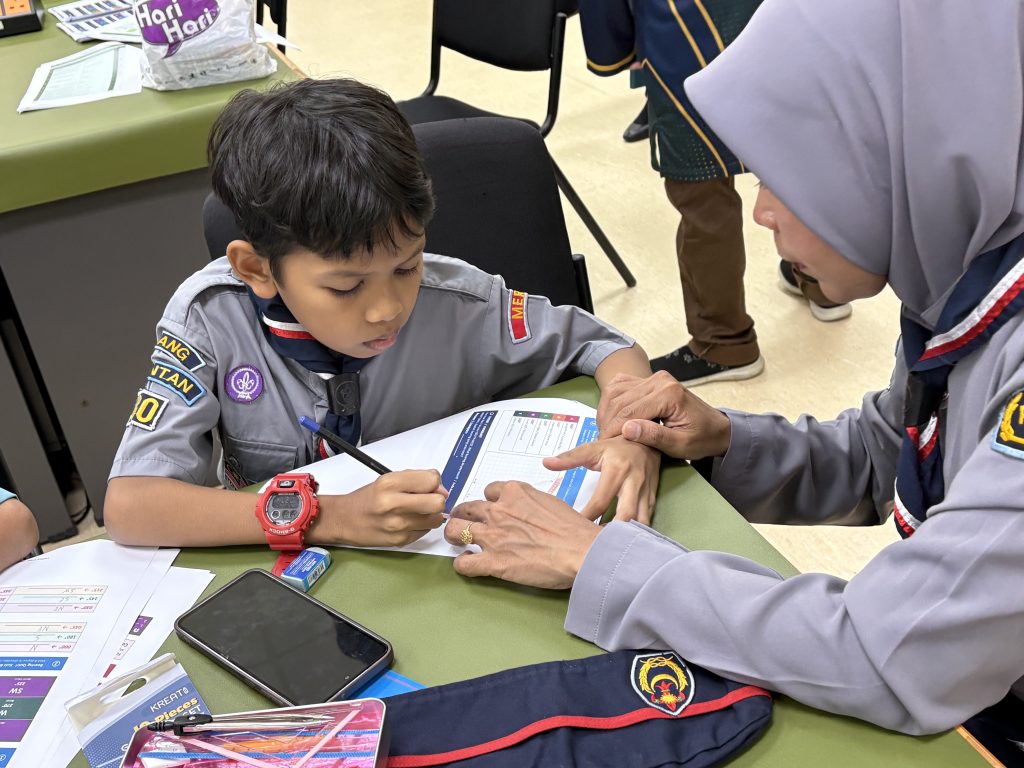
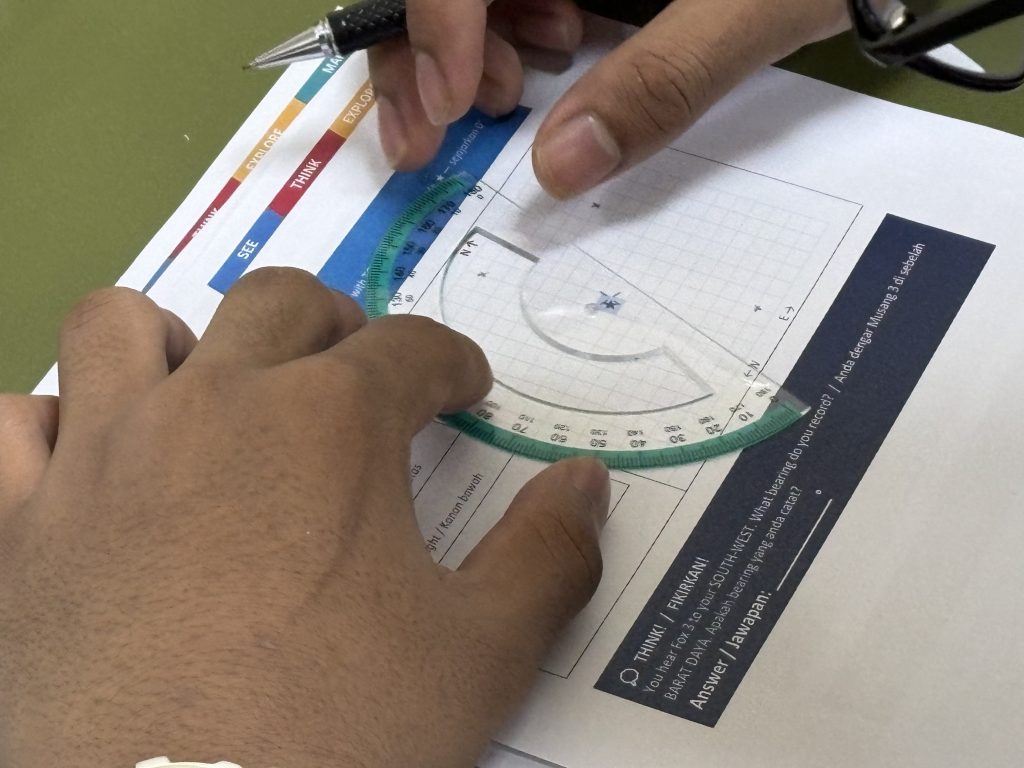
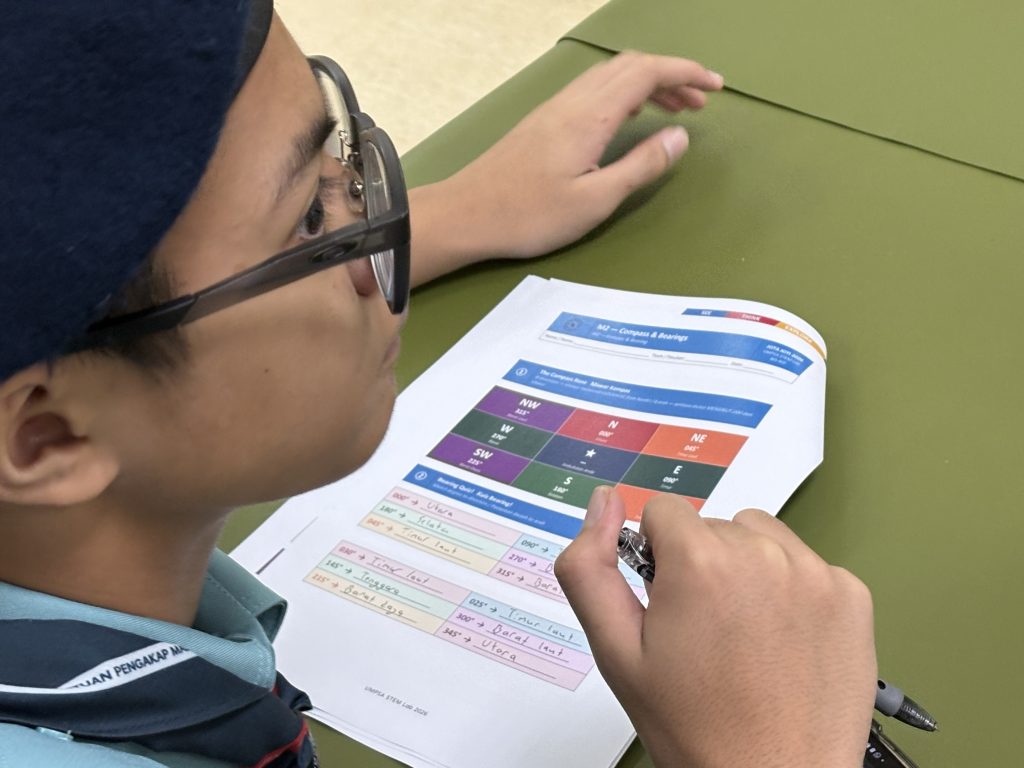
This module introduced participants to topographic maps, how to read contour lines (each connecting points of equal elevation, with closer lines indicating steeper slopes), how to interpret scale, and how to orient a map so that north on paper matches north on the ground. For many of the scouts, this was familiar territory from their Pengakap training. But applying those navigation skills to radio direction finding added a layer they had not encountered before.
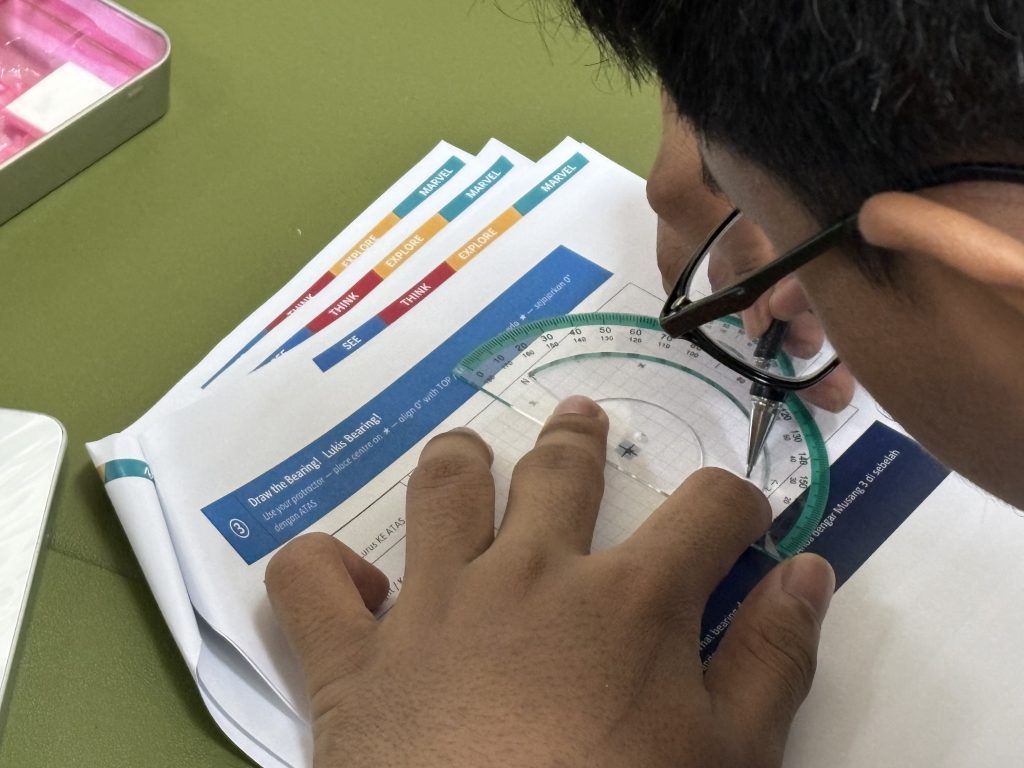
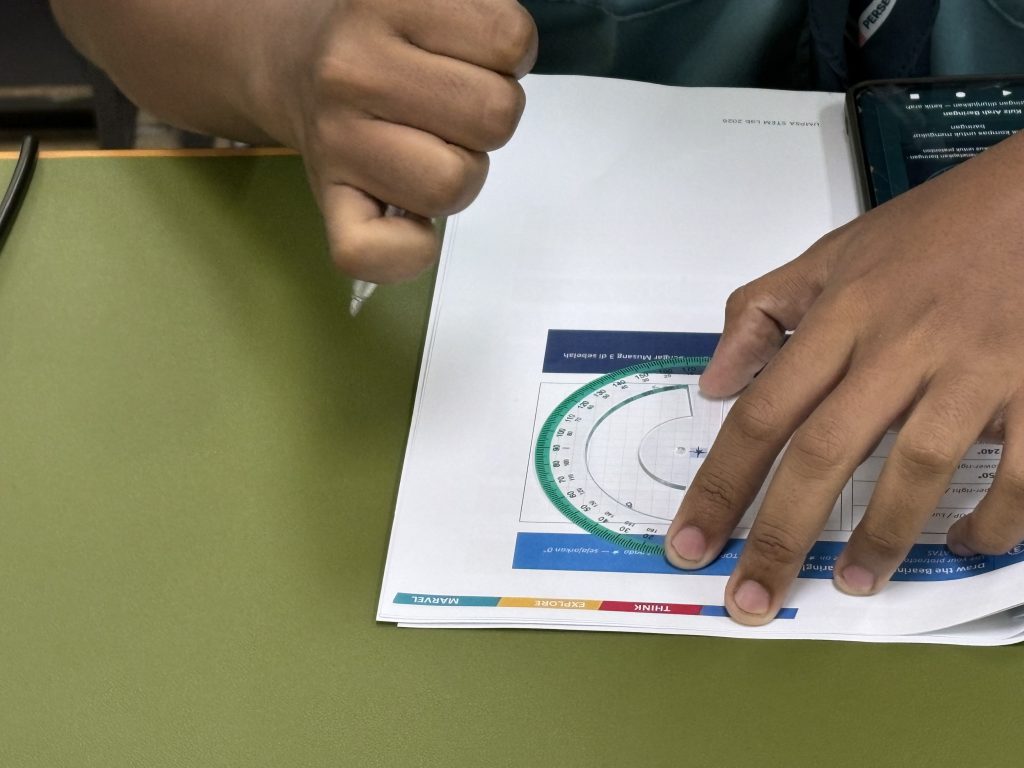
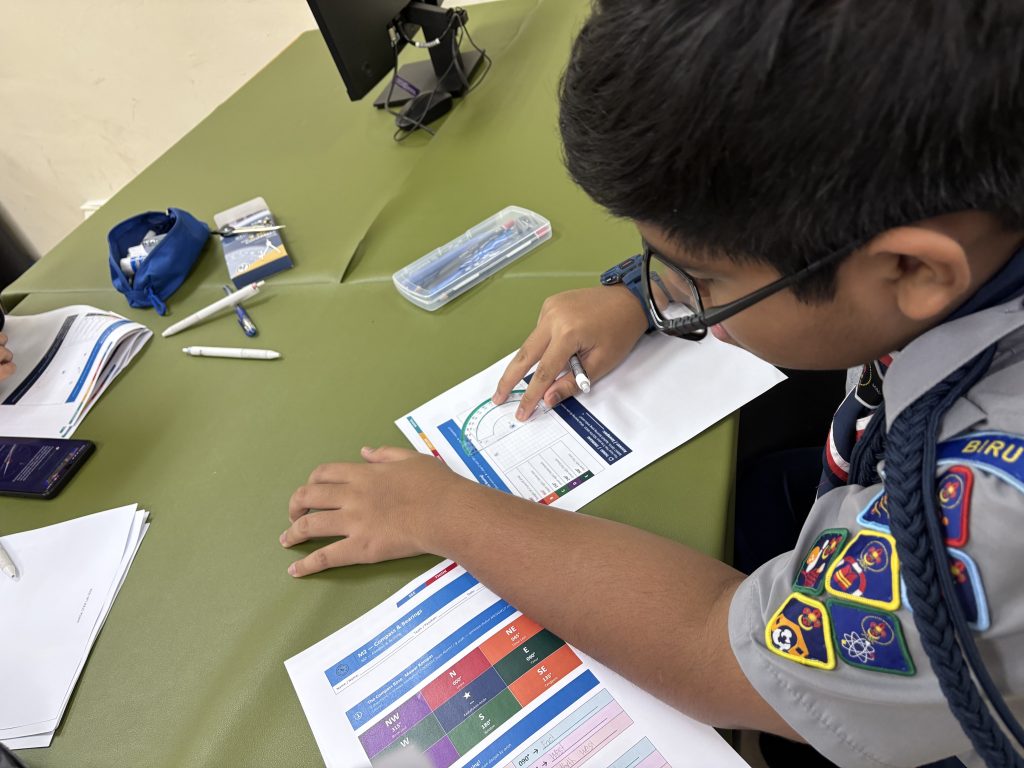
The key technique is triangulation. A single bearing from one position tells you that the fox is somewhere along a specific line radiating from where you stand. Move to a different position, take another bearing, and draw a second line. Where those two lines intersect is where the fox must be — or very nearly so. In practice, a third bearing from a third position creates a small triangle of uncertainty called the “cocked hat,” and the transmitter is almost certainly within it.
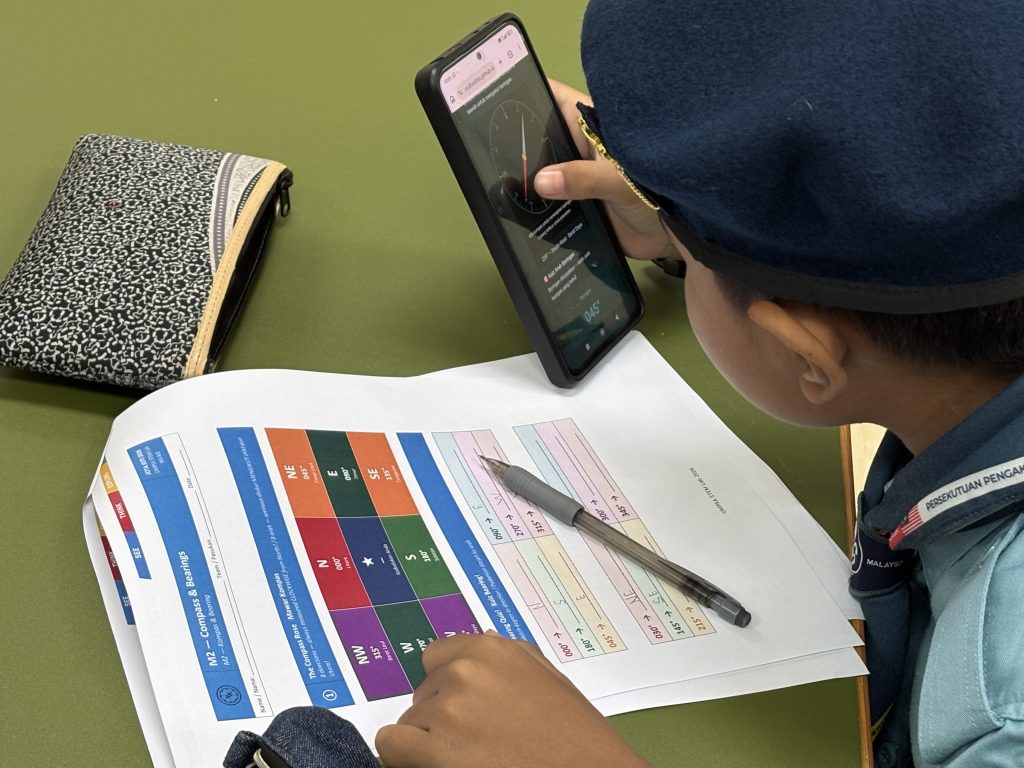
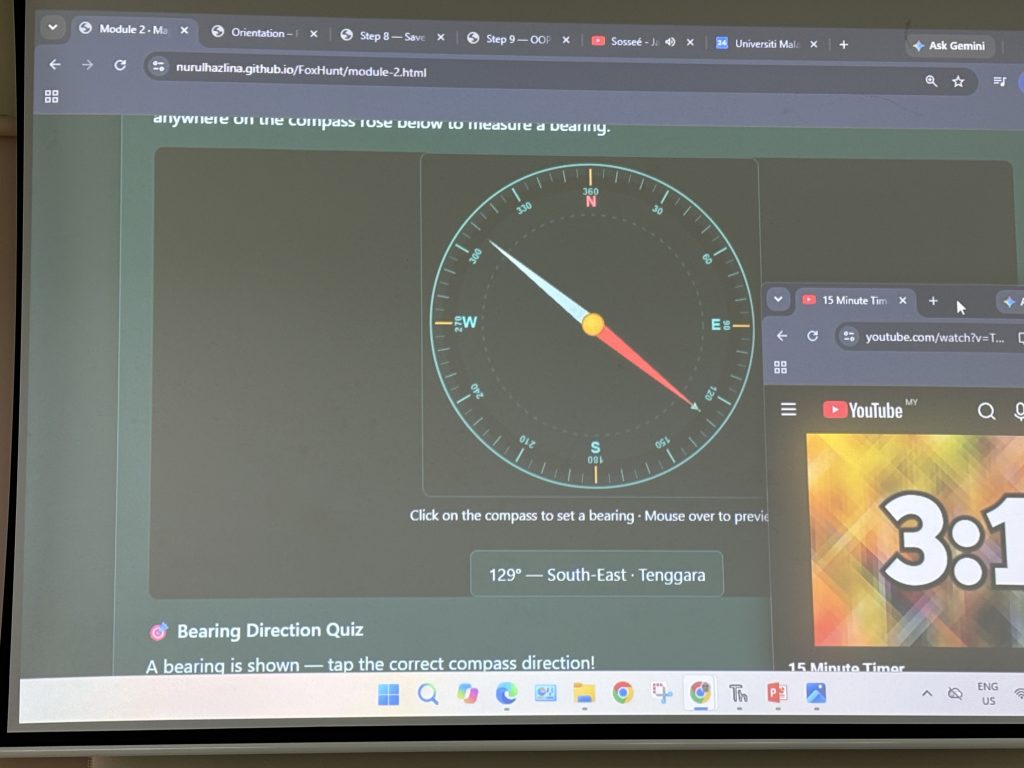
To bring the concept to life, the module used an interactive simulator where participants plotted bearings and watched their estimated position converge on the hidden target. The session also explored how the same mathematical principle operates at a global scale: GPS satellites triangulate your position from signals sent by at least four orbital transmitters, and mobile phone networks locate handsets by measuring signal timing between cell towers. The campus foxhunt is, in miniature, the same problem that every navigation system on Earth solves.

Participants practised taking magnetic bearings, reading grid references, and plotting a route across a simplified campus map — the exact skills they would need within the hour.
Module 3: Yagi Antenna Construction
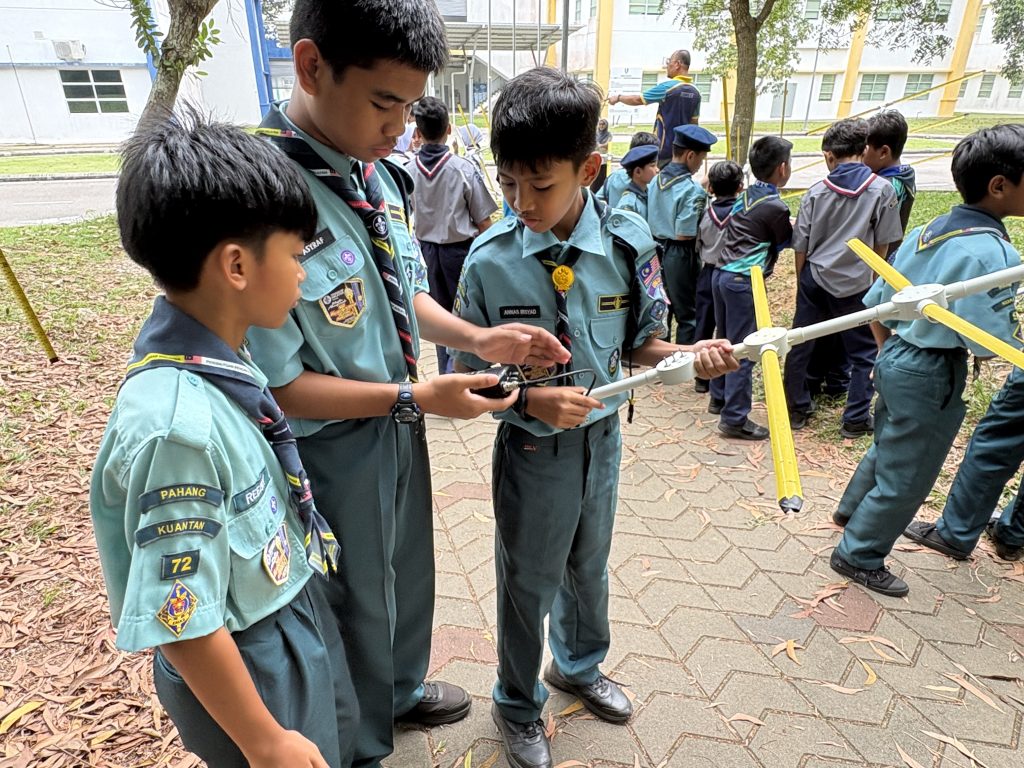
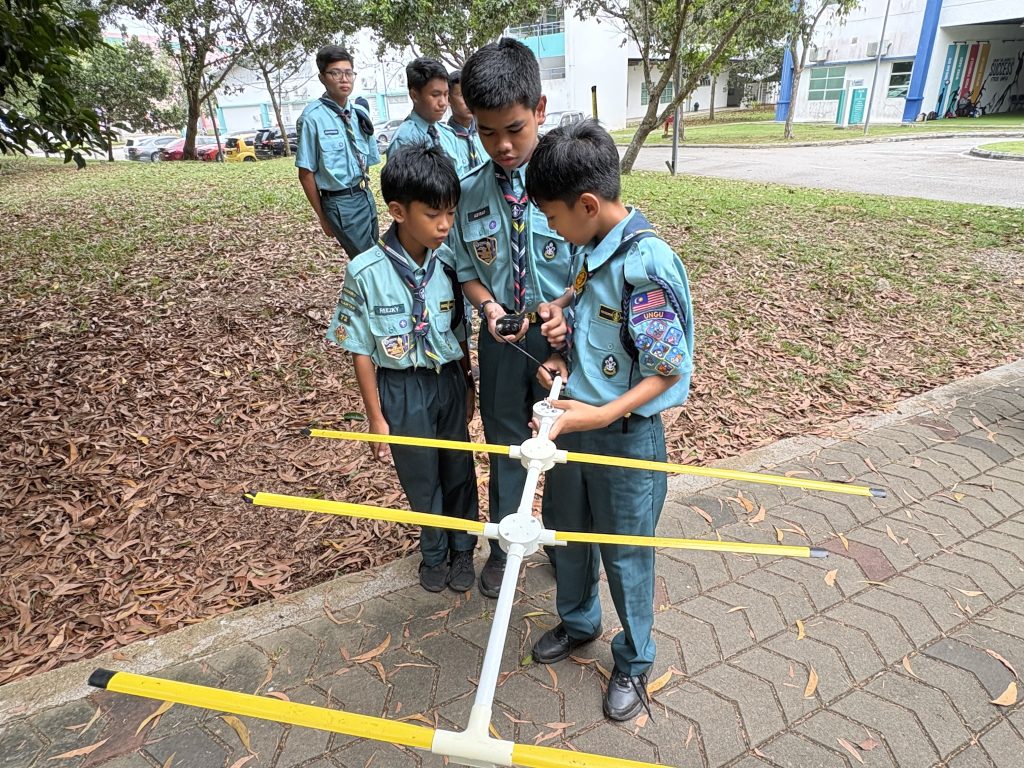
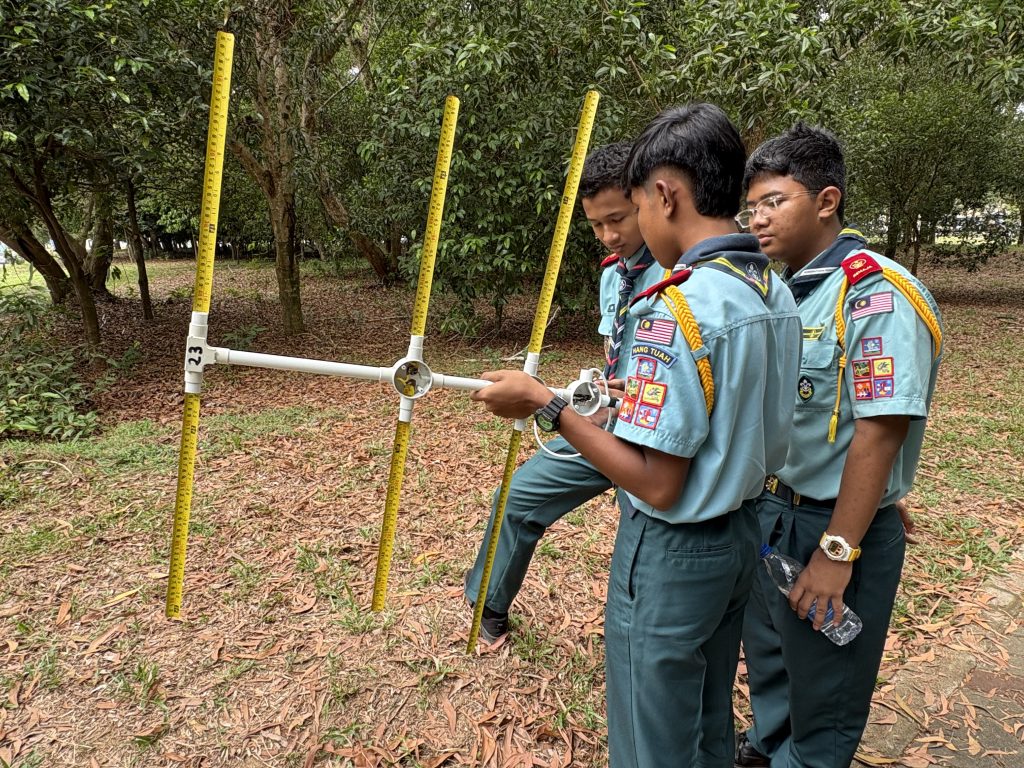
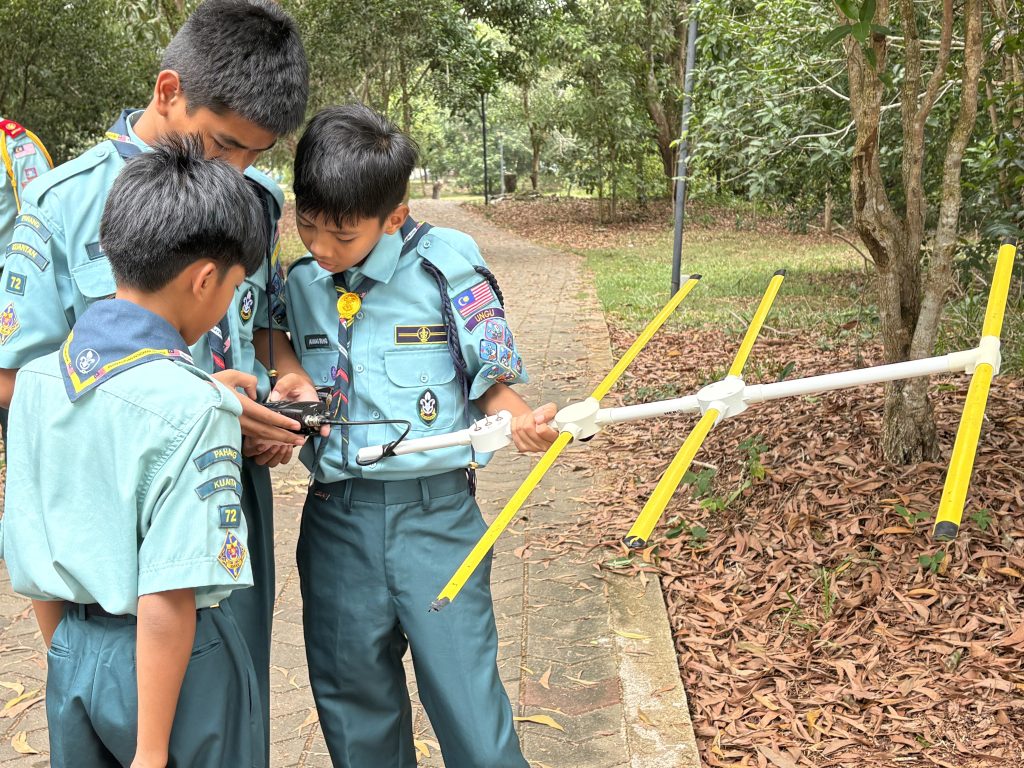
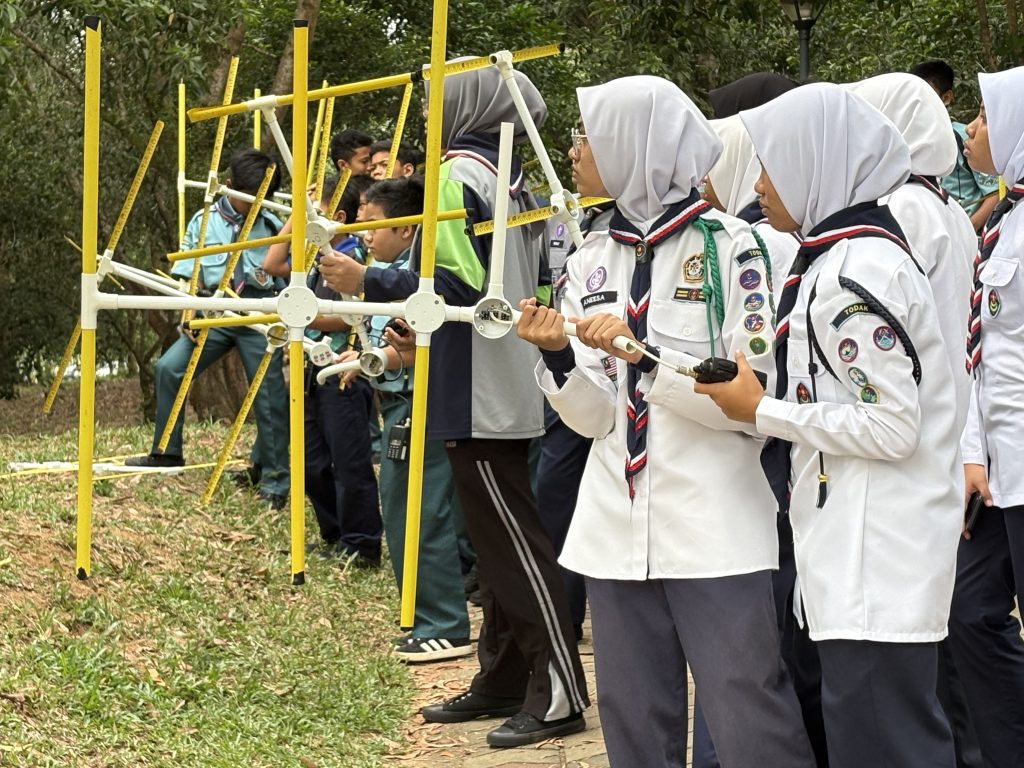
This was the module that drew the widest eyes. Participants arrived to find lengths of PVC pipe, rolls of steel measuring tape, coaxial cable, and a set of connectors laid out on the table. The task: build a functional 3-element Yagi antenna for the 144 MHz signal that the hidden fox beacon would be broadcasting.
A Yagi antenna, named after Japanese physicists Hidetsugu Yagi and Shintaro Uda, who developed it in 1926, is a directional antenna. Unlike the short rubber-duck antennas on handheld radios, which receive signals roughly equally from all directions, a Yagi is focused. It picks up signals strongly from one direction and weakly from others. This directionality is exactly what a foxhunter needs: point the Yagi until the signal peaks, and the fox is somewhere along that line.

Construction followed eight precise steps. Participants first cut three elements from steel measuring tape: a 104.0 cm reflector, a 99.4 cm driven element, and a 94.6 cm director. These lengths are calculated from the wavelength formula for 144 MHz and are non-negotiable, a wrong length shifts the antenna’s resonant frequency and degrades its performance. A 120 cm PVC boom was then marked and drilled at three positions: reflector at 0 cm, driven element at 36.5 cm, director at 67.0 cm. Each element was attached perpendicular to the boom, with the driven element connected to a coaxial connector soldered to the feedline.
By the end of the session, every participant was holding a functional antenna they had built with their own hands. For many, this was the first time they had truly grasped that radio hardware is not mystical — it is physics, made from materials you can touch. The module also covered antenna gain, Standing Wave Ratio (SWR), and the concept of front-to-back ratio: the difference in signal strength between the antenna’s pointed direction and directly behind it. A well-built Yagi achieves a front-to-back ratio of 20 dB or more, turning a faint and indistinct signal into a clear directional pointer.
Module 4: Field Strategy
The fourth module tied everything together. Even a hunter who decodes Morse instantly, reads a map precisely, and holds a Yagi steadily will struggle without a coherent strategy. This session was about thinking like a foxhunter under competition conditions.

Participants learned that a successful hunt unfolds in three phases. The first is coarse direction finding: from the starting area, rotate slowly with the Yagi held horizontally until the signal peaks. Mark the compass bearing. This gives direction but no distance. The second phase is active triangulation: move along the bearing and take a second reading from a new position. The cross-bearing narrows the fox’s location to a small zone on the map. The third phase is close-in searching: as the signal grows very strong near the transmitter, the antenna becomes less useful — it seems to point everywhere. Experienced hunters switch to body-shielding technique, pressing the receiver against their torso and rotating slowly, using their own body to absorb signal and locate the precise direction of minimum strength. This counter-intuitive approach, finding the fox by pointing away from it, is one of the most effective techniques in ARDF.

The module also covered signal attenuation (using a built-in attenuator to prevent the receiver from saturating when very close to the beacon), systematic bearing logging to avoid retracing covered ground, and competition pacing: keep moving, trust the triangulation, and communicate within your team.
The Hunt: One Beacon, Somewhere on Campus
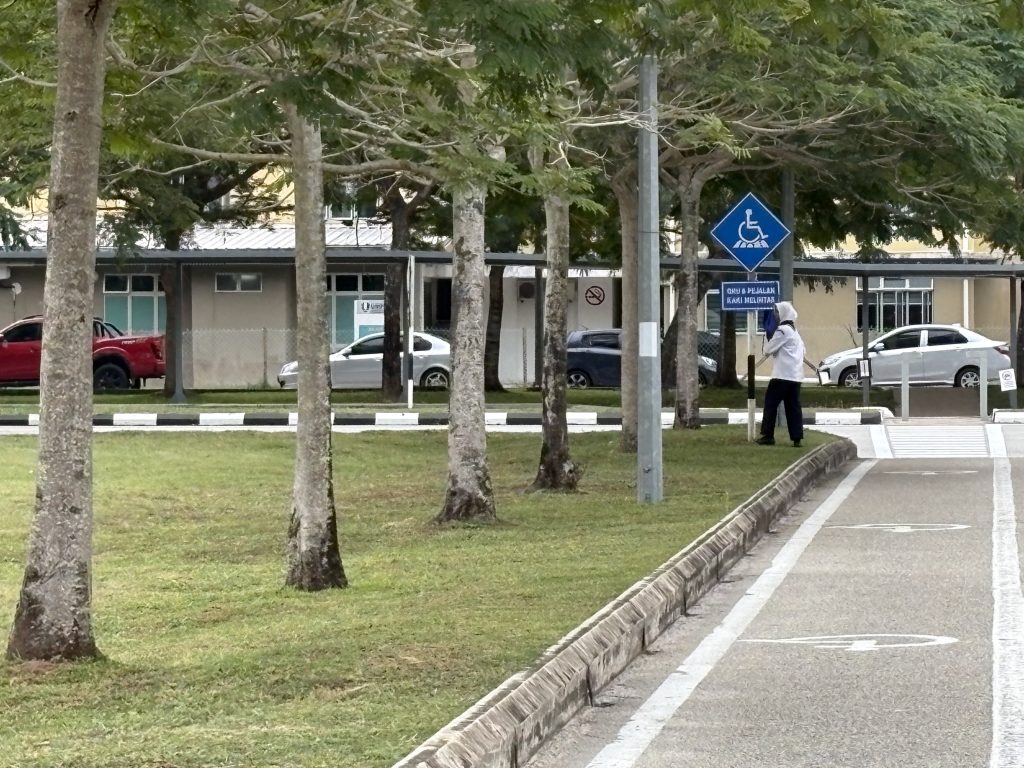
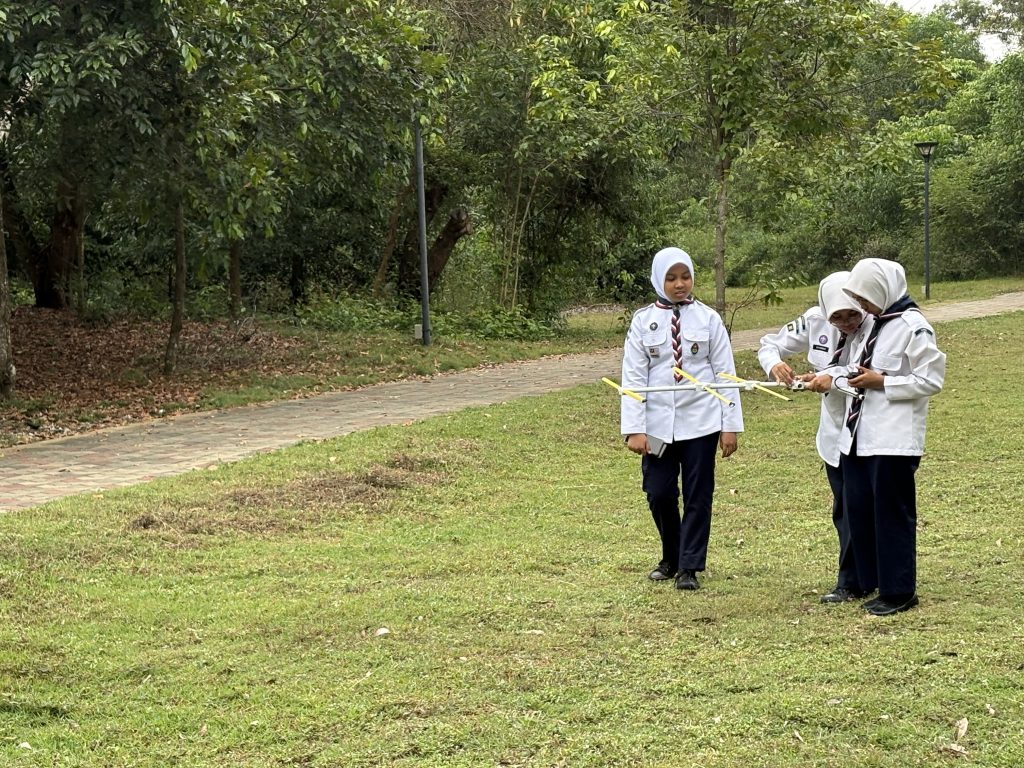
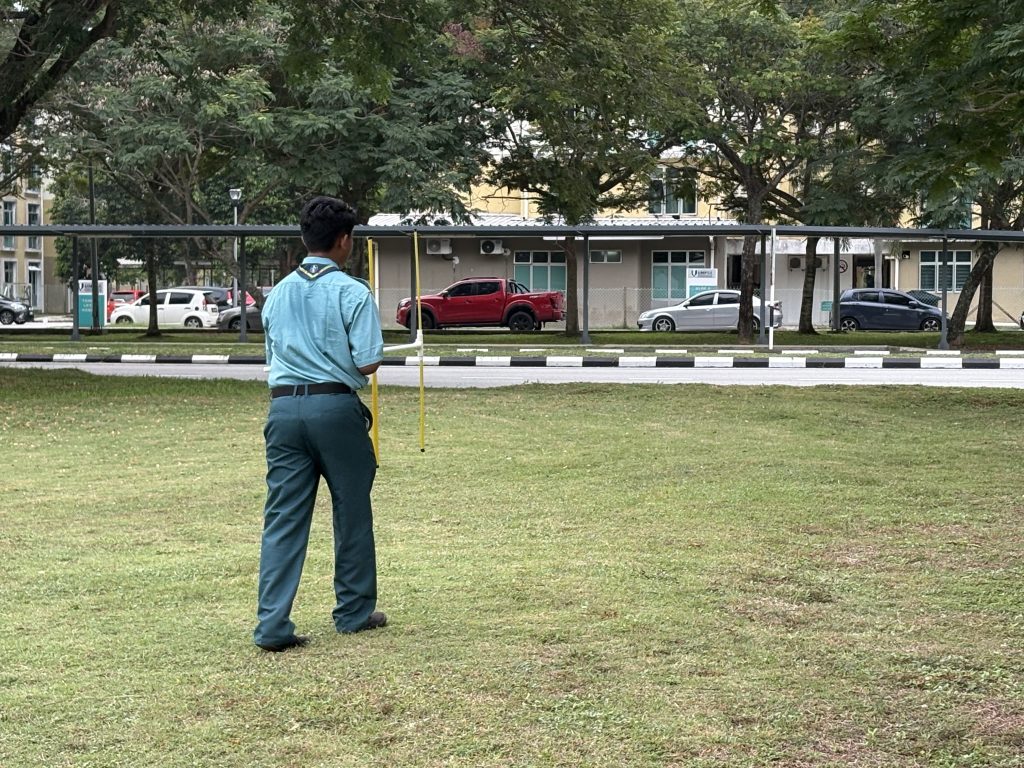
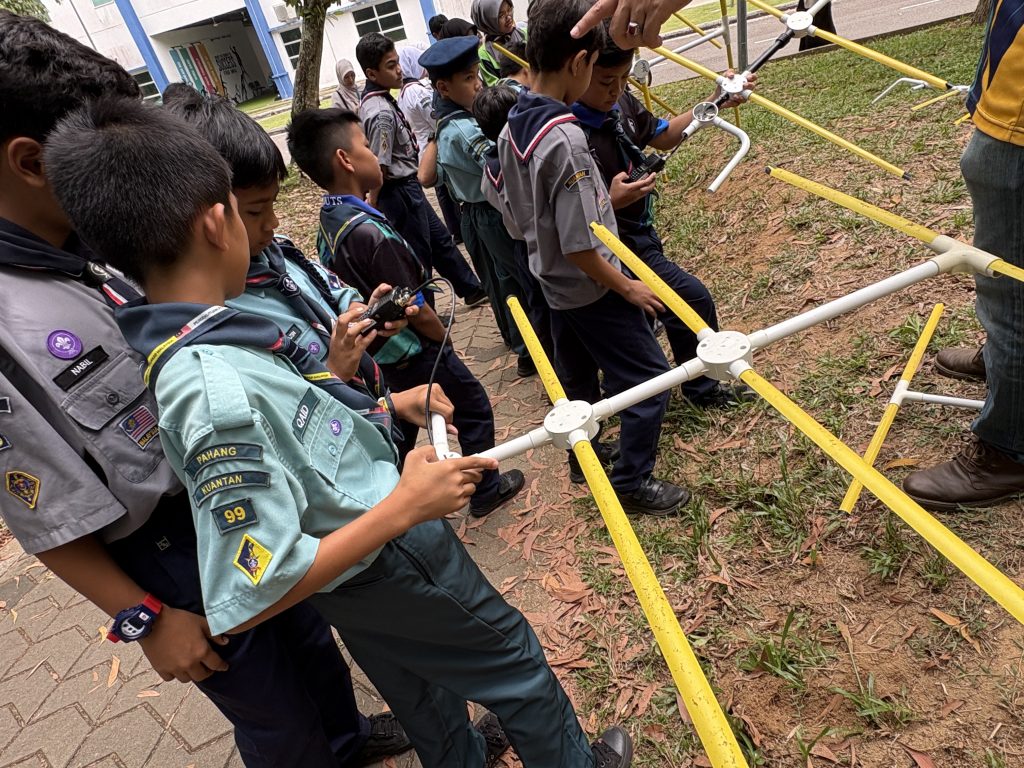
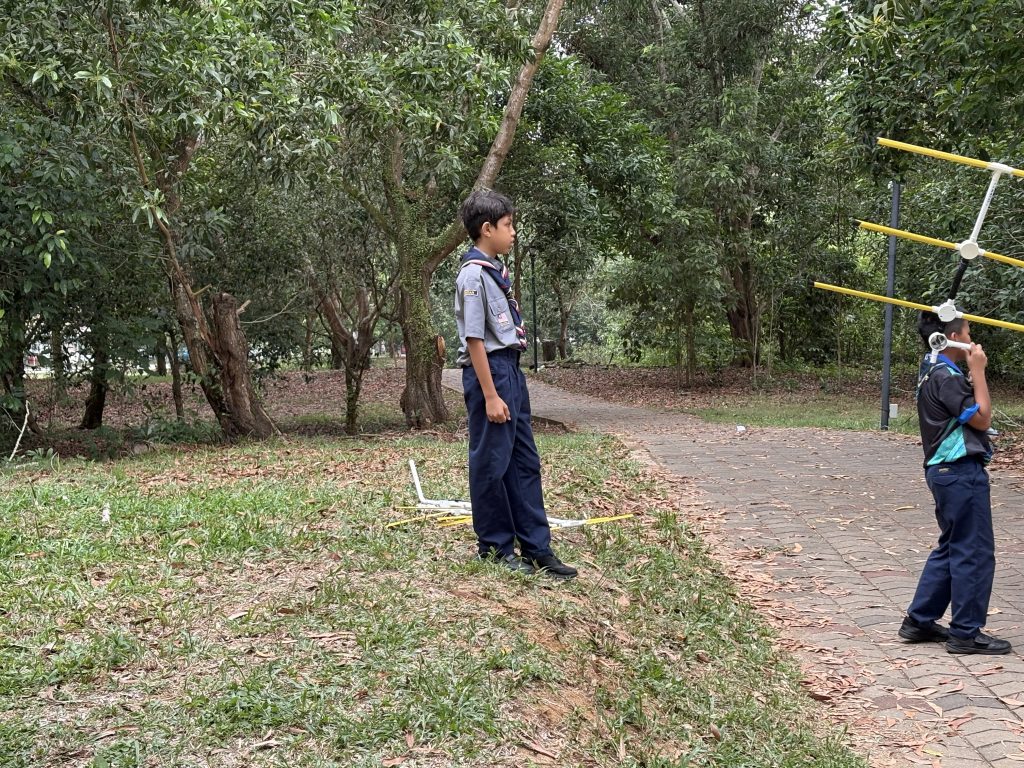
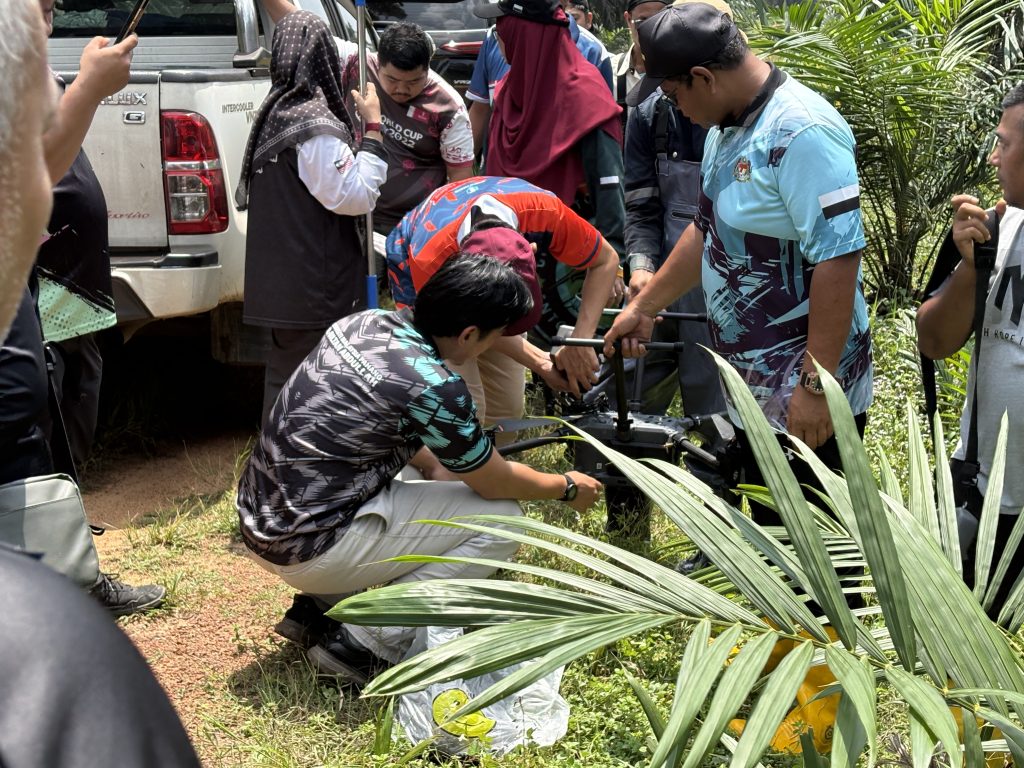
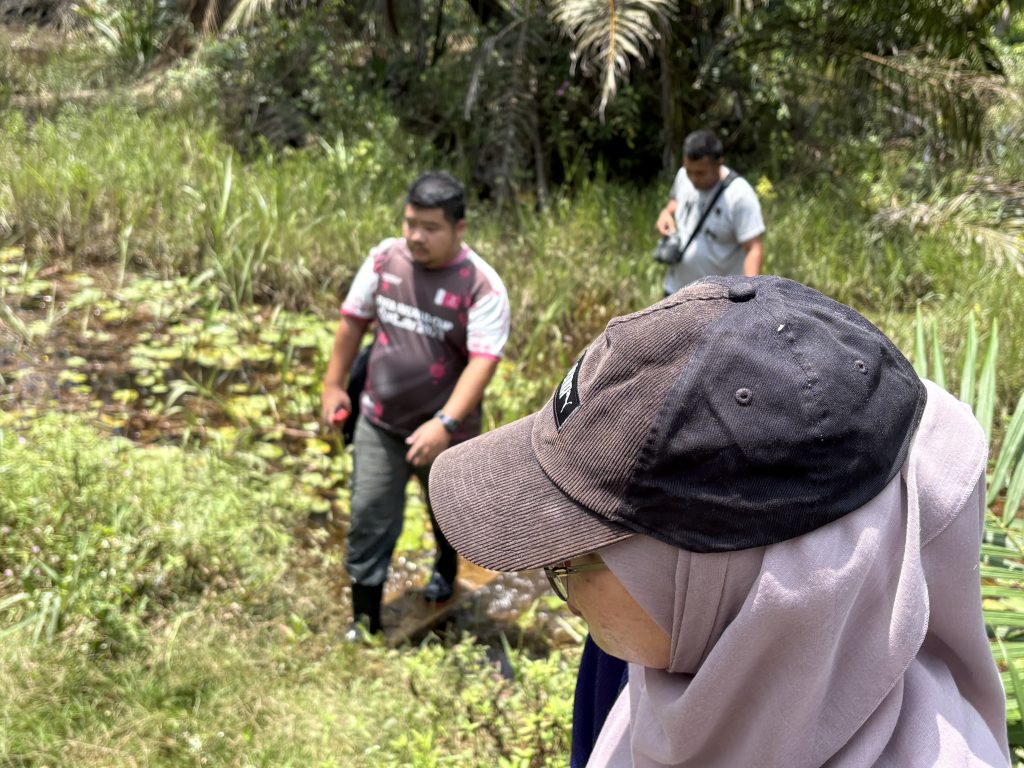
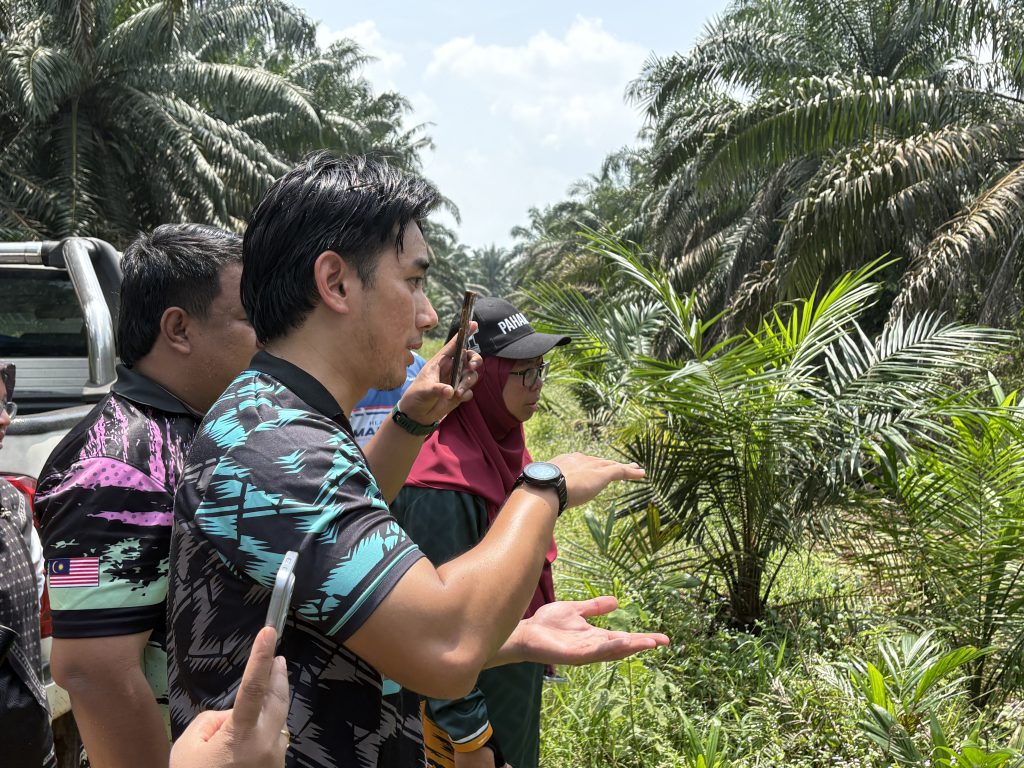
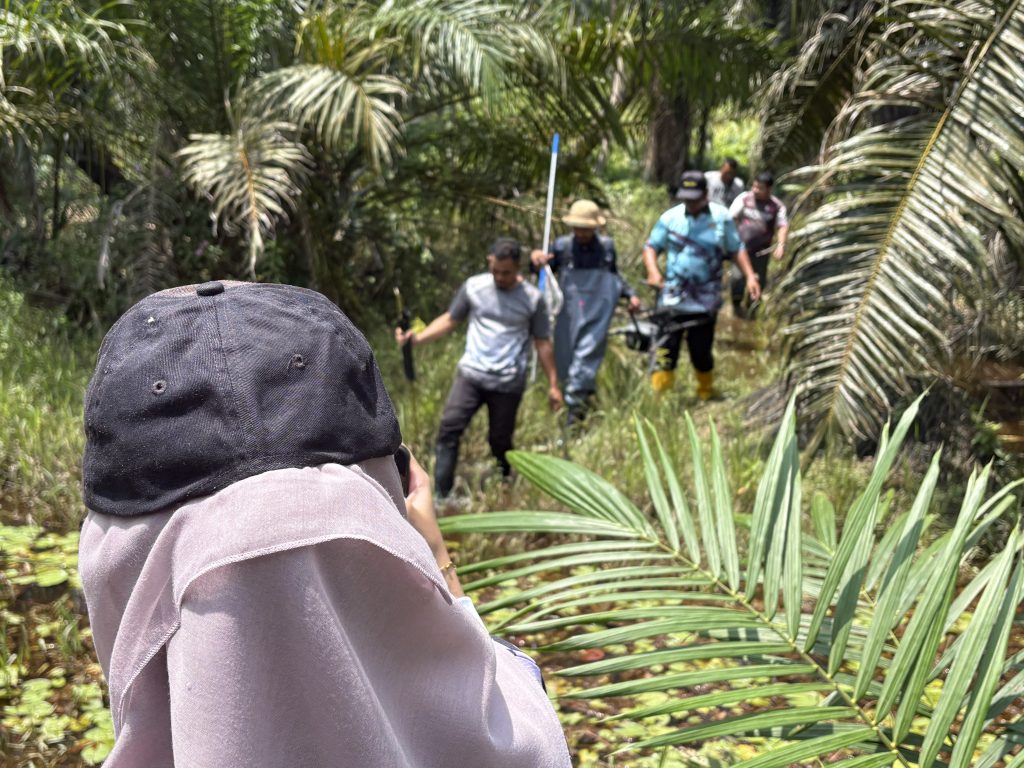
Armed with hand-built Yagis, bearing logs, and four modules of fresh knowledge, participants stepped into the afternoon heat of UMPSA Pekan campus to locate a single hidden beacon.
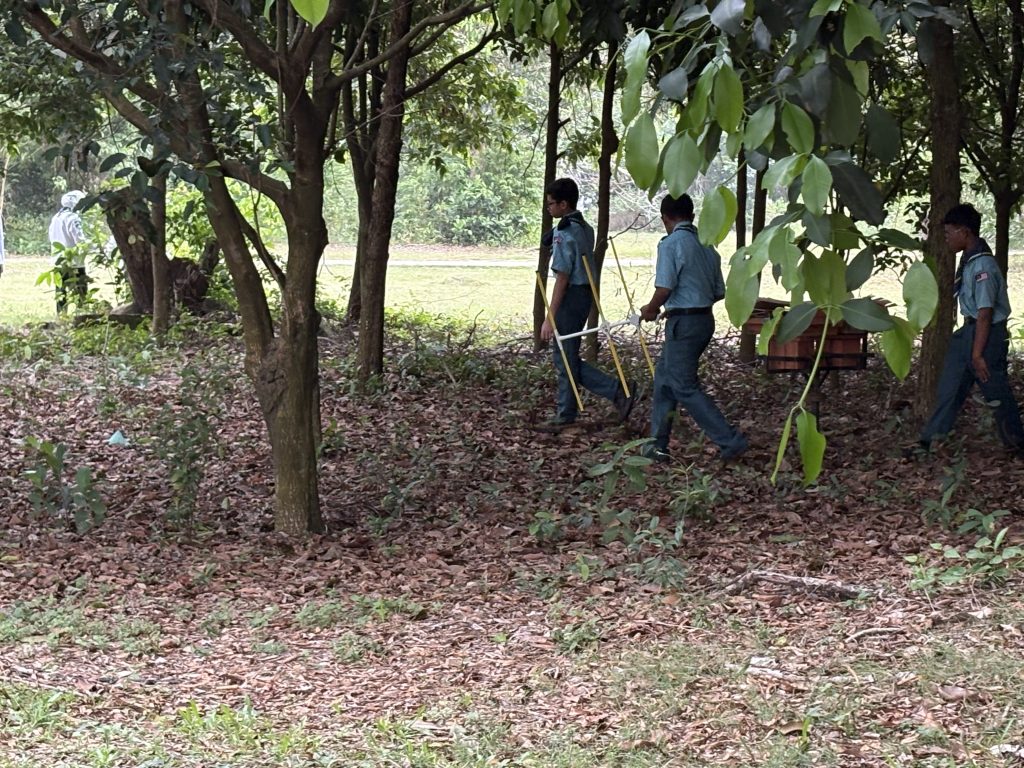
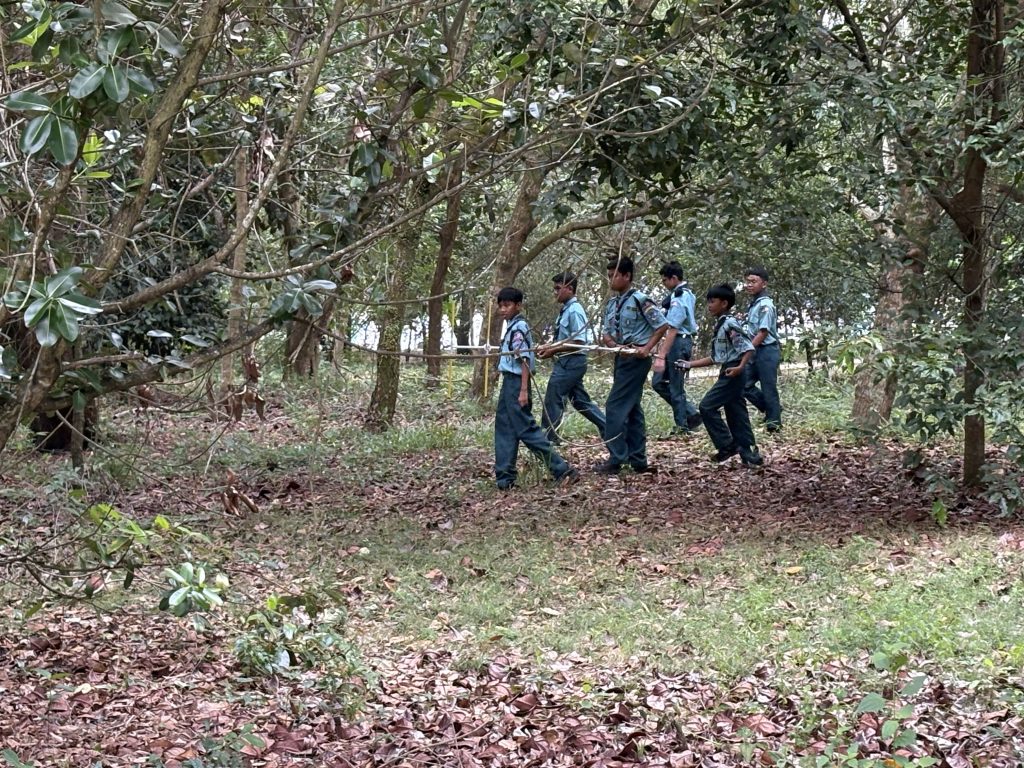
The shift from classroom to field was where the real learning happened. Participants who had decoded Morse with ease on screen now filtered the fox’s signal from background radio noise. Maps that had seemed clear under fluorescent light needed to be reconciled with actual terrain. And the antennas they had built proved their worth, the directional signal swung to an unmistakable peak whenever a team rotated to face the right bearing.
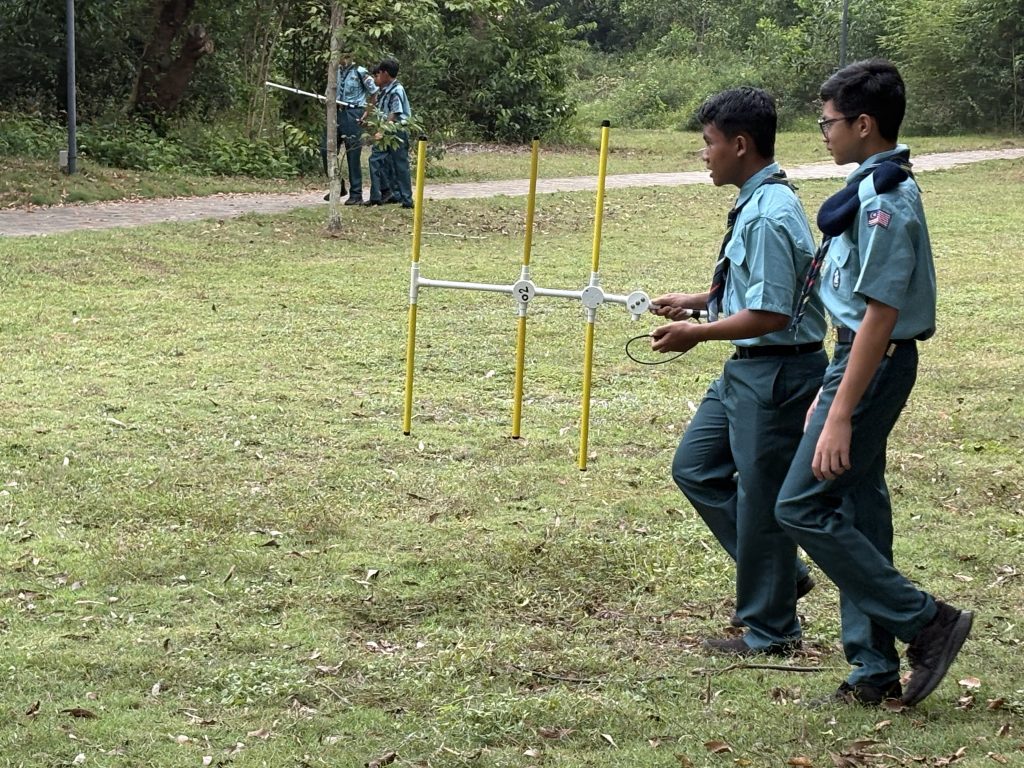
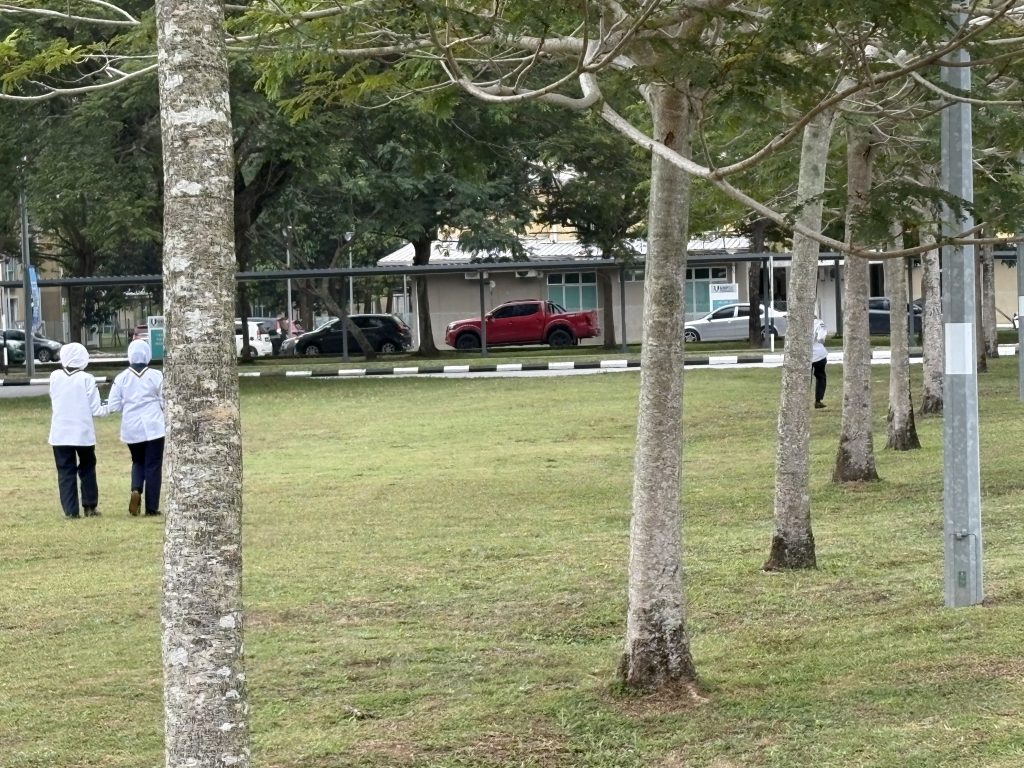
Teams spread across campus, taking bearings from different vantage points and plotting cross-lines on their maps. The beacon broadcast its patient, steady Morse identifier, transmitting its position to anyone willing to listen and think. Groups converged on likely locations, compared readings, and deployed body-shielding in the final close-in approach. The moment a team’s triangulation collapsed from a zone on a map to a physical object sitting in the environment, that was the moment the morning’s modules became something more than theory.
Why Radio Still Matters
Marconi’s wireless telegraph was a revolution not because it replaced something better, but because it made possible things that had never existed before: communication across oceans, between ships at sea, through environments where no wire could reach. The same is true of every wireless technology we depend on today, each one governed by the same physics, shaped by the same tradeoffs between power, frequency, and directionality.
Radio Foxhunting is, among other things, a way of recovering the sense of wonder that wireless communication deserves. When you build an antenna and watch it respond to invisible waves propagating through space, when you rotate it and feel the signal peak and fade with each degree of turn, you are not playing a game. You are conducting a physics experiment with your hands and ears. The air around you starts to have a shape.
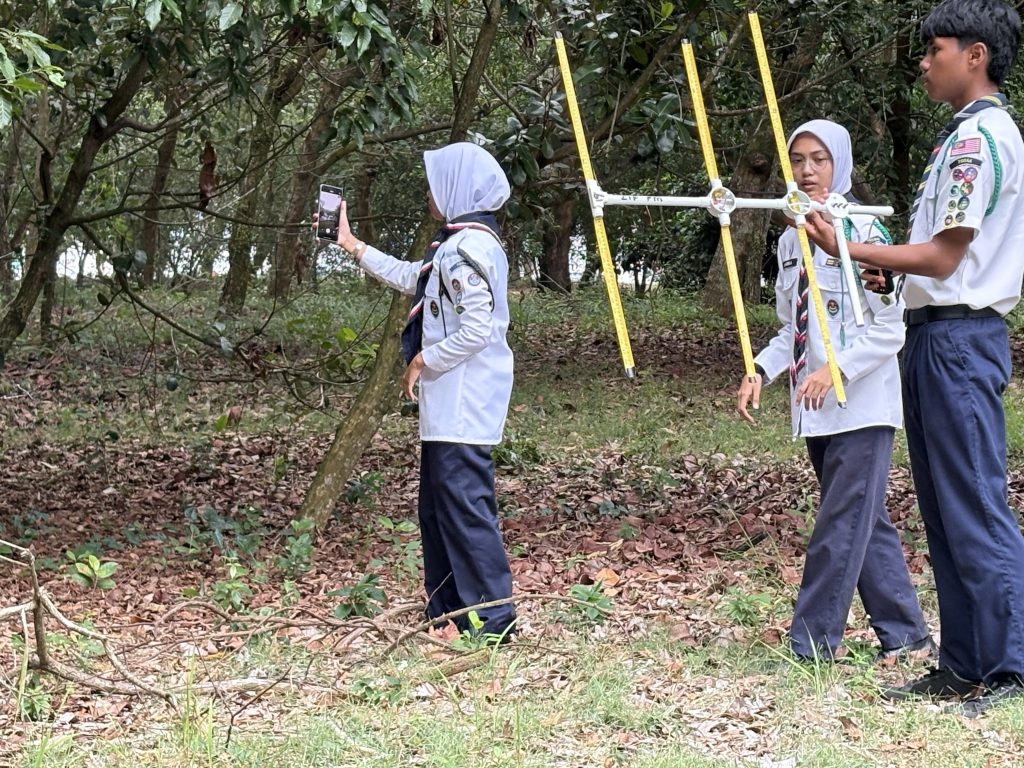
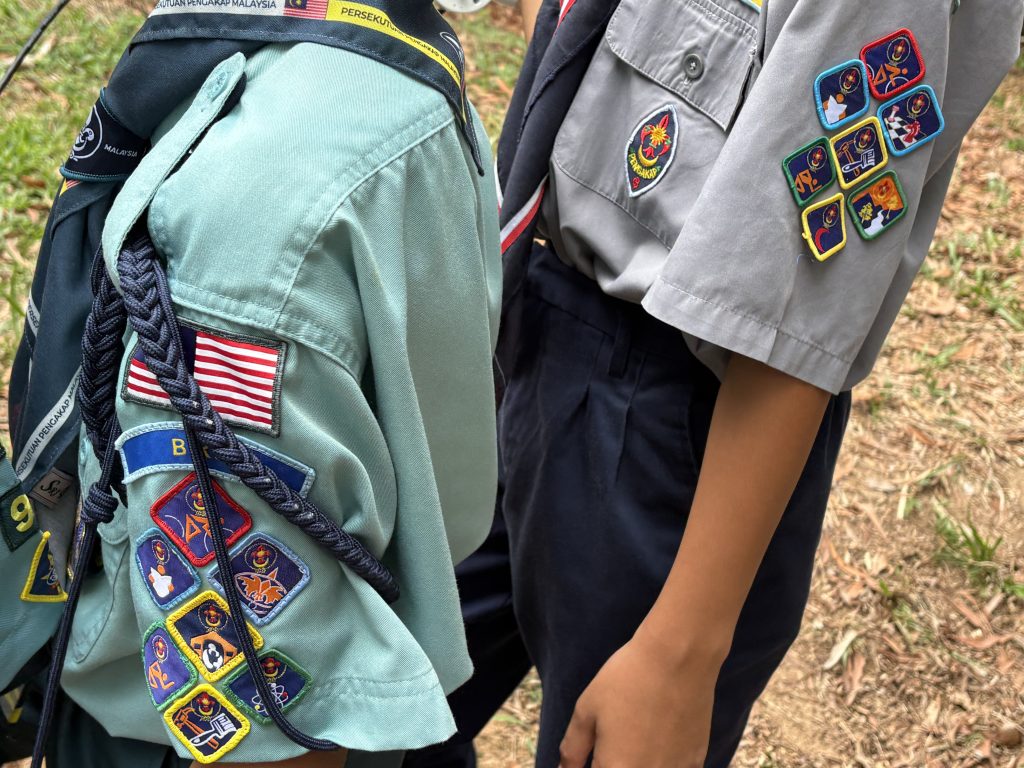
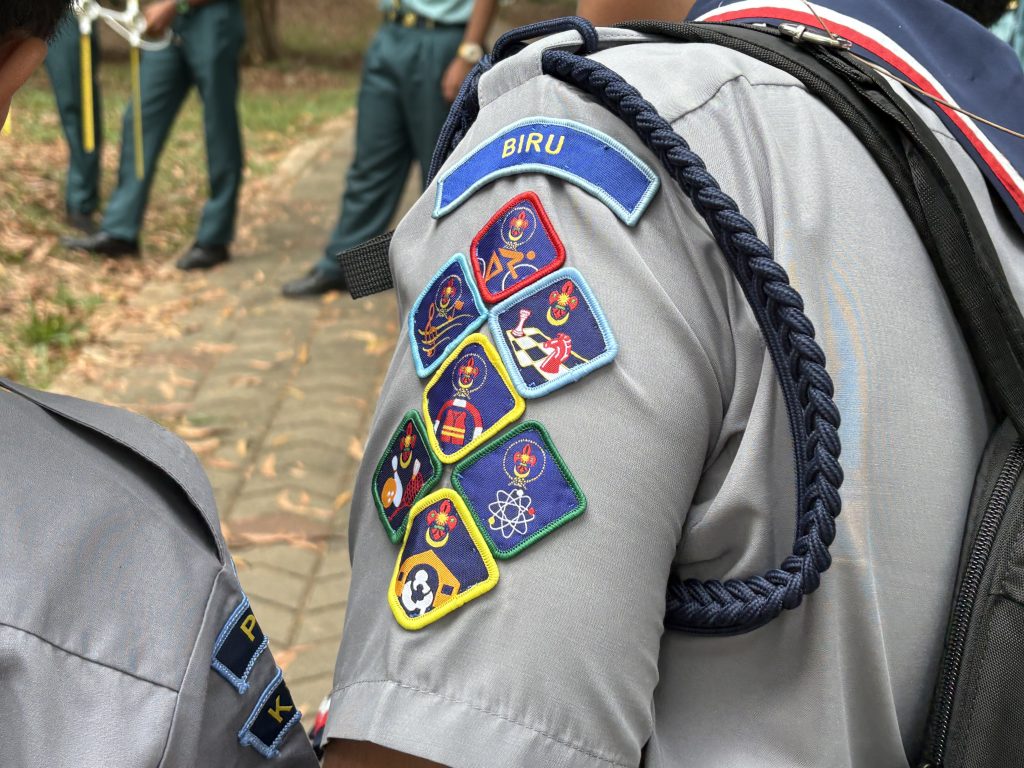
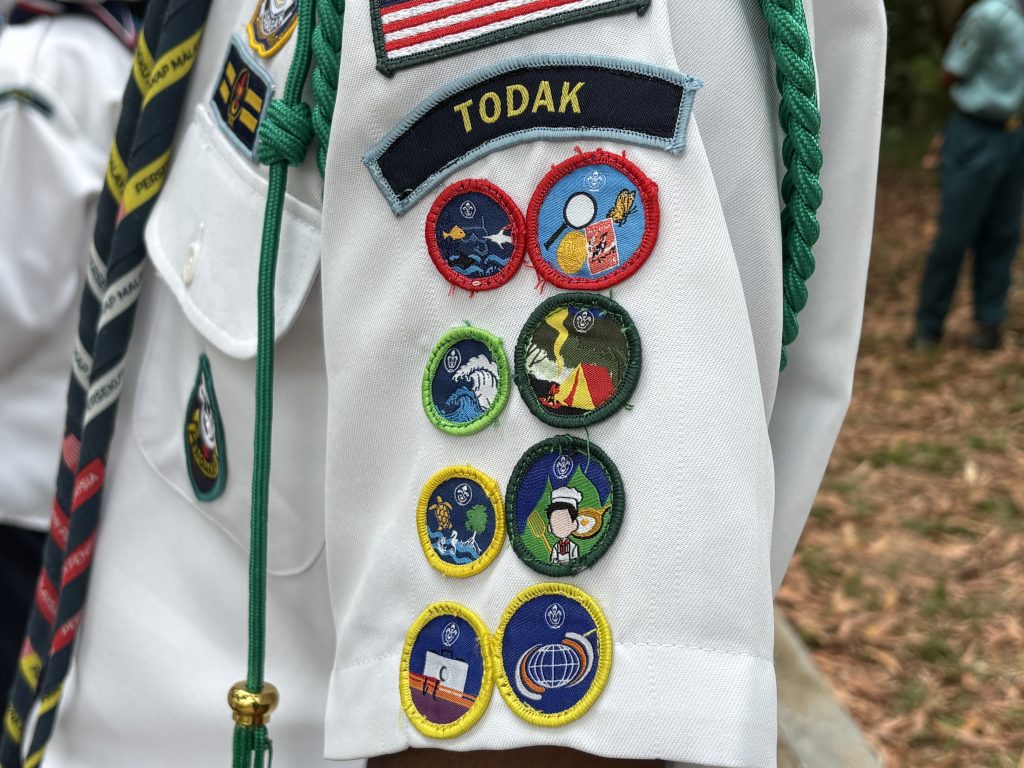
For the Pengakap participants from Pahang Kuantan who joined UMPSA STEM Lab last Saturday, the programme was a reminder that the Scouts have always been about developing practical competence suited to the age we live in. Amateur radio has been part of the Jamboree On The Air (JOTA) tradition since 1958, connecting scouts across borders through the airwaves. Last Saturday’s event brought that tradition to campus in its most hands-on form yet.
The hunt for the fox ended. The hunt for knowledge, as always, continues =)

Programme organised by UMPSA STEM Lab in collaboration with Pengakap Malaysia Pahang Kuantan, held at UMPSA Pekan campus on 25 Oktober 2026, in conjunction with International Radio Week 2026 (JOTA-JOTI).